Yellow Birthday Cake
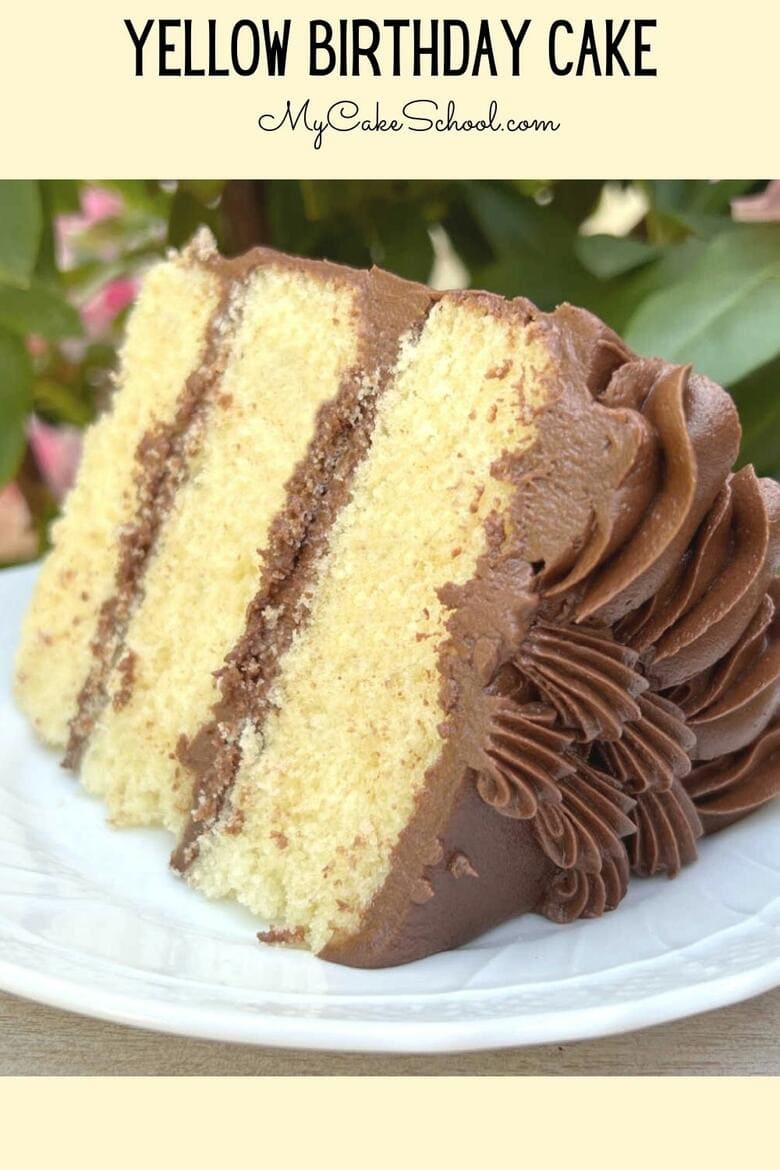
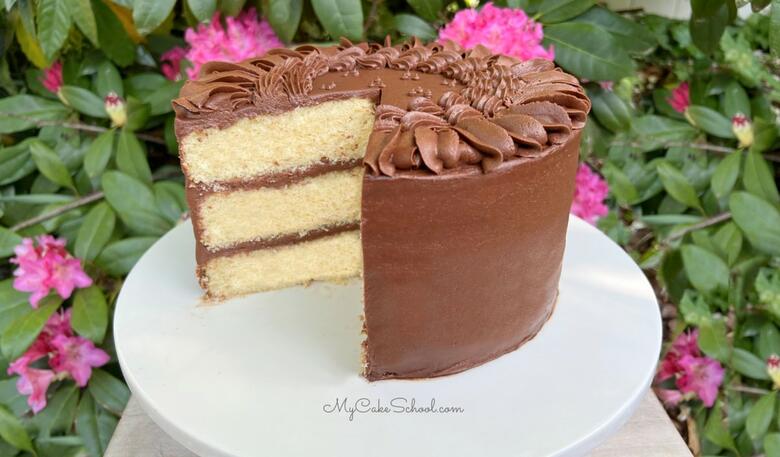
When I think of a classic yellow birthday cake, a homemade yellow cake with a slathering of chocolate buttercream is what comes to mind. It is simple, yet SO good.
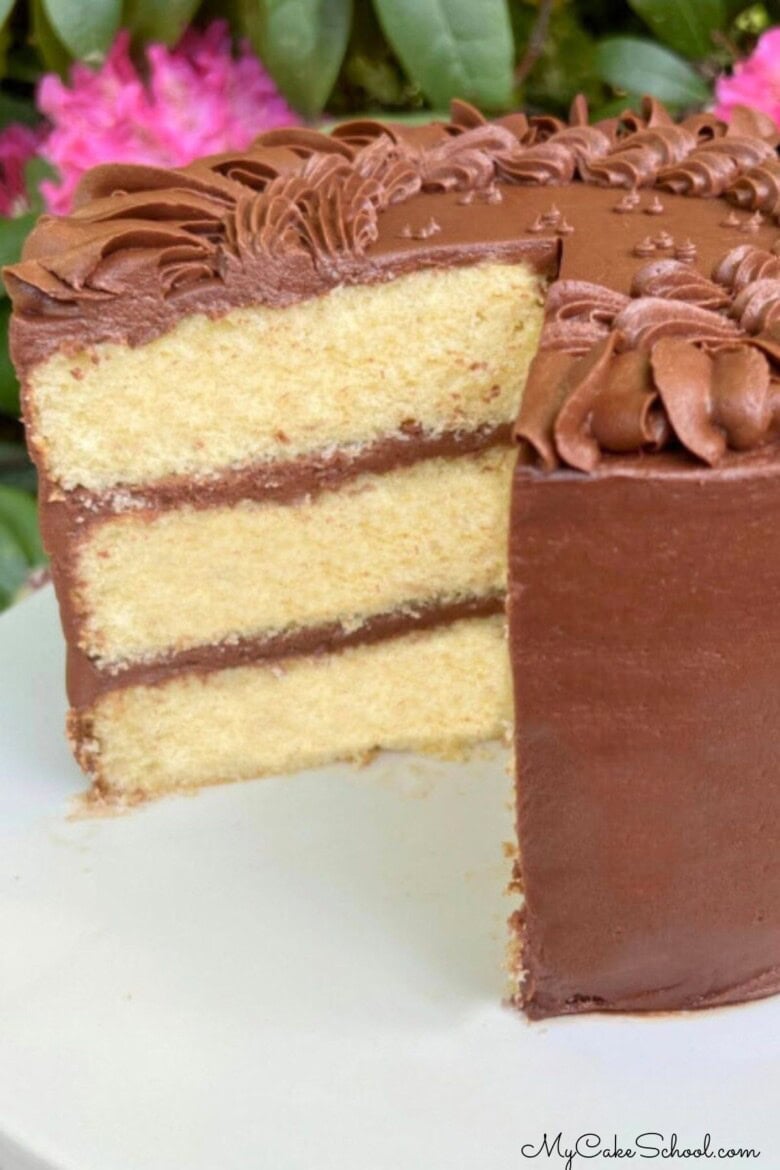
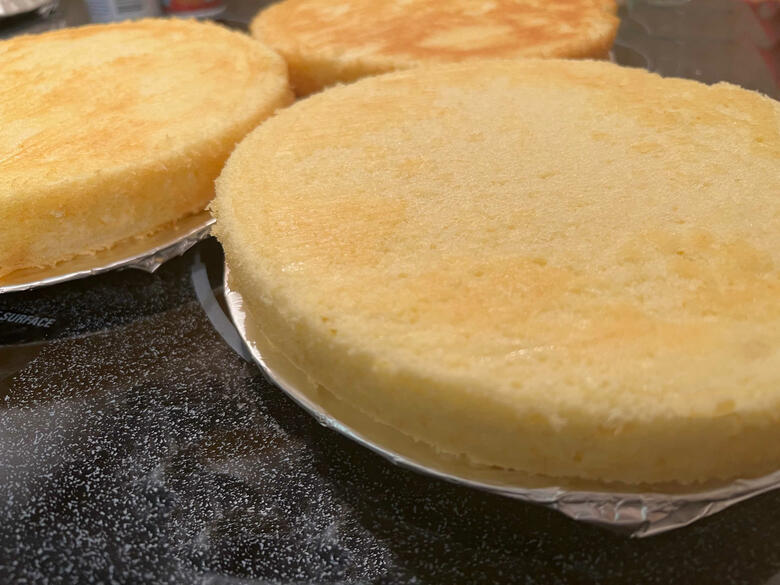
Our Yellow Birthday Cake consists of scratch yellow cake layers that are super moist, soft, and have a fine crumb.
What is Yellow Cake?
Yellow cake is a flavorful vanilla cake which gets its name from the light yellow shade of the cake layers.
As with other vanilla cakes like our vanilla buttermilk cake and scratch yellow cake, these recipes call for whole eggs (unlike white cakes which often call for the egg whites only).
They may call for additional egg yolks as well, which is true for our Yellow Birthday Cake and Yellow Velvet Cake.
Not only do the additional extra egg yolks add a bit more moisture and richness to the cake, but along with the butter, they lend a soft yellow hue as well.
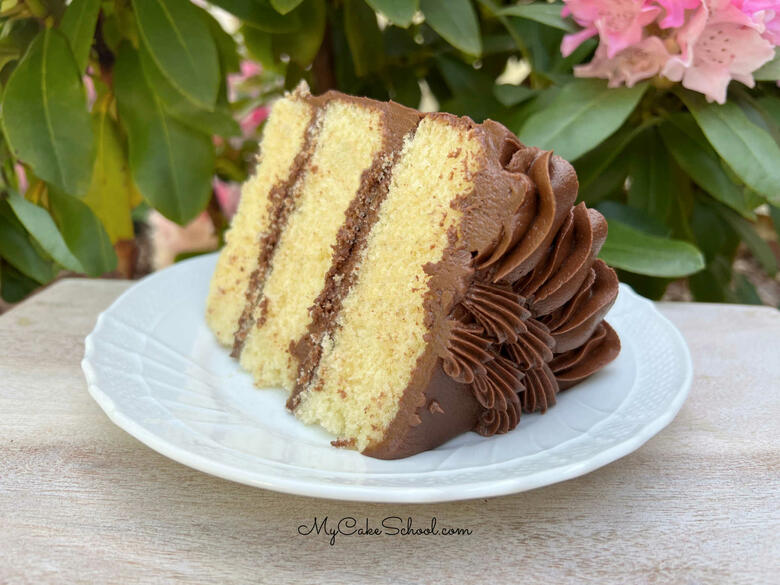
Table of Contents
How to Make Yellow Birthday Cake
You can find our full, printable cake recipe below. Here is a quick rundown of our steps!
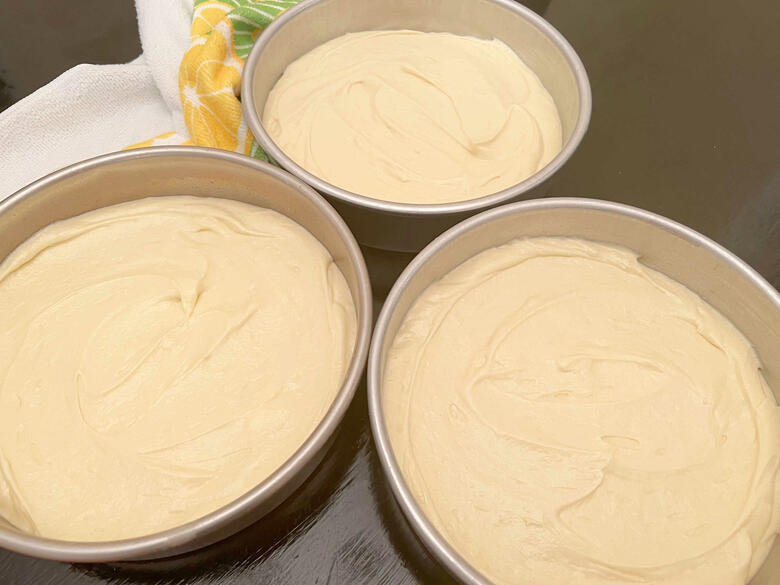
Preheat the oven to 350 degrees, grease and flour three 8 inch x 2 inch round cake pans. (You could use 2 cake pans for slightly thicker layers if you would rather, but we like the additional layer filling.)
Combine Flour, Leavening & Salt: In a medium sized bowl, add the flour, baking powder, and salt. Whisk to blend for 30 seconds. Set aside.
Combine Wet Ingredients: In another bowl or measuring cup, combine the sour cream, milk, oil, and vanilla extract.
Cream Butter & Sugar: In the bowl of your mixer, beat the softened butter until smooth. Gradually add the sugar and beat on medium speed for 3-5 minutes until fluffy and lightened in color.
Whole Eggs & Egg Yolks: Add the 3 whole eggs and 3 egg yolks one at a time, mixing until the yellow of the yolk blends in.
Alternate Adding Wet and Dry Ingredients: With the mixer on low speed, add the flour mixture and the sour cream mixture alternately, beginning and ending with the flour mixture (3 additions of dry ingredients, 2 of wet). Mix until combined and smooth- approximately 20-30 seconds after last addition.
Time to Bake! Divide the cake batter between the three prepared pans and bake at 325 degrees for 28-30 minutes or until a toothpick inserted into the center comes out clean or with just a few moist crumbs attached.
Chocolate Buttercream Frosting
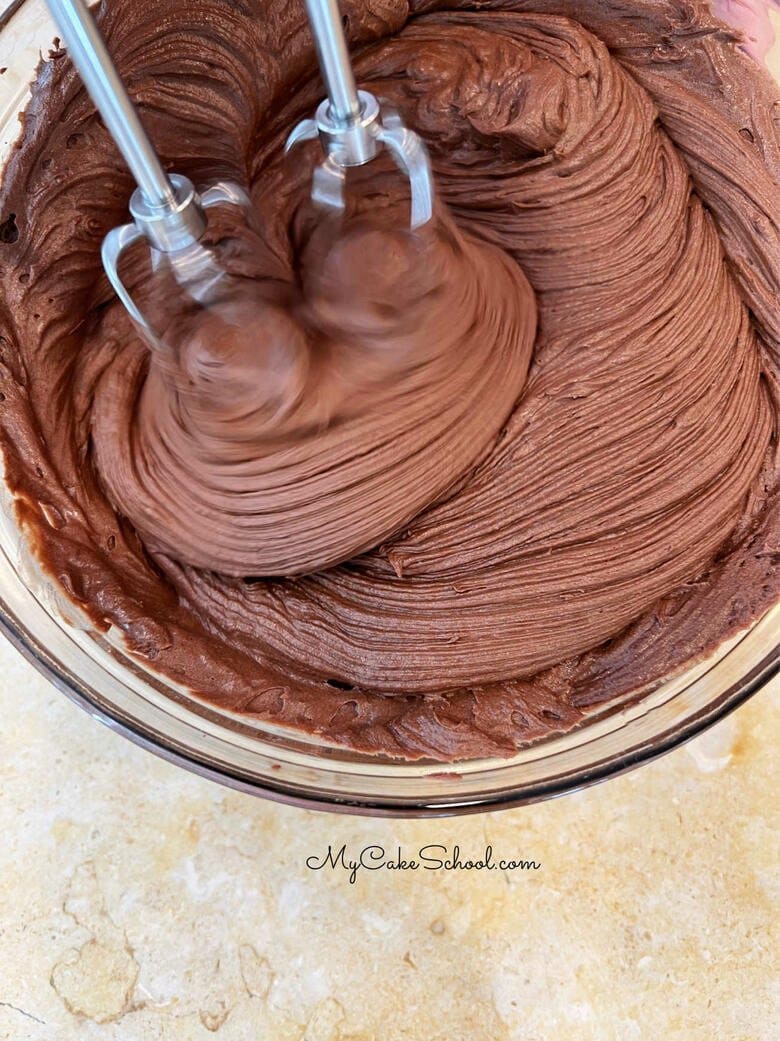
Today's Chocolate Buttercream Frosting comes together in no time! It has more cocoa powder than our usual Chocolate Buttercream, and so the color is darker and the flavor is more rich.
This frosting is amazing with the yellow birthday cake layers. Here is a quick rundown of our steps:
- In a saucepan over low heat, melt the butter. Stir in cocoa powder
- Pour the mixture into the mixing bowl. With the mixer on low speed, add the powdered sugar and milk, alternating the two. Reserve a few Tablespoons milk.
- Add the vanilla. Mix on medium speed for 4 to 5 minutes until frosting is smooth and creamy.
Not only is this rich chocolate frosting delicious, but it is also the perfect consistency for piping.
As with any of our buttercream recipes, if the frosting is too thick, just add a touch more milk. If the frosting is too thin, add a bit more powdered sugar.
Assembling and the Cake
- Place the first cake layer on the pedestal or cake plate. Spread with chocolate frosting. Next, add the second layer and repeat.
- Top with the third yellow cake layer and fill in any gaps between the layers with frosting as needed.
- Crumb coat the cake- this is a thin layer of frosting. At this point I like to chill the cake in the freezer for about 10-15 minutes to firm everything up before applying the final coat of frosting.
Decorating the Cake
- Decorate the cake however you like! Here is what I did:
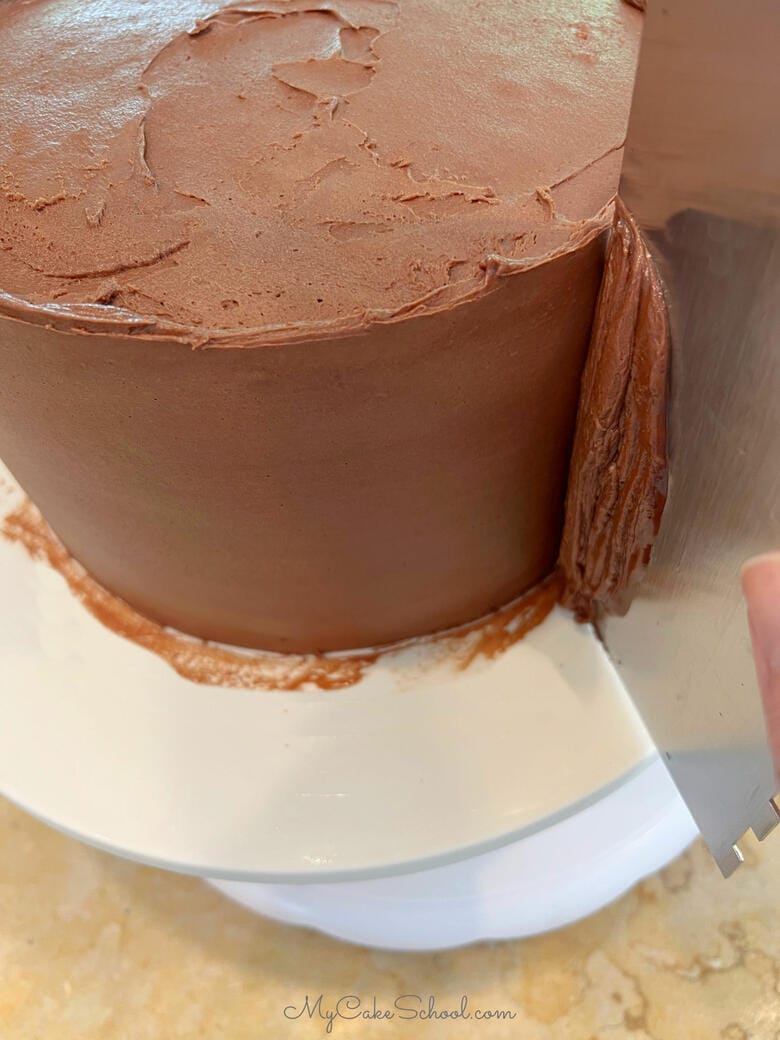
- After applying the second coat of frosting, I rotated the cake on a turntable as I smoothed it with a bench scraper.
- I like to heat my bench scraper under very hot water for this step. It slightly melts the top layer of frosting for a smoother finish.
- Neaten up the top edge of the cake by smoothing any excess frosting toward the center of the cake with an offset spatula and lift off any as needed.
- (Another popular technique for cleaning up excess frosting buildup around the top edge of the cake is to freeze the cake for 15 minutes and then slice of the excess frosting with a heated knife.)
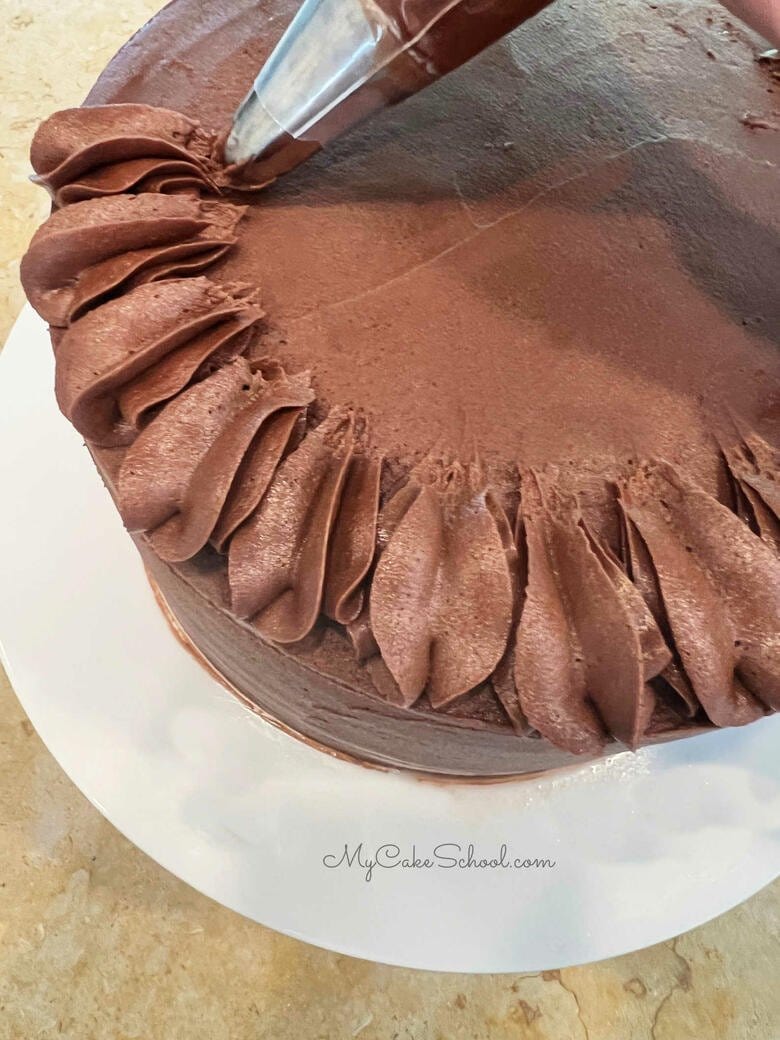
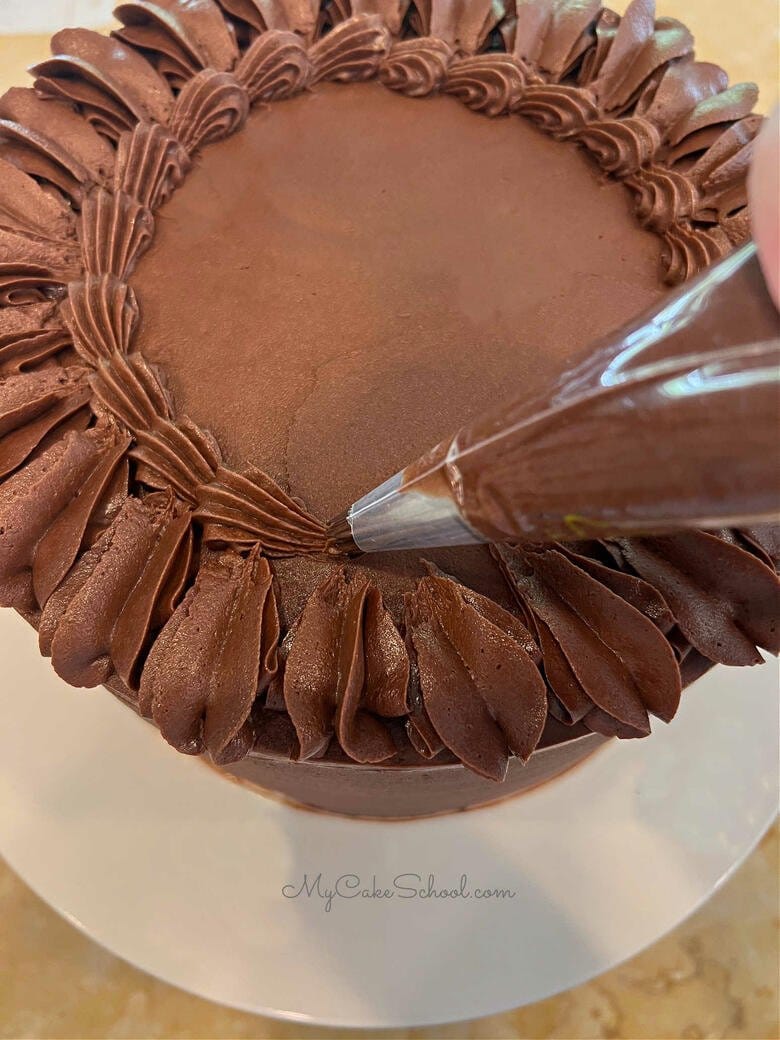
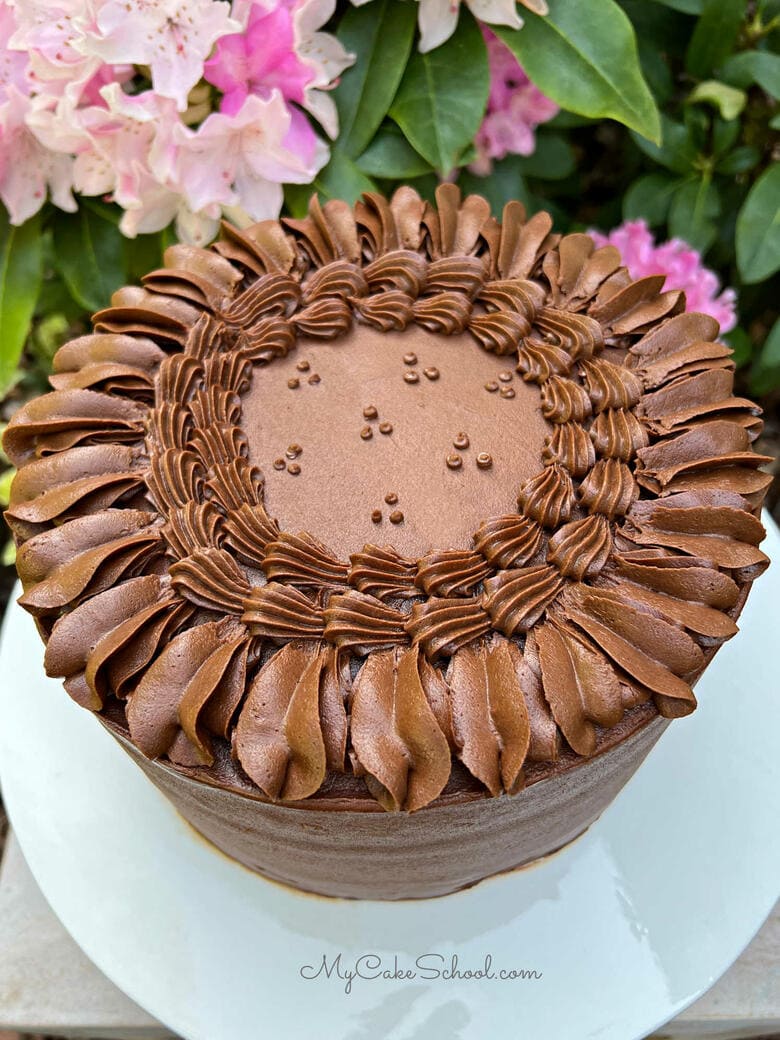
- I made a top border of large shells piped with a 2D piping tip as well as smaller shells piped with a tip 21. I added little dots on top of the cake also with a piping tip 2
You may like to check out our tutorial on piping with star tips for more details on piping buttercream shells, etc.
Recipe FAQs
Thanks so much for stopping by! We hope that you'll give this Yellow Birthday Cake a try.
Make sure to also check out our other Cake Recipes, which includes cake recipes from scratch as well as cake mix recipes!
Also, if you are interested in Cake Decorating, we have hundreds of free cake decorating tutorials!
You'll find everything from how to make a cake, how to frost a cake, to themed birthday cake ideas, designs for baby shower cakes, and more!
Have you made this? We would LOVE for you to leave a ⭐️ rating as well as a comment and photo below! We really appreciate your feedback!
Yellow Birthday Cake
Ingredients
For the Yellow Cake Layers
- 2 sticks unsalted butter, slightly softened (226g) unsalted butter, slightly softened
- 2 cups sugar (400g)
- 3 large eggs, room temperature (if in a hurry, place the eggs in a bowl of warm water for 5 minutes)
- 3 additional egg yolks room temperature
- 1 cup sour cream (we use full fat) (242g)
- ½ cup milk (we use whole milk) (120g)
- 2 teaspoons vanilla extract (8g)
- 3 cups cake flour *See substitution below (342g)
- 3 teaspoons baking powder (12g)
- ½ teaspoon salt (4g)
- ¼ cup vegetable oil (we use canola oil) (54g)
For the Rich Chocolate Buttercream
- 2 sticks unsalted butter, softened 226g) unsalted butter
- 1 ¼ cup unsweetened cocoa powder (108g)
- 6 cups powdered sugar (690g)
- ½ cup plus 2 Tablespoons milk or cream ( add more milk if needed or more powdered sugar if too thin) (Add additional milk in small amounts as needed for desired consistency. )
- 2 teaspoons vanilla extract (8g)
Instructions
- Preheat the oven to 350 degrees F. Grease and flour 3 (8x2) inch or 2 (9x2) inch round cake pans. We like having 3 layers because we like more filling.
- In a medium sized bowl, add the flour, baking powder, and salt. Whisk to blend for 30 seconds. Set aside.
- In another bowl or measuring cup, combine the sour cream, milk, oil, and vanilla extract
- In the bowl of your mixer, beat the softened butter until smooth. Gradually add the sugar and beat on medium speed for 3-5 minutes until fluffy and lightened in color.
- Add the 3 whole eggs and 3 egg yolks one at a time, mixing until the yellow of the yolk disappears.
- With the mixer on low speed, add the flour mixture and the sour cream mixture alternately, beginning and ending with the flour mixture (3 additions of dry ingredients, 2 of wet). Mix until combined and smooth- approximately 20-30 seconds after last addition.
- Bake at 350 degrees for 25-28 minutes or until a toothpick inserted into the center comes out clean or with just a few crumbs attached. Let the cakes cool 5-10 minutes, then turn out.
For the Rich Chocolate Buttercream
- In a saucepan over low heat, melt the butter. Take off the heat and stir in cocoa powder. Stir until well combined and smooth.
- Pour the mixture into the mixing bowl, allow to cool a bit. With the mixer on low speed, add the powdered sugar and milk, alternating the two.
- Add the vanilla. Mix on medium speed for 4 to 5 minutes until frosting is smooth and creamy. If the frosting is too thick, add a tablespoon or two more until you reach desired creaminess.
- Makes 5 ½ cups frosting
Decorating the Cake
- Place the first cake layer on the cake plate or pedestal and spread with frosting. Repeat for the next two layers and crumb coat (thin coat of frosting).
- At this point I like to chill the cake 10 minutes in the freezer (or longer in the refrigerator) to firm things up before applying the final coat of frosting.
- Add the final coat of frosting. If you are going with a smooth finish, you can run a bench scraper or spatula around the sides of the cake as you rotate it. (I heat my bench scraper under hot water & dry it before smoothing) Clean up the top edge as needed, removing excess frosting.
- I added a piped design of shells using a large 2D star tip and a smaller tip 21 star tip.
Very pretty! Looks and sounds delish! :-)
Hi can I use yoghurt as a substitute for sour cream ?
Hi Monica, You can use yogurt, Greek yogurt is the first choice but you could also use full fat plain or vanilla yogurt.
Yum! This is my favorite cake. And it happens to be my birthday next week.
This cake recipe was amazing and delicious! I just made for my daughter’s 3rd birthday. Thank you!!!
Hi Kendall! I'm so glad that you all enjoyed it. Thanks for your review!
Oh. My. Goodness. I don't know WHY I didn't search your Yellow Cake Recipe FIRST!!!
I made 3 different yellow cake recipes this weekend searching for the PERFECT one and the fourth time around I thought, what does My Cake School site have for recipes? This cake recipe is tha' bomb!! It's perfect in every way. The sour cream is absolutely the best ingredient for moistness. I added colorful jimmies (bride requested) and I tweaked the flavor a little bit by adding a little more vanilla and a butter/vanilla emulsion. You ladies are THE BEST!! LOVE YOUR RECIPES!! I'll always go to you first after this!!! Thank you so much!
Lila! I don't know how we missed your post so long ago but thank you so much for your feedback and kind words! So glad that you enjoyed it! xo
You perfected my favorite cake, I have been searching for this recipe the whole night.
We're so happy to hear it!