Buttercream Palette Knife Painting
Today I'm going to demonstrate the beautiful technique of buttercream palette knife painting!
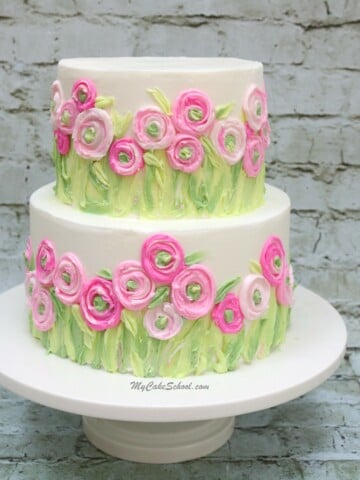
We love floral cake designs as well as frosted cakes with lots of texture. In this cake tutorial, I'm going to show you how to create a gorgeous buttercream floral design without using any piping tips!
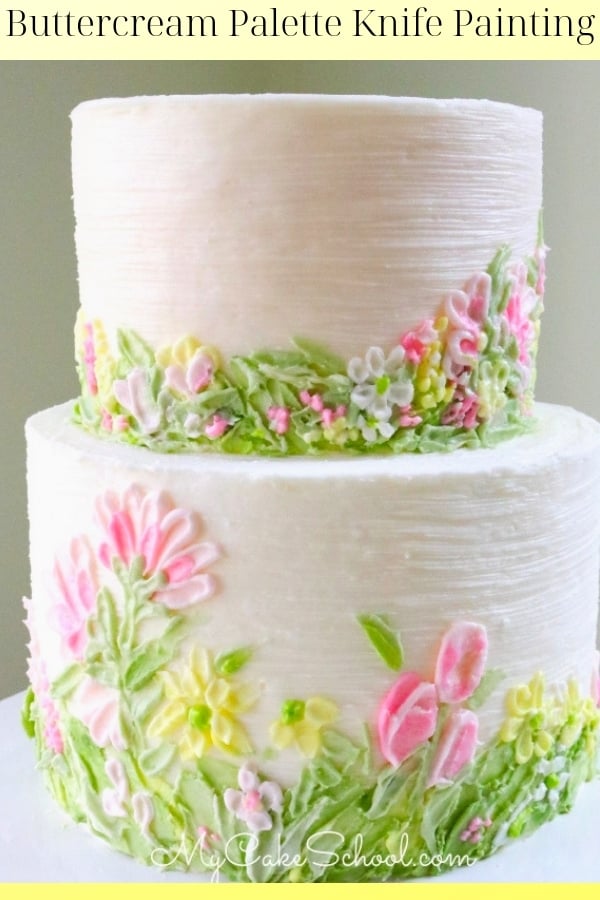
Table of Contents
Why we Love It
There are so many reasons to love this buttercream palette knife painting cake design! Here are just a few:
- No Piping Tips Needed!
- Elegant and so versatile
- The design can easily be adapted to cakes of any size or shape!
- Perfect for those searching for birthday cake ideas, bridal shower cakes, and more!
Adding Texture to Buttercream
The buttercream texturing techniques that you will learn in today's video tutorial are so beautiful, yet very simple to learn and recreate.
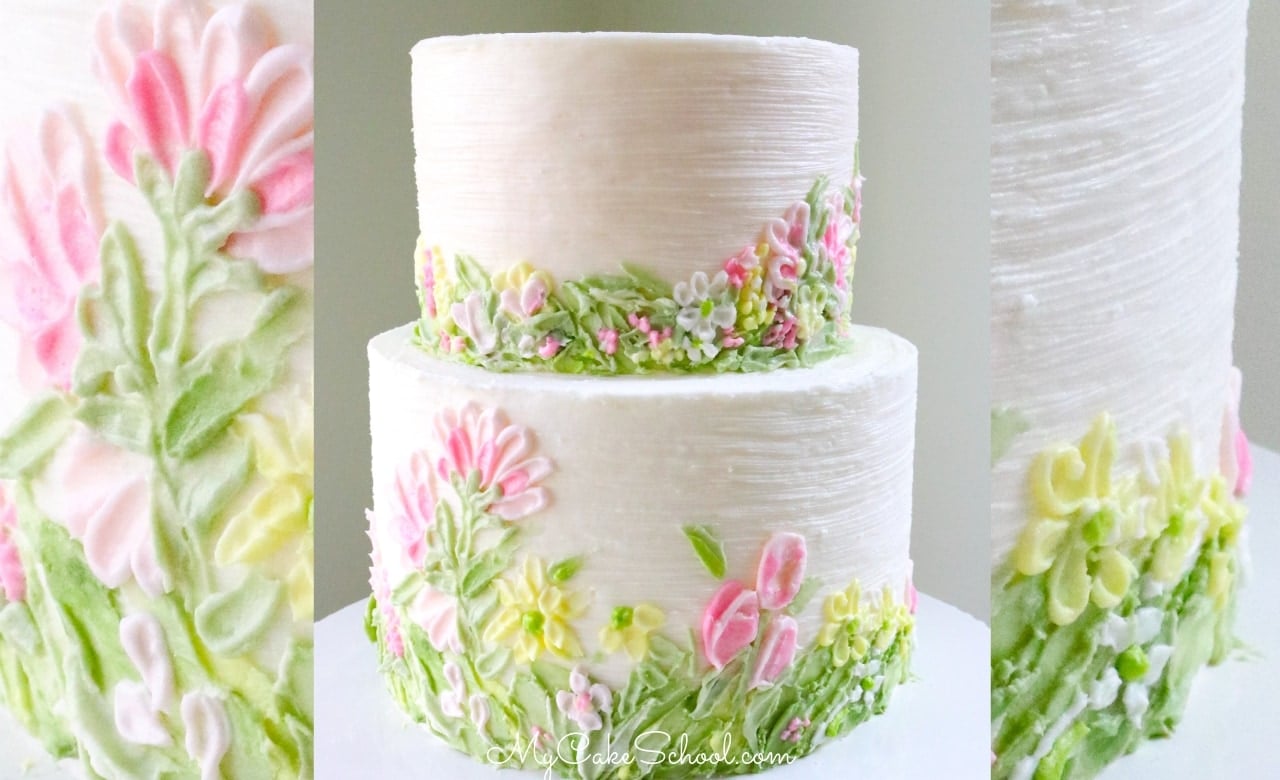
This colorful palette knife floral design looks just like a painting.
In addition to the palette knife flowers, we also demonstrate how to create fine textured lines in buttercream using a silicone pastry brush.
We are always in search of new, fun ways to add texture to buttercream and this method is just about as easy as it gets!
Materials for Buttercream Palette Knife Painting :
In this tutorial, our tier sizes were 8 inch and 6 inch. As usual, each tier is resting on its own cardboard cake circle cut down to size. The top tier is supported by 4 bubble tea straws from beneath (cut to the height of the bottom tier).
Buttercream Frosting: Choose your favorite! We used our Fluffy Vanilla Buttercream Recipe, but our classic Vanilla Buttercream is great too!
Silicone Pastry Brush (for texturing our tiers)
Palette Knives of Choice- We bought ours locally from Joann Fabric (as we mentioned, you could also achieve a similar look from offset spatulas)
Coloring Gels: We used Americolor Deep Pink, Avocado Green, Electric Green, and Lemon Yellow
Disposable Piping Bags
Miscellaneous- Plastic Spoon (optional) we used for the tulips, turntable (helpful), bench scraper (helpful for smoothing the frosting before applying texture), small offset spatula, parchment or waxed paper, disposable piping bag
Notes for Buttercream Palette Knife Painting:
If adding texture to our tiers as I did, go ahead and use your pastry brush immediately after frosting your tiers so that the frosting doesn't crust before you have a chance to apply texture.
You may find it helpful to chill your tiers to firm up the buttercream before applying the flowers.
A soft (not runny) consistency of frosting is best for painting. You can add just a bit more milk or cream to your frosting if it seems too thick.
I kept my main colors of buttercream in small containers with plastic wrap or a dampened paper towel on top so that they wouldn't crust over while I worked.
I find it easiest to pipe dots of buttercream first and then use the palette knife to spread it/add texture.
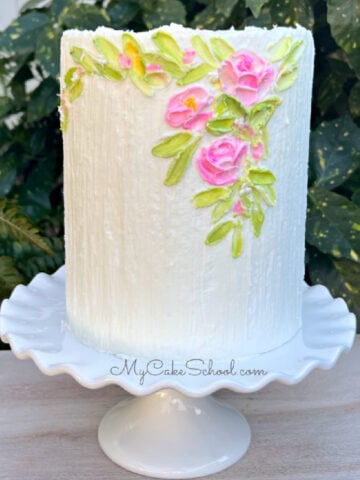
More Palette Knife Buttercream Cake Designs
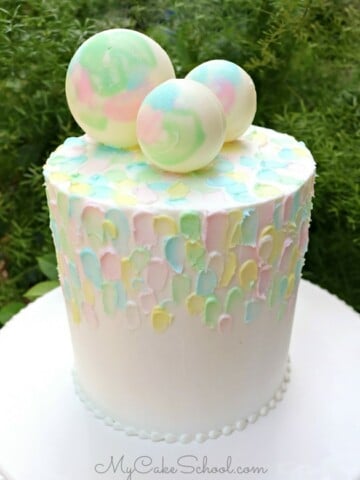
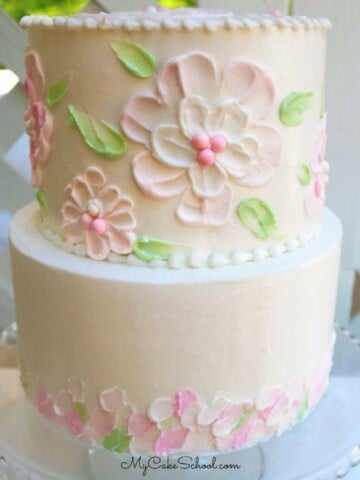
We've made a few more free cake tutorials that feature textured buttercream designs with a palette knife painting feel. Make sure to check these out!
Cake Recipes
We have so many Cake Recipes that would be perfect with this cake design. We have cake recipes from scratch as well as cake mix recipes!
Some of our favorites are Vanilla Velvet Cake, White Velvet Cake, Lemon Cake Recipe from Scratch, Raspberry Cake, and Marble Cake.
We also have so many. more cake designs that are perfect for birthdays, bridal showers, and more! Make sure to check out our full cake decorating section for all of our tutorials!
Have you made this? We would LOVE for you to leave a ⭐️ rating as well as a comment and photo below! We really appreciate your feedback!
Buttercream Palette Knife Painting
Equipment
Ingredients
- Cake Recipe of Choice We used our Vanilla Velvet Cake Recipe to make 8 inch and 6 inch tiers.
- Buttercream Frosting: Choose your favorite! We used our Fluffy Vanilla Buttercream Recipe but our classic Vanilla Buttercream is great too!
- Silicone Pastry Brush for texturing our tiers
- Palette Knives of Choice (As we mentioned, you could also achieve a similar look from offset spatulas)
- Coloring Gels We used Americolor Deep Pink, Avocado Green, Electric Green, and Lemon Yellow
- Disposable Piping Bags
- Miscellaneous- Plastic Spoon optional we used for the tulips, turntable (helpful), bench scraper (helpful for smoothing the frosting before applying texture), small offset spatula, parchment or waxed paper, disposable piping bag
Instructions
- If adding texture to your tiers as I did, use your pastry brush immediately after frosting your tiers so that the frosting doesn't crust before you have a chance to apply texture.
- You may find it helpful to chill your tiers to firm up the buttercream before applying the flowers.
- A soft (not runny) consistency of frosting is best for painting. You can add just a bit more milk or cream to your frosting if it seems too thick.
- I kept my main colors of buttercream in small containers with plastic wrap or a dampened paper towel on top so that they wouldn't crust over while I worked.
- I find it easiest to pipe dots of buttercream first and then use the palette knife to spread it and add texture.
Notes
Loved This Recipe?!
Enjoy the Video!
Have you made this? We would LOVE for you to leave a ⭐️ rating as well as a comment and photo below! We really appreciate your feedback!

Just beautiful! Can't wait to try this!
Very inspiring! I sadly gave up decorating my cakes because of arthritis.
But, even if I do squeeze a bag, for this, it’s softer buttercream.
Do you have other cake decorating ideas that don’t involve lots of hand squeezing? I wish I could make things like your fondant unicorn, but I can’t.
Me pasa lo mismo con la artritis, prueba decorar con un butter suizo que es más suave, solo vas enfriando en cada capa que aplicas , seguro te será más fácil, tanto con la espátula como con duyas. Espero te sirva el consejo .
Your cakes are beautiful. I have been thinking about this technique and after seeing your videos it convinced me to do so. Thank you for explaining every flower and technique in detail. I loved that you took the time to explain the process too. Excellent job!
Thanks so much Rose. I'm so glad that you enjoyed the video! ;0)
So Beautiful!! You are an excellent teacher. I feel very inspired to learn this new skill, at my age of eighty one years old. Thank you so much!