How to Make a Cake

Jump To Recipe Jump To Video

 Today, I'm going to show you how to make a cake! If you are new to making or decorating cakes, this video is a great place to start.
 

What You Will Learn

In this video, we'll show you how to successfully mix & bake a cake, how to wrap and freeze cake layers, trim cake layers, & settle the cake.

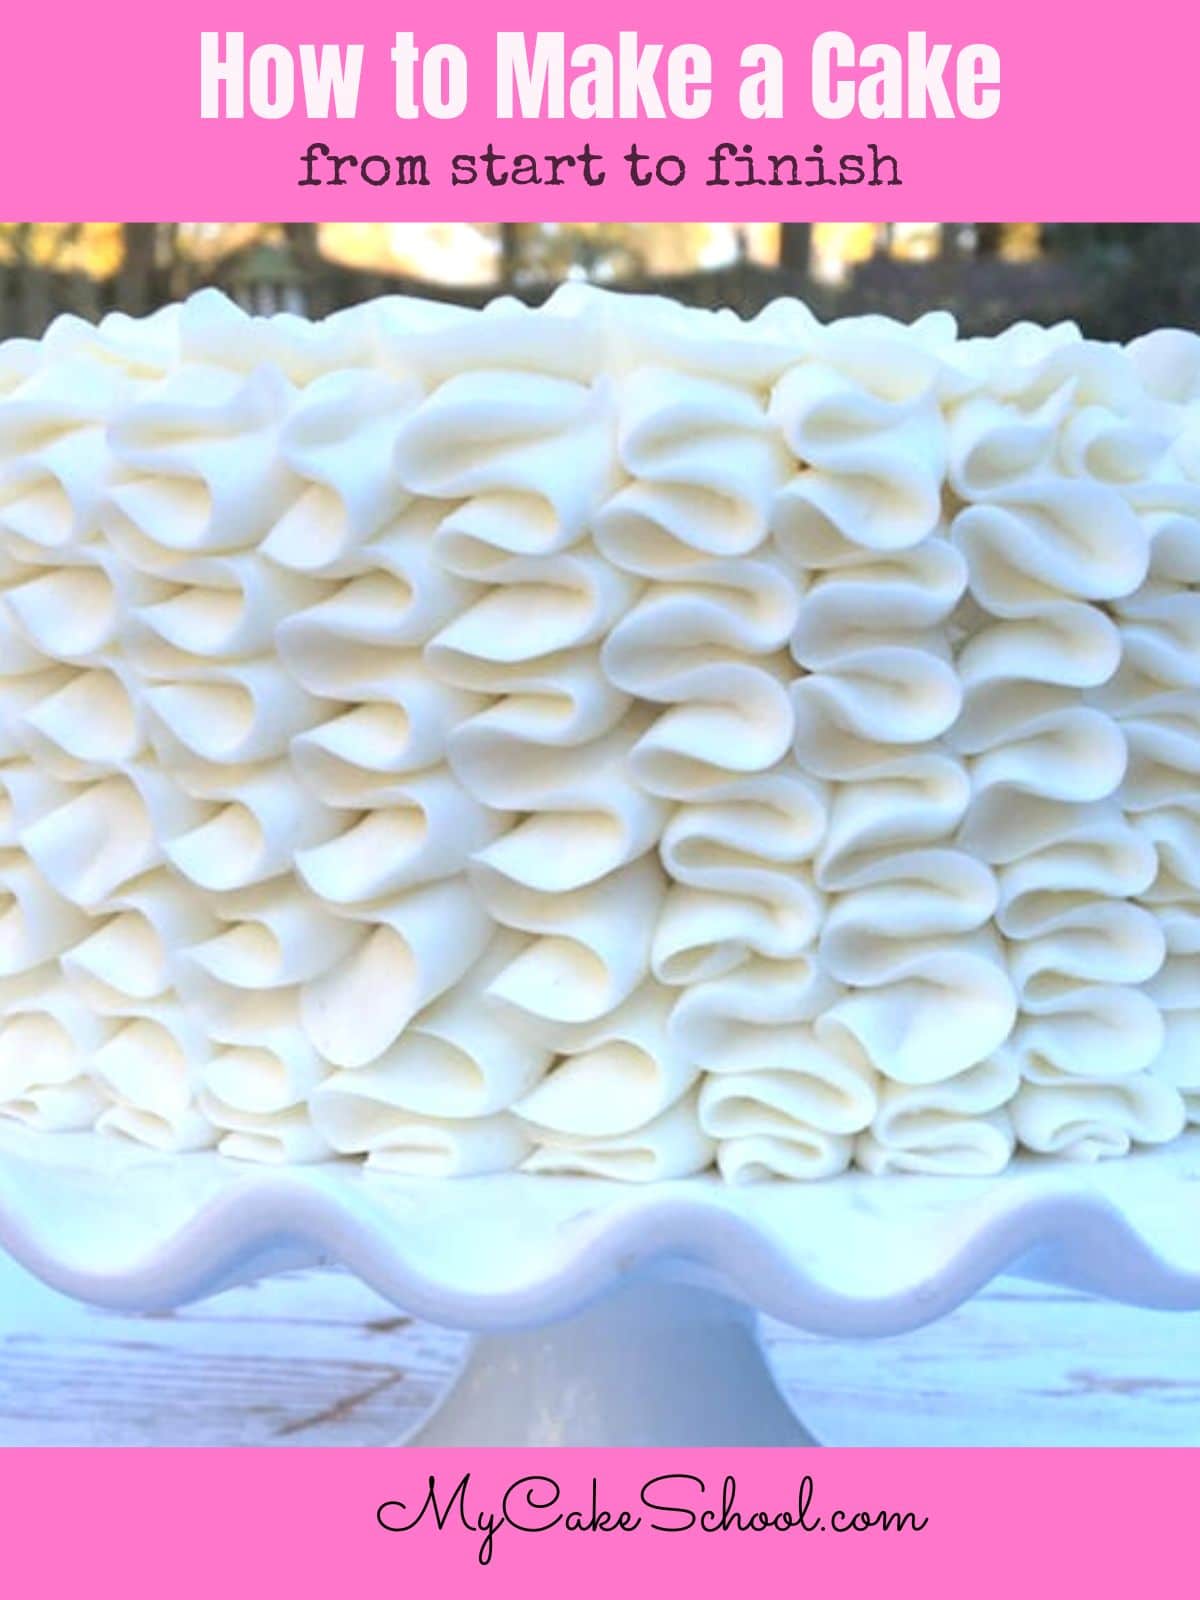
Then, I'll show you how to apply the crumb coat & pipe a simple ruffled buttercream design.

We'll show you key baking and cake decorating tips and tricks that will help you to become a better baker and cake decorator!

You can apply most of these methods to any cake that you are preparing. Have fun experimenting!

Part One: mixing, baking, and freezing the layers.


Part Two: Settling, Crumb Coating and decorating!


*Please find our additional notes, RECIPE, and materials beneath the video. Enjoy!


Materials: How to Make a Cake

We used THIS VERSION of our White Almond Sour Cream Cake Recipe (conventional creaming method)

Buttercream

Two 8" cake pans

Digital Scale (optional but helpful)

Wilton 104 piping tip

Cardboard cake circle

How to Make a Cake: Helpful Tips

Here is our process of making & baking the cake:

For the most accurate results, weigh your ingredients..especially flour (assuming the recipe includes weight amounts)

Divide the batter among your prepared pans (coated with vegetable shortening or flour, lined with waxed paper or parchment circle)

We like heavy duty aluminum pans (Magic Line is our favorite.  Fat Daddio's is a good option too.)

How do you know when the Layers are Done?

The layers are done when they spring back when the center is lightly touched...or the toothpick test comes out clean (or with just a few crumbs.)

After removing the cake layers from the oven, place pans on elevated wire rack for about 10-15 minutes before flipping cake layers onto the foil-wrapped cardboard cake circles. (we wrap the cake boards so that we can re-use them later).

Wrapping and Freezing the Cake Layers

Wrap and freeze the layers while they are still a bit warm--we find that this results in a cake that is even more moist. 

Wrap the layer (along with the cake board it is resting on) in plastic wrap followed by aluminum foil.

How Long Can Cake Layers be Frozen?

The general rule of thumb is that as long as they are properly wrapped, cake layers can be frozen for up to three months.

(Buttercream in airtight containers can be frozen for three months as well!)

Thawing the Frozen Cake Layers

To thaw the cake layers, move them from the freezer to the kitchen counter, still wrapped. Leave the wrapping on at least until partially frozen (around 30-45 minutes).

Some decorators like to assemble cakes when the layers are partially frozen as they are less fragile and easier to handle.

Trimming the Cake

Using a serrated knife, level the domes off of the cake layers if needed. When the cake layers are filled and stacked, you may see areas on the side of the cake that need a bit more trimming. Gently trim with a serrated knife.

Filling the Cake Layers

Place bottom cake layer on cake board, add filling filling or frosting. If you are using a very soft filling like whipped cream, it is a good idea to pipe a frosting dam first.   

You can do this by adding buttercream to a disposable piping bag and snipping the tip away. Outline the top of the cake layer (about ¼ inch from the edge). Then add your filling within the dam.

Repeat for your remaining cake layers.

Settling the Cake

Settling the cake is an optional step but one that we find to be helpful in preventing the bulges of frosting around the sides of the cake that can appear over time. This is especially noticeable when your cake is frosted with a smooth finish. 

To settle your cake, wrap the filled, unfrosted tier with plastic wrap & apply a weight to the top. This should add a light, steady pressure over the top of the cake.

The weight could be a smallish book or a cake pan or two. Settle the tier for at least three hours or overnight. If your cake filling is perishable, do the settling step in the refrigerator.

decorating the cake

Now that you know how to make a cake, it's time to learn how to decorate it as well!

After settling the cake, remove the weight and plastic wrap, and trim cake board down to size as needed.

Apply a crumb coat (thin coat) of frosting to the cake. Then follow with the final coat of frosting (or fondant). *I often chill my crumb coated cake tier for 10-15 minutes in the freezer before adding the final coat of frosting or fondant to firm things up. The exception is with all-over-piping designs as in today's video. I like to apply piping to a freshly crumb coated cake as it seems to attach better.

** If your smoothing method (Viva paper towel method or Roller Method for instance) requires a crusting buttercream, WAIT until cake is room temperature before applying the final coat of frosting. When crusting buttercream is applied to a cold cake, it takes much longer to crust. This only matters when using these specific smoothing methods.

Conventional Creaming Method vs. Reverse Creaming Method

You will notice as you scroll through some of our cake recipes that the order that we add the ingredients as well as the process that we use for mixing them together may differ from recipe to recipe.

Most of our cake recipes use either the conventional creaming method of mixing, or the reverse creaming method.

Conventional Creaming Method

In today's tutorial, we used the Conventional Creaming method which involves creaming the butter and sugar, adding the eggs, and then alternating between dry & wet ingredients (beginning and ending with the dry ingredients/flour mixture).

Most of our recipes use this mixing method and its likely the method that you are most used to.

This is thought by some to be a more forgiving technique than the reverse creaming (although I like both). I find that cakes that use this method are often a bit fluffier than cakes that use the reverse creaming method.

Reverse Creaming Method of Mixing

The Reverse Creaming method (also known as the hi-ratio or two stage mixing method) is used in our recipes from time to time.

The ingredients are the same, but are added in a different order. With this method, the dry ingredients and the sugar are mixed first. Then the fats and a portion of the liquids are combined with the dry ingredients, followed by the remaining liquids.

The result is a velvety cake with a finer crumb. **The Reverse Creaming method is meant for recipes that have a greater amount of sugar than flour (by weight).

Thanks for Stopping By!

Thanks so much for stopping by, we hope that you enjoyed the video! Now that you know how to make a cake, we hope you'll have fun experimenting with different recipes, cake designs, and more!


Leave a Reply

Your email address will not be published. Required fields are marked *

The maximum upload file size: 2 MB. You can upload: image. Drop file here

27 Comments

  1. Hi Tawanda, I am sorry you are having trouble. Tell me what you see when you try to view the video. If the page is not displaying properly you could try visiting the site in a different Browser ( if you are using Safari, you could try Chrome, Firefox or one of the others). Let us know if you continue to have problems.

  2. Hi! Was wondering whether i can use the reverse creaming method for butter cakes.
    Btw great video. Learn lots from you.