Mermaid Cake Tutorial
In this cake decorating tutorial, we're going to show you how to make an adorable Mermaid Cake! This mermaid cake design is sure to bring smiles!
Keep this cake design in mind for mermaid themed parties, summer birthday parties, pool parties, luaus, and more.
Make sure to check out our collection of Birthday Cake Ideas and Summer Cake Ideas too! There are so many cute cakes to try!
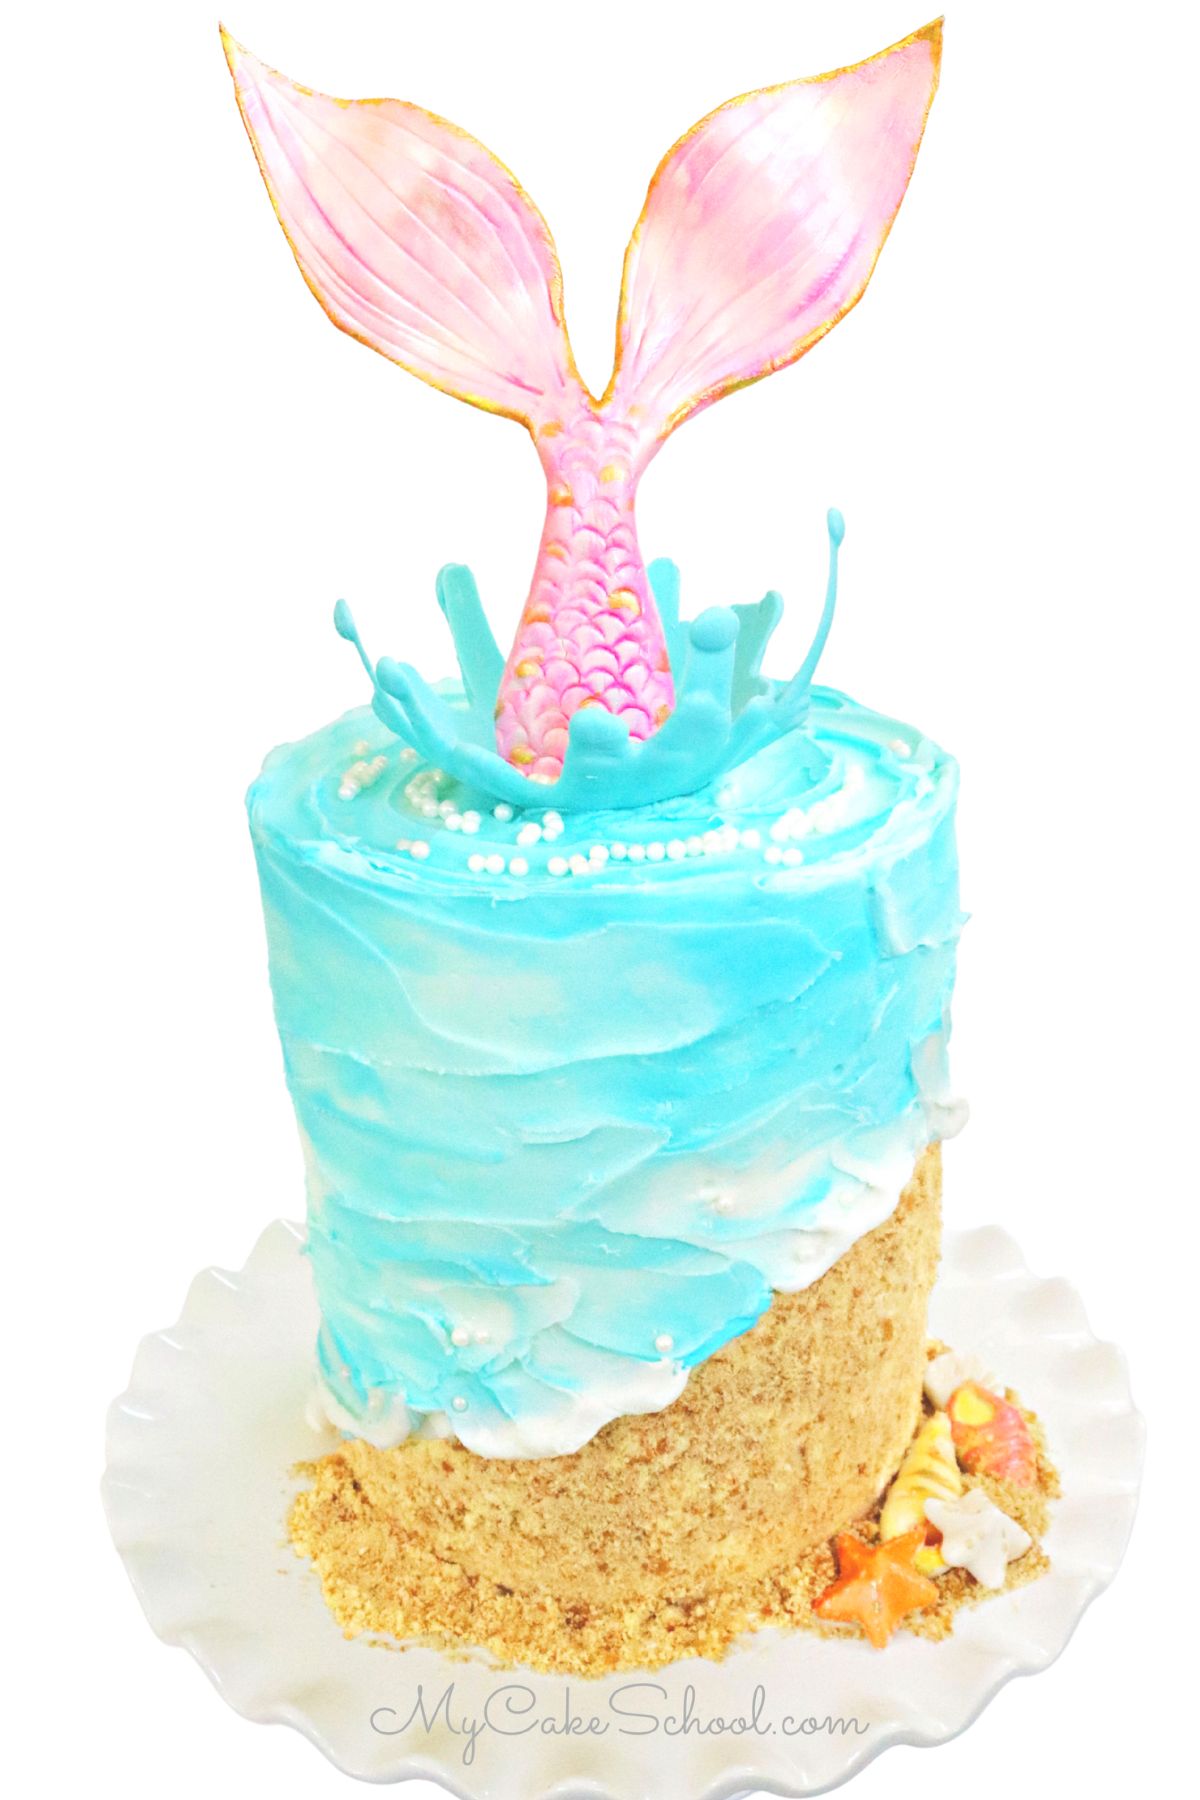
Table of Contents
Why we Love It
There are so many reasons to love this mermaid cake! Here are just a few!
- The large mermaid tail cake topper adds lots of heigh and dimension!
- Mermaid tail cake toppers are so easy to customize with different colors, textures, and movement.
- Beachy cake design around the sides is so simple to make with crushed vanilla cookies and vanilla buttercream!
Mermaid Cake Decoration
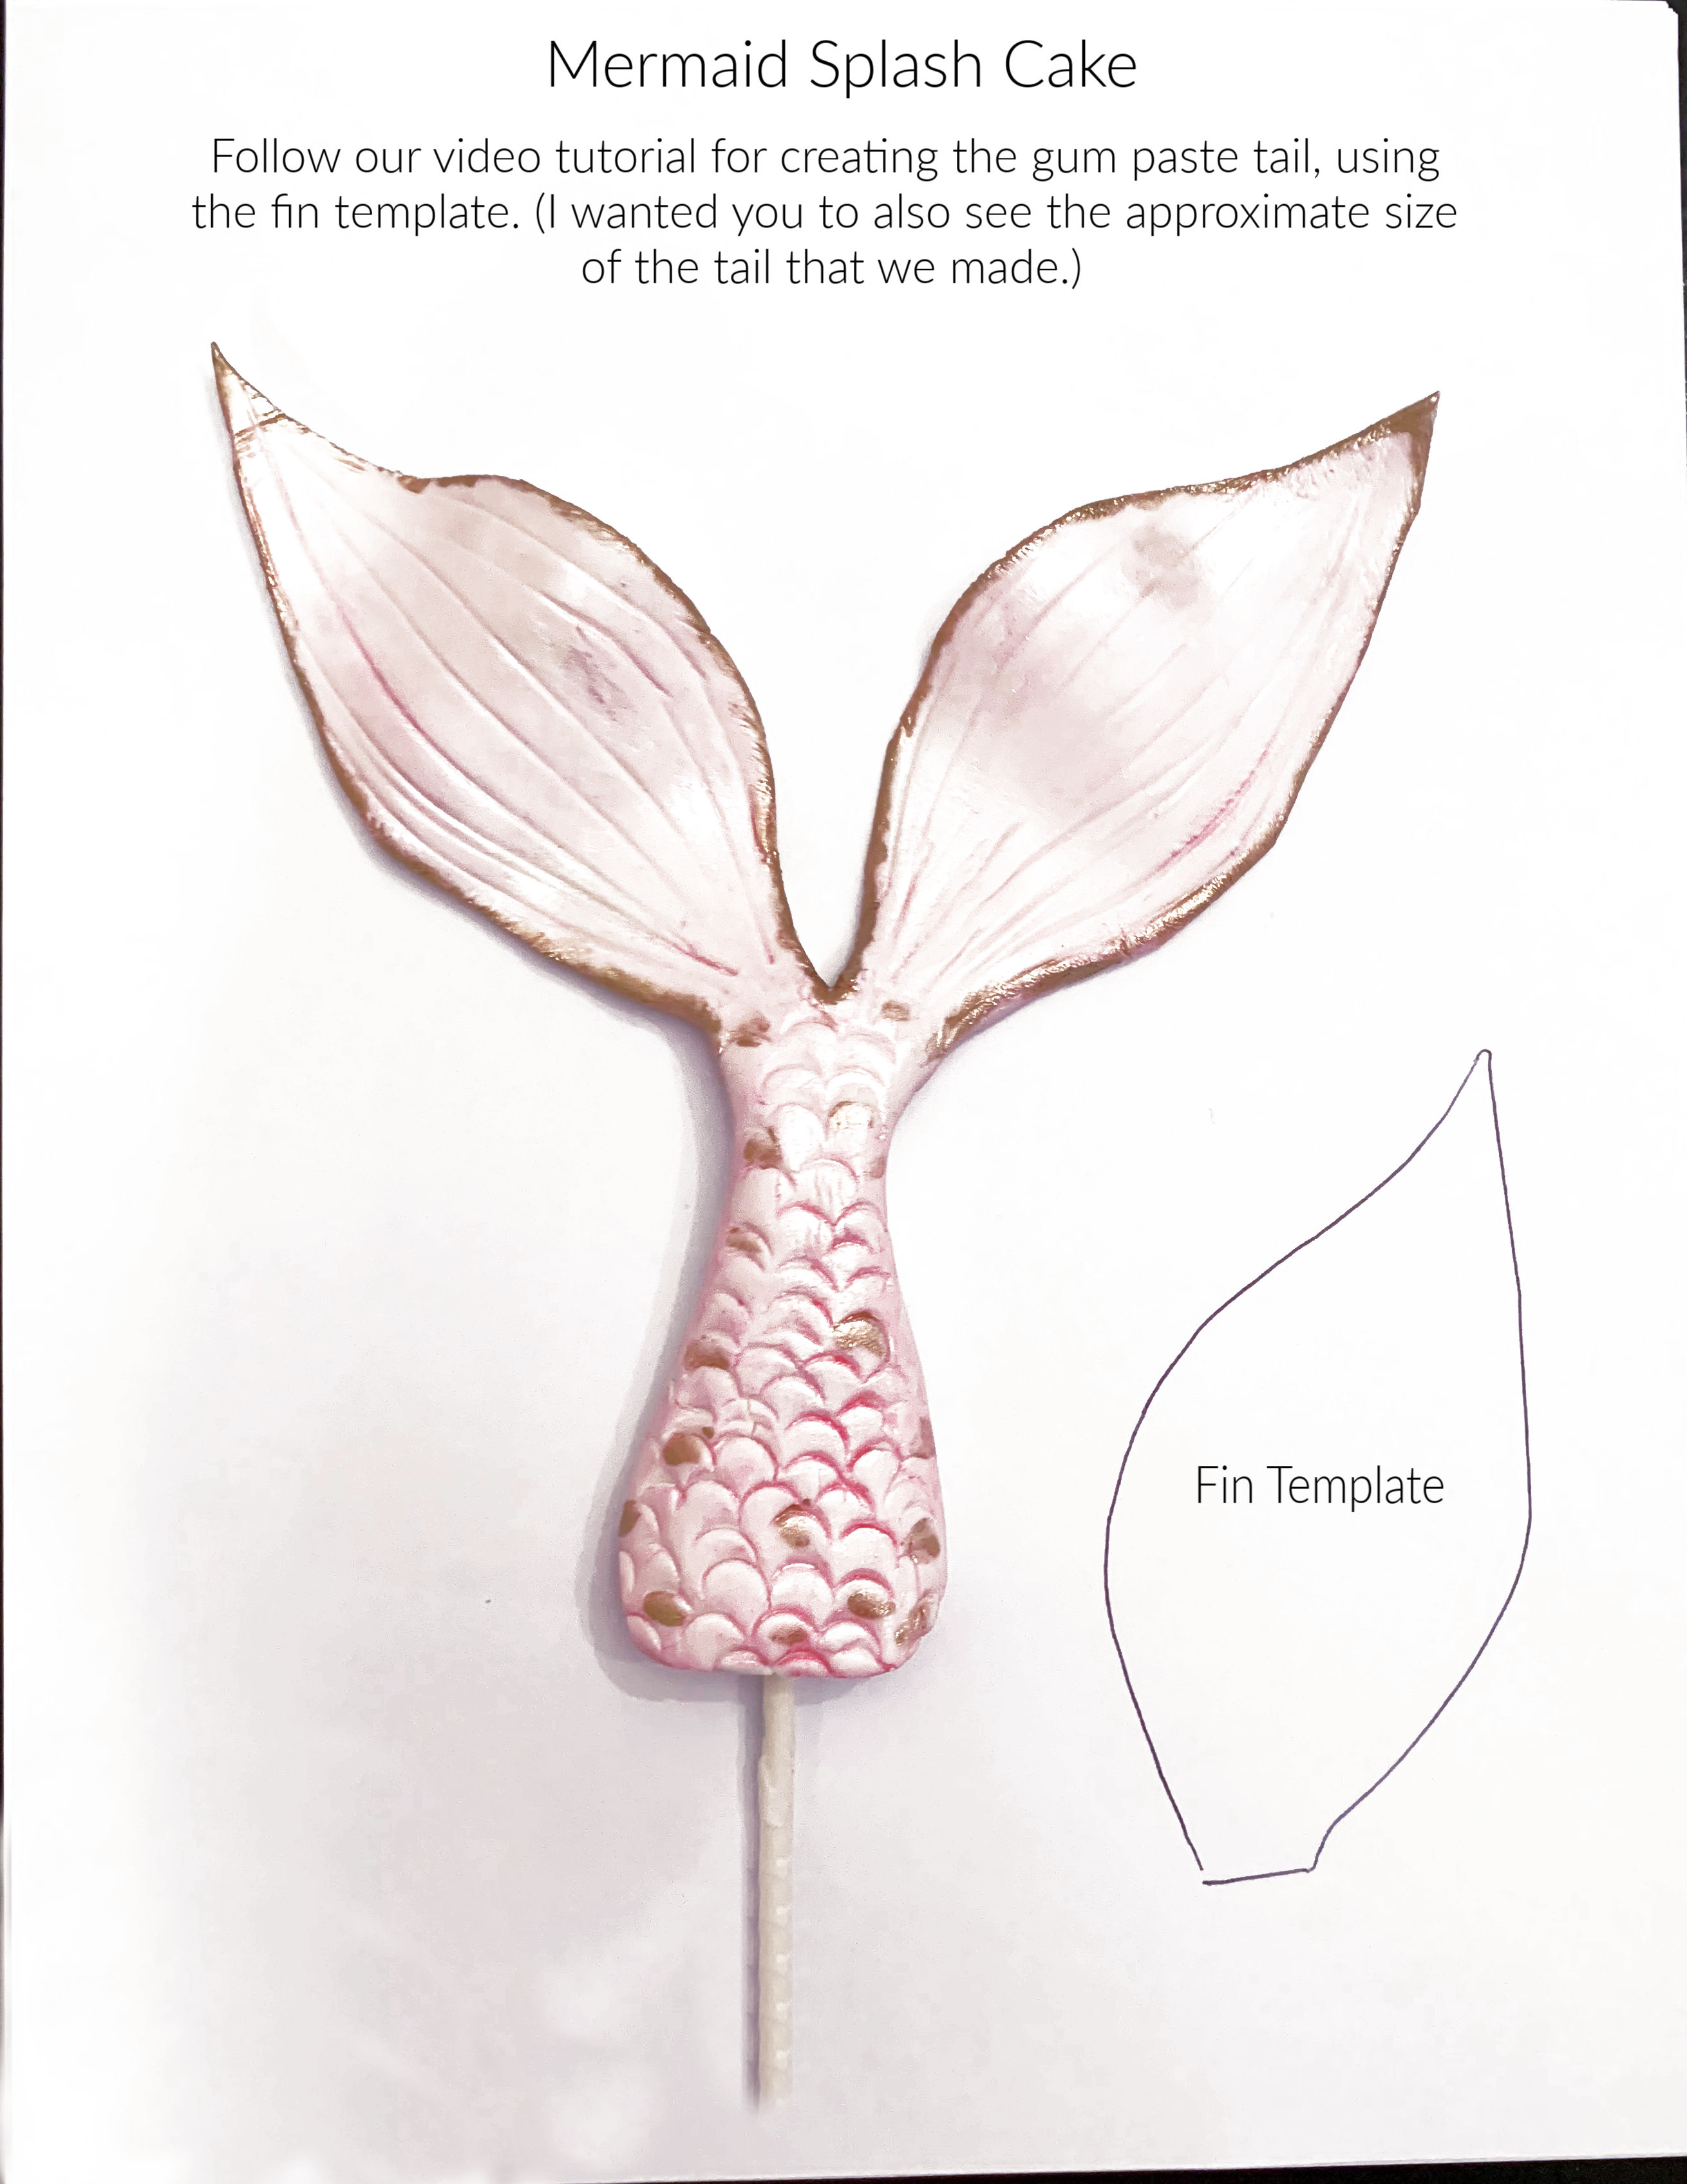
I'm going to show you how to create a fabulous mermaid tail from gum paste. Although you can make mermaid tails with a silicone mold (amazon has lots!), I like the option of making it however large I like, with a bit of movement too.
In addition to making a mermaid tail, I loved creating the sand and water cake design around the sides! We used crushed vanilla wafers for sand, and shades of blue buttercream for the waves. I love the look!
Keep this easy beach cake design in mind the next time you need a beachy birthday cake!
Materials for Mermaid Cake:
This design would work for all sorts of cake sizes, but we used a 6 inch double barrel cake design. (We used 4 cake layers total. There was a cake cardboard halfway up with 4 bubble tea straws beneath it for support.)
If you've never made a double barrel cake, you can see the whole process in Part 1 of our Carousel Cake Tutorial.
Mermaid Tail Template (You may not need this, but it's helpful for making sure the fins are equal in size)
Buttercream- I used our Fluffy Vanilla Buttercream recipe, but our Classic Vanilla Buttercream (or any recipe you like) is fine!
Vanilla Wafers for sand- 1 box- (we didn't use the entire box)
Coloring Gels: I used Americolor Sky Blue (for creating dark and light blue), Deep Pink, various shades for our shells at the bottom (orange, warm brown, white)
Lollipop Stick -anchor for mermaid tail cake topper
Piping Tips: I used a tip 10 for creating the scale impressions. (I didn't use any piping tips for actual piping) ;0)
Shell Silicone Mold (optional)- I got mine from Michaels.
Candy Melts for the splash- I used light blue mixed with a few white candy melts. You could also tint white candy coating with oil based candy color.
Cooking Spray
Balloon for the chocolate splash--Make sure to oil it well with cooking spray. Mine in the video was greased with shortening and either I didn't grease it enough or shortening isn't the best route because a few of my little drips stuck!
vodka or everclear (for painting the mermaid tail)
gold luster dust (optional)
pearl dust- optional- (I used CK Super Pearl). I dry dusted over the tail after the color dried for a little extra shimmer.
Miscellaneous: Disposable piping bags, bench scraper, small spatula, fondant rolling pin.
Alternatives to Chocolate Splash
Since making this mermaid cake tutorial, I've heard from some of our readers that have had trouble with the chocolate splash breaking (when the balloon is popped).
Aside from applying the chocolate fairly thick, and making sure to grease the balloon, chilling until very firm, and letting the air out fairly slowly, I'm not sure how to prevent breakage.
However, there are many other great options for the splash if you would prefer an alternative!
For instance, you can pipe buttercream waves around it using a ruffle tip (104 tip for example). You could also build up buttercream swirls around the base of the tail using an offset spatula.
Or, if you'd still like to use the melted blue candy coating, you can create several "splashes" on wax paper or parchment, chill in the freezer, and push them into the cake around the base of tail.
More Beach Cakes
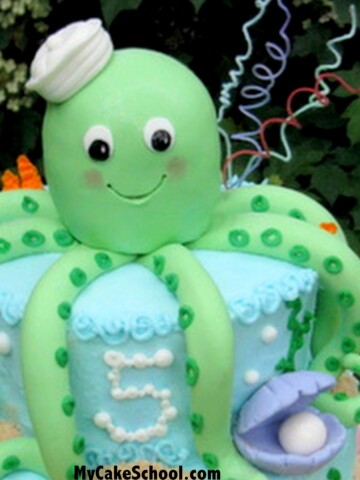
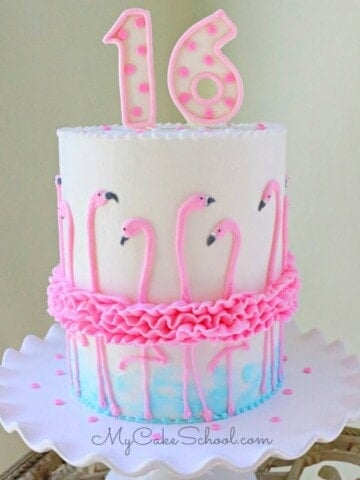
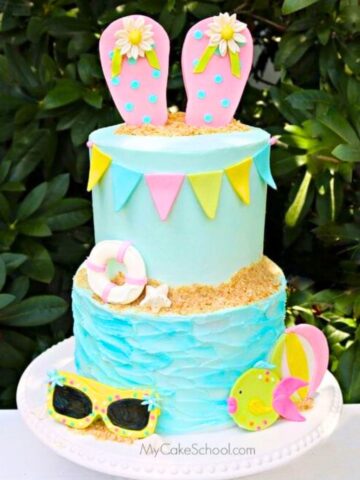
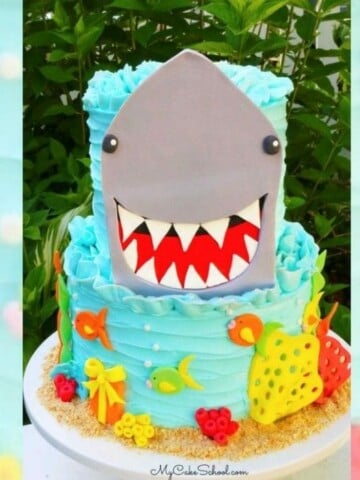
In addition to our mermaid cake, we have more fun beachy cakes that we'd love for you to check out! Some of our favorites are our Shark Cake, Flamingo Cake, Beach Cake, and Octopus Cake!
Enjoy the Video
Thanks so much for stopping by! Also, make sure to check out our full collection of Cake Recipes, including cake recipes from scratch as well as our cake mix recipes!
Some of our favorites are Vanilla Velvet Cake, Orange Cake, Strawberry Cake, and Raspberry Cake!
Have you made this? We would LOVE for you to leave a ⭐️ rating as well as a comment and photo below! We really appreciate your feedback!
Love it! Fun, fabulous and simple! :-)
Oh my Goodness, you never cease to amaze me! Beautiful!
Thank you, ladies! xoxo So glad that you like it!
WHY did I ever allow my membership to lapse? You ALWAYS deliver and worth every penny! My daughter chose mermaid theme for her B-day party. I knew just where to look!! Was the assembly pretty cut and dry? Apply the candy melt water,stick in the stick of the tail, and voila? I'm definitely making this for her party. Also, which gumpaste brand do you prefer?
Hi Brandy, hooray! Happy to have you as a member again and I'm glad that you are going to make this! -- Yes, since the splash is wide open at the bottom, the anchored tail just slides right in- super easy! ;0) -
I like Satin Ice gum paste. Let us know how it goes! ;0)
I love your tutorials! That darn splash was harder than it looked. Even with coating the balloon with cooking spray, the splash broke when breaking the balloon. I ended up covering the balloon with plastic wrap - that game the splash a bit of support when the balloon was popped.
Thank you!
Hi Mary! Your cake looks amazing! Thanks for the feedback on the balloon- great idea with the plastic wrap!