Vanilla Velvet Cake
Vanilla Velvet Cake is the perfect name for this incredibly moist, soft, melt-in-your-mouth cake with wonderful texture and vanilla flavor.
If you've been looking for a great go-to vanilla cake recipe, you are going to LOVE this one.
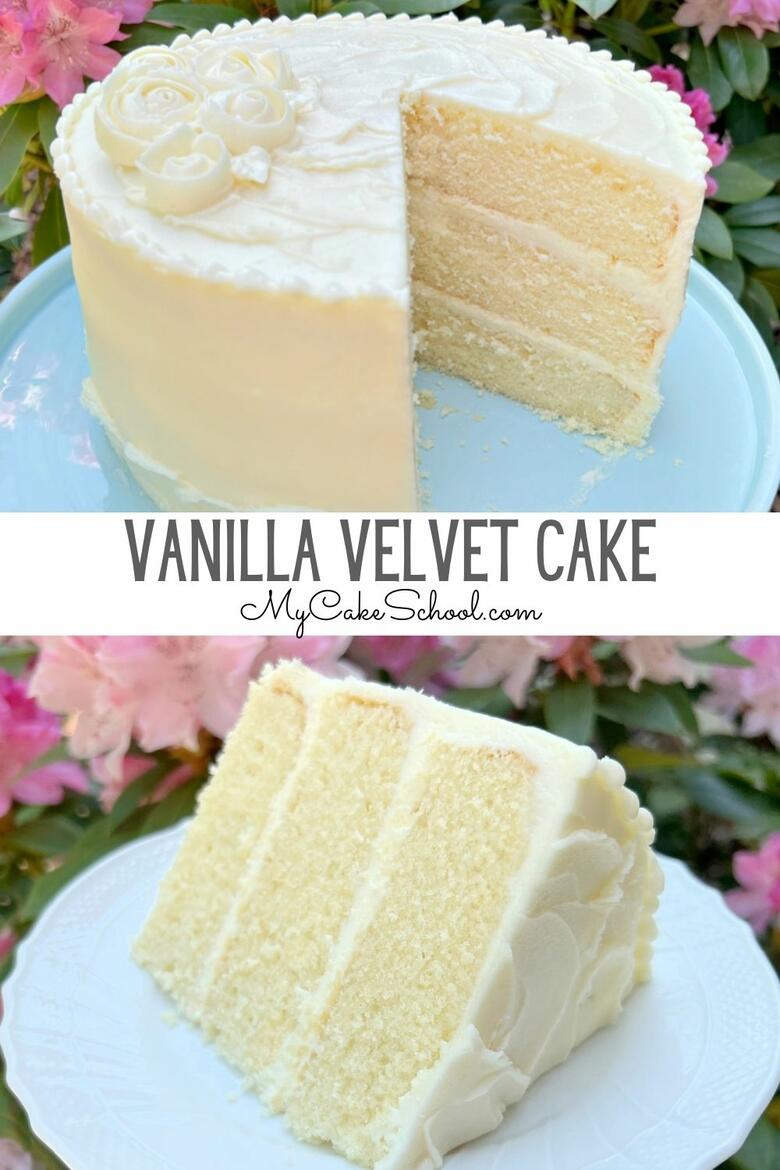
Table of Contents
Why We Love It
- The secret ingredient for our Vanilla Velvet Cake recipe is the block of cream cheese in the cake batter, which together with the buttermilk gives our cake added richness and a velvety soft texture.
- Perfect with any sort of filling, from lemon curd to homemade whipped cream, and more!
What does Cream Cheese do for a Cake?
Using a block of cream cheese in cake batter adds moisture, richness, and a lovely texture to cakes.
Cream cheese pound cakes, like our cream cheese pound cake and chocolate cream cheese pound cake, have been really popular for years. However, we've only recently started experimenting with using cream cheese in layer cake recipes.
Over the past few months, we've made several "cream cheese" cakes or velvet cakes (Lemon Velvet Cake , Almond Cream Cake, Homemade Strawberry Cake, and Chocolate Velvet), and have fallen in love with the results! Don't miss our full collection of velvet cake recipes!
The cream cheese adds a richness and softness- and uniquely “creamy” texture to the cake.
Today's vanilla cake is a bit different than some of our other cream cheese cake recipes in that it calls for buttermilk as well. This gives us the best of both worlds!
What does Buttermilk do for a Cake?
Not only does cream cheese add richness and improve the texture of the cake, but today's Vanilla Velvet Cake has buttermilk in the recipe as well.
Buttermilk in a cake recipe is always a good sign. Its acidity interferes with the formation of gluten, which results in a softer cake. (The same is true for sour cream or cream cheese in cakes).
We've tried our Vanilla Velvet Cake recipe using regular milk and using buttermilk- the buttermilk was version was the clear winner. It made the cake even softer and more moist!
Several of our popular cake recipes, including Vanilla Buttermilk Cake , Lemon Buttermilk Cake, Homemade White Cake, and Chocolate Buttermilk Cake include buttermilk- make sure to check them out!
How to Make a Vanilla Velvet Cake
This Vanilla Velvet cake is easy to make and makes enough batter for three fluffy 8 inch cake layers. You can find the full, printable cake recipe further down in this post. Here is a quick rundown of our steps!
- Preheat the oven to 325 degrees F. Grease and flour 3 (8x2)inch pans or 2 (9x2) inch pans, adding a circle of parchment or wax paper to the bottom of each pan. We find that baking at 325 helps the layers to bake up more evenly and slightly taller too.
- Combine Flour Leavening, and Salt: In a medium bowl, whisk the flour, baking powder, baking soda, and salt for 30 seconds and set aside.
- Combine Wet Ingredients: In another bowl, add the buttermilk, oil, and vanilla extract. Set aside.
- Combine Butter and Cream Cheese: In the bowl of your mixer, add the butter and cream cheese and mix at medium speed until smooth.
- Add Sugar: Gradually add the sugar and mix at medium speed for 2-3 minutes.
- Eggs: Add the room temperature eggs one at a time, mixing until the yellow of the yolk disappears.
- Alternate between Wet and Dry Ingredients: Alternately add the flour mixture and the milk mixture, beginning and ending with the flour mixture (We did 3 additions of the dry mixture, 2 additions of wet)
- Fill the Cake Pans: Do not mix above medium speed or over mix the cake batter. Divide the batter between the three 8 inch cake pans.
- Bake at 325 degrees F for 25-28 minutes or until a toothpick inserted into the center comes out clean or with just a few crumbs attached. Let cool for 5-10 minutes in the pans on a wire rack before turning out.
Vanilla Buttercream Frosting
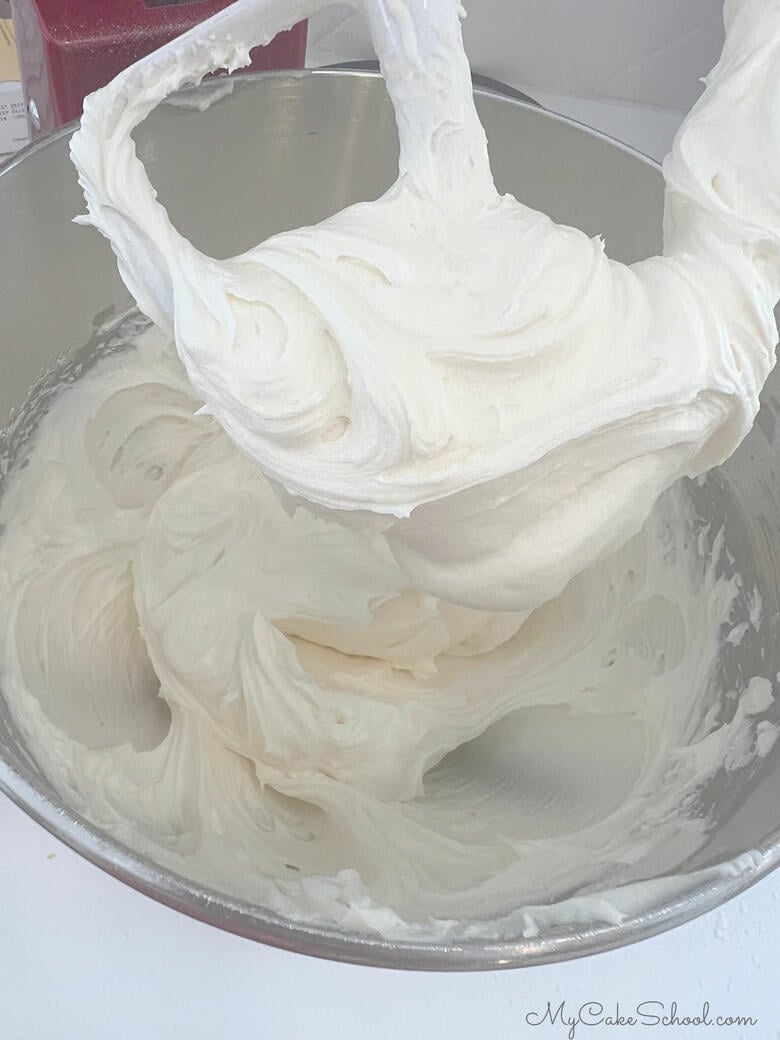
The filling and frosting options are endless when it comes to Vanilla Cake. We kept things very simple today with our vanilla buttercream recipe.
This is an American Buttercream, meaning that it is a combination of butter, confectioners sugar, milk (or cream), salt, and vanilla extract.
It can be whipped up in no time into a sweet, smooth, vanilla frosting that pipes perfectly!
Does Vanilla Buttercream Require Refrigeration?
- The general rule of thumb is that American Buttercream is safe to sit at room temperature for 2 days.
- Buttercream keeps longer in the refrigerator- up to two weeks, and in the freezer in an airtight container for up to three months. Hooray for being able to work in advance!
- Whenever I frost my cakes with buttercream, I store them in the refrigerator until the day that it will be served. It keeps everything nice and firm (which is especially helpful if you need to transport the cake).
- Just remember to remove the cake at least a few hours before serving so that it will have plenty of time to warm to room temperature. Cakes served at room temperature will have a nicer texture and flavor.
Can Vanilla Velvet Cake be Frozen?
Yes! Just as with most of our cake recipes, from lemon buttermilk cake to carrot cake, Italian Cream Cake, and more, these cake layers freeze beautifully. Make life easier for yourself and bake in advance! Cake layers can be wrapped and frozen for up to three months.
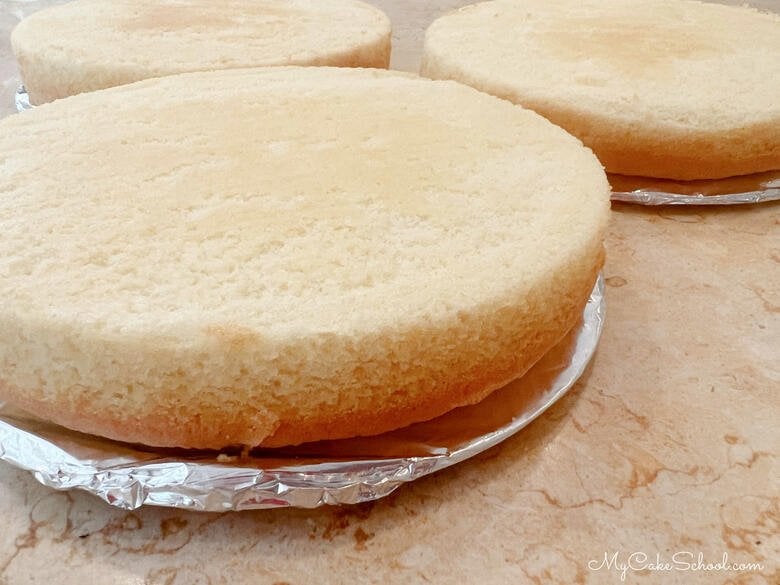
- After baking and cooling our cake layers for about ten minutes in their pans on wire racks, we flip them out onto foil-wrapped cake cardboards. (They are wrapped in foil so that we can re-use them).
- Allow the layers to cool a bit more, but then wrap while still a bit warm with a layer of plastic wrap and then foil. We find that wrapping and freezing the cake layers while they are still warm makes them even more moist!
- We freeze our cake layers anywhere from a few hours to a few months and always with great results.
- When you are ready to defrost the cake layers, remove them from the freezer, still wrapped, and let them sit on the countertop for about 30-45 minutes. Condensation will likely form on the foil.
- At that point you can unwrap them and finish thawing to desired amount. Many decorators prefer to assemble their cakes when the layers are partially frozen as they are less fragile and easier to handle.
Assembling the Vanilla Velvet Cake
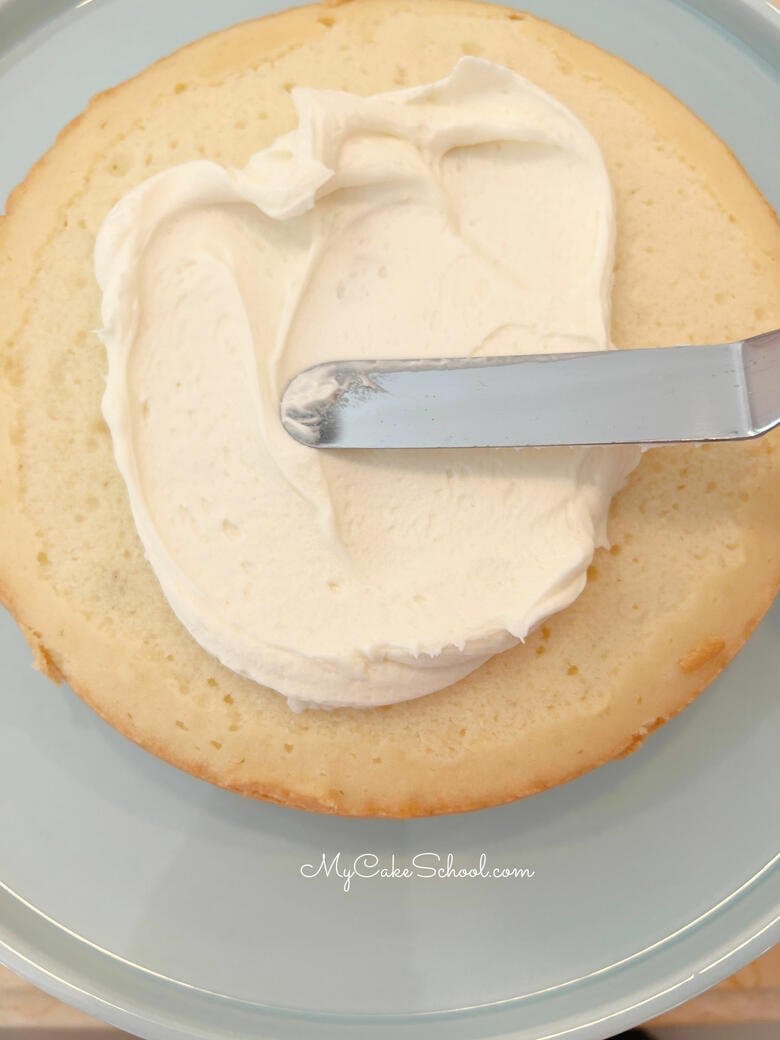
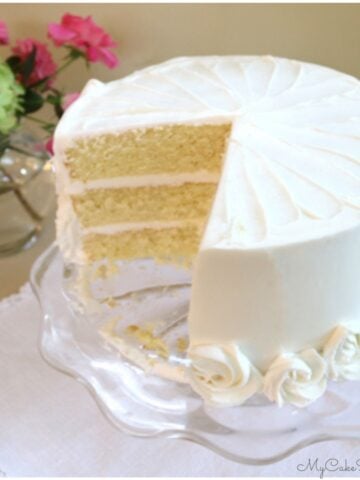
When it's time to put the Vanilla Velvet Cake together, place the first cake layer on your cake plate or pedestal. Spread the top with vanilla buttercream and repeat for the second cake layer and third.
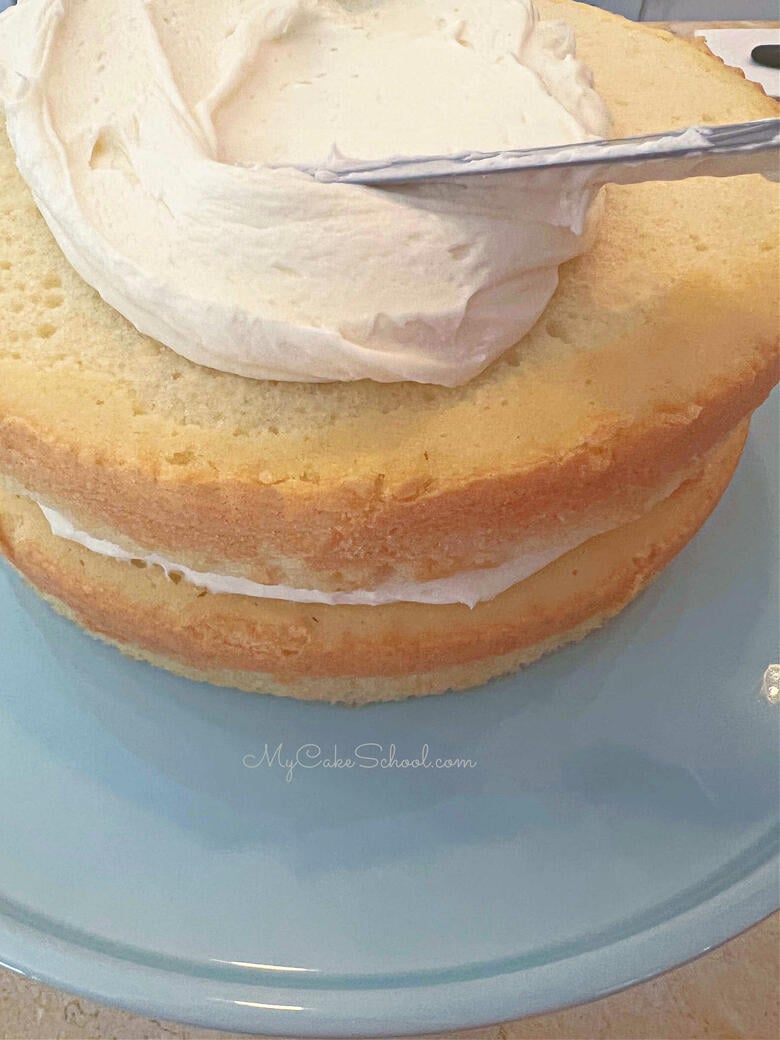
Fill in any gaps between the cake layers with buttercream, apply a crumb coat (thin coat) of buttercream on top and around the sides of the cake.
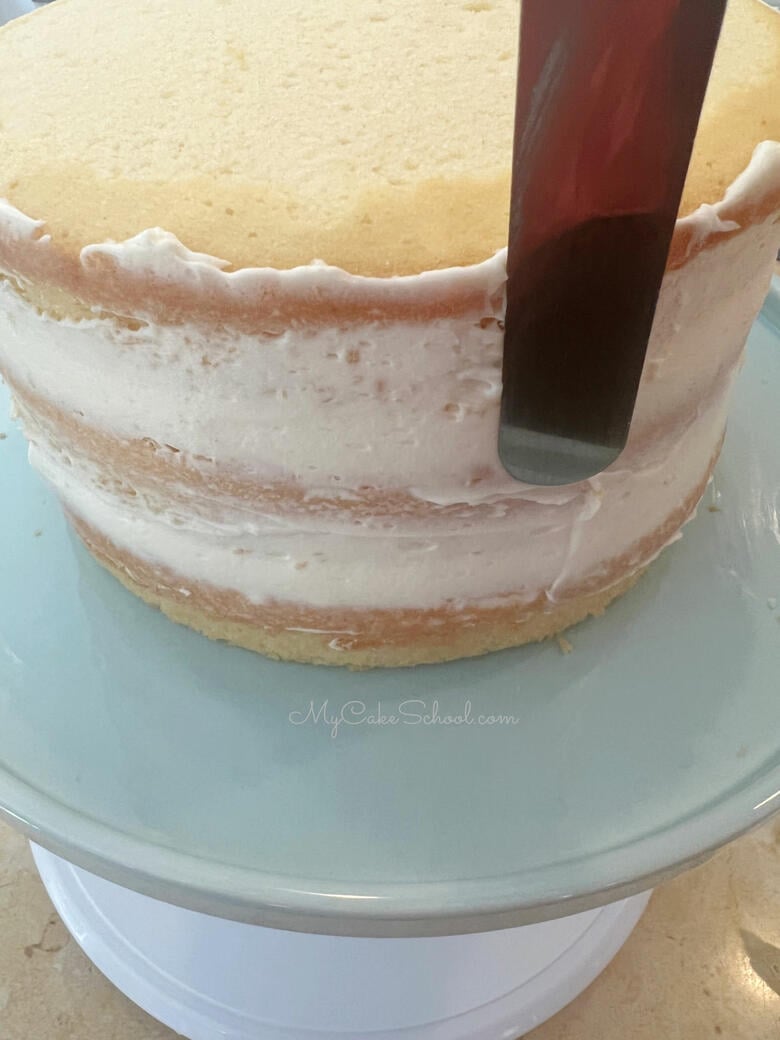
At this point, I like to chill my cake tier to firm things up -- 10 minutes in the freezer or a bit longer in the refrigerator.
This is optional, but I find it easier to decorate a chilled cake as the cake layers will be much less likely to shift or slide.
I then applied the final coat of buttercream and smoothed around the sides with a hot bench scraper as I rotated the cake on a turntable.
Decorating the Vanilla Cake
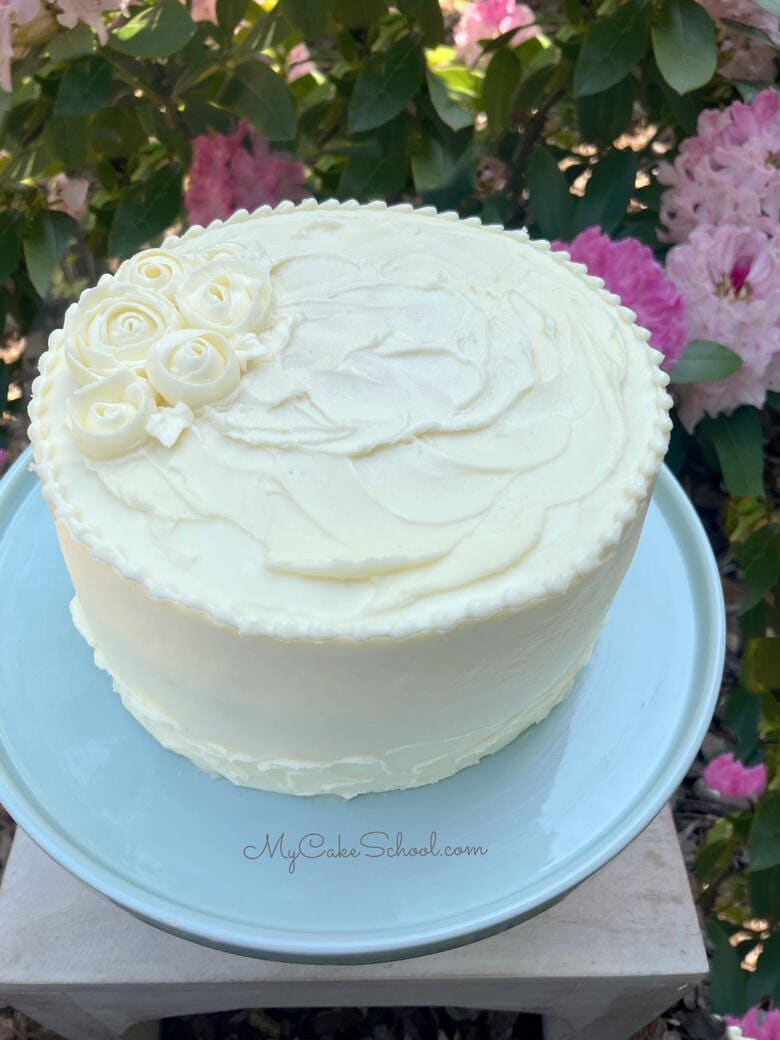
- I added additional texture using a small offset spatula around the base of the cake- you can add additional frosting in small amounts as needed and then smear with the spatula.
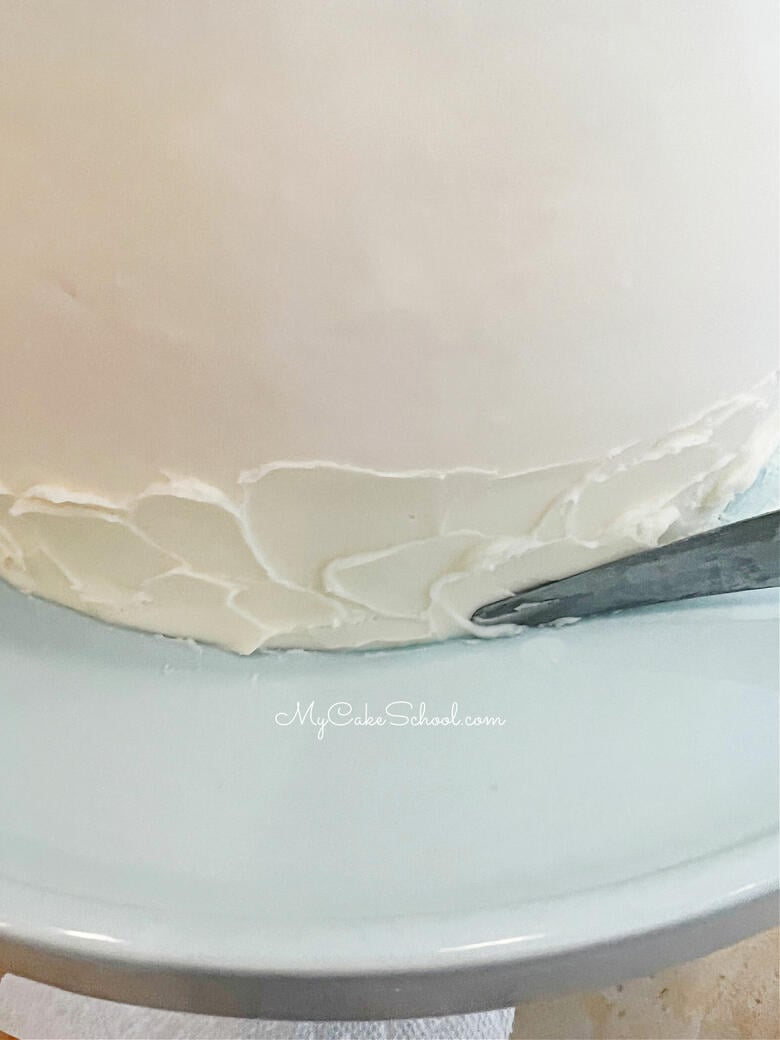
- I love adding a little texture to frosting- it's a very forgiving technique and pretty too!
- I added more texture and swirls of frosting on top with my offset spatula before adding a small bead border using a piping tip 3.
- As an optional step, I also added little buttercream ribbon roses. I piped the roses on square of wax paper which was attached to a rose nail with a smear of frosting.
- I rotated the rose nail as I piped ribbons of buttercream using a tip 104. Start in the center and spiral out to form the rose.
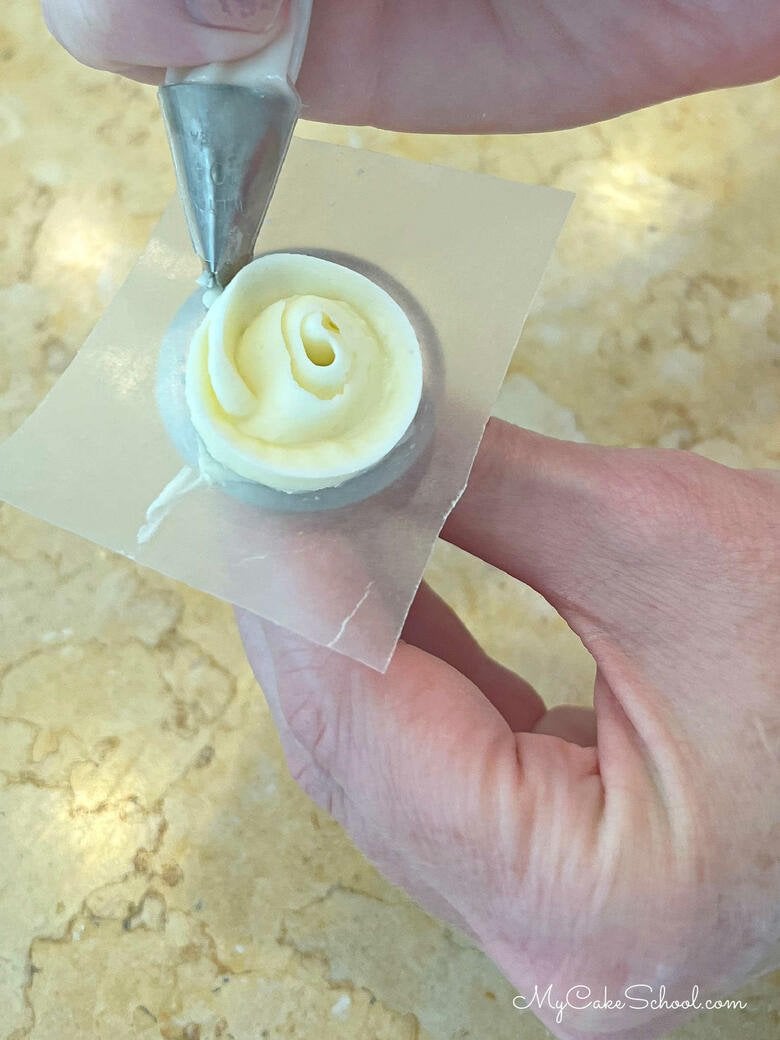
- Then chill the roses/wax paper squares on a cookie sheet in the freezer for about 15 minutes or until firm. Next, peel off the wax paper backing and apply the roses.
You can find out how to make ribbon roses in this video tutorial: Buttercream Ribbon Rose Heart Cake
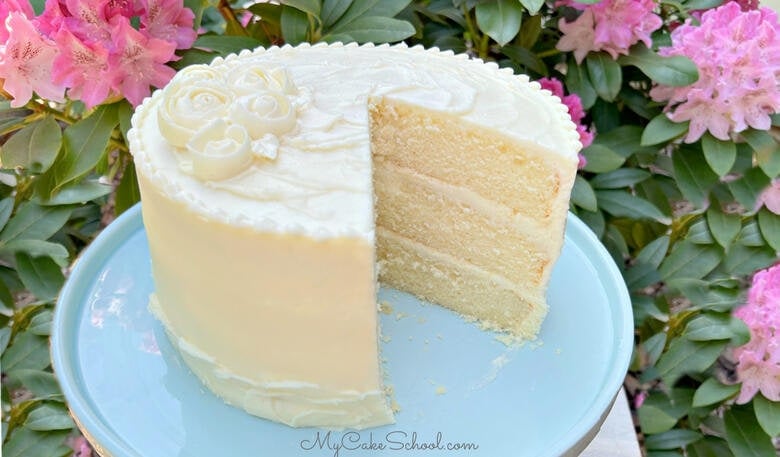
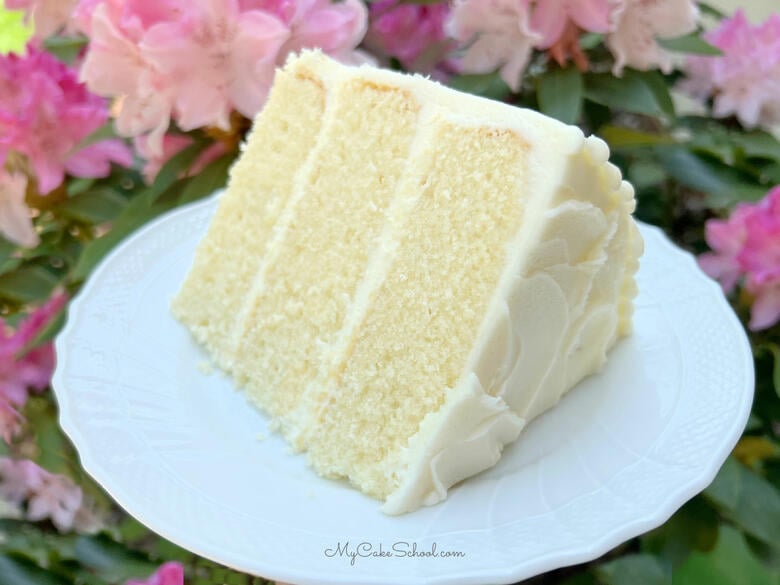
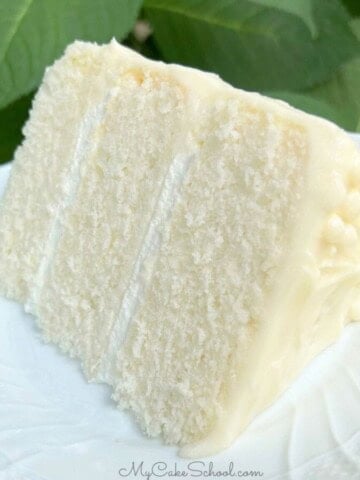
Such a pretty slice! You can really see how fine the crumb is in the photo below.
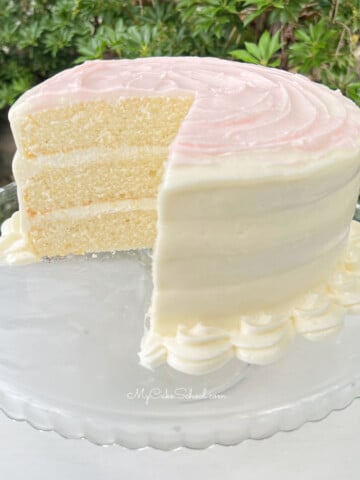
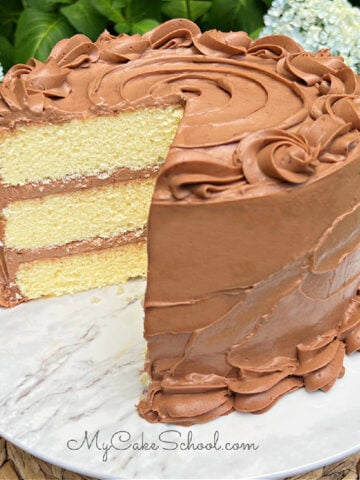
More Vanilla Cakes
I'm sharing a few more of our favorite vanilla cakes (including white and yellow cakes) below! In addition to the Vanilla Velvet Cake, you should definitely put these delicious cakes on your must-try list!
Some of our most popular are our Homemade White Cake, Vanilla Buttermilk Cake, and scratch Yellow Cake.
Enjoy the Recipe!
We hope that you enjoy this Vanilla Velvet Cake! It would make a perfect baby shower cake, bridal shower cake, birthday cake, and more!
Have you made this? We would LOVE for you to leave a ⭐️ rating as well as a comment and photo below! We really appreciate your feedback!
Vanilla Velvet Cake
Equipment
Ingredients
- 8 oz (226g) package cream cheese, softened
- 1 ½ sticks (168g) unsalted butter, softened (This is equivalent to ¾ cup).
- 2 cups (400g) sugar
- 4 large eggs room temperature (In a hurry? Place in a bowl of warm water for 5 mintues)
- 3 cups (342g) cake flour- see Notes for substitution
- 2 teaspoons (8g) baking powder
- ½ teaspoon (3g) baking soda
- ½ teaspoon (3g) salt
- 1 cup (242g) buttermilk - See Notes for substitution
- ¼ cup (54g) vegetable oil (we used canola oil)
- 1 Tablespoon (12g) vanilla extract
Vanilla Buttercream
- 3 sticks (339g) unsalted butter, softened.
- 7 cups (690-805 grams) powdered sugar (depending on desired consistency).
- 2 tsp. (8g) vanilla extract 8 grams, use clear imitation vanilla if you like a whiter frosting
- ⅓ cup (72g) whole milk or cream, more if needed
- ½ teaspoon (3g) salt
Instructions
- Preheat the oven to 325 degrees F. Grease and flour three 8 inch pans, adding a circle of parchment or wax paper to the bottom of each pan.
- In a medium bowl, whisk the flour, baking powder, baking soda, and salt for 30 seconds and set aside.
- In another bowl, add the buttermilk, oil, and vanilla extract. Set aside.
- In the bowl of your mixer, add the butter and cream cheese and mix at medium speed until smooth.
- Gradually add the sugar and mix at medium speed for 2-3 minutes.
- Add the room temperature eggs one at a time, mixing until the yellow of the yolk disappears.
- With the mixer on low speed, alternately add the flour mixture and the milk mixture, beginning and ending with the flour mixture (We did 3 additions of the dry mixture, 2 additions of wet)
- Mix the batter just until well combined- be careful not to over-mix. Divide the batter between the three pans.
- Bake at 325 degrees F for 25-28 minutes or until a toothpick inserted into the center comes out clean or with just a few crumbs attached. Let cool for 5-10 minutes in the pans on a wire rack before turning out.
- This recipe makes 7 ½ cups of batter. Works for cupcakes also (although there will be little to no dome).
For the Vanilla Buttercream
- Cream the (slightly softened) butter until smooth. Blend in the vanilla.
- Add half of the powdered sugar and most of the milk. Beat at medium speed until the powdered sugar is incorporated.
- Add remaining powdered sugar and milk and mix at medium speed another 3 to 4 minutes scraping the sides of the bowl occasionally. I slow down the mixer to very slow. (#2 on the Kitchenaid) for 1 to 2 minutes. This will help eliminate air pockets in the buttercream. The texture will become very smooth.
- This recipe can be doubled or halved.
- Yields approximately 4 ½-5 cups of frosting. Enough to frost a 3 layer 8 or two layer 9 inch cake.
- If your buttercream is too thin, add more sugar. If the consistency is too thick, add a bit more milk.
Assembly of Cake
- Place first cake layer on cake plate or pedestal. Spread the top with buttercream and repeat for the next two cake layers.
- Fill in any gaps between the stacked cake layers with buttercream and apply the crumb coat (thin coat) of frosting. At this point, I like to chill my crumb coated cake in the freezer for 10- 15 minutes (or longer in the refrigerator) until the frosting has firmed up. This is optional, but I find it helpful to decorate a chilled cake.
- Apply the second coat of frosting. I like to rotate the cake on a turntable as I smooth the frosted cake with a bench scraper or spatula. Add borders if you'd like- I used a small round piping tip 3 for a bead border, and also made little ribbon roses using a piping tip 104. I pipe the roses on a rose nail with a square of waxed paper attached and rotated as I piped

Which is better to buy buttermilk or make it with Milk and vinegar?
Hi Georgianne- I usually have buttermilk on hand because so many of our cakes call for buttermilk. However, in a pinch I've used the substitution with great results. I haven't done a side by side test, but likely the outcome is very similar.
Can you please tell me if I can you dairy free cream cheese and is there a dairy free substitute for buttermilk? My Son is allergic to milk products.
Thank you so much