Layered Buttercream Cake Tutorial
In this free cake video tutorial, I'm going to show you how to make a beautiful Layered Buttercream Cake! This technique is easy to create and perfect for so many special occasions.
Whether you are layering on just a couple of shades of buttercream or many, this tutorial will show you how to master this design quickly and easily.
Table of Contents
Materials for Layered Buttercream Cake
This layered buttercream technique would work well for cakes of all sizes. You can find our printable recipe card further down in this post.
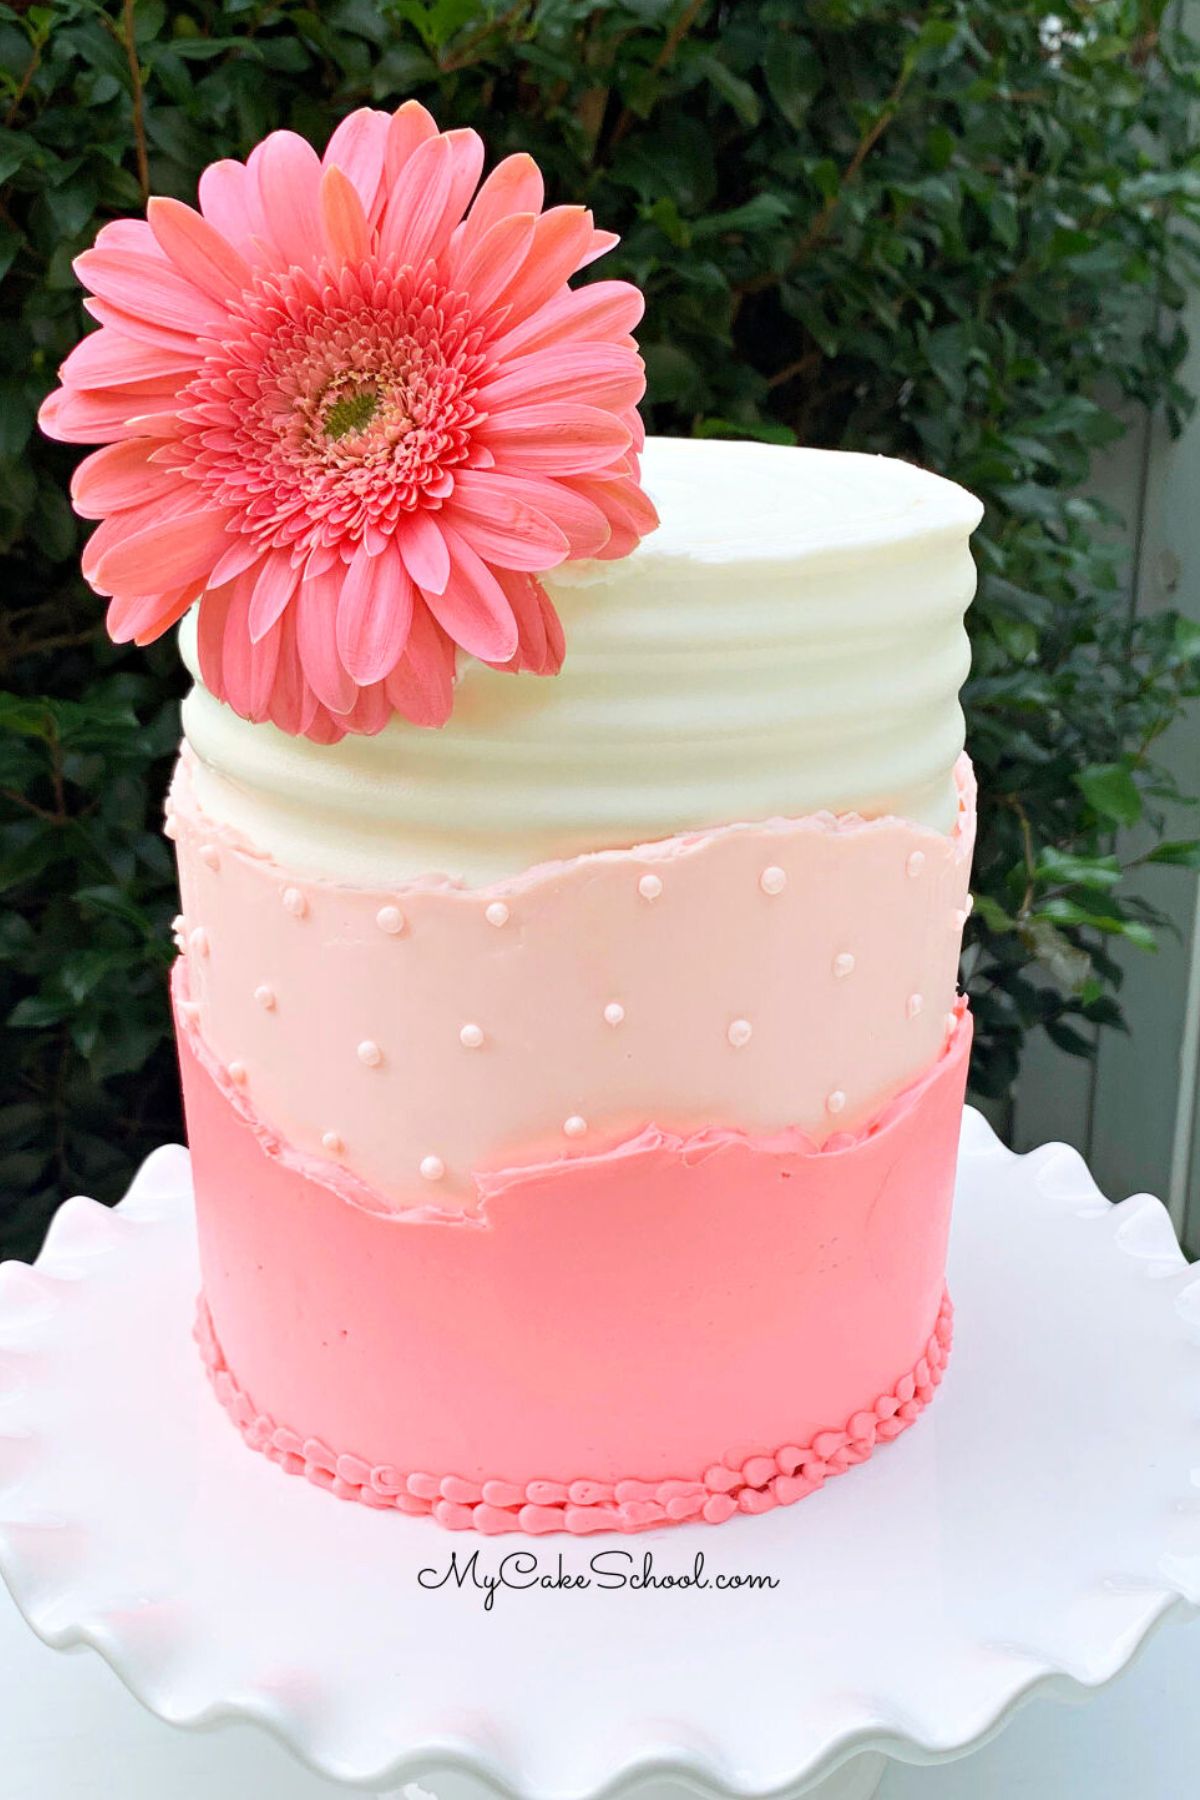
The cake in this video tutorial is a 6 inch (diameter) double barrel cake. This tall cake is four layers high, with a cake cardboard halfway up and bubble tea straw supports beneath (cut to the height of the first two filled cake layers). The cake is resting on it's own cake cardboard cut to the size of the cake.
For the Cake: Any cake recipe will do for this layered buttercream technique! Some of our favorite Cake Recipes are our Vanilla Buttermilk Cake, Lemon Cake, Yellow Cake, and Chocolate Cake! We have lots of great cake mix recipes also!
Buttercream: We frosted the cake with our Classic Vanilla Buttercream. (Our Fluffy Vanilla Buttercream frosting would work well also)
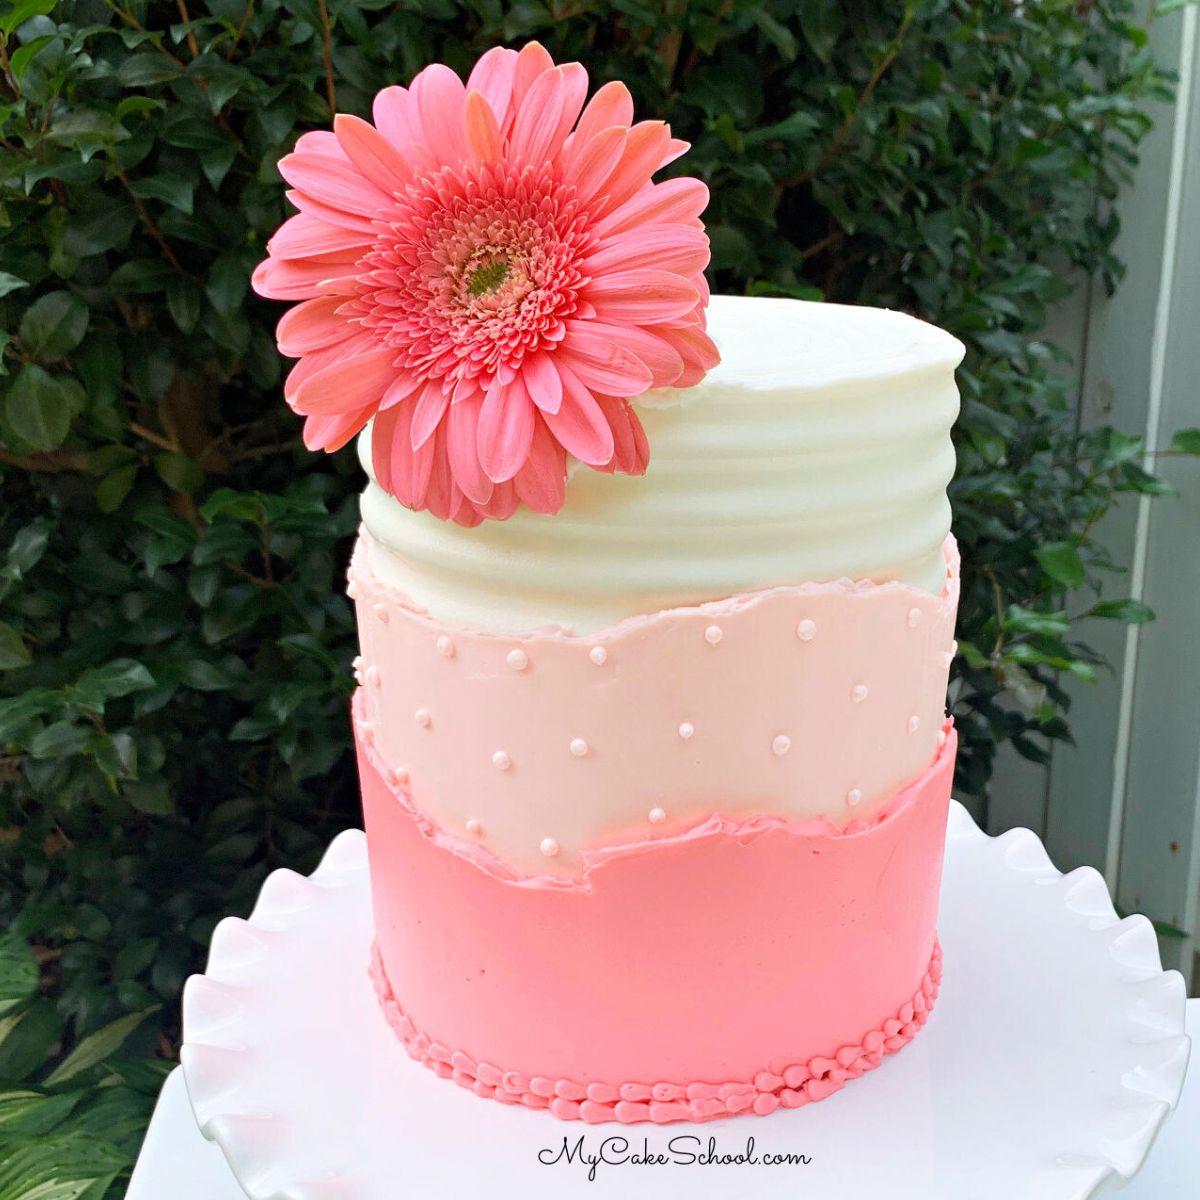
Coloring Gels: I wanted to match the color of flower on top of the cake which was a deep peachy/pink shade. To achieve this, I combined a bit of Americolor Terra Cotta coloring with Wilton Rose. I used this for both the lighter shade and darker shade.
Piping Tip: Small round tip for border and dots (We used a Wilton 3 tip)
Cake Comb: Optional. We used a comb from a set of Wilton combs
Bench Scraper or offset spatula. We find a bench scraper to be really helpful.
Turntable (optional)
Gerbera daisy for top of cake (or whatever topper you choose)
Miscellaneous: disposable piping bags

Notes for Layered Buttercream Cake:
Here are just a few helpful notes for creating this layered buttercream cake.
Crumb Coating and Chilling the Cake
For this technique, I frosted the cake first with a crumb coat. As I often do with my cakes, I like to freeze my crumb coated tier for about 15-20 minutes to firm things up before going in with the second layer of frosting.
Combing the Frosting, Chilling, Layering
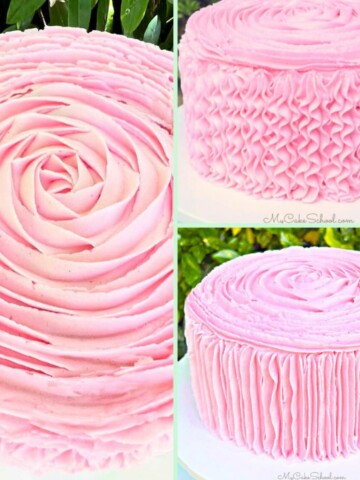
I frosted the cake with vanilla buttercream, and then combed the cake. Keep in mind that only the top section of this combed design will be visible after applying the other layers of buttercream.
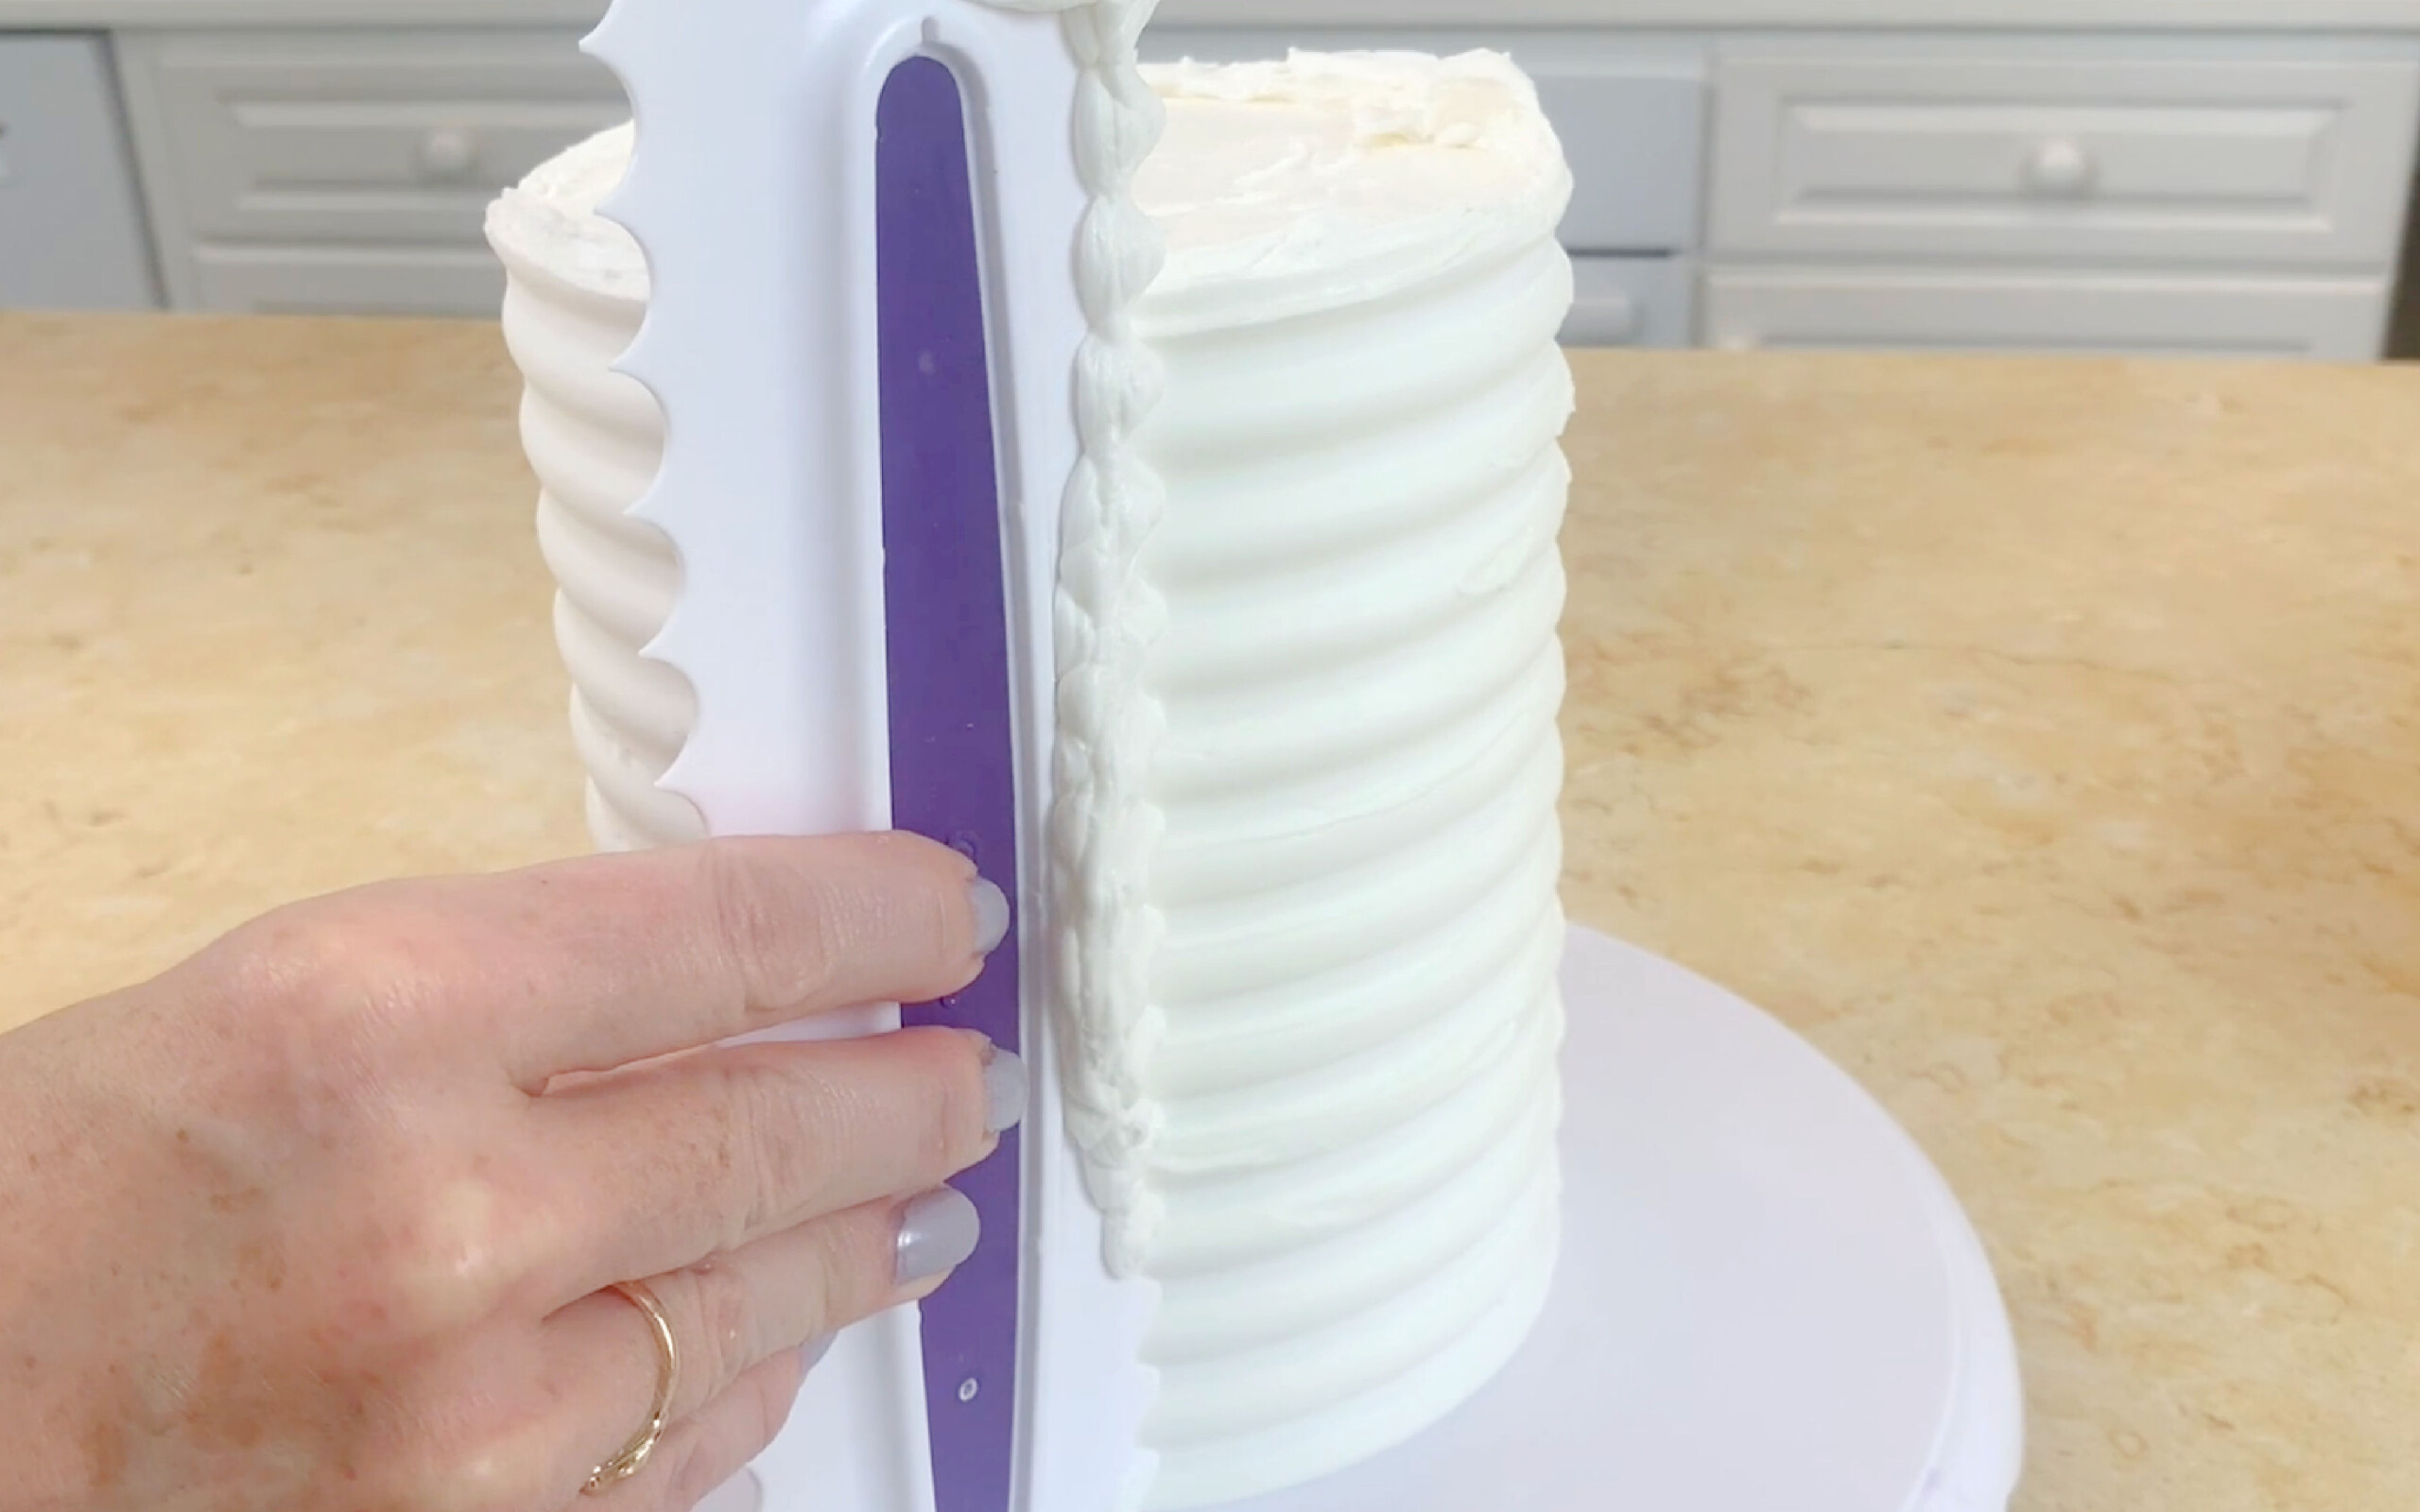
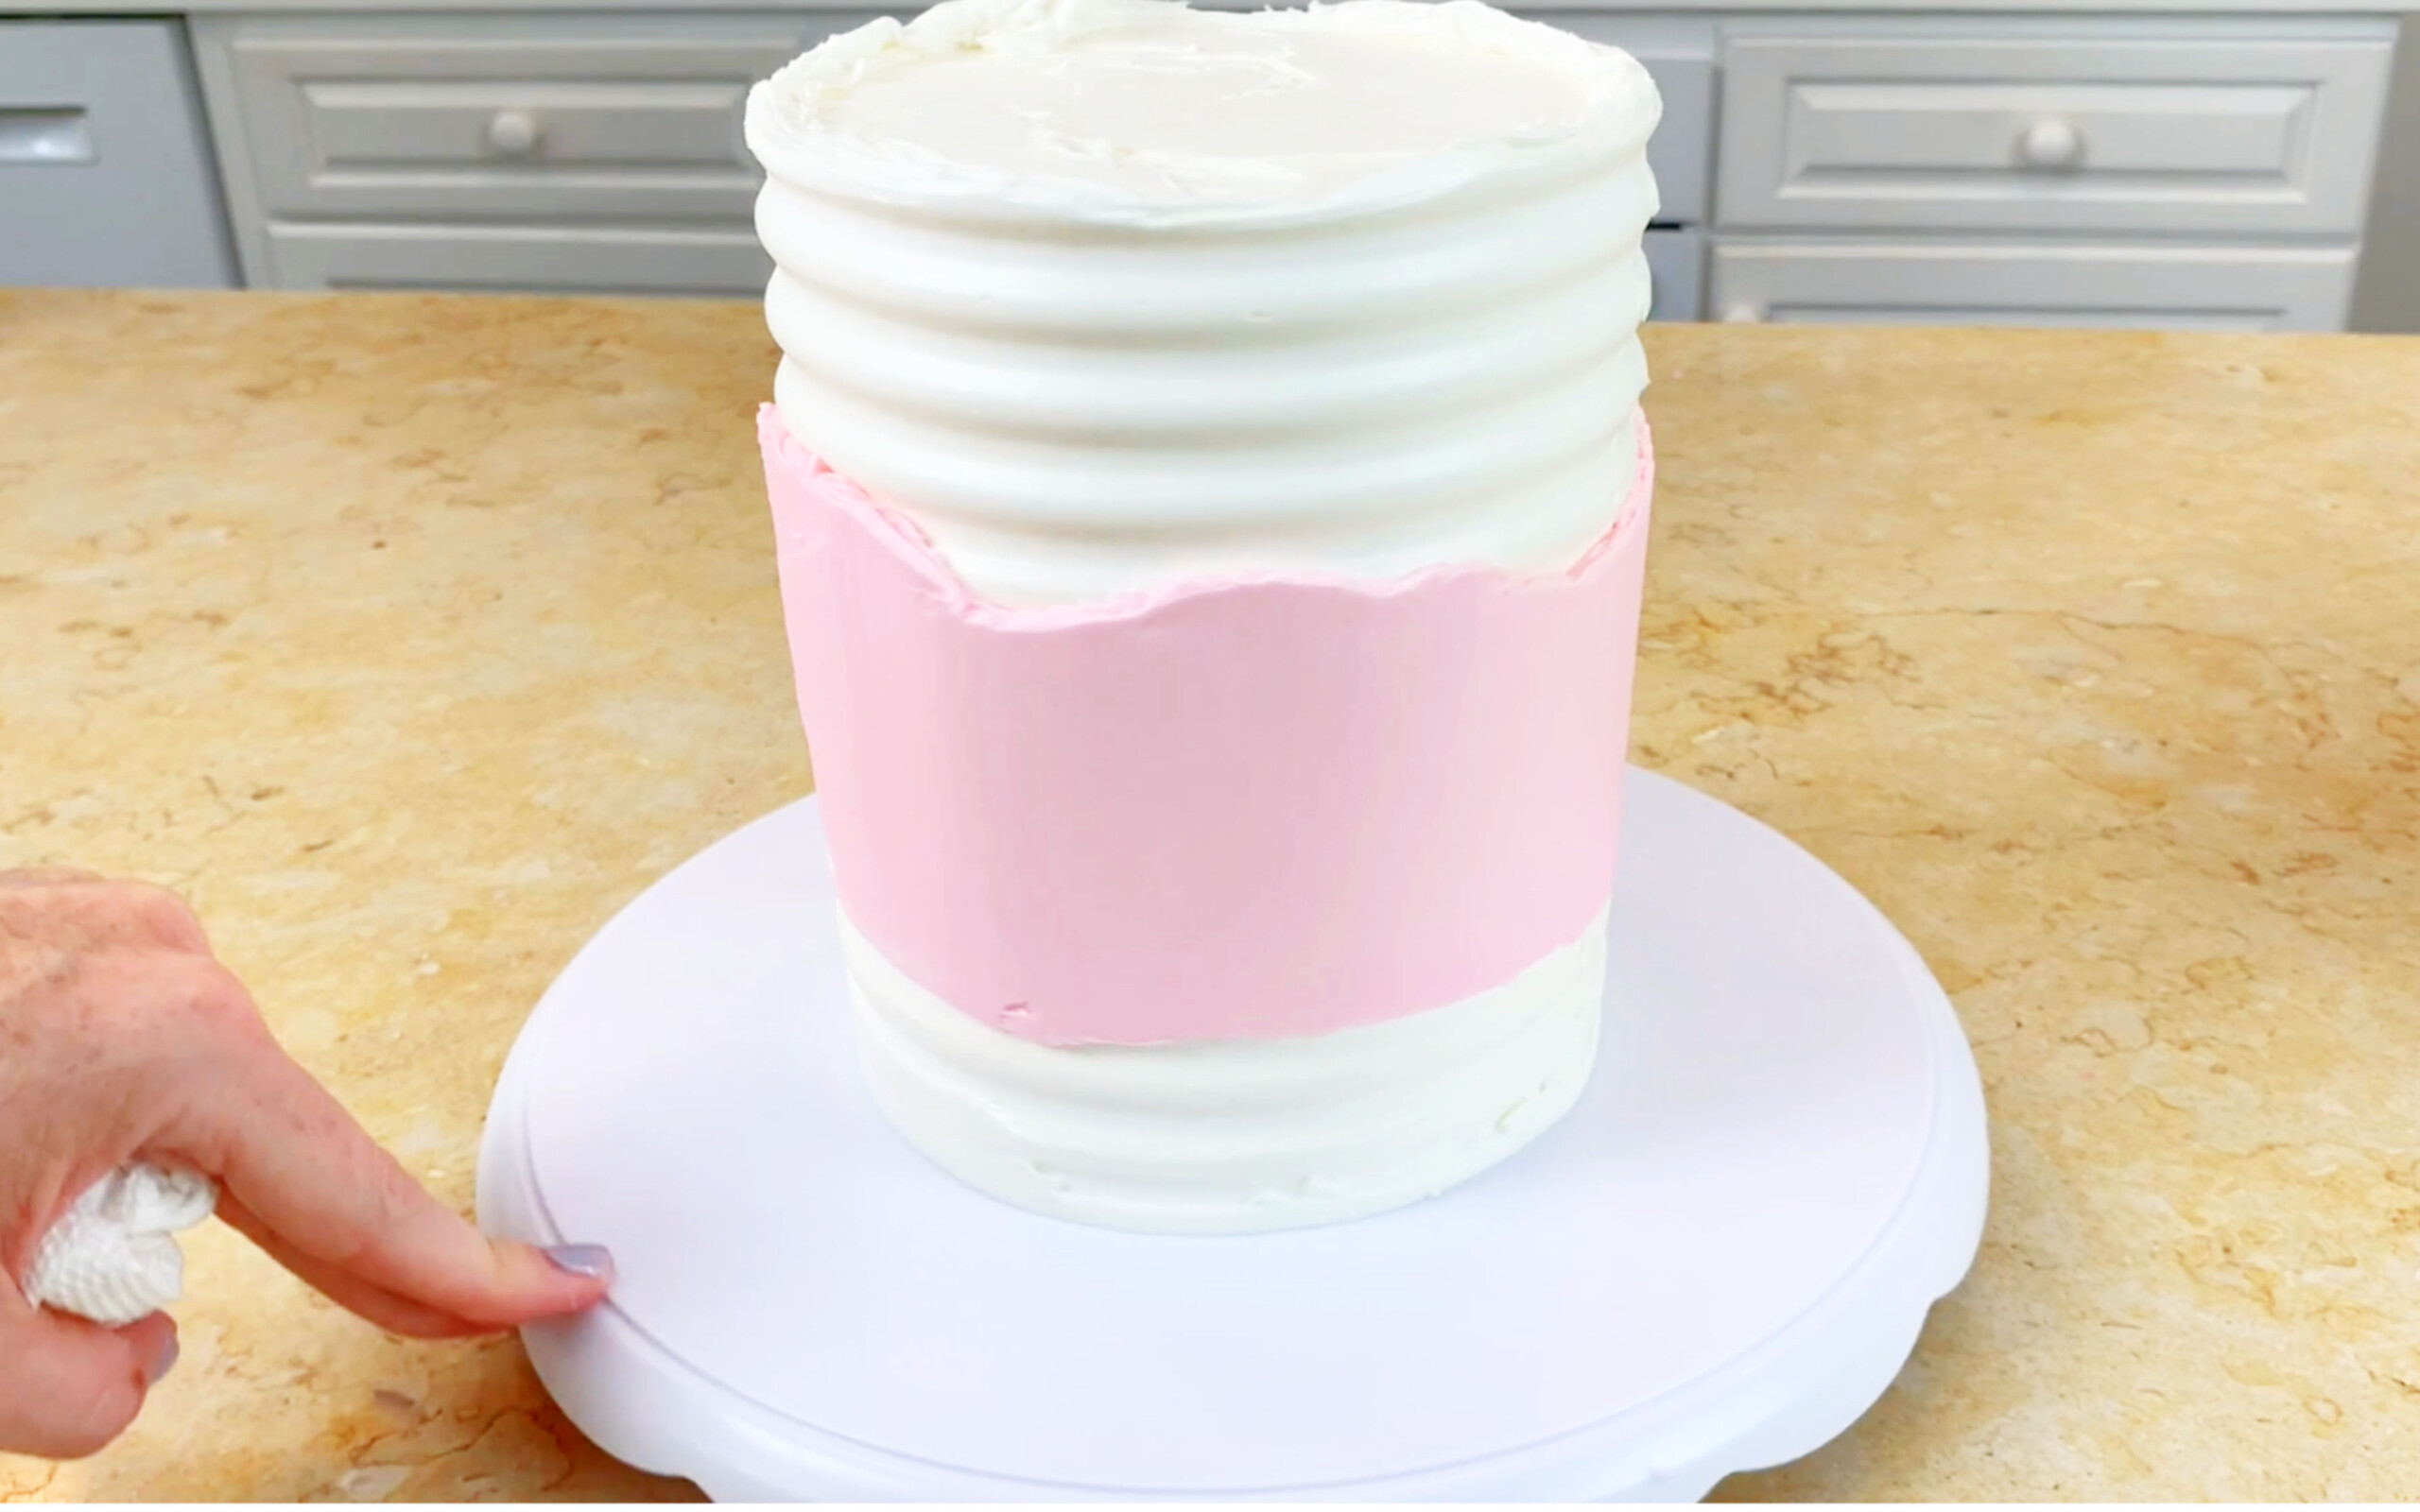
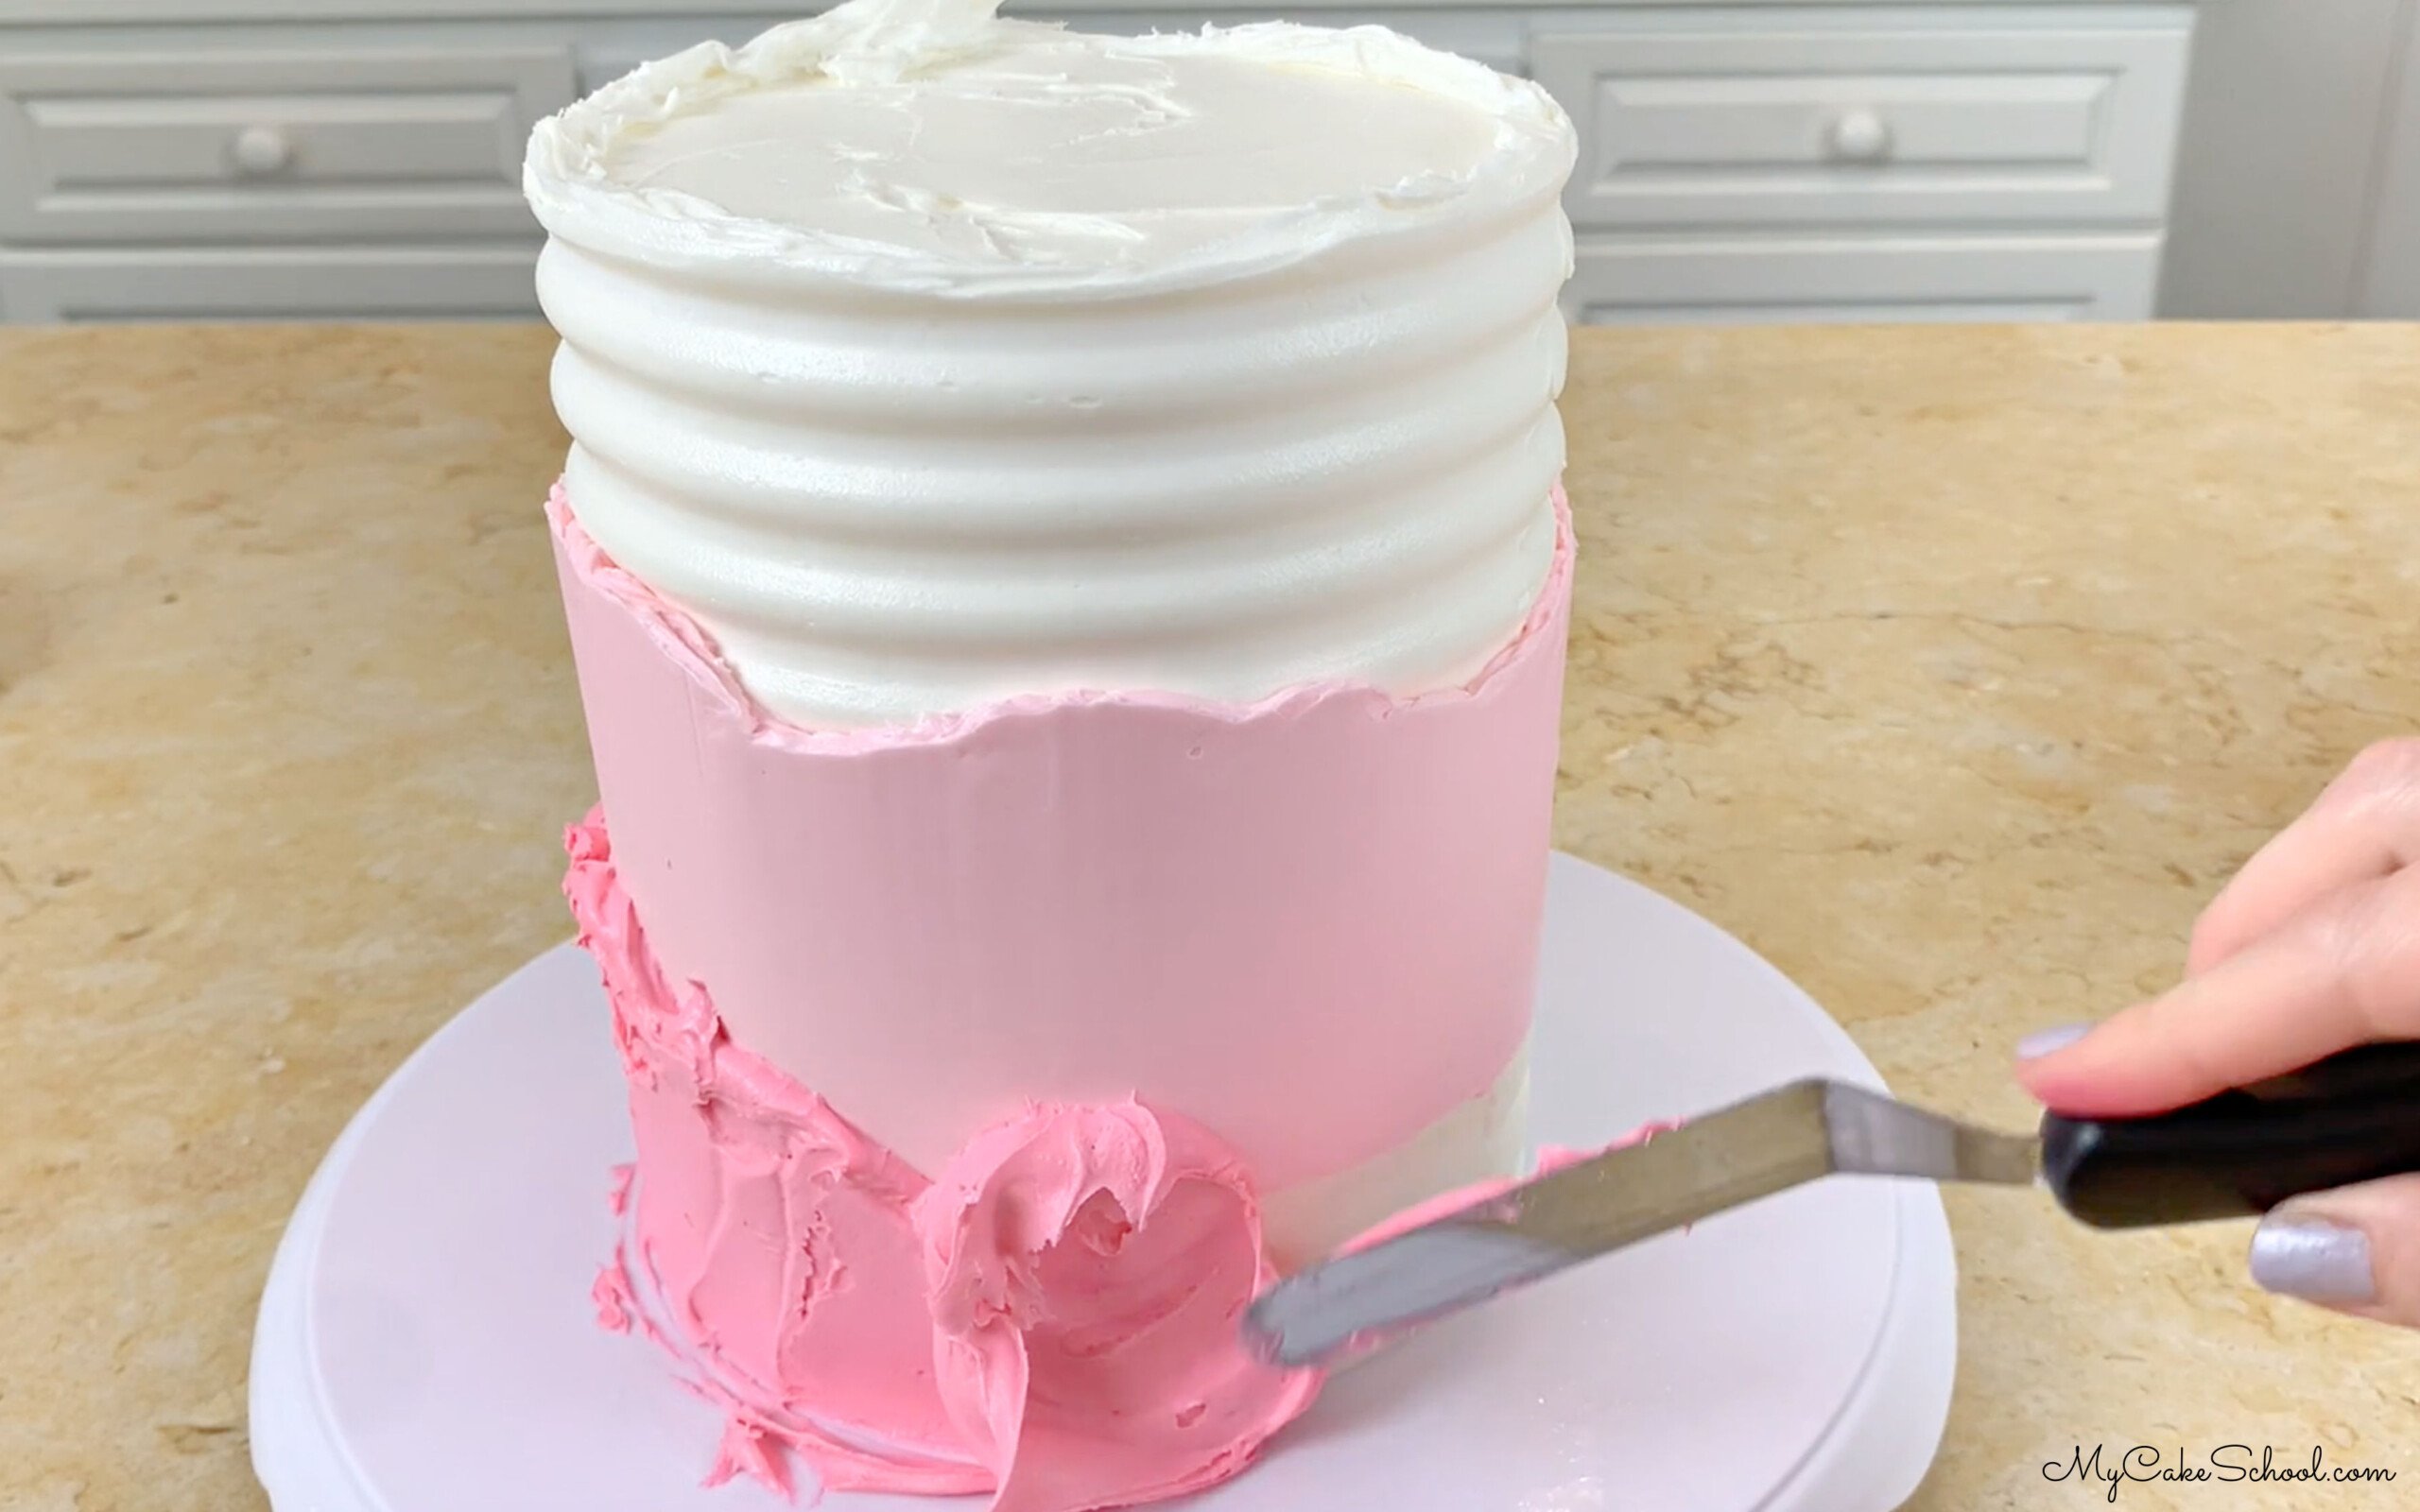
After combing the tier, I chilled once again in the freezer for about 15 minutes to firm up before applying a thick layer of lighter pink buttercream around the mid section of the cake.
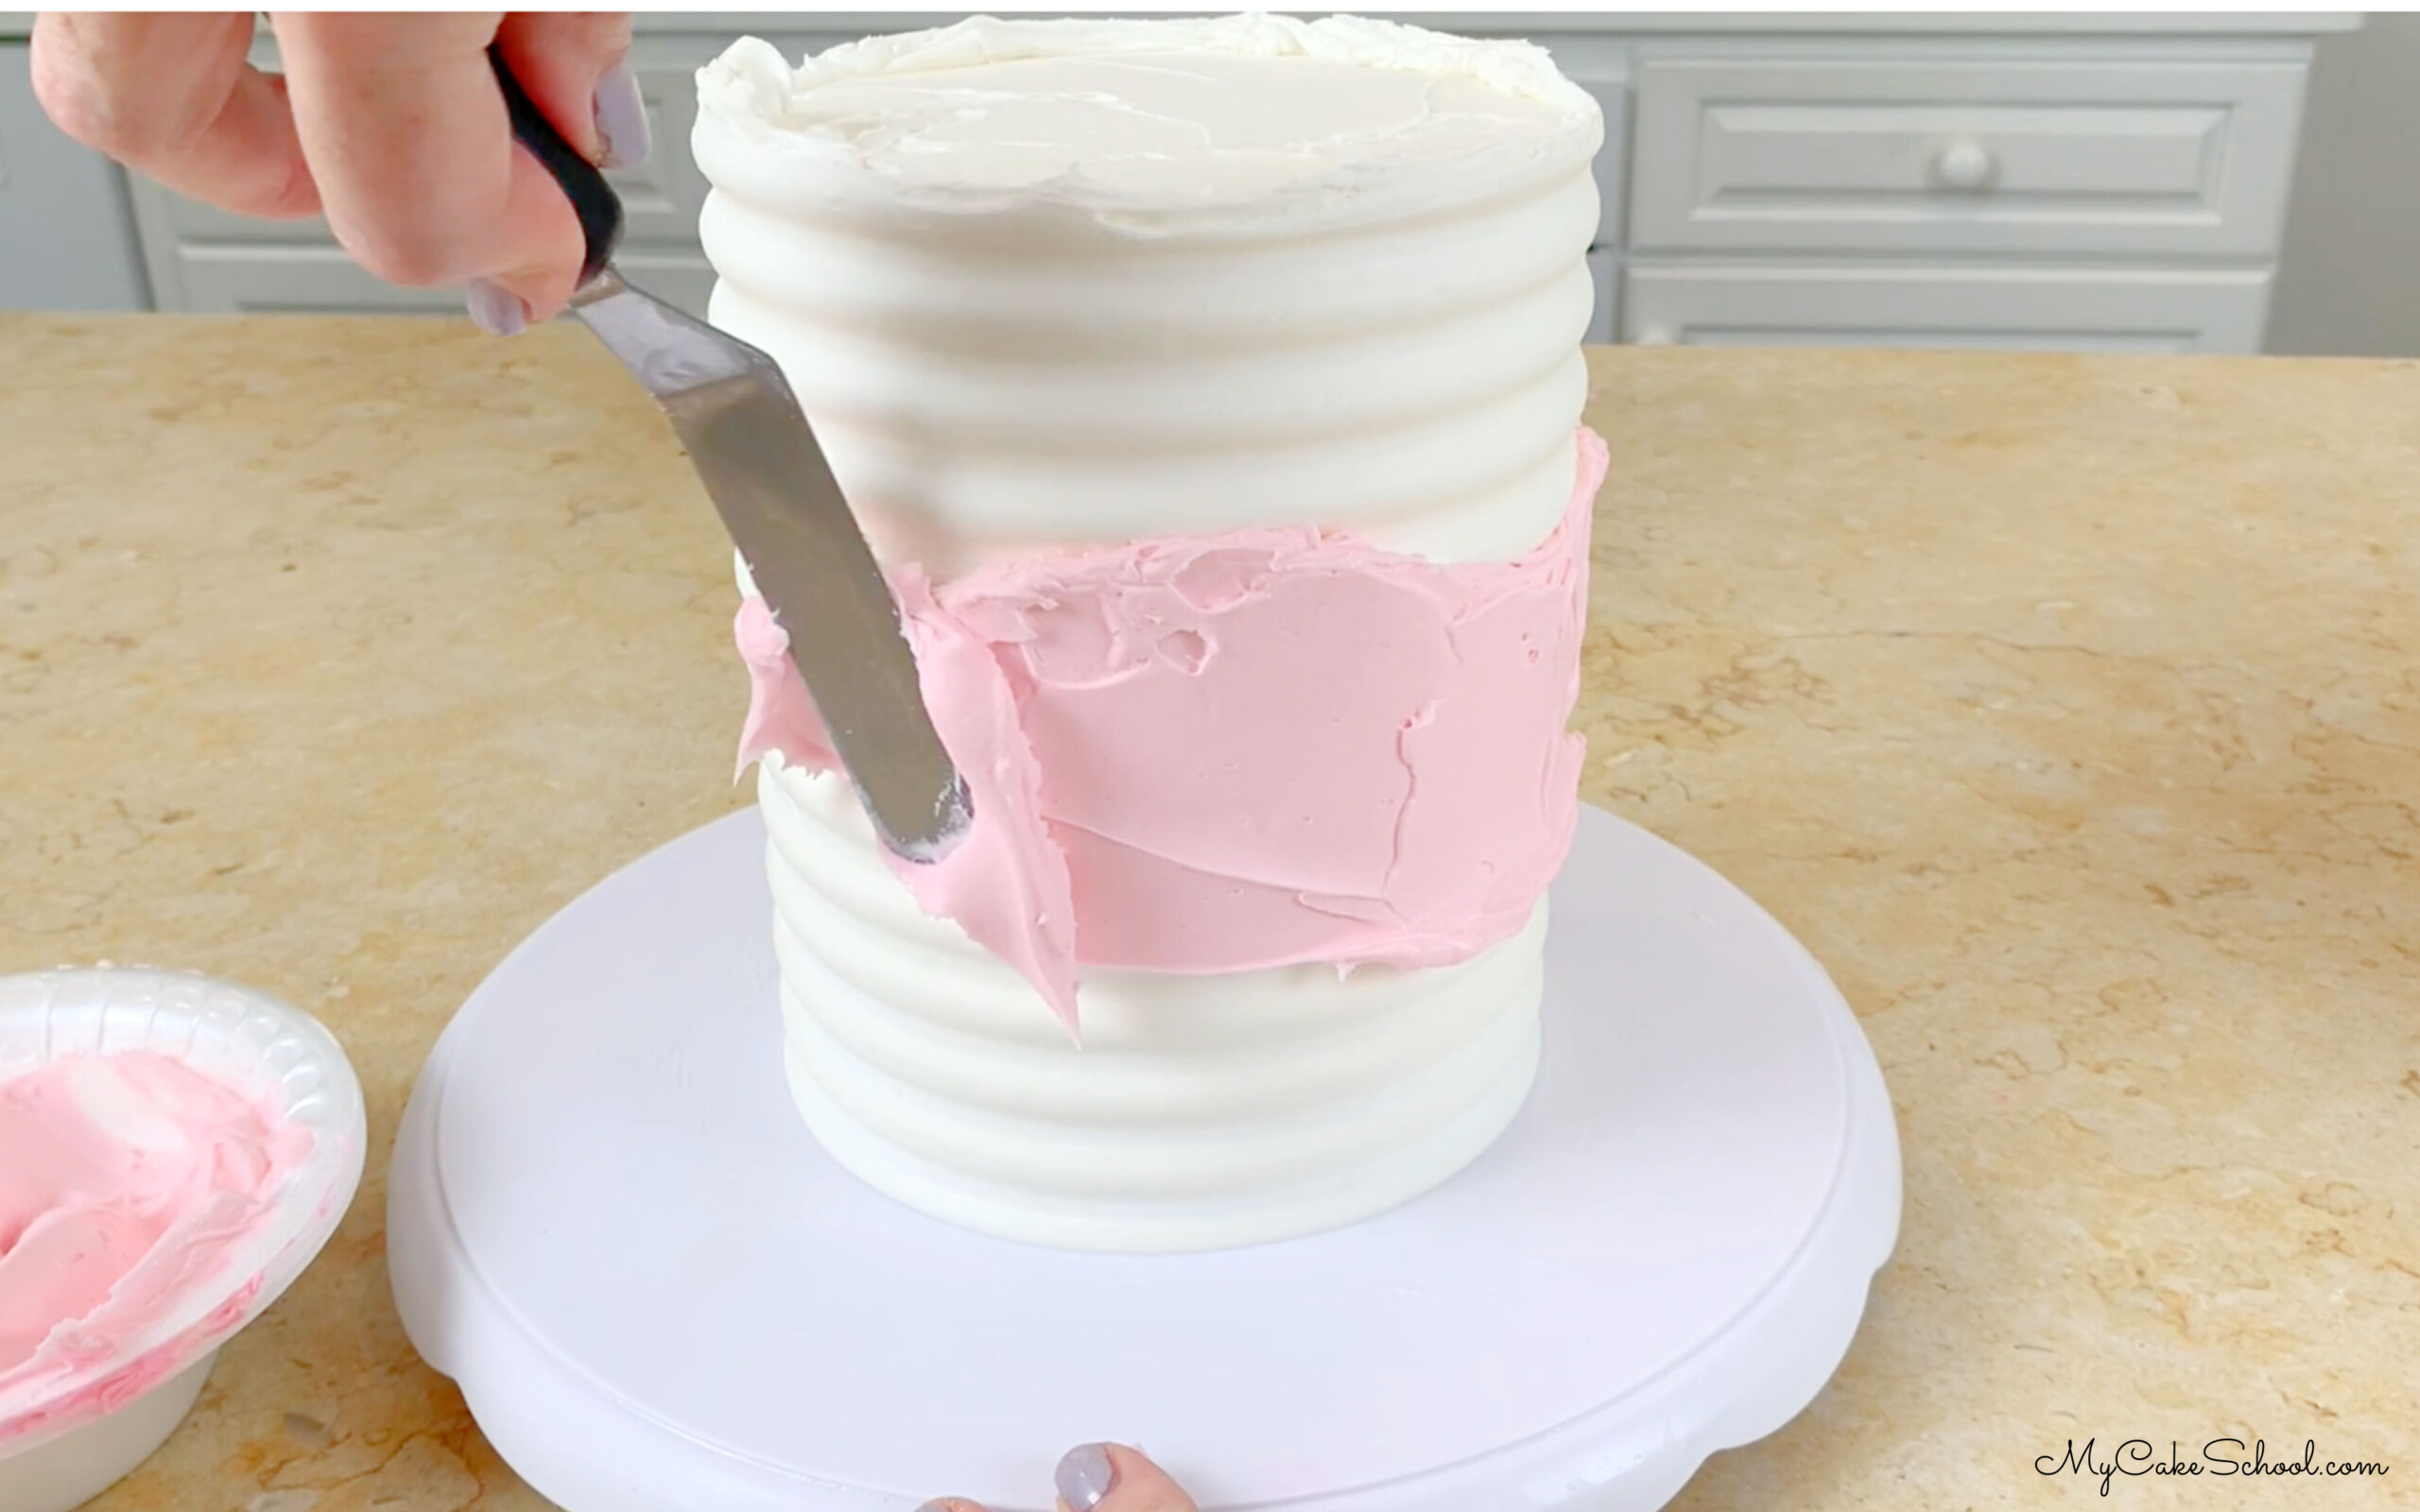
Smooth with a bench scraper. You can heat a metal bench scraper with hot water to smooth any problem areas.
Chilling and adding final frosting layer
Once again, I chilled the tier in the freezer for about 15 minutes or so to firm up the first two layers of buttercream before adding the final darker shade of buttercream around the bottom of the tier.
Apply it thick enough that you can easily smooth it with a bench scraper without interfering with the other layers of buttercream.
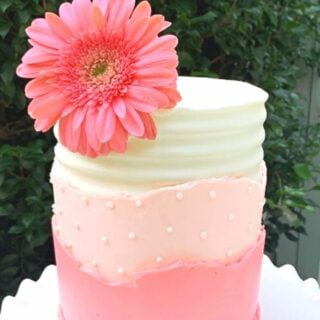
Fresh Flower Cake Topper
We topped the cake with a gerbera daisy (resting on a small piece of wax paper which acts as a barrier).
*We did not add a water source/water pick to the flower as it will look good on the cake several hours. (In our test, we refrigerated the cake overnight and it still looked good the next morning). Of course you can use a floral water pick/tube if you would like!
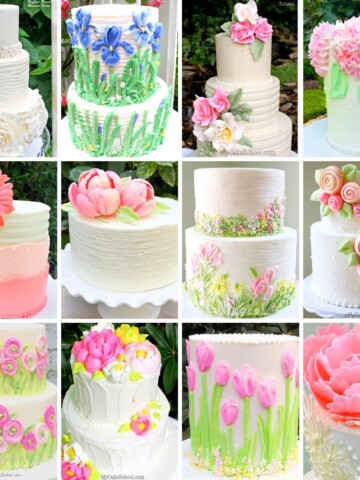
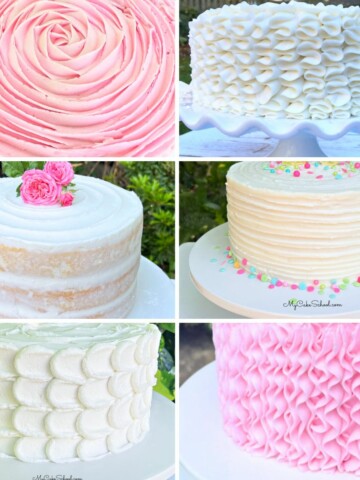
More Buttercream Cake Designs
We love decorating cakes with buttercream! Check out these other favorite designs. Some of our favorites are the Ridged Buttercream Technique, Petal Cake, and Naked Cake designs!
You can all find all sorts of Simple Cake Designs in our Birthday Cake roundup!
Cake Recipes
As we mentioned earlier in the post, this layered buttercream cake design would work with any of our cake recipes! Some popular choices are our White Velvet Cake, White Chocolate Cake, Raspberry Cake, Almond Cake, and Strawberry Cake.
Don't miss our full collection of go-to Cake Recipes and Cake Decorating Tutorials!
Have you made this? We would LOVE for you to leave a ⭐️ rating as well as a comment and photo below! We really appreciate your feedback!
Layered Buttercream Cake Design
Ingredients
- Cake Recipe of your choosing
- Classic Vanilla Buttercream (Or your favorite buttercream that contains butter so that it firms quickly when chilled.)
- Coloring gels: We used Americolor Terra Cotta + Wilton Rose.
- Bench scraper and cake comb (cake comb is optional for layered buttercream, but needed or the design that we demonstrated. Our is from a Wilton set.)
- Piping tip 3 for adding small dots and bead border (optional)
- Gerbera Daisy (optional)
Instructions
- Frost your cake in vanilla buttercream as usual. We crumb coated our cake, chilled to firm the icing for 10-15 minutes in the freezer. Then, we added additional frosting and combed. Keep in mind that only the top half of this frosting will show.
- After combing the tier, I chilled once again in the freezer for about 15 minutes to firm up before applying a thick layer of lighter pink buttercream around the mid section of the cake. Smooth with a bench scraper.
- Once again, I chilled the tier in the freezer for about 15 minutes or so to firm up the first two layers of buttercream before adding the final darker shade of buttercream around the bottom of the tier.Apply it thick enough that you can easily smooth it with a bench scraper without interfering with the other layers of buttercream.
- We topped the cake with a gerbera daisy (resting on a small piece of wax paper which acts as a barrier).*We did not add a water source/water pick to the flower as it will look good on the cake several hours. (In our test, we refrigerated the cake overnight and it still looked good the next morning). Of course you can use a floral water pick/tube if you would like!
OMGosh! I love it! Great job! Simple but fabulous as always! :-) Love the added texture and polka dots :-)
Beautiful cake. Thank you!!
Thank you very much for giving us this tutorial. I made one with your instruction with a 6" tall cake.
Hi Elizabeth! I'm so happy that you enjoyed it, your cake looks amazing!
wow! beautiful!
Been wanting to try this technique for awhile...thanks for the great tutorial!