Naked Cakes
In this quick tutorial, I'll show you how to make a sweet and simple naked cake.
Named for having little to no frosting, naked cakes have been a popular choice for years! These elegant cakes with a slightly rustic feel are suitable for any special occasion.
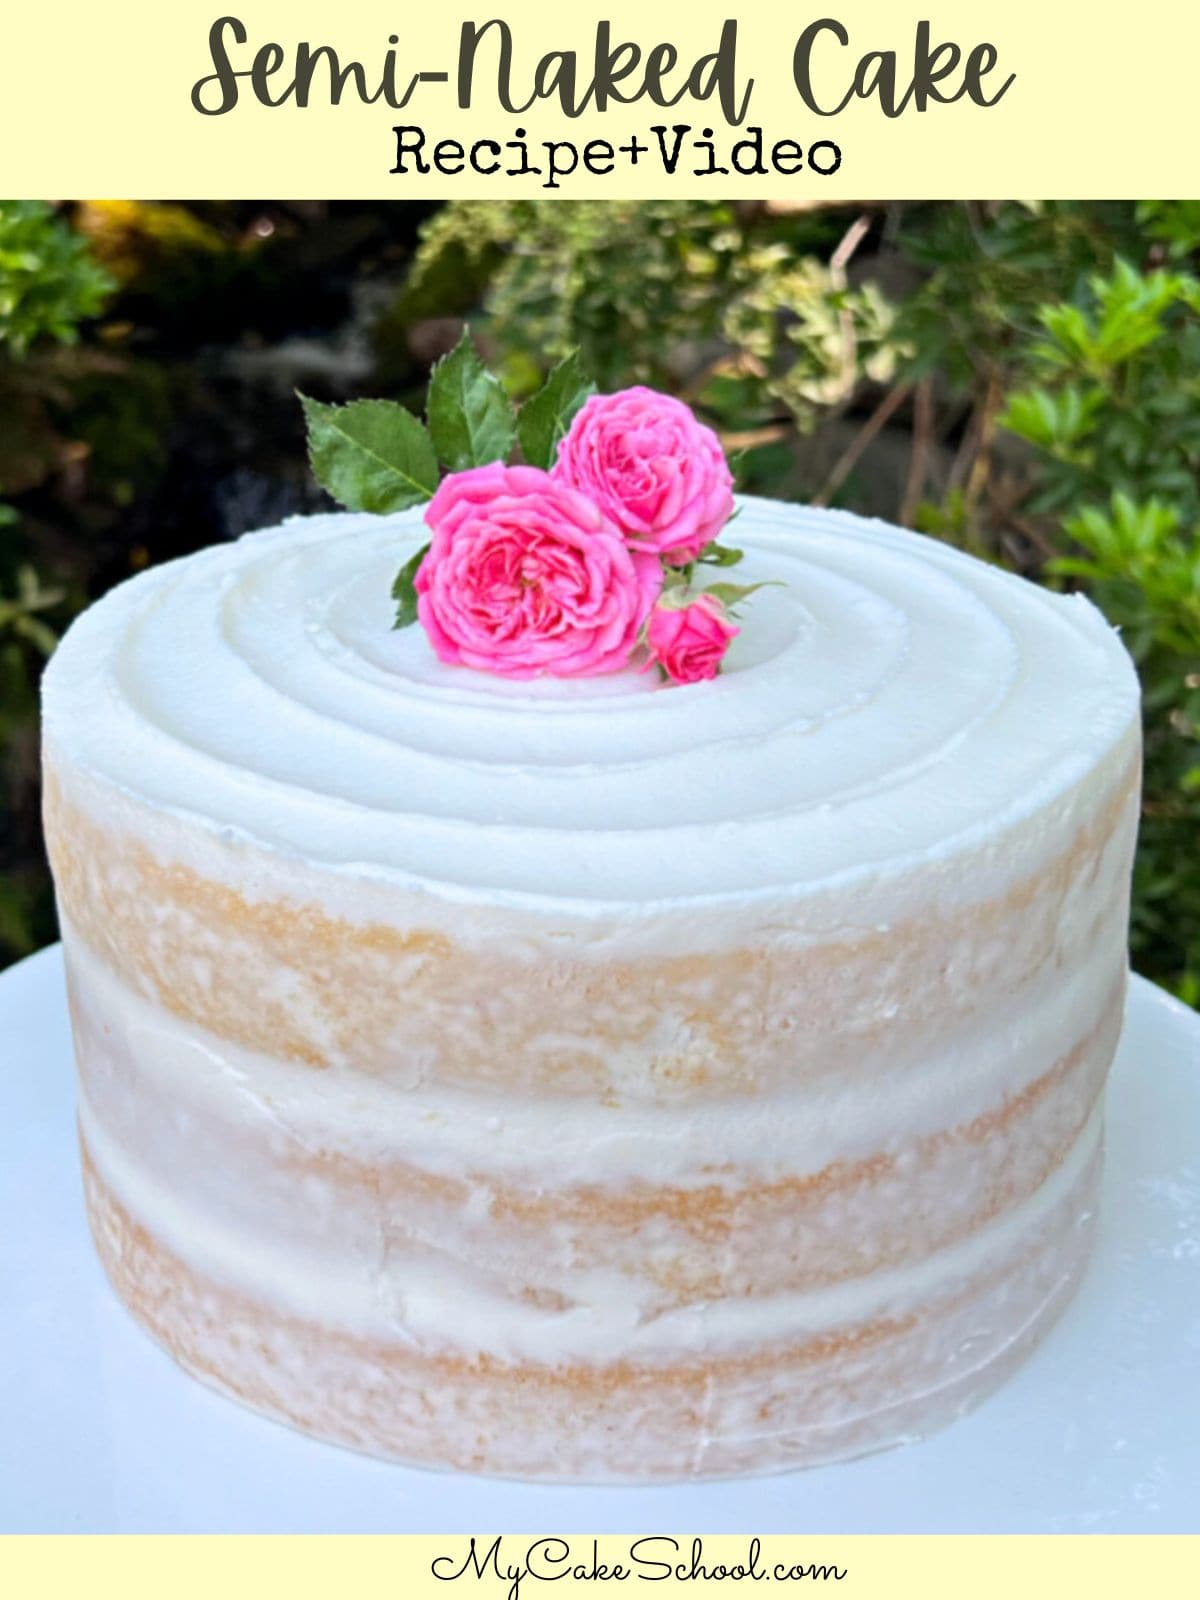
Table of Contents
How to Make a Naked Cake
Naked cakes are assembled in just the way that you would imagine. Simply place the first cake layer on your cake base or pedestal, apply the filling or frosting, top with the next cake layer, and so on.
Once the cake is assembled, if there are any gaps between the cake layers, you can pipe in additional frosting or filling between the layers using a disposable piping bag with the tip snipped away, if you would like for more of it to show.
If you'd like a completely smooth look between the cake layers, you can then sweep a bench scraper around the sides of the cake to remove any excess frosting.
Naked Cake vs. Semi-Naked Cake
While some decorators use naked cakes as an all-encompassing term for cakes that have very little frosting, others make a distinction depending on the amount of frosting used.
How to Make a Naked Cake
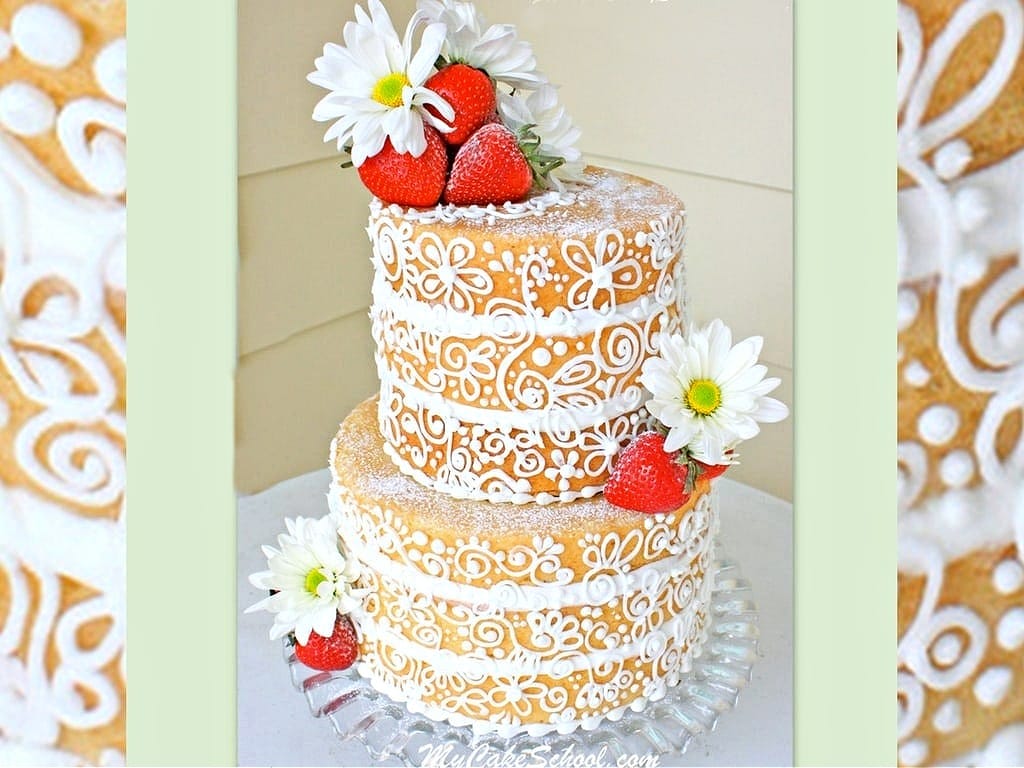
A truly Naked Cake is a filled layer cake that is not frosted. We do recommend lightly brushing the exposed layers with a clear glaze as we did in our Naked Cake with Scrollwork tutorial to protect the cake from drying out.
Naked cakes often have buttercream on top for a fun contrast the the bare sides (and to satisfy the frosting lovers), but anything goes!
Here is our cake that I linked to above- I added a bit of scrollwork to mine just for fun, and a dusting of powdered sugar.
How to Make a Semi-Naked Cake
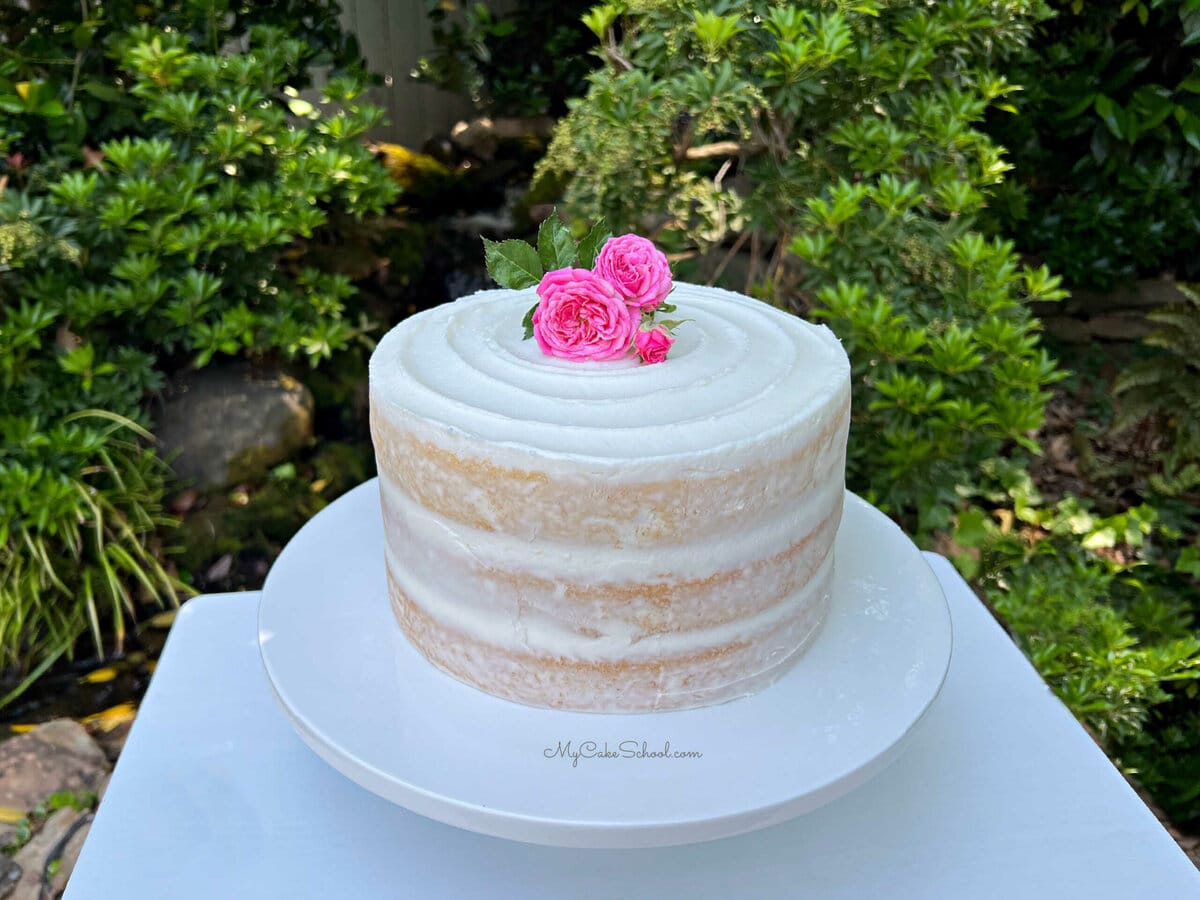
A semi-naked cake has layers that are filled and stacked as usual, but frosting is applied to the outside.
Use an offset spatula to apply frosting to the assembled cake, but it should be applied very thinly, exposing some or all of the cake layers.
As you can imagine, this is an extremely forgiving method of cake decorating, which is why so many people love it! You do not have to have a uniform application of frosting. Some parts of the cake may have a bit more frosting than others.
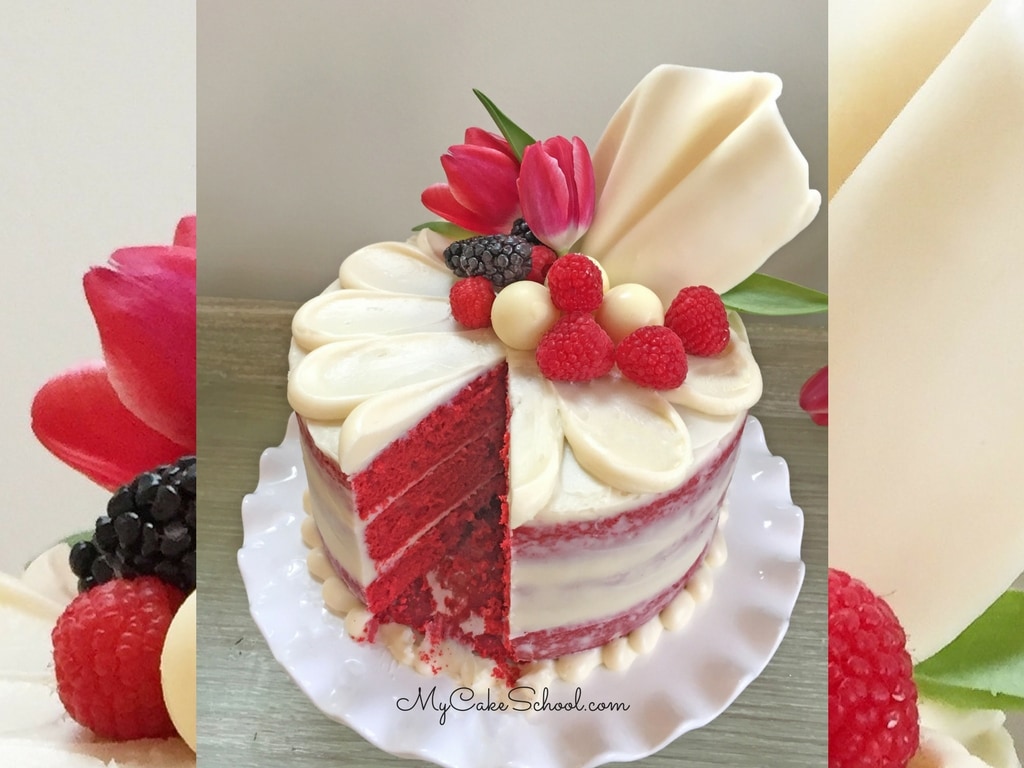
For the red velvet cake below, we applied cream cheese frosting sparsely around the sides with a thicker application on top. Then we topped it with a white chocolate sail for a bit of drama, flowers, berries, and white chocolate truffles!
You can see this tutorial here: Semi-Naked Red Velvet Cake Design with Chocolate Sail
Advantages of a Semi-Naked Cake
Aside from the time saving advantages of semi-naked cakes, another advantage over a truly "naked cake" is that there is no need to brush the layers with a clear glaze as we described above. .
A very thinly applied layer of frosting will give the feeling of a naked cake with exposed layers, but it also protects the layers from drying out.
Naked Cake FAQs
Cake Recipes
Any layer cake on our site would make a great naked cake or semi-naked cake recipe! For today's featured cake, we used our Vanilla Buttermilk Cake.
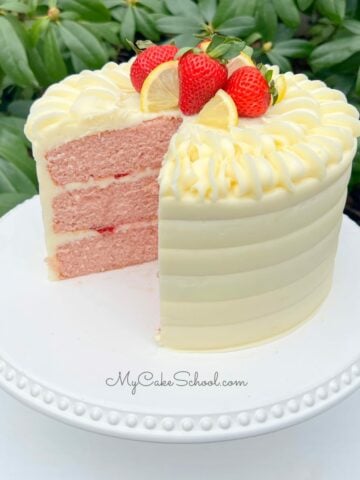
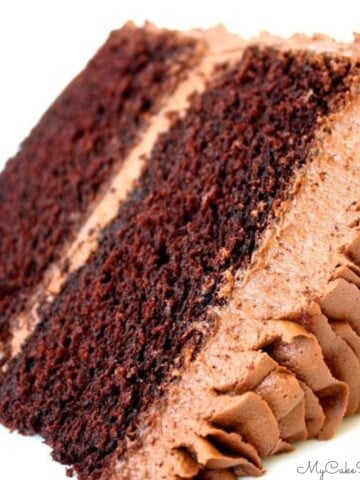
Some other popular cake recipes are: Almond Cake, Lemon Cake, Strawberry Cake, and Chocolate Cake!
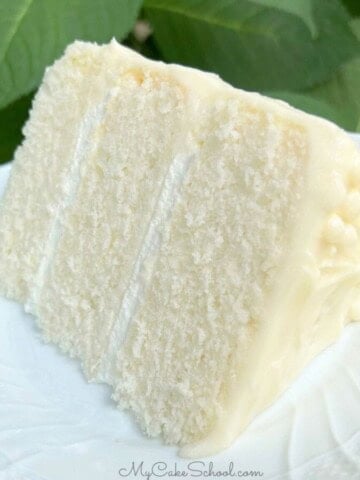
If you're looking for other vanilla cakes, our White Velvet Cake Vanilla Velvet Cake, Homemade White Cake and White Cake Recipe are great options too.
You can scroll through our huge collection of Cake Recipes for even more options!
Thanks so much for stopping by! If you are interested in cake design, make sure to check out our Cake Decorating section of tutorials as well!
Have you made this? We would LOVE for you to leave a ⭐️ rating as well as a comment and photo below! We really appreciate your feedback!
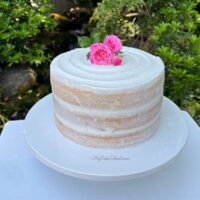
Semi-Naked Cake (Vanilla Buttermilk Cake)
Ingredients
- ¾ cup (170g) unsalted butter, softened ( holds it shape but dents when pressed) This is equivalent of 1 ½ sticks butter.
- 2 cups (400g) sugar
- 4 large eggs
- 3 cups (342g) cake flour (spooned into measuring cup and leveled off) See Notes for substitution
- 2 teaspoons (8g) baking powder
- ½ teaspoon (3g) baking soda
- ½ teaspoon (3g) salt
- 1 ¼ cups (296g) buttermilk See Notes for substitution
- ¼ cup (54g) vegetable oil
- 1 Tablespoon (12g) vanilla extract
Classic Vanilla Buttercream
- 1 cup (226g) unsalted butter, slightly softened but cool to the touch and holding it's shape
- 6 cups (690g) powdered sugar (adjust amount to your consistency preference)
- 2 tsp. (4g) vanilla extract (use clear imitation vanilla if you like a whiter frosting)
- ⅓ cup (72g) milk or cream, more if needed
- ½ teaspoon (3g) salt
Instructions
- Preheat the oven to 350 degrees, grease and flour three 8×2 inch round pans.
- In a medium bowl, whisk the flour, baking powder, baking soda and salt for 30 seconds. Set aside.
- In another bowl, add the buttermilk, oil and vanilla. Set aside.
- In the bowl of your mixer, add the butter and mix at medium speed until smooth. Gradually add the sugar and continue to mix on medium speed for 3 to 5 minutes until lightened in color and fluffy.
- Add the eggs one at a time mixing until the yellow of the yolk disappears.
- With the mixer on low speed, alternately add the flour mixture and buttermilk mixture, beginning and ending with the dry ingredients (3 additions of dry ingredients and 2 of liquid).
- After the last addition, mix just until combined. Be careful not to over-mix.
- Bake at 350 degrees for 25-30 minutes or until a toothpick inserted in the center comes out clean or with just few crumbs attached. Let cool 10 minutes and turn out.
For the Vanilla Buttercream
- Cream the (slightly softened) butter until smooth. Blend in the vanilla.Add half of the powdered sugar and most of the milk.
- Beat at medium speed until the powdered sugar is incorporated.Add remaining powdered sugar and milk and mix at medium speed another 3 to 4 minutes scraping the sides of the bowl occasionally.
- I slow down the mixer to very slow. (#2 on the Kitchenaid) for 1 to 2 minutes. This will help eliminate air pockets in the buttercream. The texture will become very smooth.
- Yields approximately 4 ½ cups of frosting. Enough to frost a two layer 8 or 9 inch cake. Can be frozen in air tight container for at least three months . Thaw on countertop. If your buttercream is too thin, add more sugar. If the consistency is too thick, add a bit more milk.
Semi-Naked Cake Design
- Place the first cake layer on the cake base or pedestal. Spread with vanilla buttercream. Repeat for the next cake layer. Top with the third cake layer.
- Fill in any remaining gaps between the layers with frosting. Apply a thin coat of frosting all over the cake. Use a bench scraper to remove desired amount of excess frosting, so that the frosting is thin enough (in some or all areas) to see through to the layers beneath.
- As an optional step, we added a layer of frosting on top of the cake. Smooth the frosting on top, then, while rotating the cake on a turntable, use an offset spatula to create a spiral impression on top. Start in the center and spiral outward with each rotation.
- Decorate however you like! We topped ours with a few small roses before serving. Fruit is a great option as well!
- Store in an airtight container. We like to refrigerate all of our cakes until within a few hours of serving. However, the cake would be fine at room temperature for 1-2 days.

