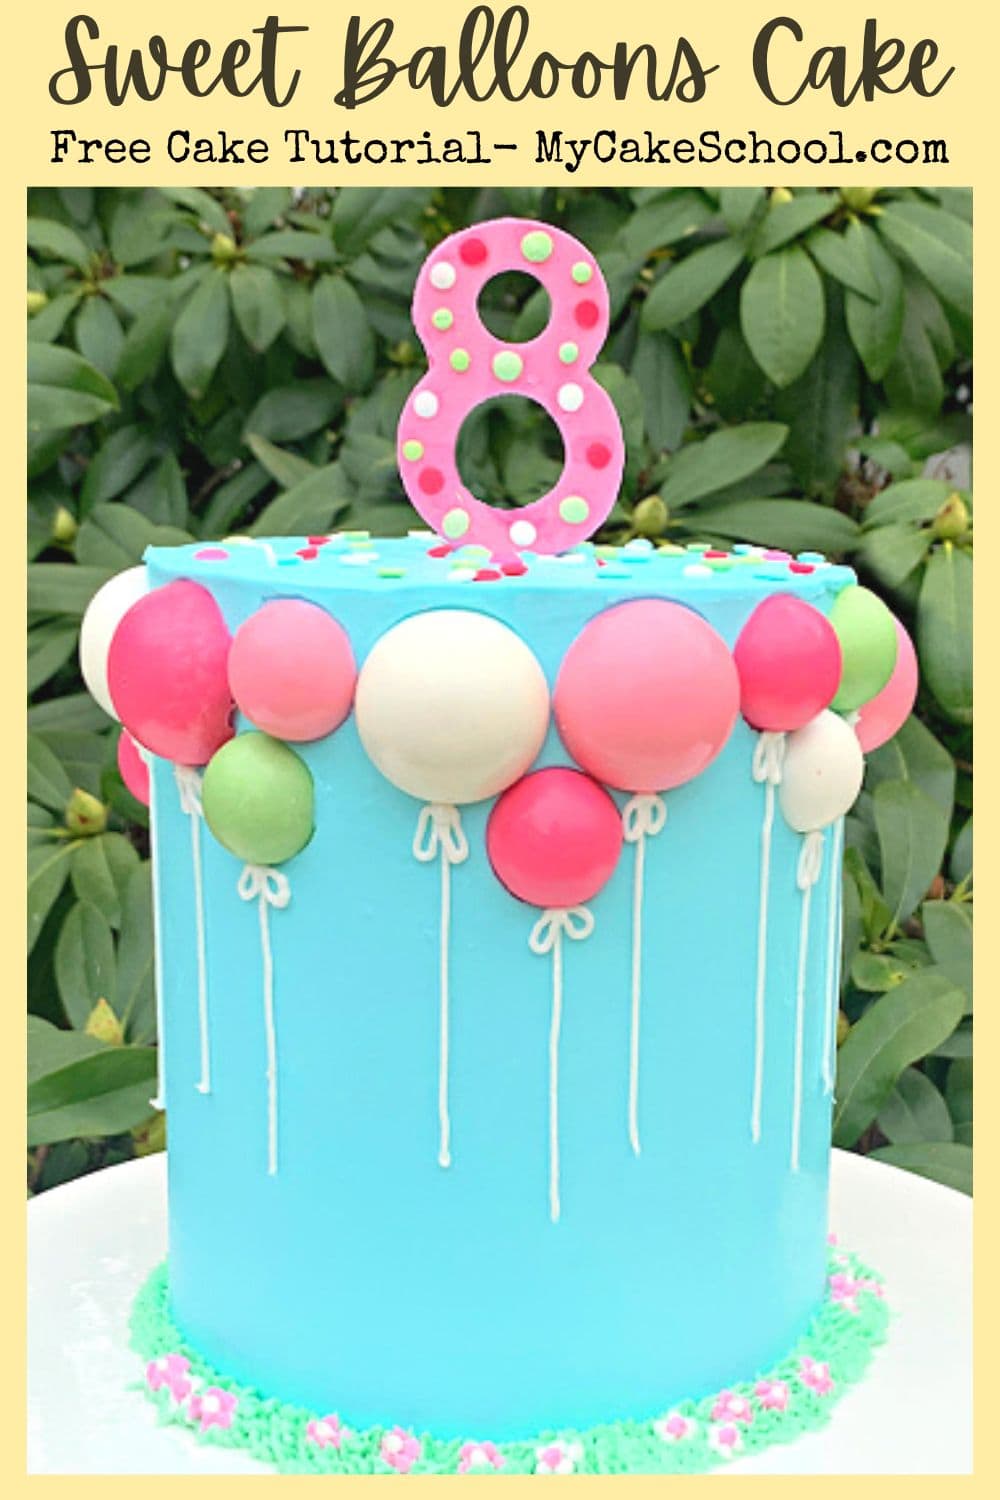
Sweet Balloons Cake
Today's balloons cake is such a cute birthday cake design and is so cheerful and fun! It is one of our favorites because it is so unique and colorful.
We love incorporating chocolate spheres into cake decorating as a really easy way to add dimension to cake designs and what better way to use them than a balloon-themed cake!
Candy coating is such a simple and effective decorating medium. It is one of our favorites because the cake designs set up so quickly.
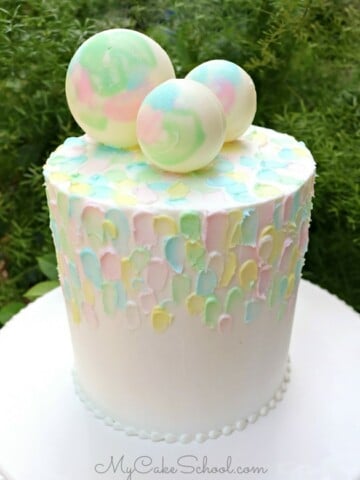
As you'll see in our tutorial, the silicone molds are very easy to work with and we've used them in a few of our cake tutorials if you'd like to see a few more decorating options. One example is our Painted Buttercream Cake & Chocolate Spheres!
We hope that you enjoy the video- we loved creating this cake. It is perfect for birthday parties for children and adults! I know I would love one myself ;0)
Make sure to check out our notes below for a few additional details!
Table of Contents
Materials for Balloon Cake
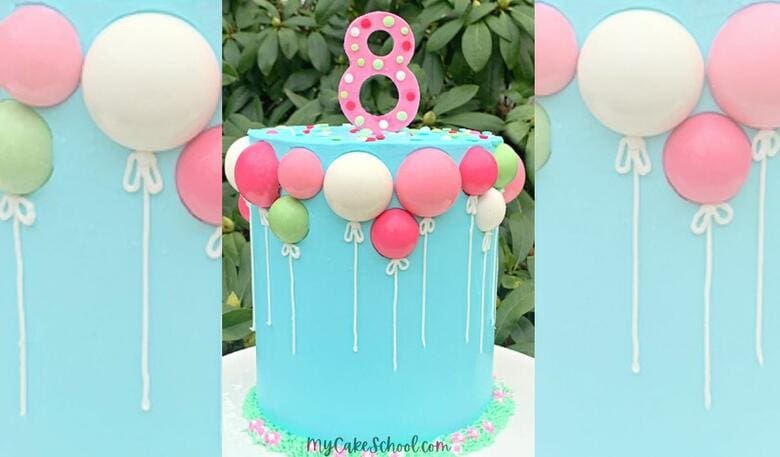
This chocolate balloon cake design works for cakes of any size, but for our tutorial we used a double barrel (tall) 6 inch cake.
Our double barrel cake is a four layer 6 inch cake, with a cardboard cake circle halfway up, supported by 4 bubble tea straw supports. The cake is resting on it's own cake cardboard cut to the size of the cake.
(If you are decorating your cake on a turntable, having the cake on it's own cake cardboard allows you to easily transfer the cake to its final cake base or pedestal after chilling it to firm up).
Buttercream: We frosted the cake with our Fluffy Vanilla Buttercream recipe
Candy Coating- We used pre-colored candy coating, but you could also tint candy coating/bark coating with oil based candy coloring gels.
Coloring Gel- Americolor Sky Blue and Leaf Green (for grass). We used pre-colored candy coating.
Silicone Sphere Molds (Affiliate Link)- You can find these on Amazon, mine came in a set of various sizes
Piping Tip: I used a small round tip 2 for the balloon strings, grass piping tip 233
Sprinkles- I used miscellaneous confetti sprinkles
Tylose powder- optional- I created tylose glue for attaching the lollipop stick anchor to the back of my number topper and also for attaching sprinkles to the number topper. Tylose glue can be made by mixing a little warm water into a little tylose powder creating a clear, gel consistency.
Miscellaneous: Disposable piping bags, small paintbrush, cake base/pedestal
How to Create Chocolate Spheres for Cakes
Melting the Candy Coating:
I melted my candy coating in small increments in the microwave until just melted-- I used approximately ⅓ cup for each color but adjust to the amount of balloons you're making per color.
(I used the candy coating I had on hand-- Sweet Tooth Fairy Brand for the Green, Light Pink, & White, and Wilton Candy Melts for the Dark Pink)
Next, I filled the silicone molds with melted candy coating (using disposable piping bags with the tip snipped away)
Filling the Molds:
I filled the wells/molds a little less than halfway before spreading the coating with a paintbrush. I didn't have any problems with coverage- but if you're melted coating is a little too hot, and the melted candy coating is too thin, just allow to cool for a few more minutes to thicken (or you can go in for a second layer of coating if needed).
Chilling:
Chill the filled silicone molds for maybe 5-10 minutes or until firm before popping out. You can store them at room temperature if making in advance.
Mine were thick enough that they didn't seem fragile, however if you are worried about breakage, you can chill the chocolate balloons just before applying to the frosted tier.
Creating the Strings for the Chocolate Balloons
I piped my buttercream balloon strings with a small round piping tip 2. I chilled my cake tier to firm up the frosting right before piping on the strings so that if I made a mistake, I could more easily wipe it away without denting the smooth blue base coat of frosting.
Alternate Method: If you don't want to pipe on the strings, you can also extrude fondant balloon strings using a fondant extruder and apply to the chilled tier for a similar look.
Creating the Cake Topper
When creating a number cake topper like we did, it's best to cut it out and begin drying it a couple of days in advance to be on the safe side.
I prefer to use gum paste for stand-up toppers- but you could also use fondant with a good amount of tylose powder kneaded into it. This will give you a faster-drying and stronger fondant, making it similar to gum paste.
Once dry, flip the number over and attach a lollipop stick to the back as an anchor so that it can stand up on top of the cake.
I attached the stick to the back of the number using a little tylose glue (which is tylose powder mixed with a little warm water) and a strip of gum paste on top of the lollipop stick (lightly brushed with tylose glue) to hold it into position.
Allow to dry for about 30 minutes or until it can safely be picked up without the lollipop stick sliding.
Cake Decorating with Candy Coating
Candy coating is one of our favorite cake decorating mediums. It is so easy to work with, no tempering is needed, and the decoration firms up in minutes when chilled.
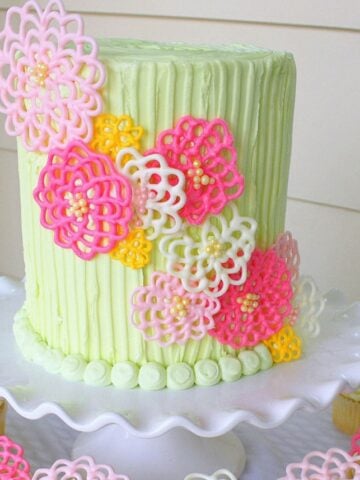
Here are just a few more fun, free cake decorating tutorials to try!
More Balloon Themed Cakes to Try!
We just love cheerful balloon themed cakes! We've done several over the years- here are a few more for your list!!
- Bicycle with Balloons Cake- a Free Cake Blog Tutorial
- Gelatin Balloons Cake
- Teddy Bear & Balloons Cake
Cake Recipes
If you are in search of cake recipes to use with this design, any of our cake recipes would be great! Some of our most popular scratch are our Lemon Cake, Strawberry Cake, Chocolate Cake, and Cookies and Cream Cake! Our Pink Velvet Cake would be a really fun, colorful cake option too!
Also, if you prefer cake mix recipes over cakes from scratch, we have you covered! We'd love for you to scroll through our complete list of cake recipes!


Enjoy the Video
Thanks so much for stopping by! We hope that you enjoy this chocolate balloon cake video!
Have you made this? We would LOVE for you to leave a ⭐️ rating as well as a comment and photo below! We really appreciate your feedback!
Sweet Chocolate Balloons Cake

Learn how to make this colorful, fun, and unique cake which features chocolate candy coating balloons!
Materials
- This cake design works for cakes of any size, but for our tutorial we used a double barrel (tall) 6 inch cake.
- Our double barrel cake is a four layer 6 inch cake, with a cardboard cake circle halfway up, supported by 4 bubble tea straw supports. The cake is resting on it’s own cake cardboard cut to the size of the cake. (If you are decorating your cake on a turntable, having the cake on it’s own cake cardboard allows you to easily transfer the cake to its final cake base or pedestal after chilling it to firm up).
- Buttercream: We frosted the cake with our Fluffy Vanilla Buttercream recipe
- Candy Coating– We used pre-colored candy coating, but you could also tint candy coating/bark coating with oil based candy coloring gels.
- Coloring Gel– Americolor Sky Blue and Leaf Green (for grass). We used pre-colored candy coating.
- Silicone Sphere Molds (Affiliate Link)- You can find these on Amazon, mine came in a set of various sizes
- Piping Tip: I used a small round tip 2 for the balloon strings, grass piping tip 233
- Sprinkles- I used miscellaneous confetti sprinkles
- Tylose powder– optional- I created tylose glue for attaching the lollipop stick anchor to the back of my number topper and also for attaching sprinkles to the number topper. Tylose glue can be made by mixing a little warm water into a little tylose powder creating a clear, gel consistency.
- Miscellaneous: Disposable piping bags, small paintbrush, cake base/pedestal
- Number Cake Topper- Optional- We made ours with gum paste, a number cookie cutter/template, and lollipop stick.
Instructions
For the Balloons
- Melt candy coating/candy melts in small increments in the microwave until just melted– I used approximately ⅓ cup for each color but adjust to the amount of balloons you’re making per color. (I used the candy coating I had on hand– Sweet Tooth Fairy Brand for the Green, Light Pink, & White, and Wilton Candy Melts for the Dark Pink)
- Fill the silicone molds with melted candy coating (using disposable piping bags with the tip snipped away)
- Fill the wells/molds a little less than halfway before spreading the coating with a paintbrush. I didn’t have any problems with coverage- but if your melted coating is a little too hot, and the melted candy coating is too thin, just allow to cool for a few more minutes to thicken (or you can go in for a second layer of coating if needed).
- Chill the filled silicone molds for about 5-10 minutes or until firm before popping out.
- You can store them at room temperature if making in advance. Mine were thick enough that they didn’t seem fragile, however if you are worried about breakage, you can chill the chocolate balloons just before applying to the frosted tier.
Decorating the Cake
- Chill the chocolate balloons as well for about 5 minutes in the freezer, or longer in the refrigerator. Press around the sides of the cake towards the top. (These would also be cute on top of a sheet cake)
- Pipe buttercream balloon strings with a small round piping tip. If you aren't a fan of piping, you can also extrude thin strands of fondant if you have a fondant extruder. Pipe/apply your strings to a chilled buttercream-frosted cake so that if you have a mistake with your piping, you can easily remove and pipe again.
Gum Paste Number Topper- optional
- If making a number topper, cut out your shape in gum paste a couple of days in advance and allow to dry at room temperature on parchment paper. (It's a good idea to make two just in case!)
- Once dry, flip the number over and attach a lollipop stick to the back as an anchor so that it can stand up on top of the cake.
- I attached the stick to the back of the number using a little tylose glue (which is tylose powder mixed with a little warm water) and a strip of gum paste on top of the lollipop stick (lightly brushed with tylose glue) to hold it into position.
- Allow the lollipop stick/strip of gum paste to dry for about 30 minutes or until it can safely be picked up without the lollipop stick sliding. You can add little confetti sprinkles with tylose glue or your edible glue of choice!
Recommended Products
As an Amazon Associate and member of other affiliate programs, I earn from qualifying purchases.

Super cute! Love it! :-)
OMG! Adorable!
Very cute!!????????????
So cute! Love the balloons!!