Teddy Bear and Balloon Cake
We're so excited to add this CUTE Teddy Bear and Balloon Cake to our cake decorating tutorials section.
We love cute cakes, and this is not only an adorable choice for birthday cake designs, Valentine's Day cakes, and baby shower cakes, but it is also a simple cake to create.
Sometimes the simplest designs are the best!

Table of Contents
Teddy Bear and Balloon Cake Design
With Valentine's Day just around the corner, we wanted to create a cake tutorial that would incorporate a love or hearts in the design.
Our little "love you" balloon design fits this theme perfectly, and although we used a sweet teddy bear in our design, any number of modeled animals would work equally well!
Additional Notes:
Dry Times
For your teddy bear, it's best to allow the bear pieces to dry for at least a couple of hours so that they can begin to firm up before piecing together.
Internal Anchors
We used toothpicks for anchors in the arm and head, but if you do this you will want to warn whoever the cake is for that there are toothpicks inside, in case anyone should try to take a bite out of it! ;0)
You could also skip the toothpicks altogether and just adhere the body parts with small bits of gum paste with a small amount of water kneaded into it to make it tacky. Then just allow to dry.
For me, using anchors is the easiest and quickest option.
Cake Message
If you need to make the "message" of the balloon string shorter, you could simply right "love". Or, if you don't like to write in buttercream, you could just let the string be straight and use fondant letter molds to create your message somewhere else on your cake. There are so many cute options that would still work well with this design.
We also have a quick tutorial for writing on cakes!
Cake Recipes
Looking for Cake Recipes? We have so many that would be great for this cake. Some of our favorites are our Lemon Cake Recipe, Almond Cake, Strawberry Cake, Orange Cake, and Chocolate Cake from scratch.
These are all cake recipes from scratch, but we have so many great cake mix recipes as well!


Enjoy the Video!
We hope that you enjoy this Teddy Bear and Balloon Cake tutorial! Thanks so much for stopping by.
Have you made this? We would LOVE for you to leave a ⭐️ rating as well as a comment and photo below! We really appreciate your feedback!
Teddy Bear and Balloon Cake- A Free Cake Decorating Video
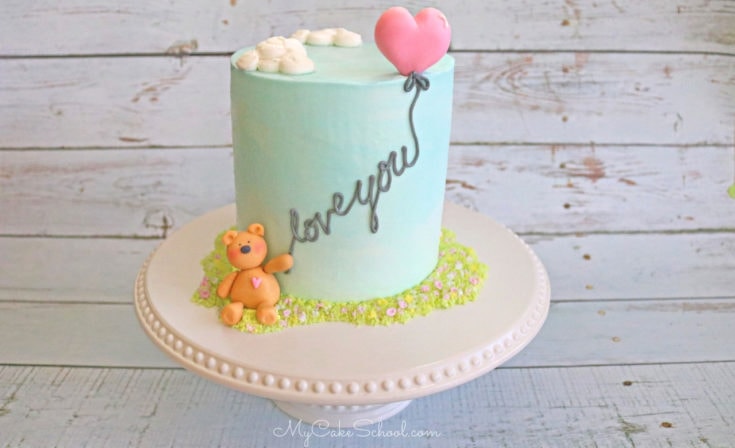
This Teddy Bear and Ballon Cake is so cute for baby showers and young birthdays!
Materials
- Buttercream Frosting- We used our Fluffy Vanilla Buttercream Recipe
- Gum Paste or Fondant with a little tylose powder kneaded into it
- Coloring Gels: We used Americolor Deep Pink, Sky Blue, Electric Green, Lemon Yellow, Ivory (bear), Black (nose)
- Food Coloring Pen in Black
- Piping Tips: Tip 2 (balloon string), 233 grass tip
- Piping Gel (or your food-safe adhesive of choice)
- Miscellaneous: I prefer to frost my cakes while using a turntable. We also used disposable piping bags, small paintbrushes
Instructions
- Frost the cake in a thin coat of white buttercream. Chill to firm up, and then follow with a coat of blue buttercream (mine has a swirly blue and white look).
- Shape pink fondant into a heart shape. (Fondant has a little tylose kneaded into it to firm it up). Add a little lollipop stick anchor to the bottom and allow to set up before placing into the cake.
- Chill frosted cake for about 15 minutes in the freezer to firm up the buttercream, then pipe the "love you" message using a tip 2. Connect to the balloon.
- Pipe grass border with a grass tip.
- Using gum paste (tinted with Americolor Ivory coloring gel), form the parts of the bear and create small holes where they will later connect with toothpicks. (If you do not want to use toothpicks, you can use uncooked pasta or even just dampened gum paste as glue).
- Assemble the bear and arrange in front of the cake so that the hand touches the balloon string.
- Add final touches, little buttercream dots/flowers in grass.
Notes
For this cake design, we used a 6 inch (4 layer) double barrel cake. As usual, with our double barrel cakes, I filled the bottom two layers (they were resting on their own cardboard cake circle), inserted four bubble tea straw supports, added the top two filled layers (on their own cardboard cake circle cut down to size) above that, and then frosted it all as one tall cake. So basically, with a double barrel cake, you have two tiers of cake stacked on top of each other, with a cardboard cake circle halfway up and supports beneath.
Recommended Products
As an Amazon Associate and member of other affiliate programs, I earn from qualifying purchases.
-
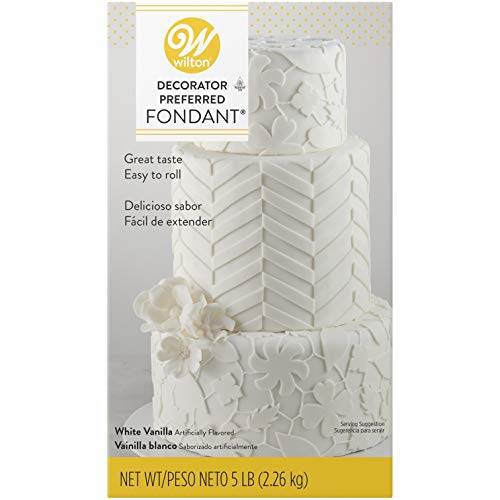 Wilton Fondant- 5 lb (Note that this is a 5 lb. package. Smaller packages are available also.)
 -
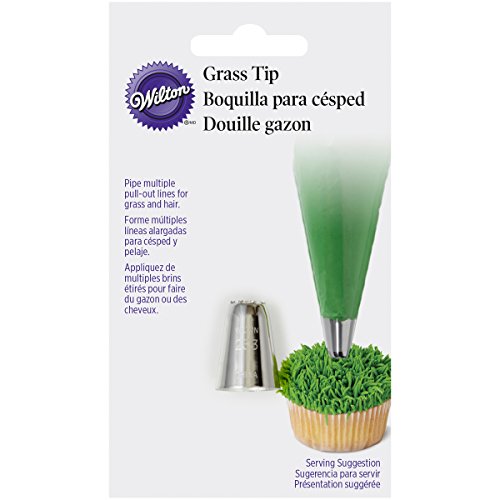 Wilton Grass Tip
 -
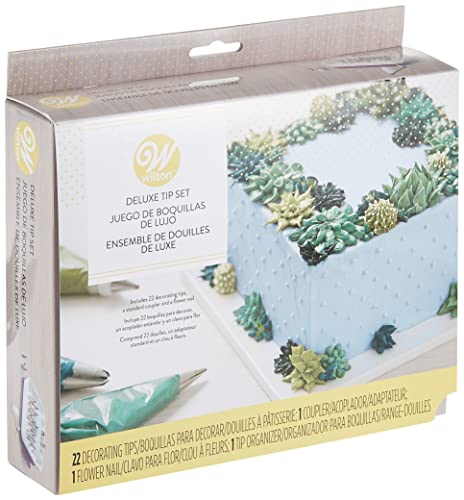 Wilton Piping Tips Set (These can be purchased individually as well)
 -
 Wilton Disposable Piping Bags- 12 inch
 -
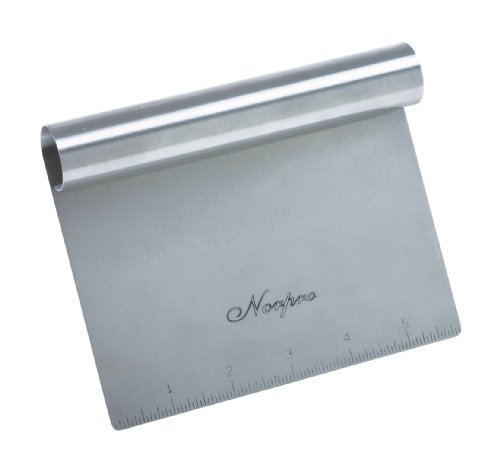 Bench Scraper (For frosting around sides of cake- Note that this one is 6 inches.)
 -
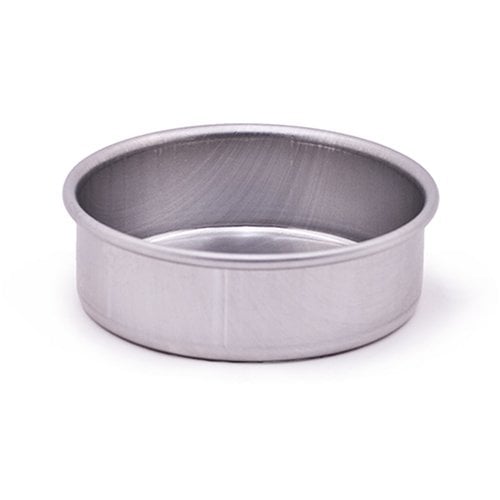 Magic Line Pan- 6 inch x 2 inch
 -
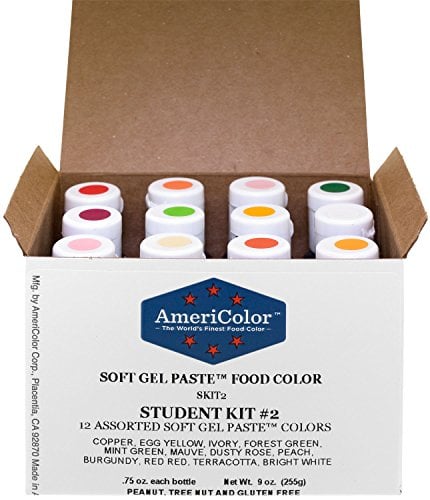 Americolor Coloring Gels Set (Check box for list of colors. Colors are sold individually also.)
 -
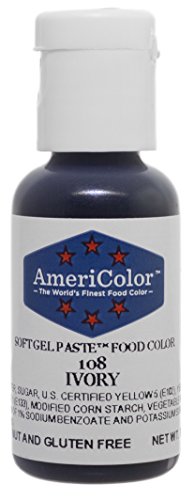 Americolor Ivory Coloring Gel
 -
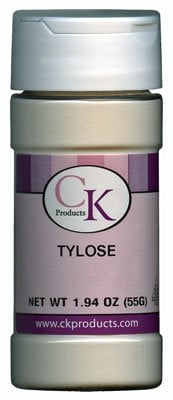 Tylose Powder (I often knead this into fondant for faster, firmer drying)
I made this cake for my baby in heaven's third birthday. I am an amateur so it was a challenge, but I'm happy I was able to express my love wit this cake for my little guy. Thank you!
@claw- I'm so glad you made it! You did such a good job!