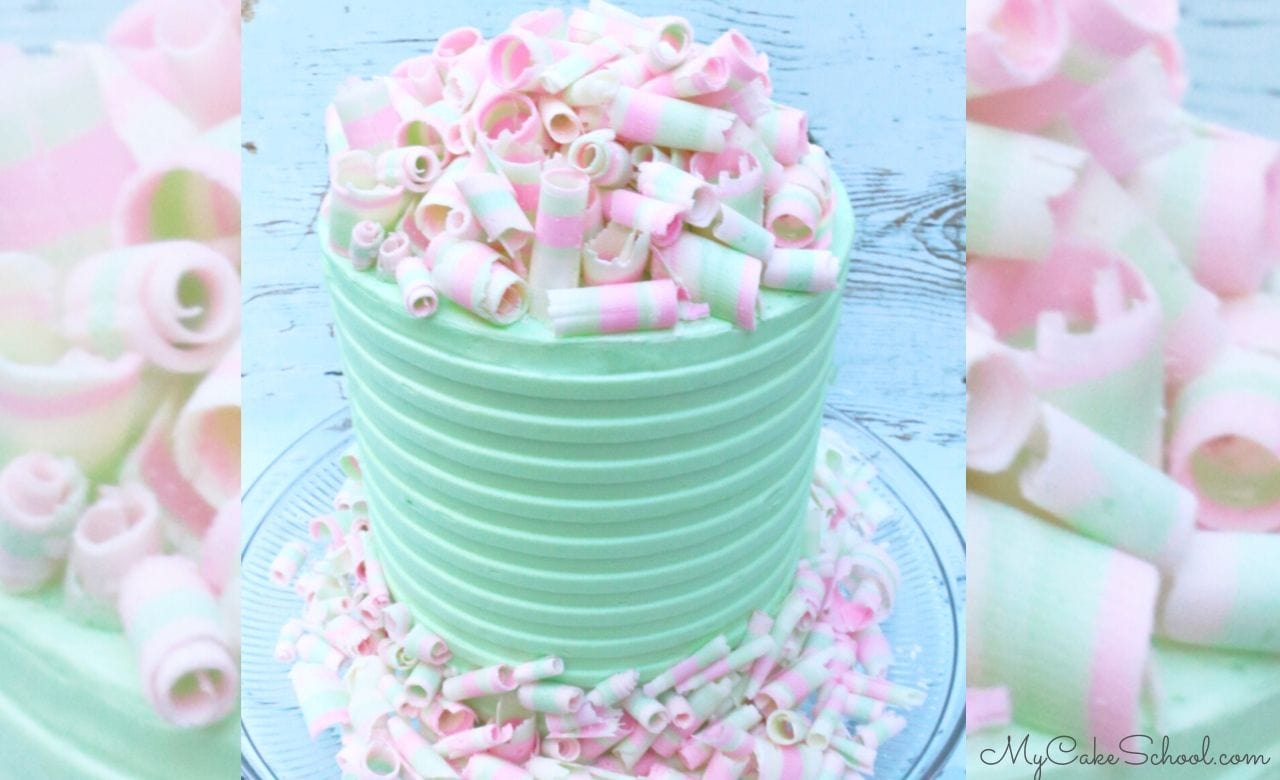
Colorful Striped Chocolate Curls- Cake Tutorial
In today's free video tutorial, I'm going to show you how to make striped chocolate curls using candy coating.
We've made chocolate curls now and then over the years but never striped ones (or so many at once)!
We really enjoyed this method of creating chocolate curls with candy coating- we hope that you find it helpful!
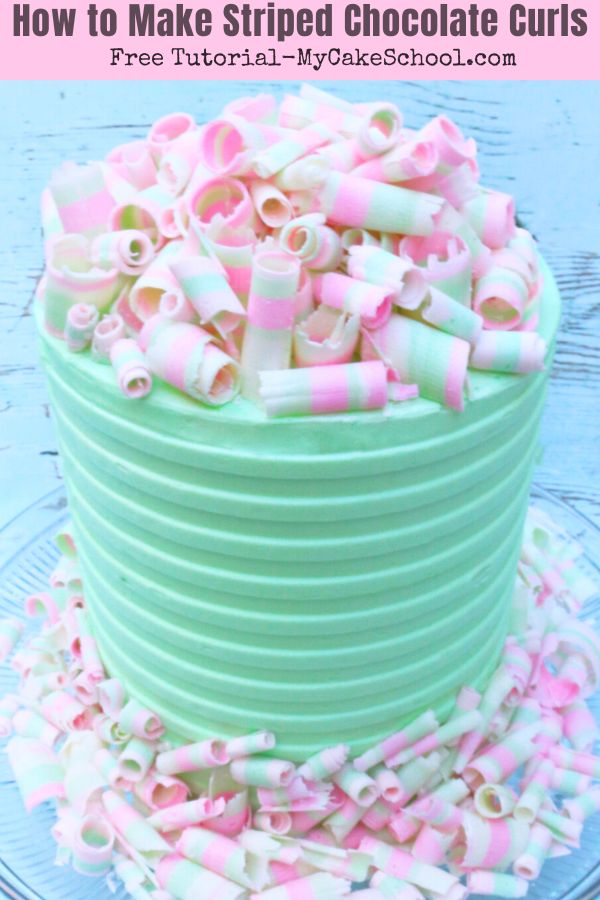
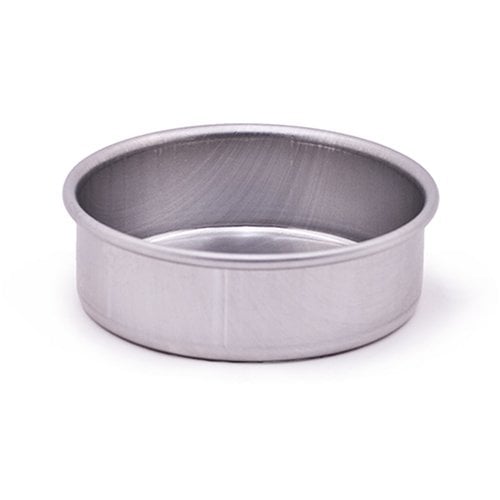
I used a small loaf pan and tinted candy coating to create a block of chocolate with colorful layers.
The layered look of the chocolate block is what gives us our fun and whimsical striped curls! I like this method even if I were making solid shades of curls--the block of candy coating was really easy to work with.
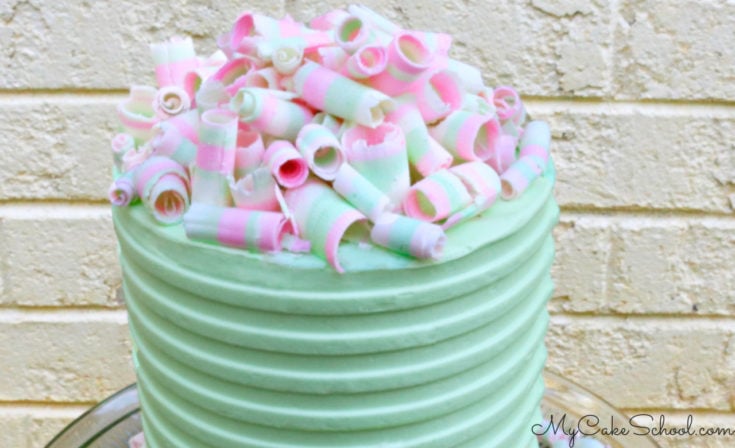
This tutorial is super short because the technique is so simple- and I made too many curls to film every one of them. ;0) There's lots of repetition but I do love the look of SO many curls on the cake!
Please let us know if you have any questions, and if you give striped chocolate curls a try, we would love to see!
Table of Contents
How to Make Striped Chocolate Curls
*The cake in this video is a 6 inch double barrel cake (four layers with a cake cardboard halfway up and bubble tea straw supports beneath). The cake is frosted with our fluffy vanilla buttercream frosting and combed with a Wilton comb.
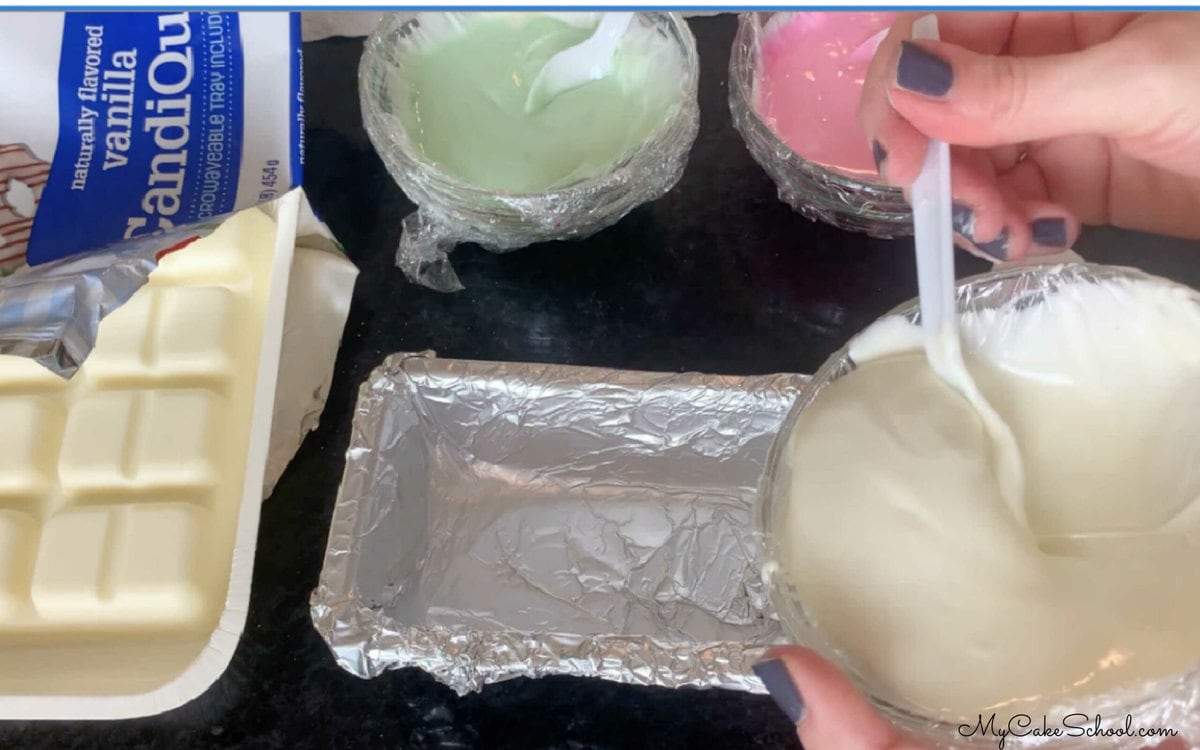
- I used a package of Candiquick candy coating which is 454g but I used lots of curls! You may not need this many, or you may want even more.
- I melted my white candy coating and then divided it into the plastic wrap-lined bowls (easier clean up) for tinting with coloring gels. Divide up the coating, keeping in mind that you may repeat a color or two and so those bowls will have more candy coating for tinting.
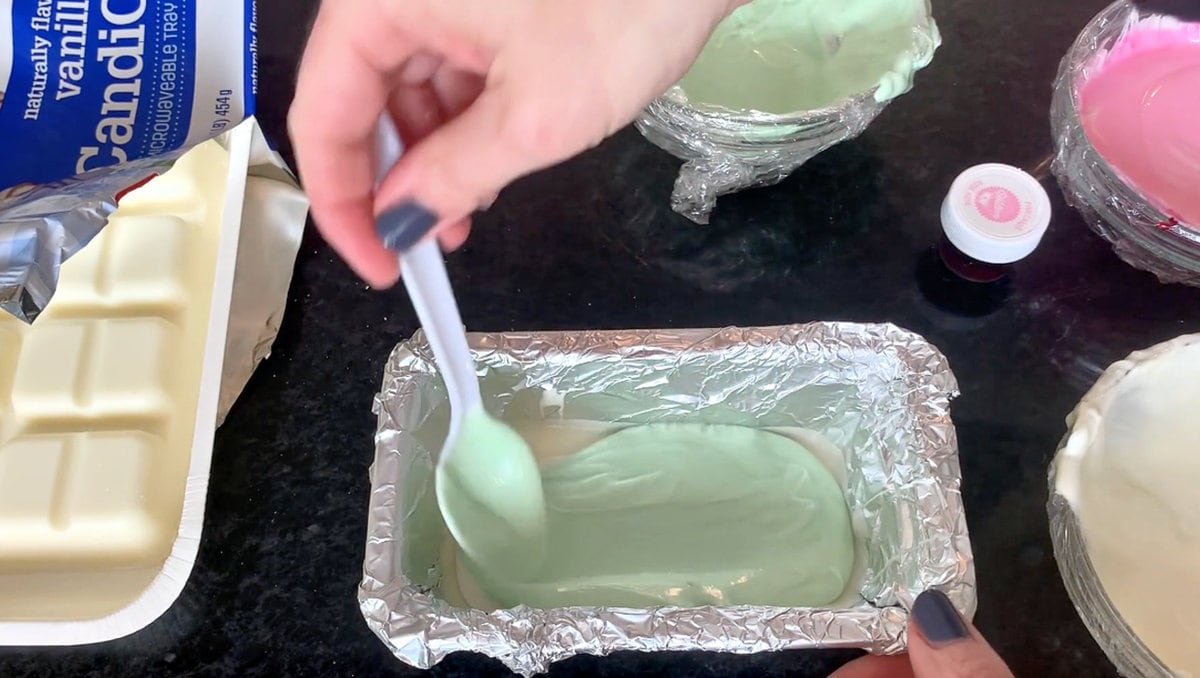
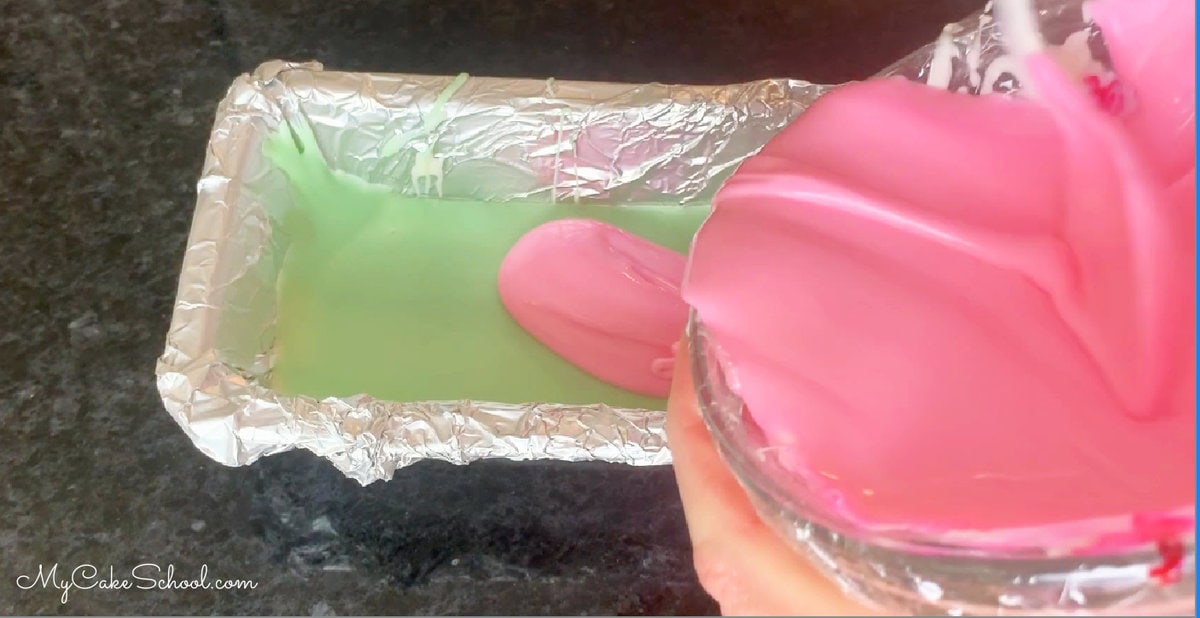
- Add melted coating to your foil-lined loaf pan one layer at a time, chilling to set between each layer so that the colors won't mix. I chilled each layer in the freezer for about 5 minutes or so to speed things along.
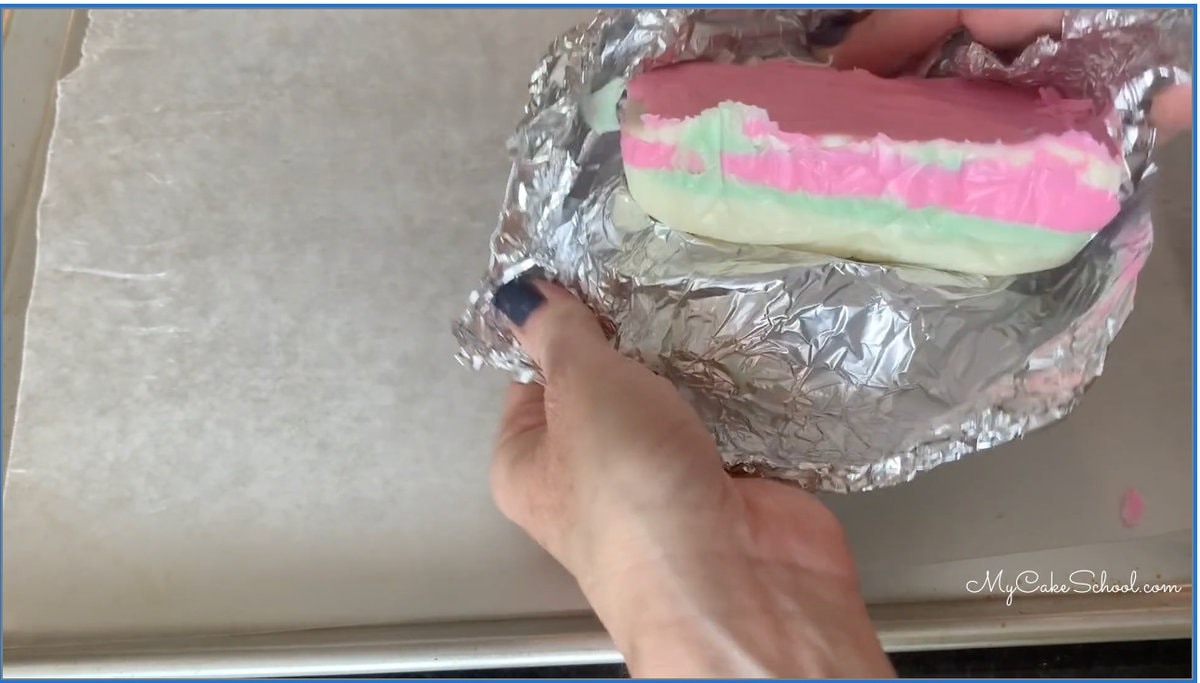
- After all layers are chilled and set, you can pull out the block from the loaf pan and peel away the foil. Then allow to warm to room temperature. This doesn't take that long, especially if you hold it for a few minutes or let it rest in a warm place in the kitchen.
- I wouldn't recommend microwaving the block because it could become too warm and the chocolate won't curl properly.
I found that as I created the curls, the heat of my hand would slightly warm the other side of the block and so I rotate the block often. When the block is slightly warm, I found the curls to come more easily.
- Some of your curls may break, that is normal. If all of them are breaking, try warming that side of the chocolate block slightly just by holding it for a few minutes and it should become easier.
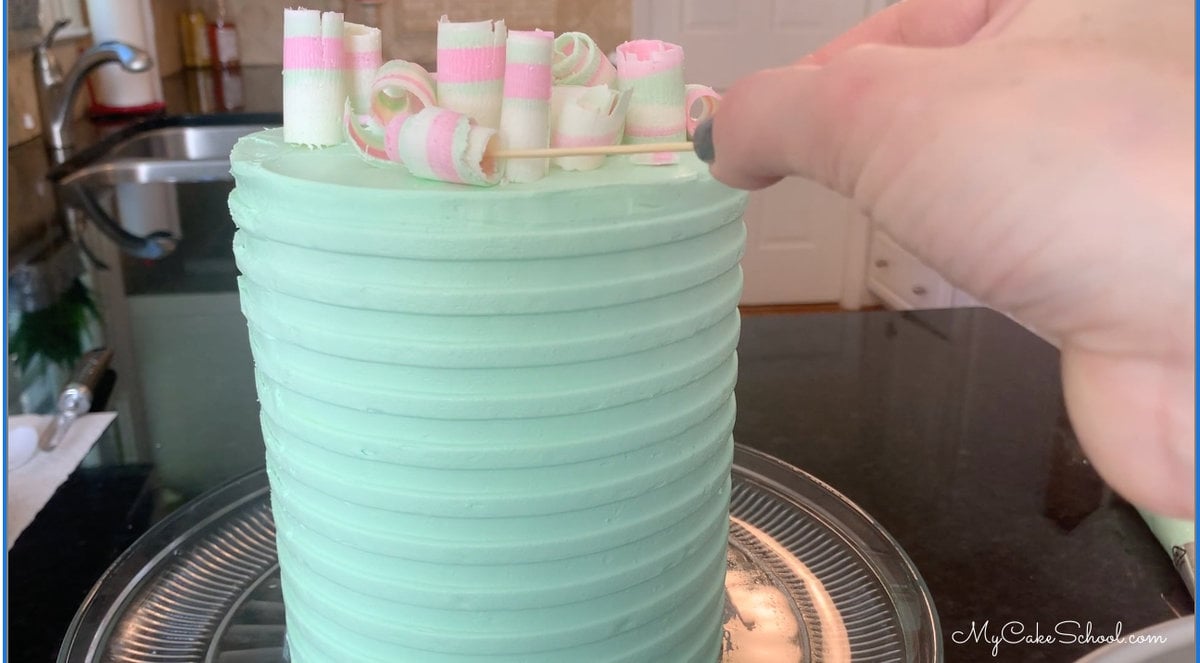
- I like to chill the curls before adding them to the cake so that they are less fragile. I also like picking them up with a toothpick to be on the safe side.


Candy Coating Cake Designs
If you also love working with candy coating, don't miss these other fun cake designs! This is such a versatile, easy-to-work-with medium in cake decorating! All of these are free tutorials.
Elegant Chocolate Flowers for Cakes
Bee Mine- Beehive Cake Tutorial
Enjoy the Video!
Thanks so much for stopping by! We would love to see your chocolate curl creations in the comments below!
How to Make Striped Chocolate Curls
In this free video tutorial, learn how to create beautiful chocolate curls from candy coating! Chocolate curls are the perfect accent for cakes and cupcakes.
Ingredients
- *The cake in this video is a 6 inch double barrel cake (four layers with a cake cardboard halfway up and bubble tea straw supports beneath). The cake is frosted with our fluffy vanilla buttercream frosting and combed with a Wilton comb.
- One package of Candiquick candy coating (454g) but I used lots of curls! You may not need this many, or you may want even more.
- Candy Coloring Gels- If you are tinting your candy coating, you'll need oil based coloring gels (Wilton and Americolor have candy colors). I used Wilton Pink & Green candy coloring, and used the same green candy coloring to tint my buttercream so that the greens would match.
- Loaf Pan- I have a very small loaf pan which is only about 3 x 6 inches at the widest point. You can also use a larger loaf pan and just have a longer more narrow bar to work with (like the chocolate and white striped one that I showed in the video).
- Aluminum Foil to line the loaf pan with
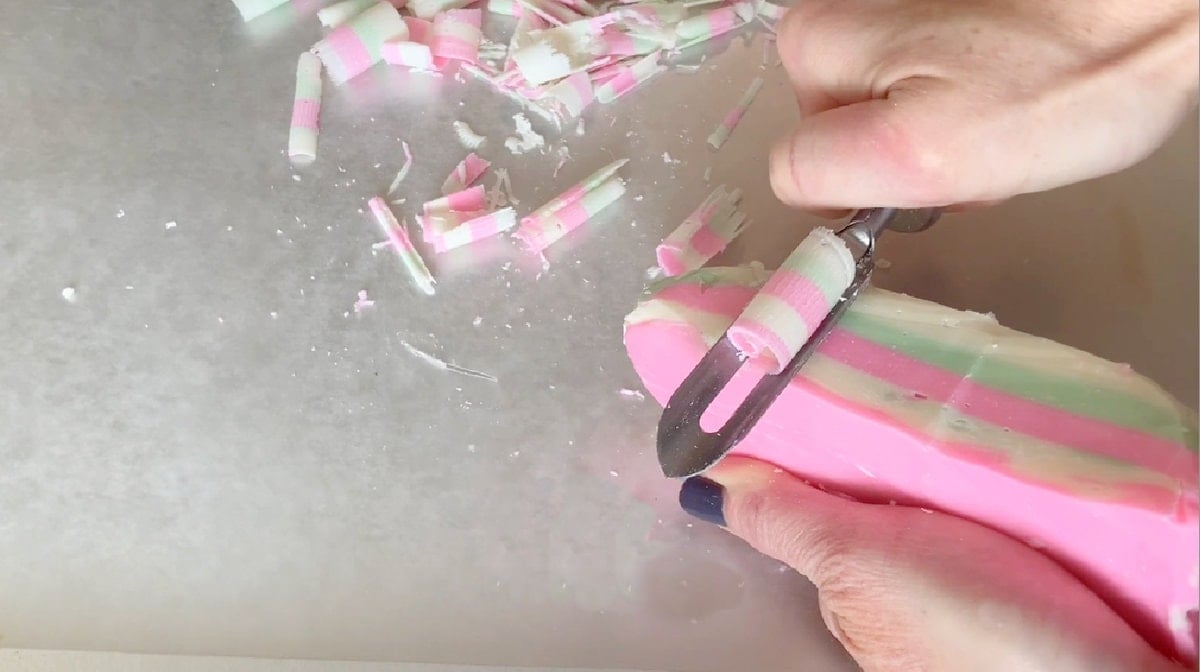
- Vegetable/Potato Peeler--If you don't have one, you can experiment with gliding a sharp knife along the side of the chocolate block-- I found the peeler to be easy to work with.
Instructions
- Melt the white candy coating in small increments in the microwave until almost completely melted. Then stir until smooth.
- Divide the melted chocolate coating into plastic wrap-lined bowls (easier clean up) for tinting with oil-based coloring gels. If you plan to use some colors more than others, you will fill those bowls with a little more melted candy coating than the others.
- Tint each bowl the desired color using tinted candy coloring gels.
- Add melted coating to your foil-lined loaf pan one layer at a time, chilling to set between each layer so that the colors won't mix. I chilled each layer in the freezer for about 5 minutes or so to speed things along.
- After all layers are chilled and set, you can pull out the block from the loaf pan and peel away the foil. Then allow to warm to room temperature. This doesn't take long, especially if you hold it for a few minutes or let it rest in a warm place in the kitchen. (Don't microwave)
- Run the peeler (or knife) along one side of the block of chocolate to create curls.
- I like to chill the curls before adding them to the cake so that they are less fragile. I also like picking them up with a toothpick to be on the safe side.
Notes
I found that as I created the curls, the heat of my hand would slightly warm the other side of the block and so I rotate the block often.
Some of your curls may break, that is normal. If all of them are breaking, try warming that side of the chocolate block slightly just by holding it for a few minutes and it should become easier.
I haven't tried making curls with pre-colored candy coating. This may work, but I've had mixed results in the past with melting certain brands of candy melts.
When melting candy coating, microwave in small increments, stirring in between, until it has almost (but not completely) melted. Then stir until smooth. This will prevent overheating.
Recommended Products
As an Amazon Associate and member of other affiliate programs, I earn from qualifying purchases.


Loved the idea of making the multi colored curls !! This cake is very pretty love the colors you used. Melissa you did a good job, hope you and your mother can work together soon.
You both (and your families) stay safe. Thanks again for the video.
Love it! Great video - simple and clever as always! I hope BeBe is well and this whole virus goes away soon. Tired of being cooped up in Ontario Canada :-( LOL!
Hi MsGF, I am well, thank you for asking. Melissa wants to keep her distance from me and her dad as a precaution. We are both anxious to get back to our weekly routine in the kitchen. I think we are all going to be homebodies for a while. Hopefully in the next few weeks things will begin to look better in the US and around the world. Take care of yourself and your loved ones.
Hi, I can't wait to try your chocolate curls. It looks a lot easier than the way I've done it for years. I drive a school bus and the kiddos that I pick up live in my neighborhood, I've had most of those kids at my house making cakes and cupcakes. Because we're trying to keep our distance, l will pass by their houses and if they are playing outside they will ask to come over and play cake. I told them I would make them cupcakes and drop them off. I was thinking of doing something on top of them besides sprinkles and saw your latest email. That is a fun idea. ☺
Thanks so much ladies, I'm glad that you enjoyed it!
@Pat- I love that you are still bringing smiles to the kids in your neighborhood through cupcakes! I know they miss seeing you every day! xoxo