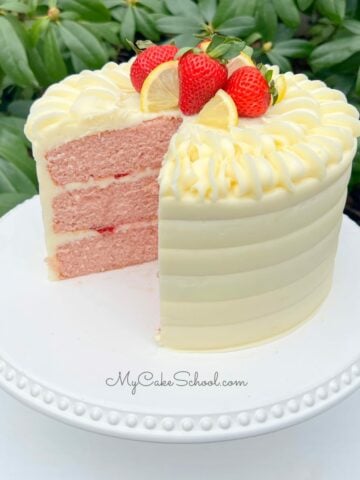
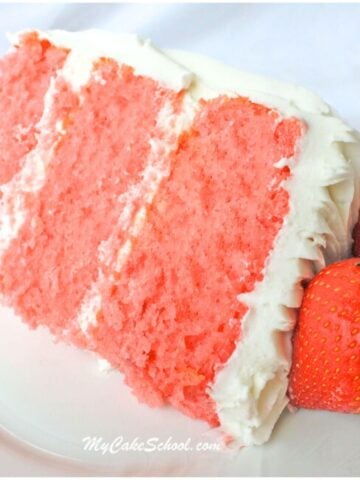
Pink Velvet Cake
We love this Pink Velvet Cake recipe because it is super moist with a fine crumb, wonderful vanilla flavor, and because it is Pink!
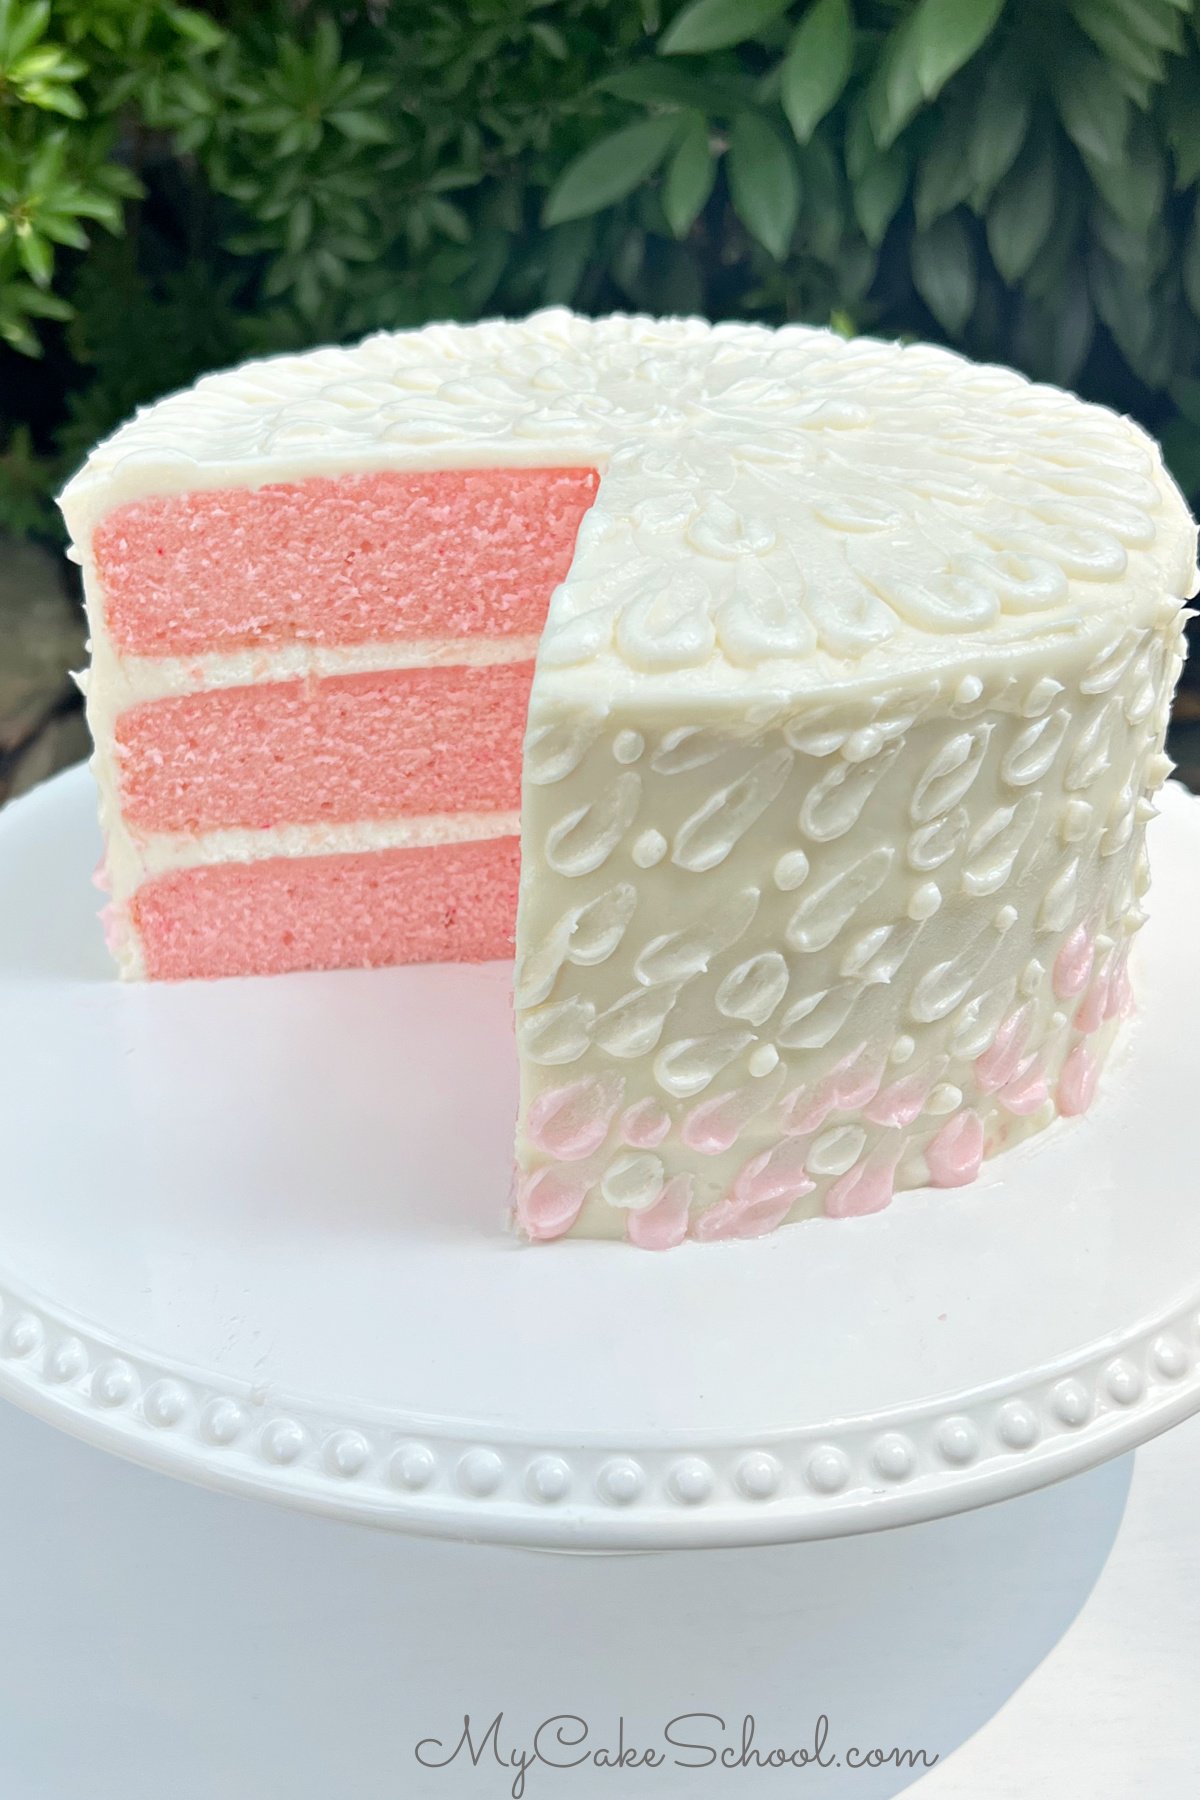
This delicious cake is based on our popular Vanilla Velvet Cake, but we thought it would be fun to have a pink option!
Keep this recipe in mind for Baby Shower Cakes, Barbie themed parties, and birthday cake recipes for your pink-loving friends.
Table of Contents
Why we Love it
- Super moist, fine crumb and soft texture thanks to the cream cheese in the cake batter (as with our Vanilla Velvet Cake, White Velvet Cake, and Homemade Strawberry Cake recipes!)
- Great Vanilla Flavor
- The pink layers are perfect for Baby Shower Cakes, Birthdays, and makes a great Valentine's Day Cake recipe as well!
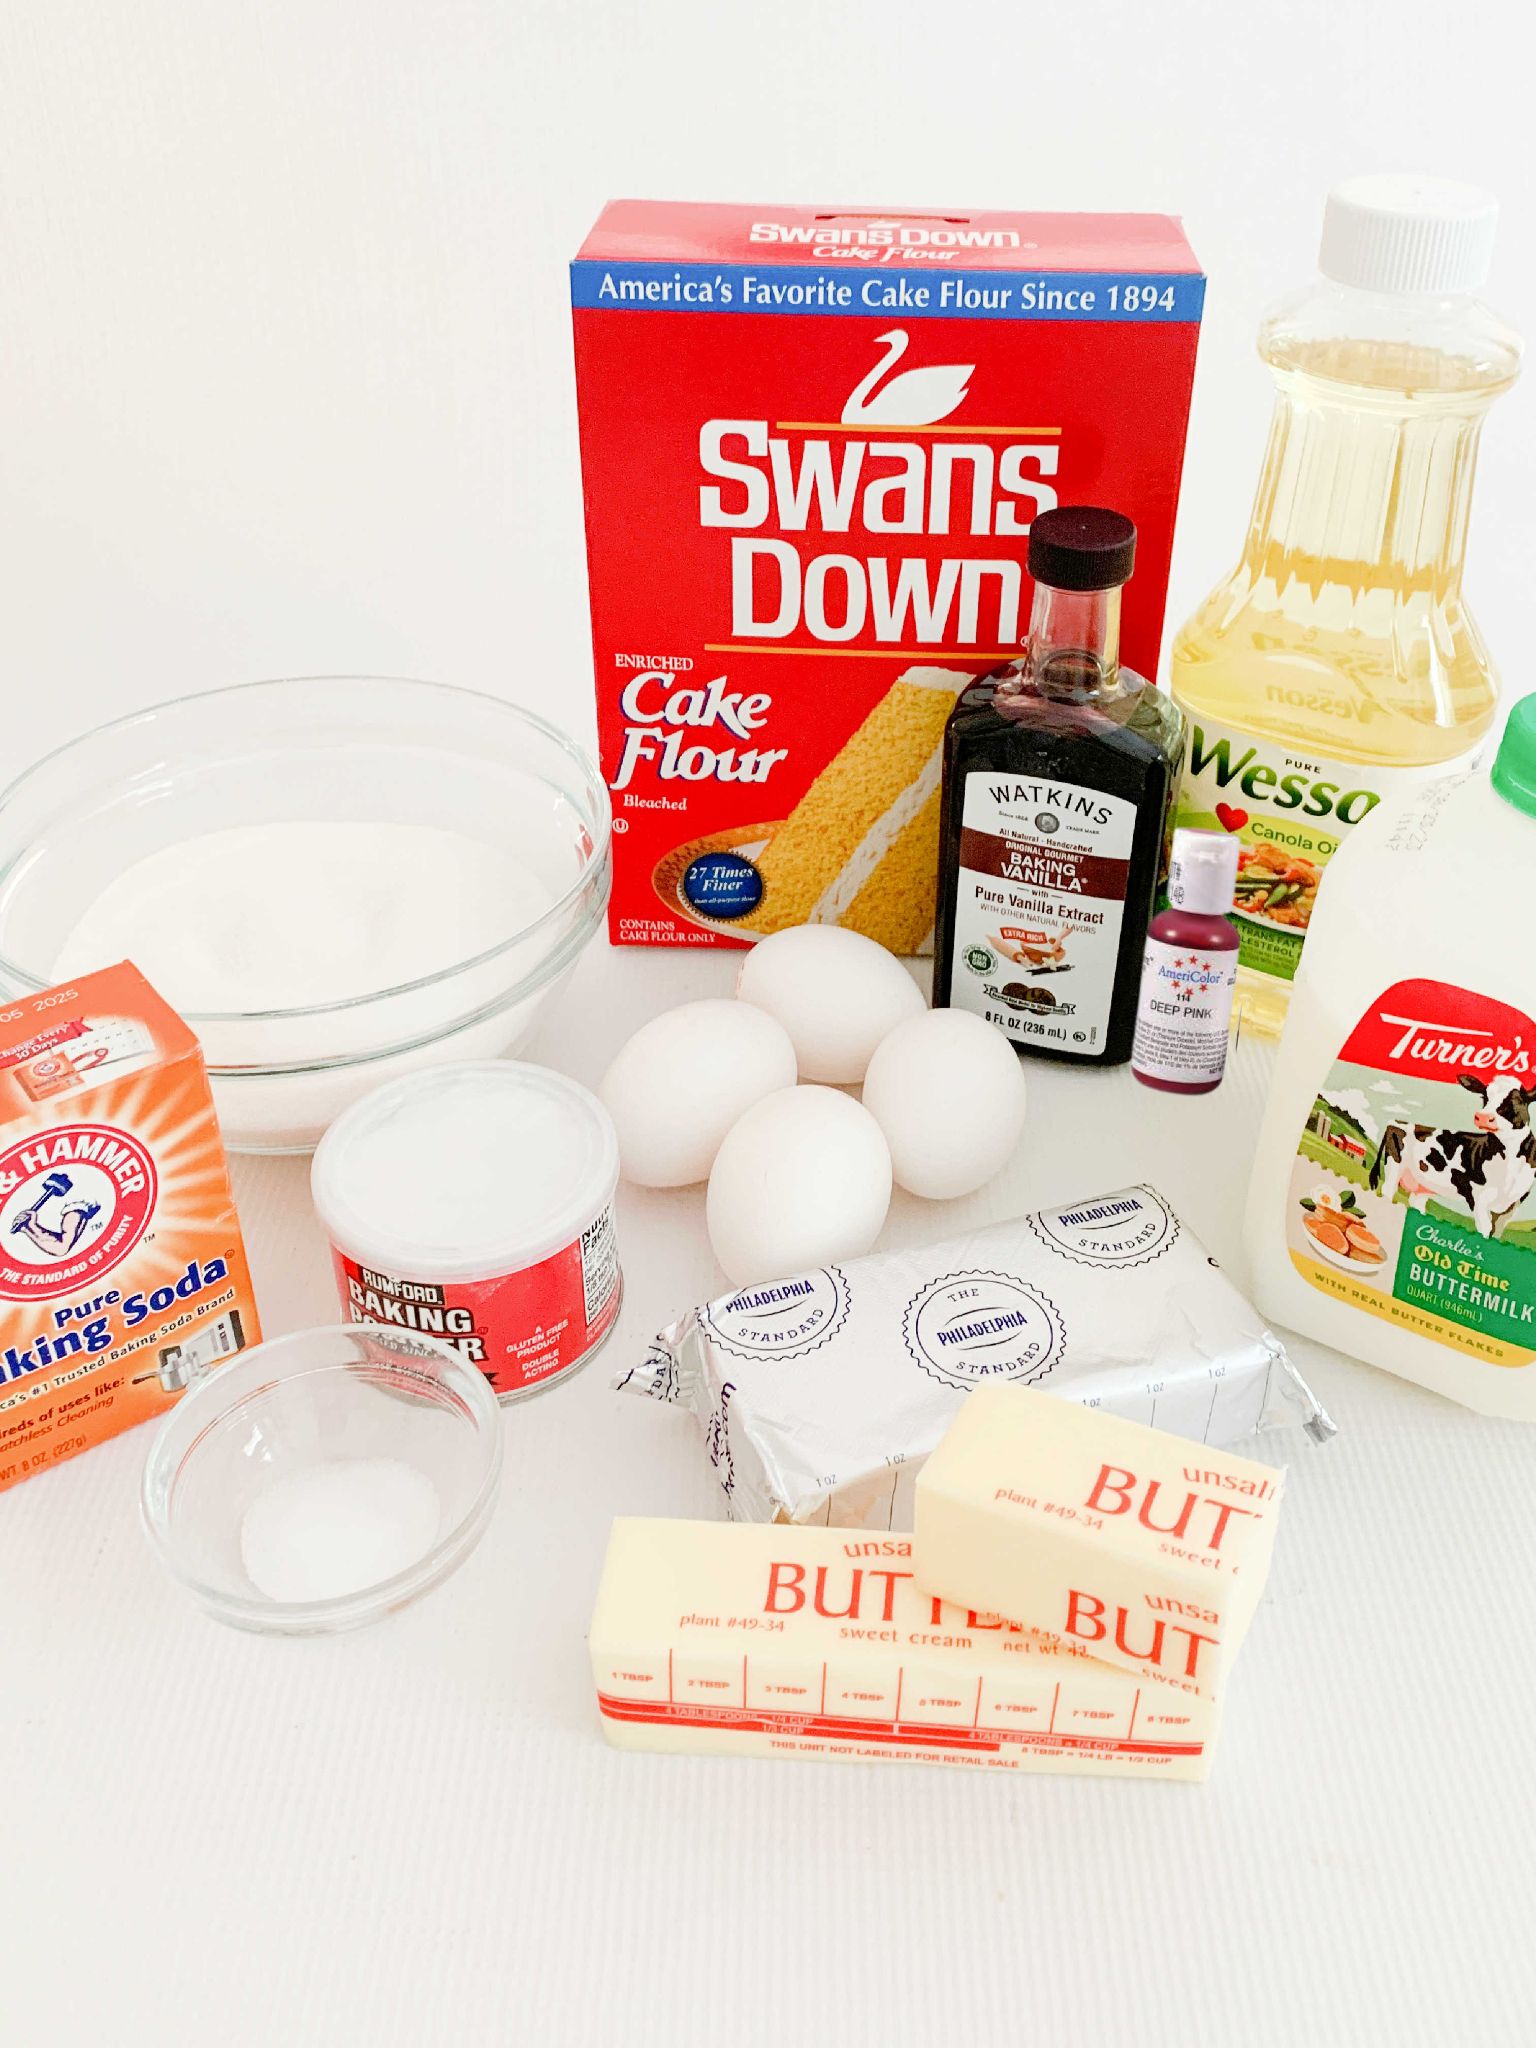
Ingredients for Pink Velvet Cake
Here are our star ingredients for the Pink Velvet Cake!
Ingredient Notes
Here are a few additional notes on some of our Pink Velvet Cake ingredients. You can find the full ingredient details in our recipe card at the bottom of this post.
Cake Flour is great in cake recipes as it is made from soft wheat which has a lower protein content. This makes for a softer, more tender cake.
Unsalted Butter: We like to use unsalted butter so that we have more control over the amount of salt in the recipe. The butter should be softened but not completely soft through and through. It should easily dent when pressed.
Buttermilk's acidity softens the strands of gluten in the batter, making for a more tender cake.
Pink Coloring Gel: Use your pink color of choice. We used Americolor Deep Pink.
How to Make a Pink Velvet Cake
This delicious cake is sure to please a crowd. You can find the full recipe card further down in this post. Here is a quick look at our steps!
- Preheat the oven to 325 degrees F. Grease and flour three 8 inch pans, adding a circle of parchment paper to the bottom of each pan.
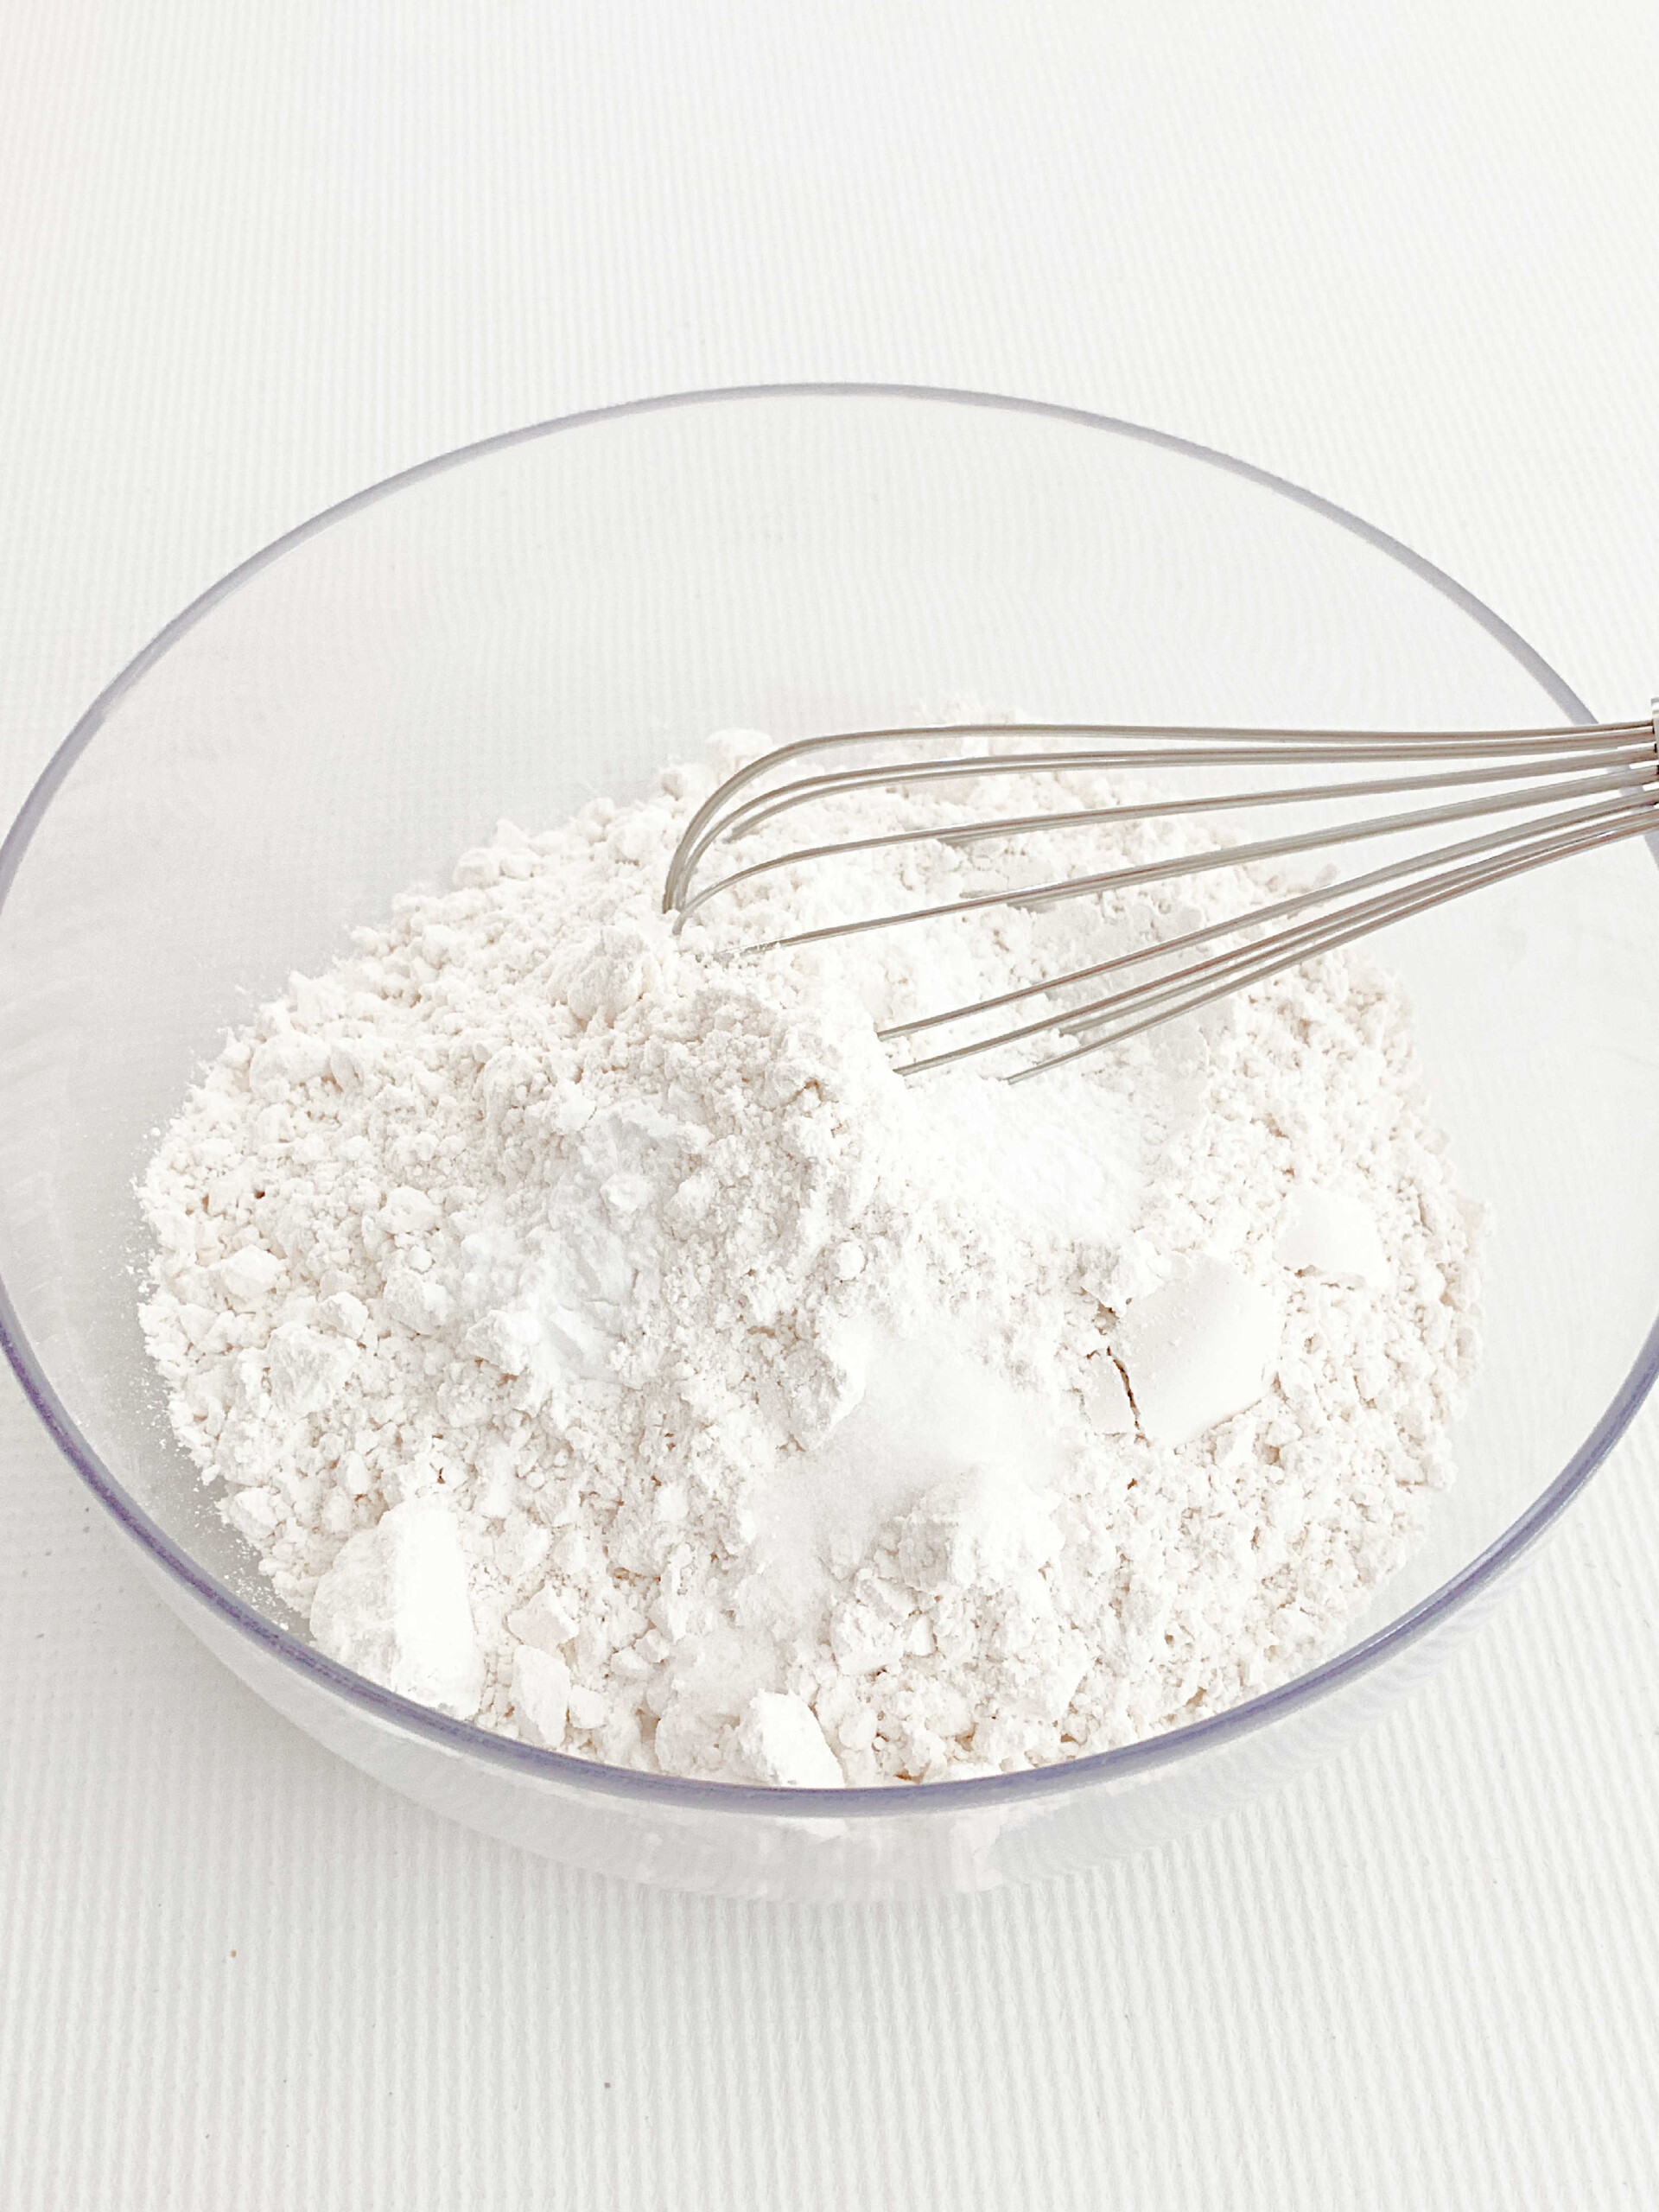
- In a medium bowl, whisk the cake flour, baking powder, baking soda, and salt for 30 seconds and set aside.
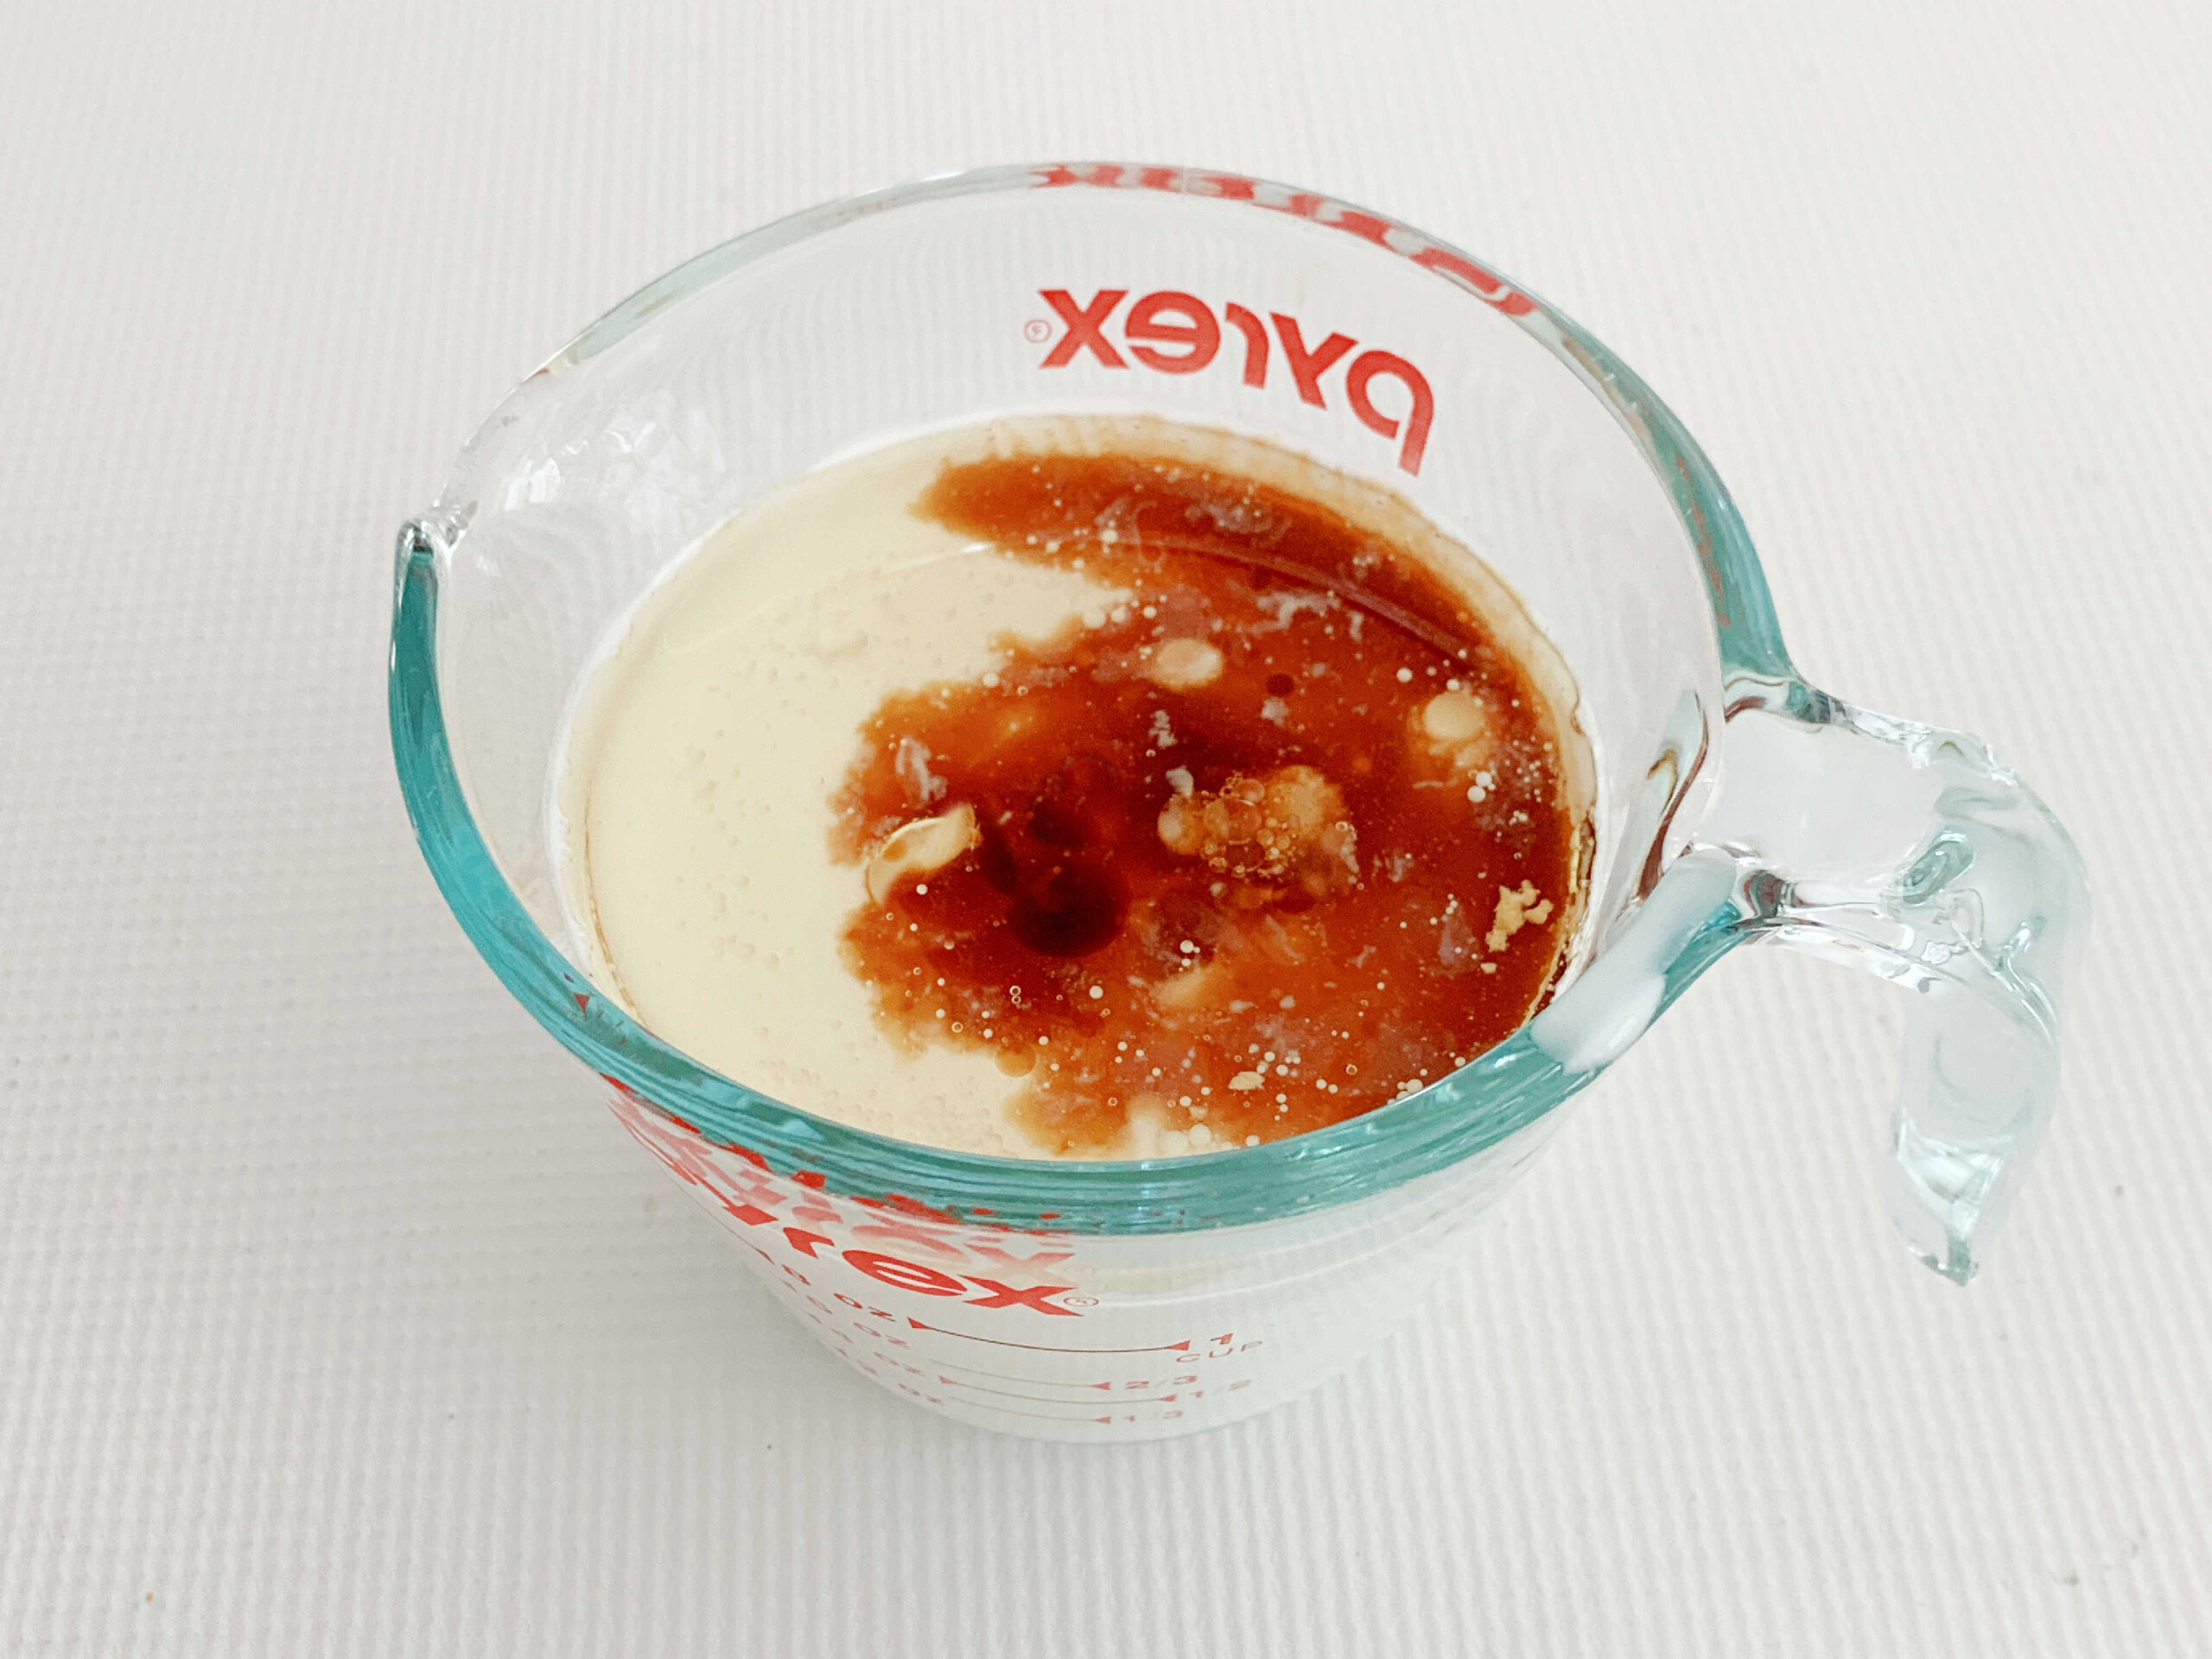
- In another bowl, add the buttermilk, vegetable oil, and vanilla extract. Set aside.
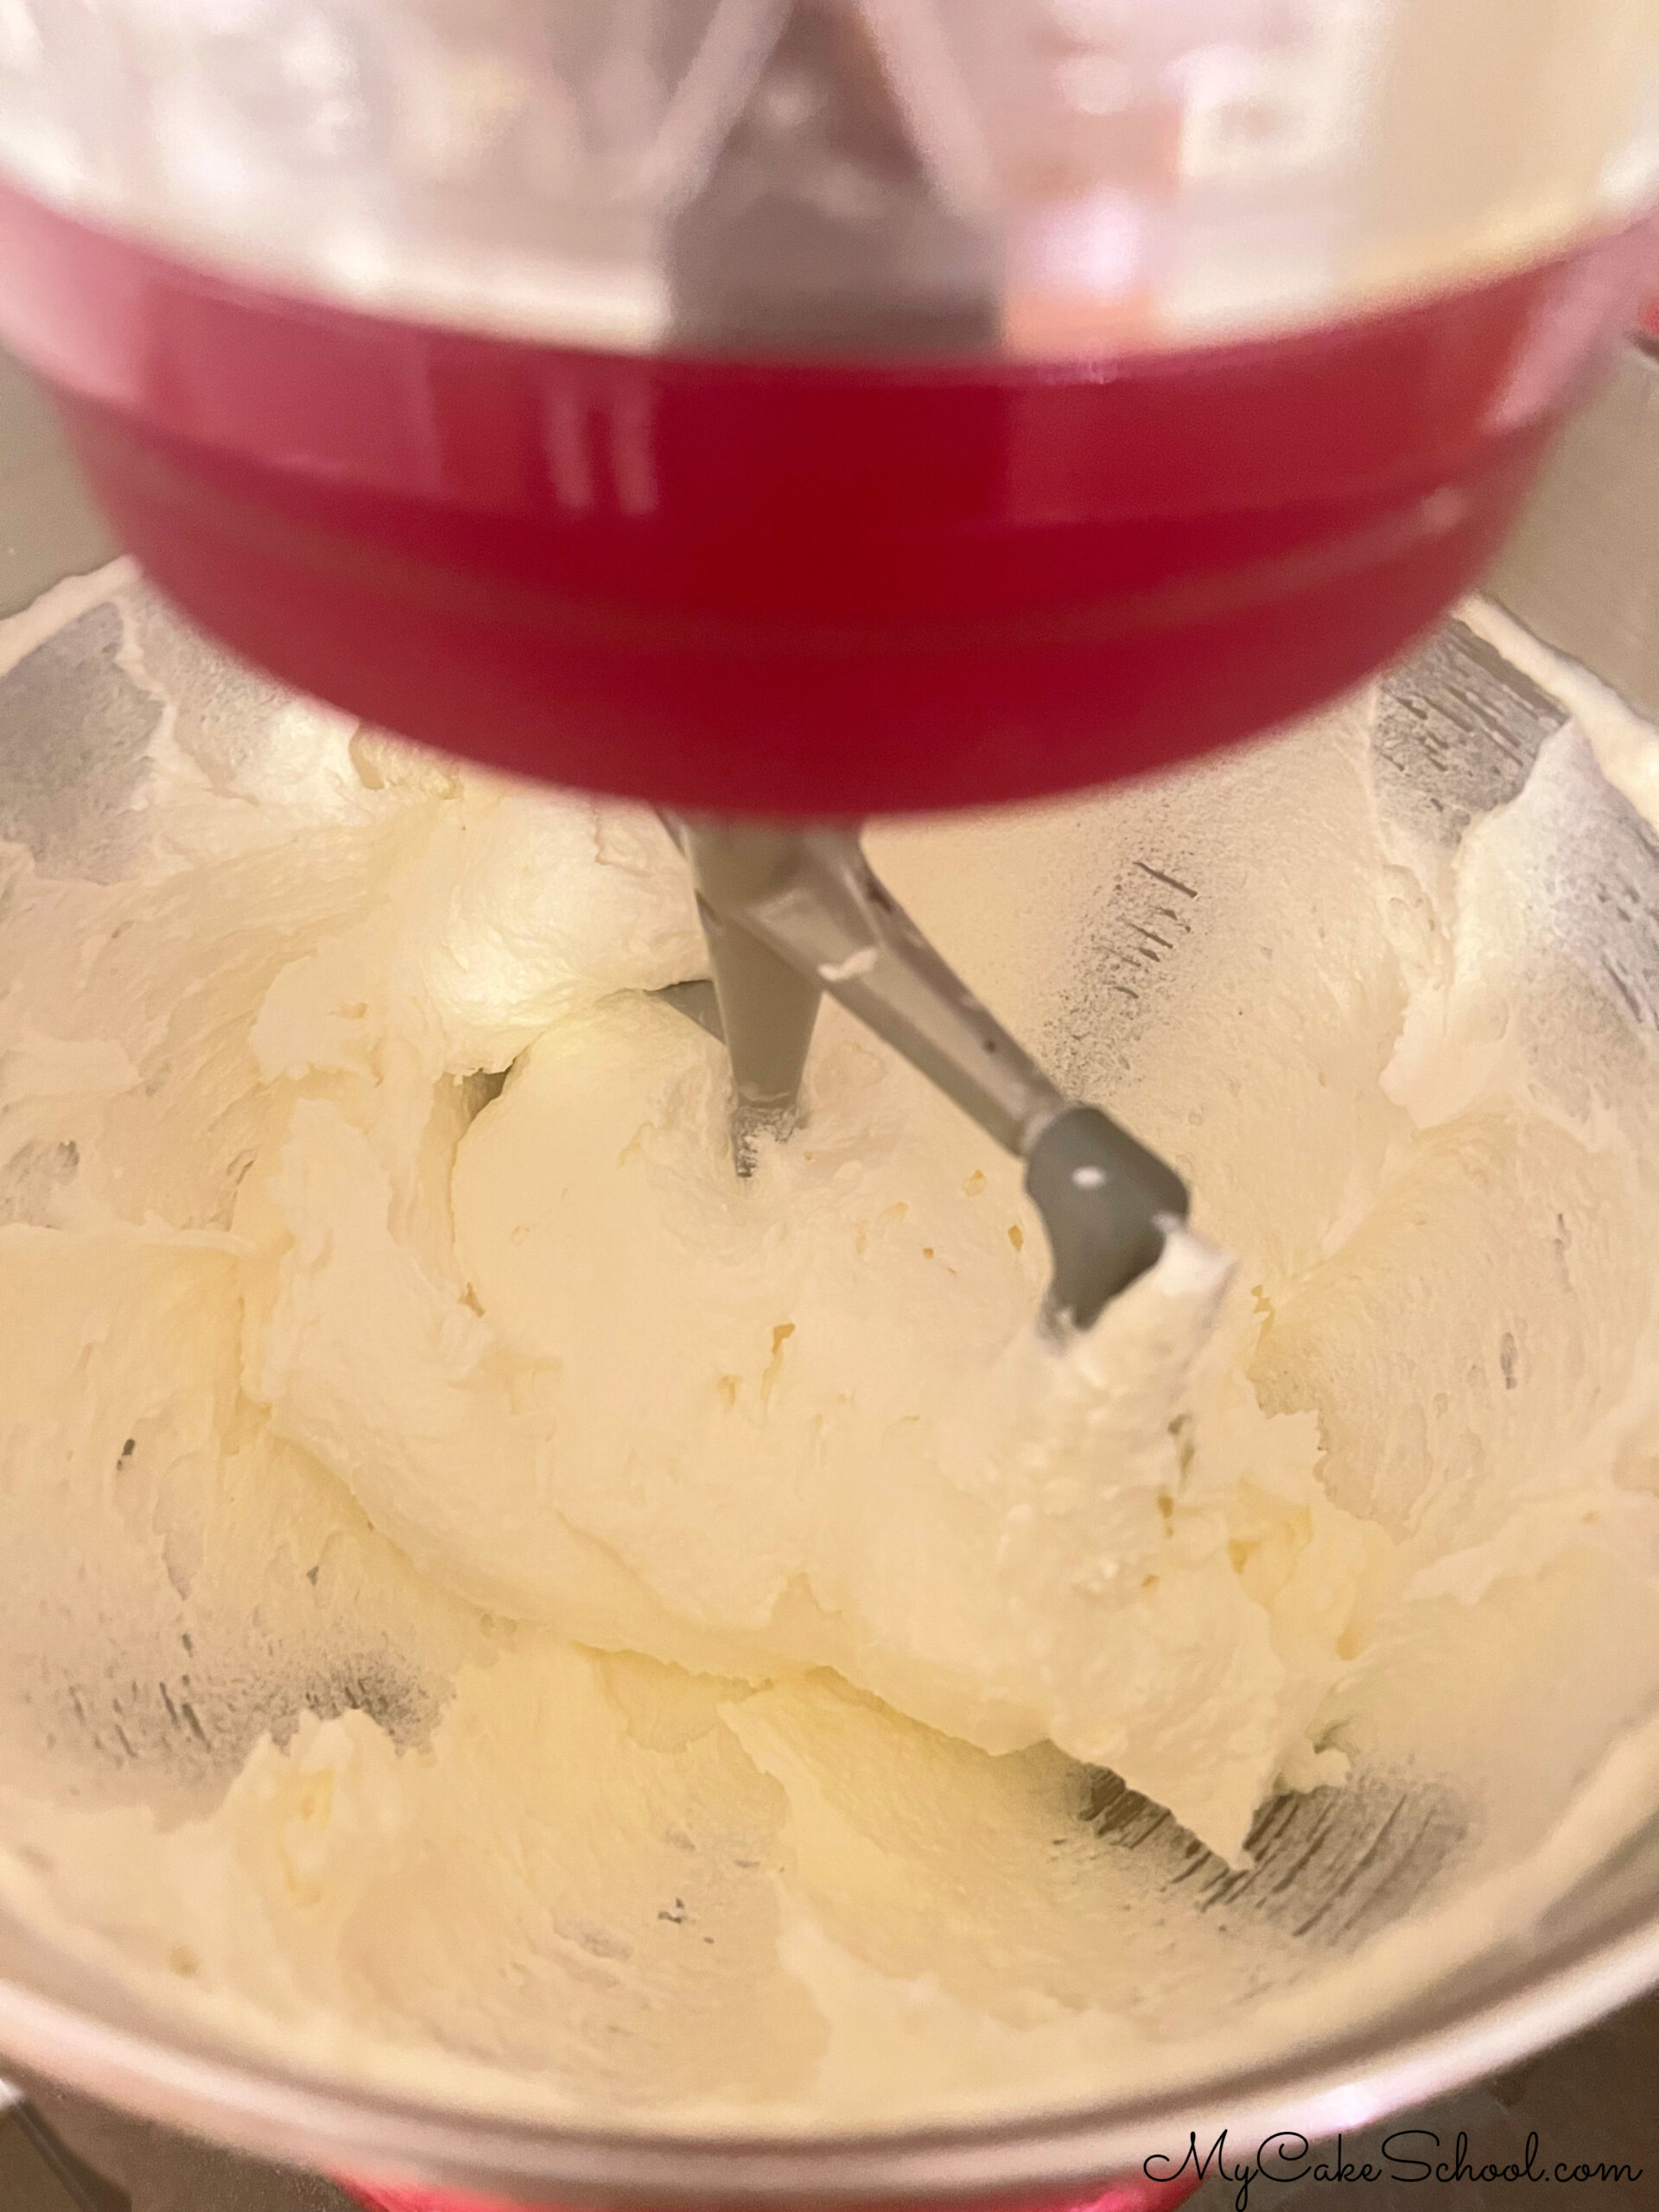
- In the bowl of your electric mixer, add the butter and cream cheese and mix at medium speed until smooth (using the paddle attachment if using a stand mixer.)
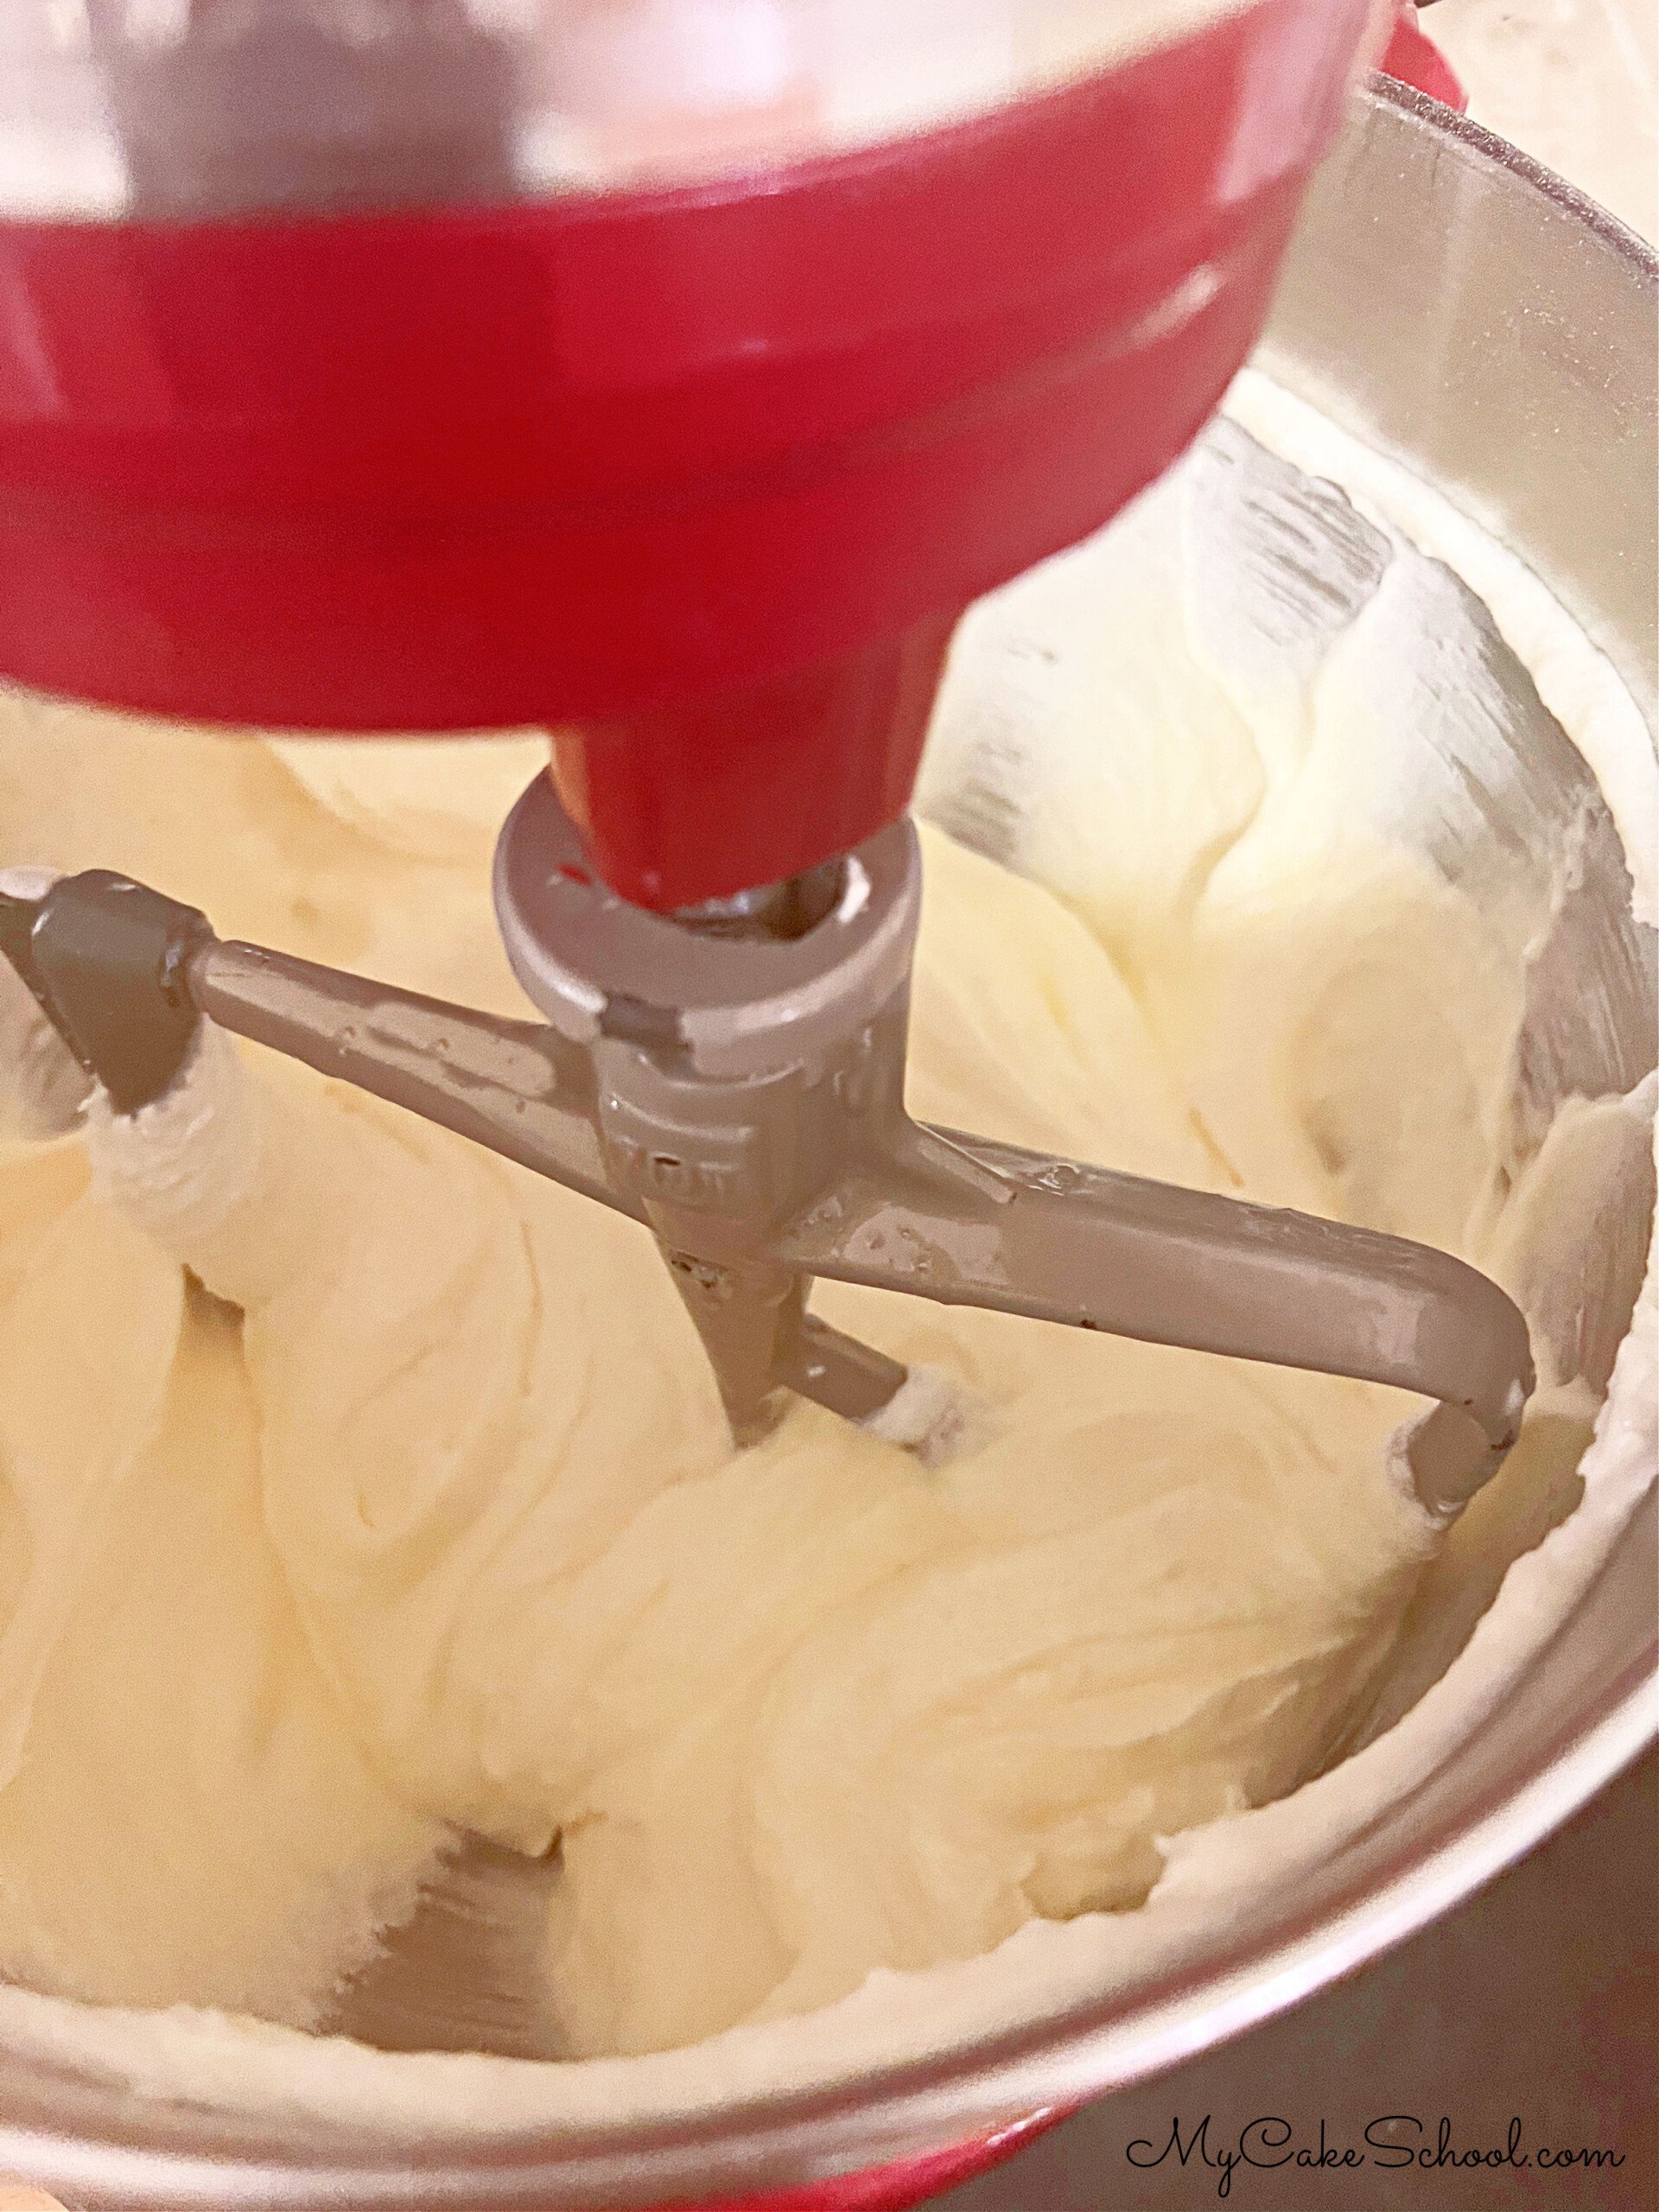
- Gradually add the sugar and mix at medium speed for 2-3 minutes.
- Add the room temperature eggs one at a time, mixing after each until the yellow of the yolk has blended.
- With the mixer on low speed, alternately add the flour mixture and the buttermilk mixture, beginning and ending with the flour mixture (We did 3 additions of the dry mixture, 2 additions of wet). During this time, add the pink coloring gel to desired amount of pink.
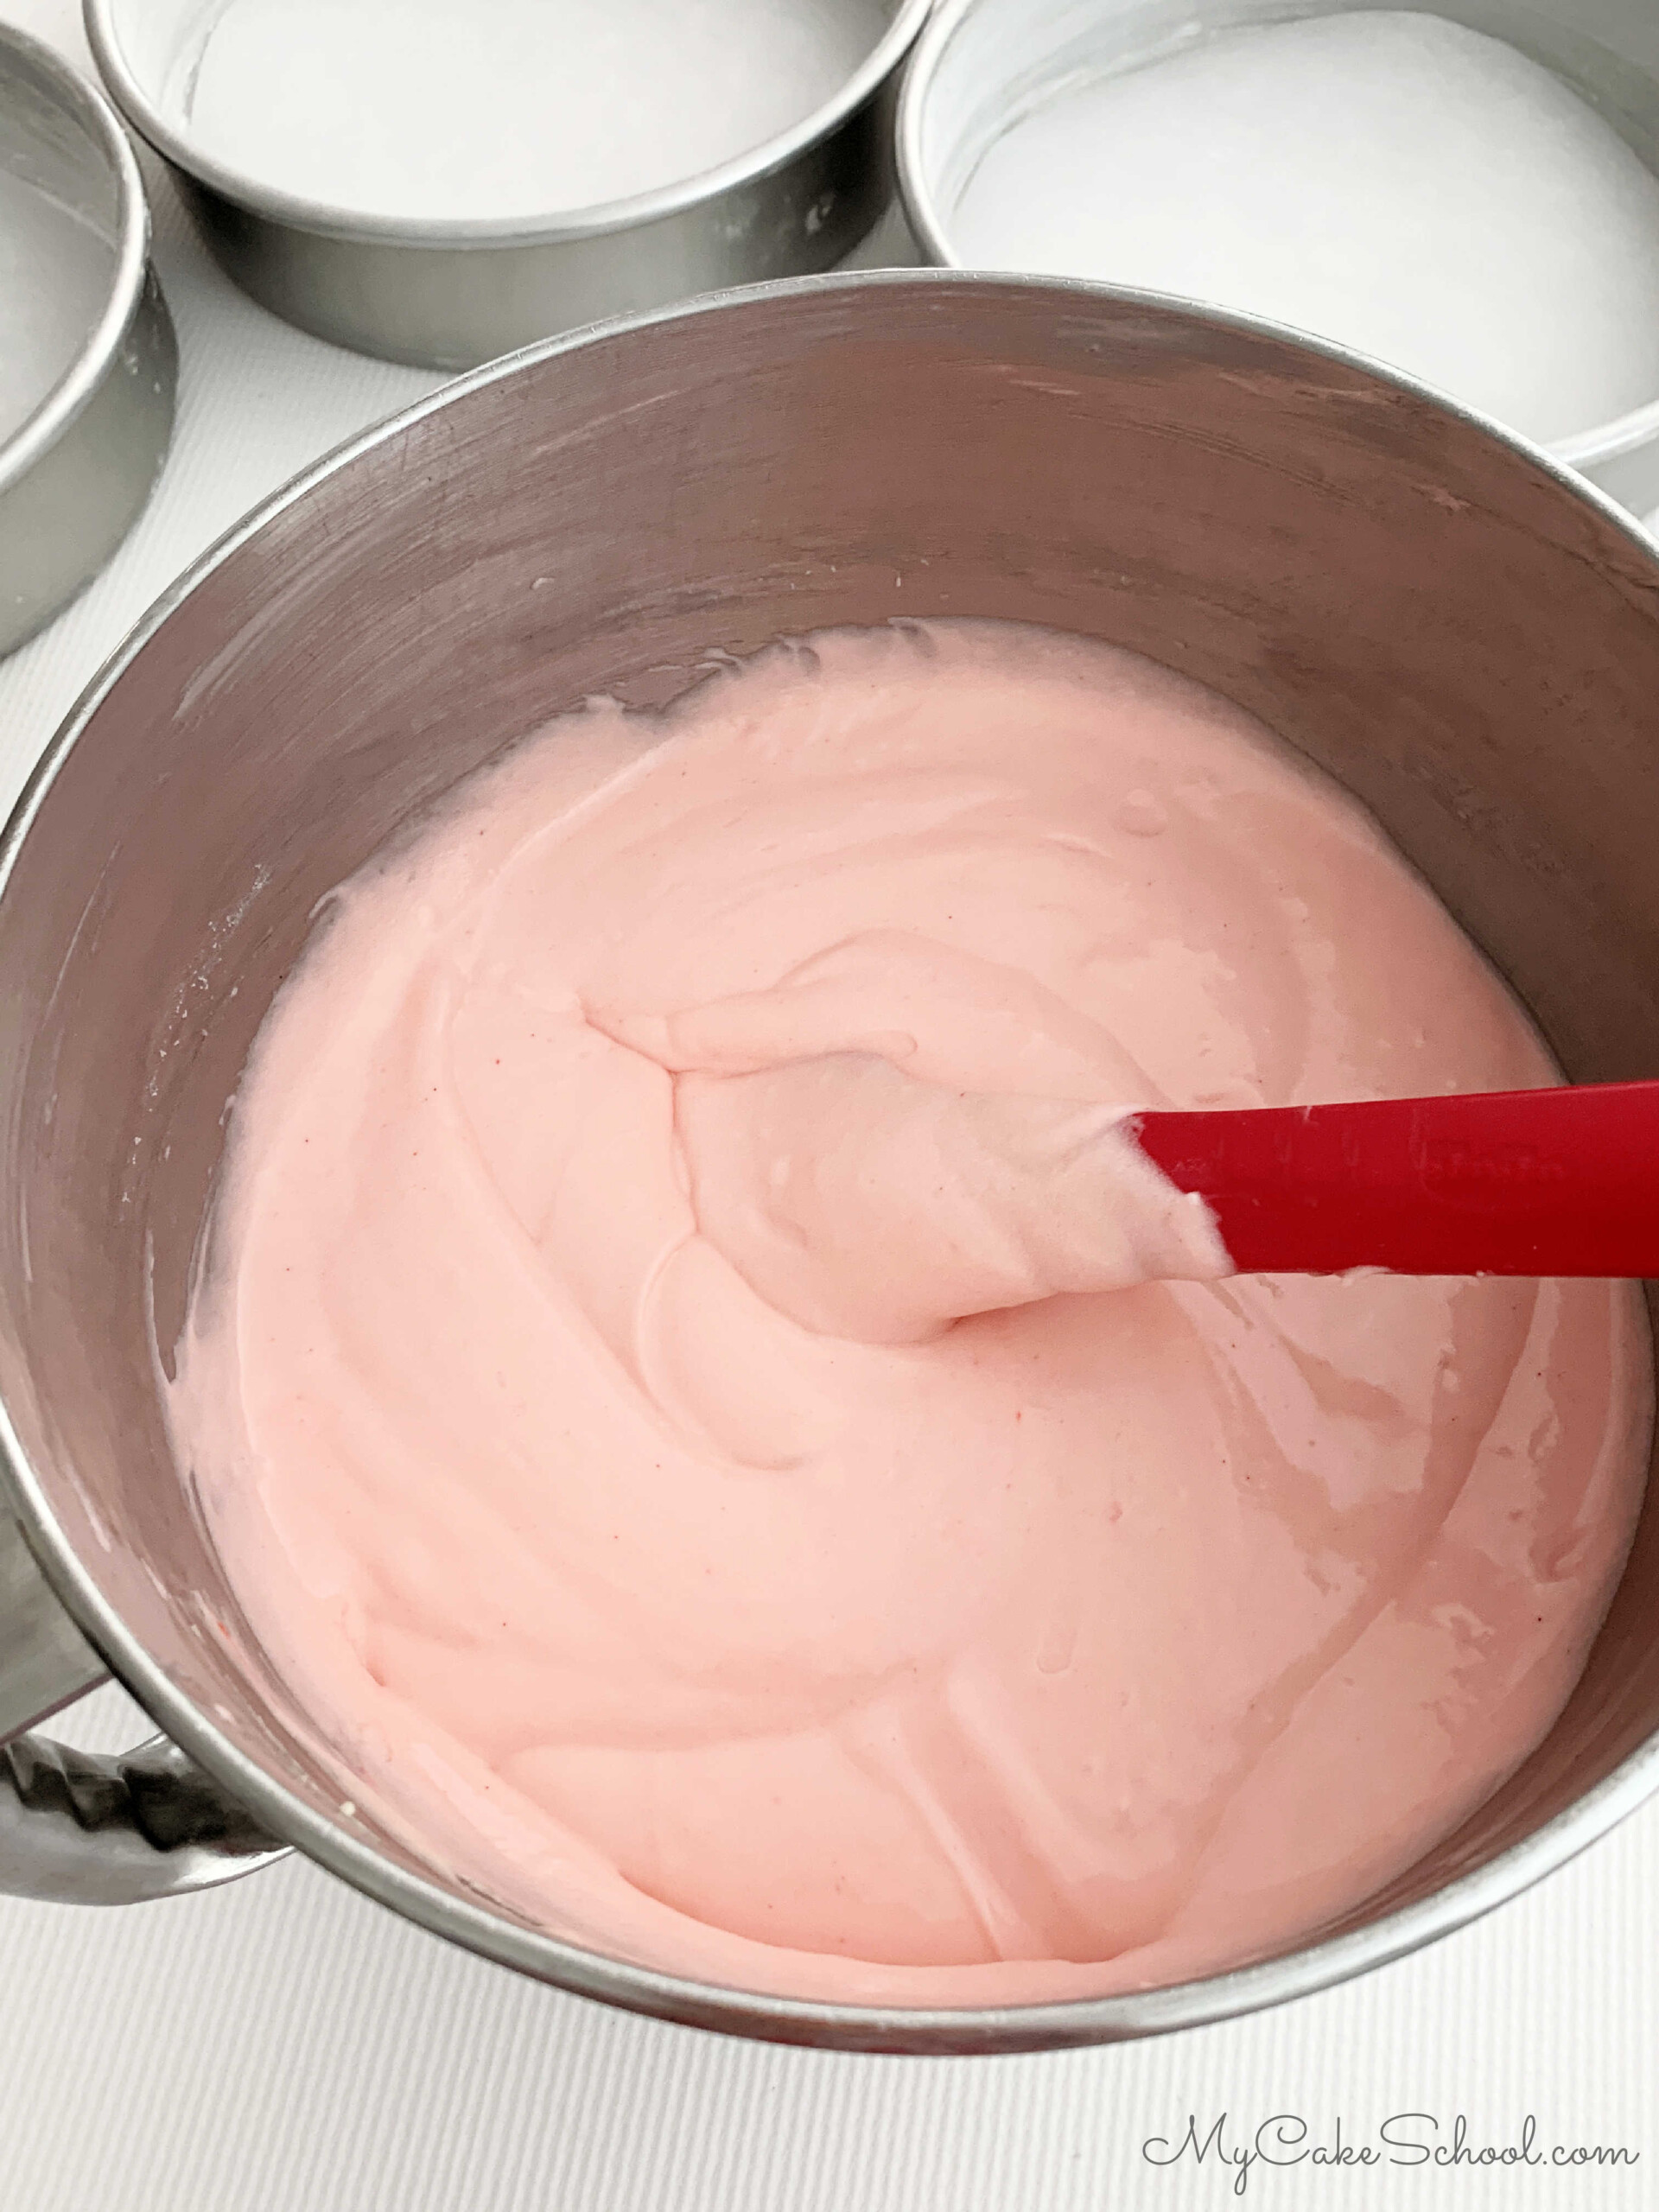
- Mix the batter just until well combined- be careful not to over-mix. Divide the batter between the three pans.
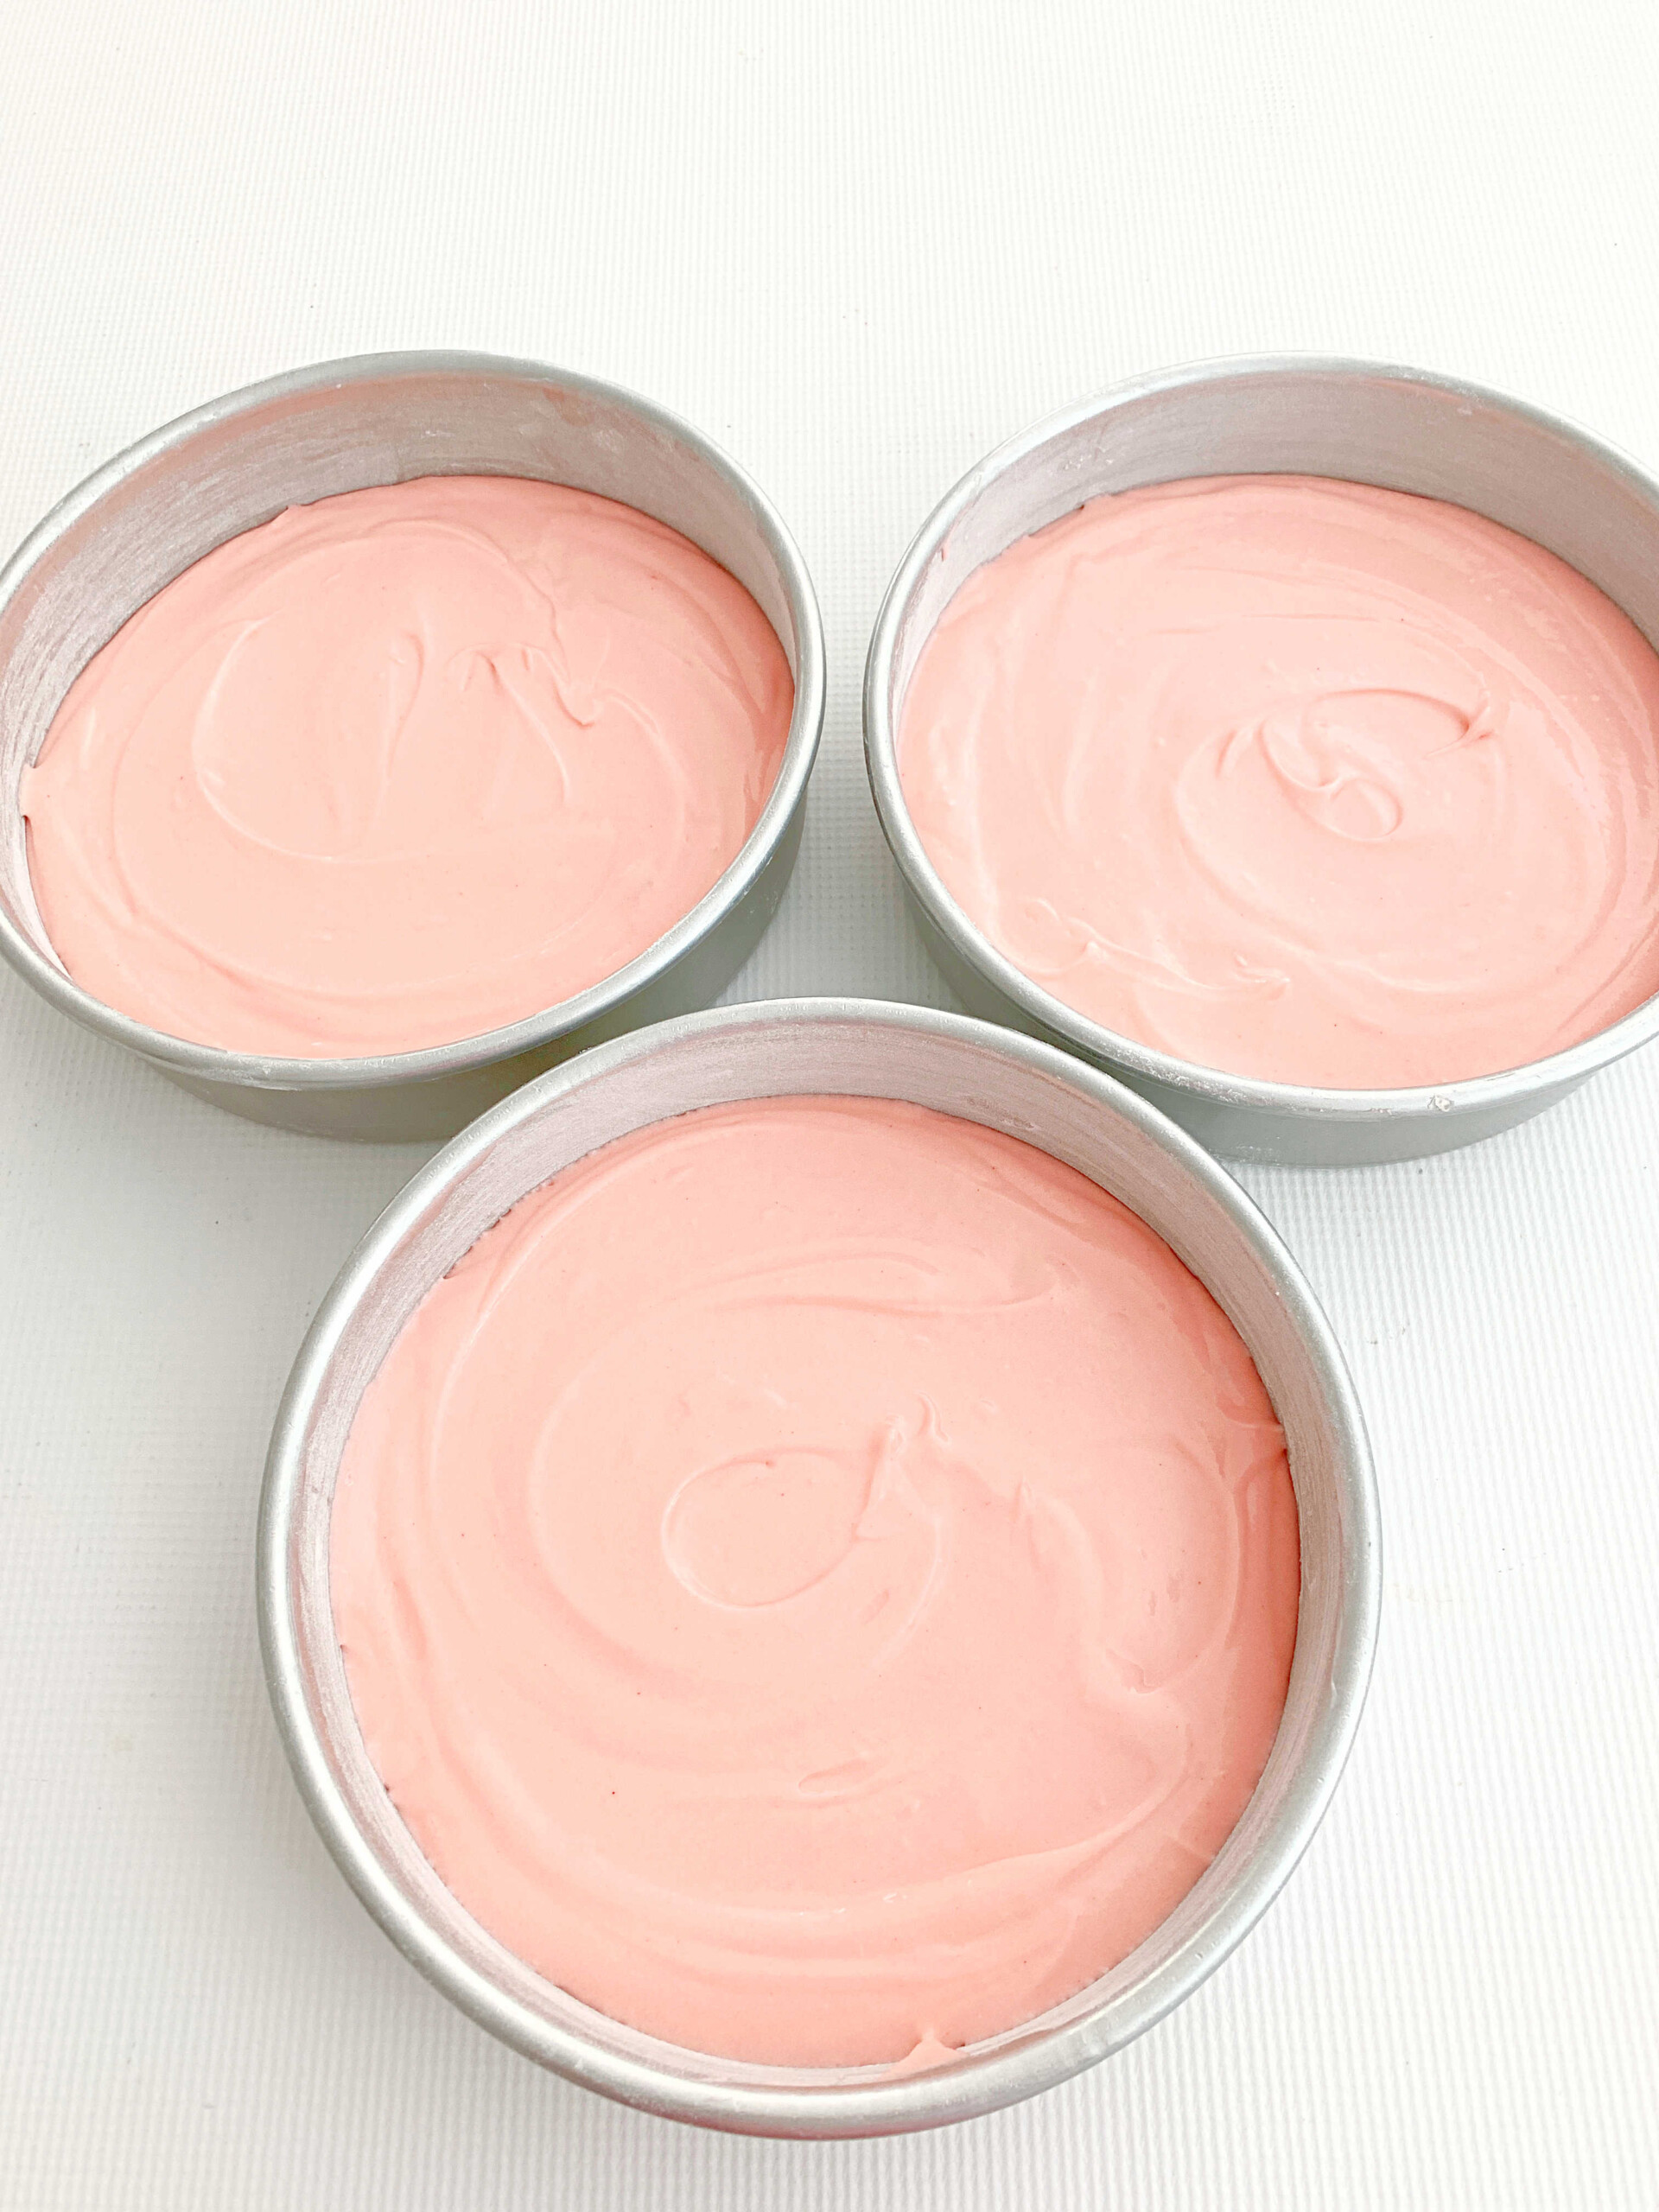
- Bake at 325 degrees F for 25-28 minutes or until a toothpick inserted into the center comes out clean or with just a few crumbs attached. Let cool for 5-10 minutes in the pans on a wire rack before turning out.
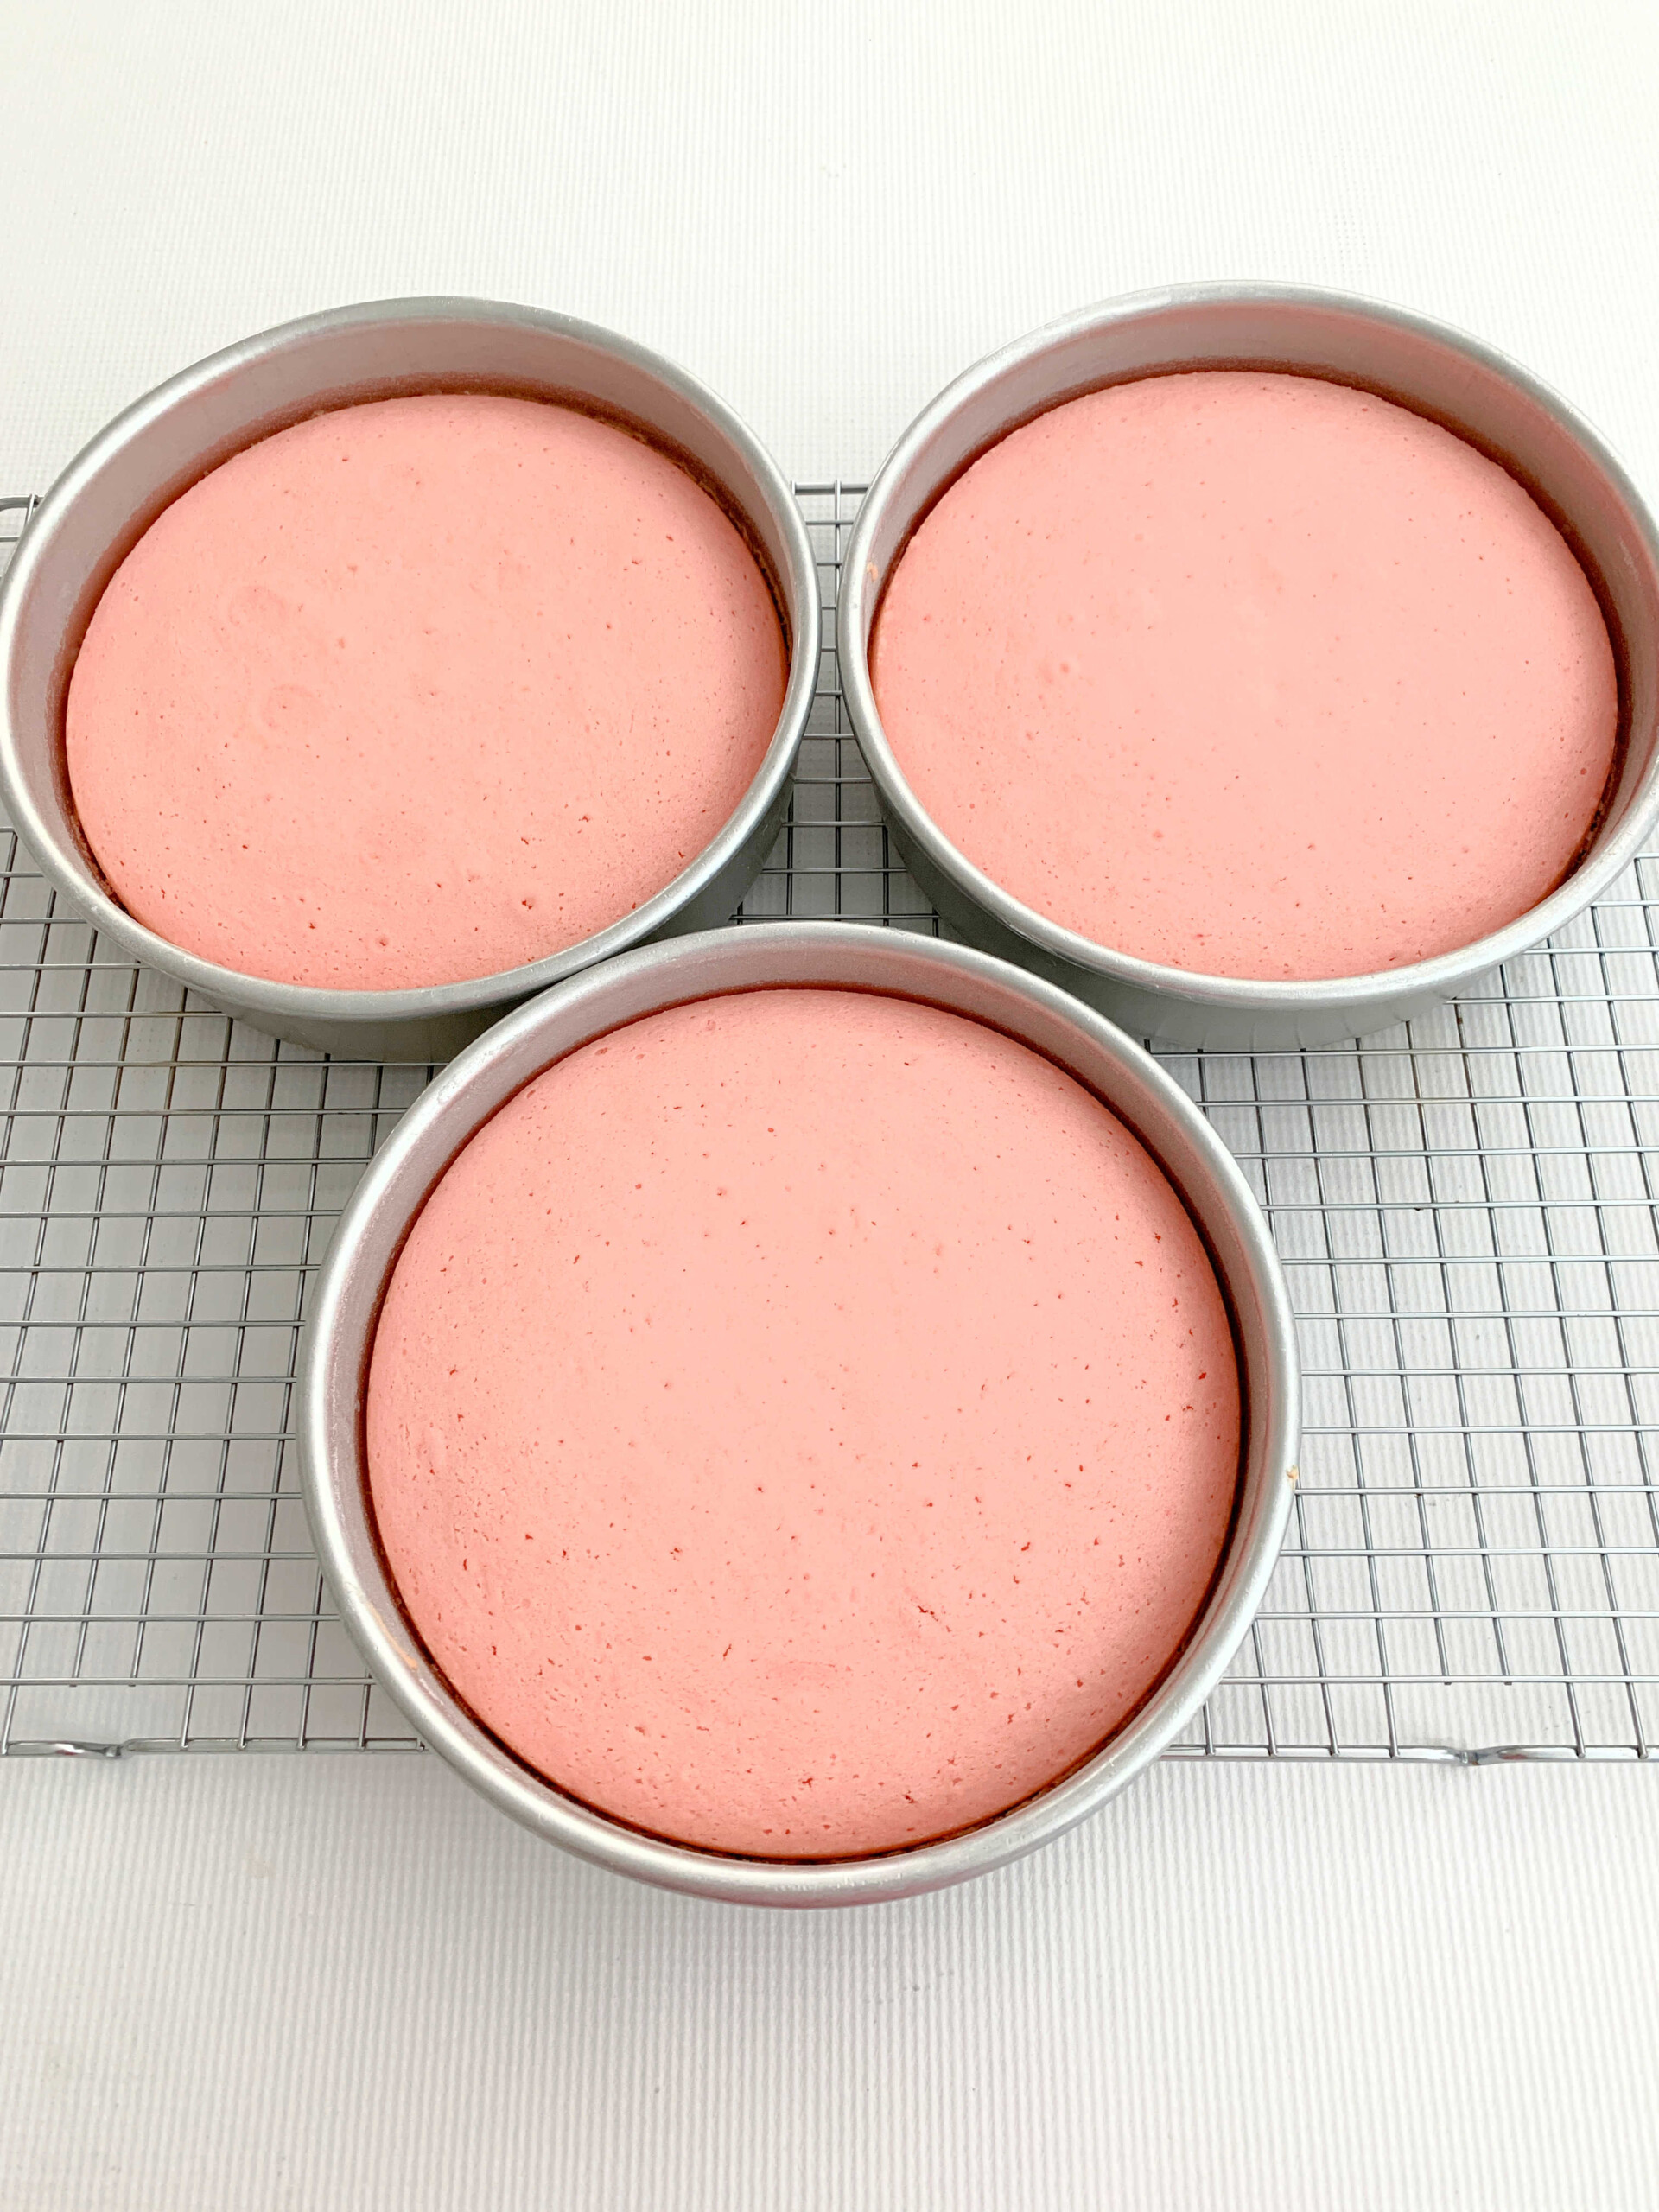
- This recipe makes 7 ½ cups of batter. Works for cupcakes also (although there will be little to no dome).
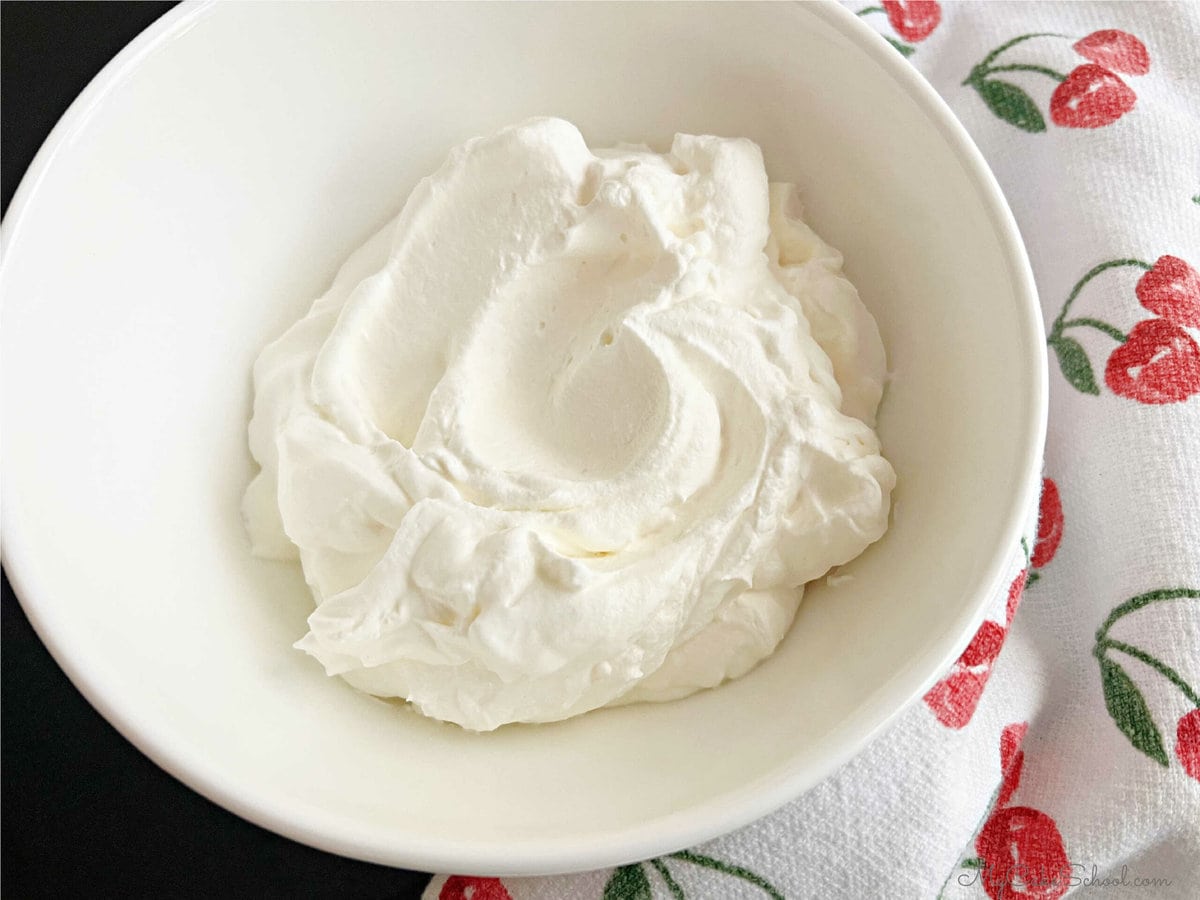
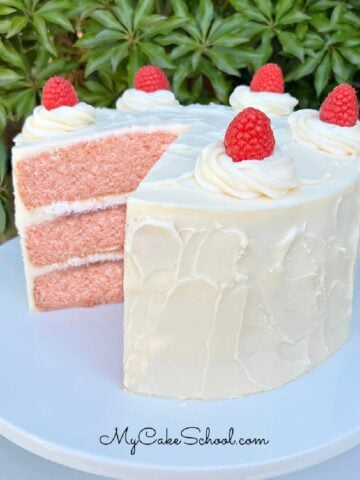
Whipped Cream Filling
We often use homemade whipped cream filling in our cakes. It is so light and creamy with just a touch of sweetness from the powdered sugar in the recipe.
However, when it comes to vanilla cakes like this Pink Velvet Cake recipe, anything goes! Feel free to experiment with your favorite fillings and frostings (from lemon cream cheese frosting or lemon curd, to white chocolate buttercream or a simple vanilla buttercream.)
The sweetened whipped cream filling is made by whipping heavy cream in a chilled bowl with chilled beaters, along with a bit of confectioners' sugar until it reaches stiff peak stage.
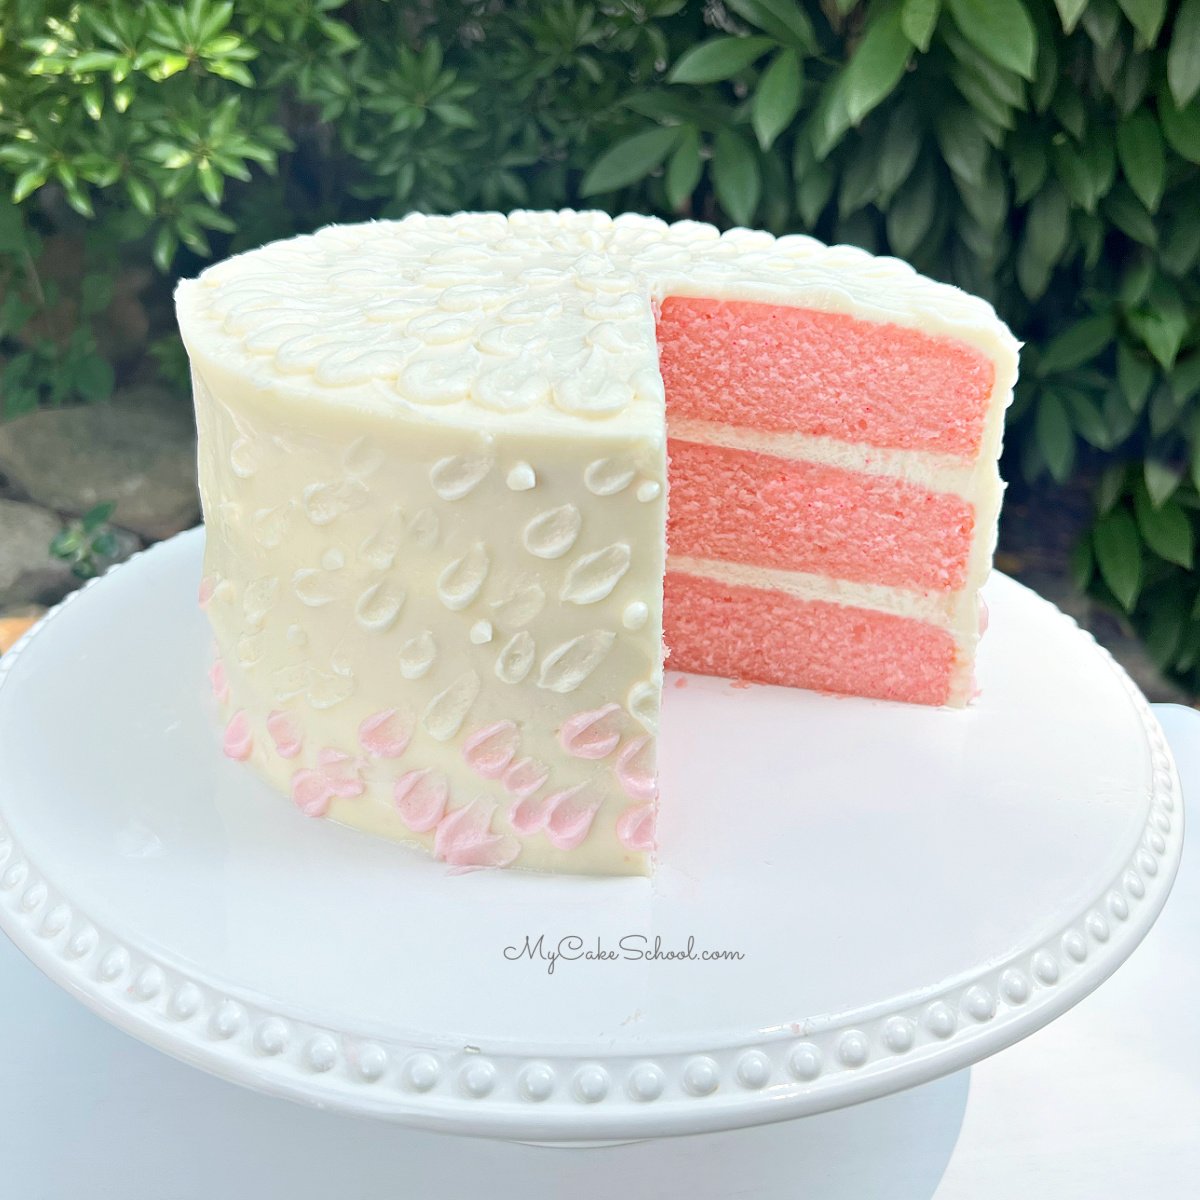
Assembling the Cake
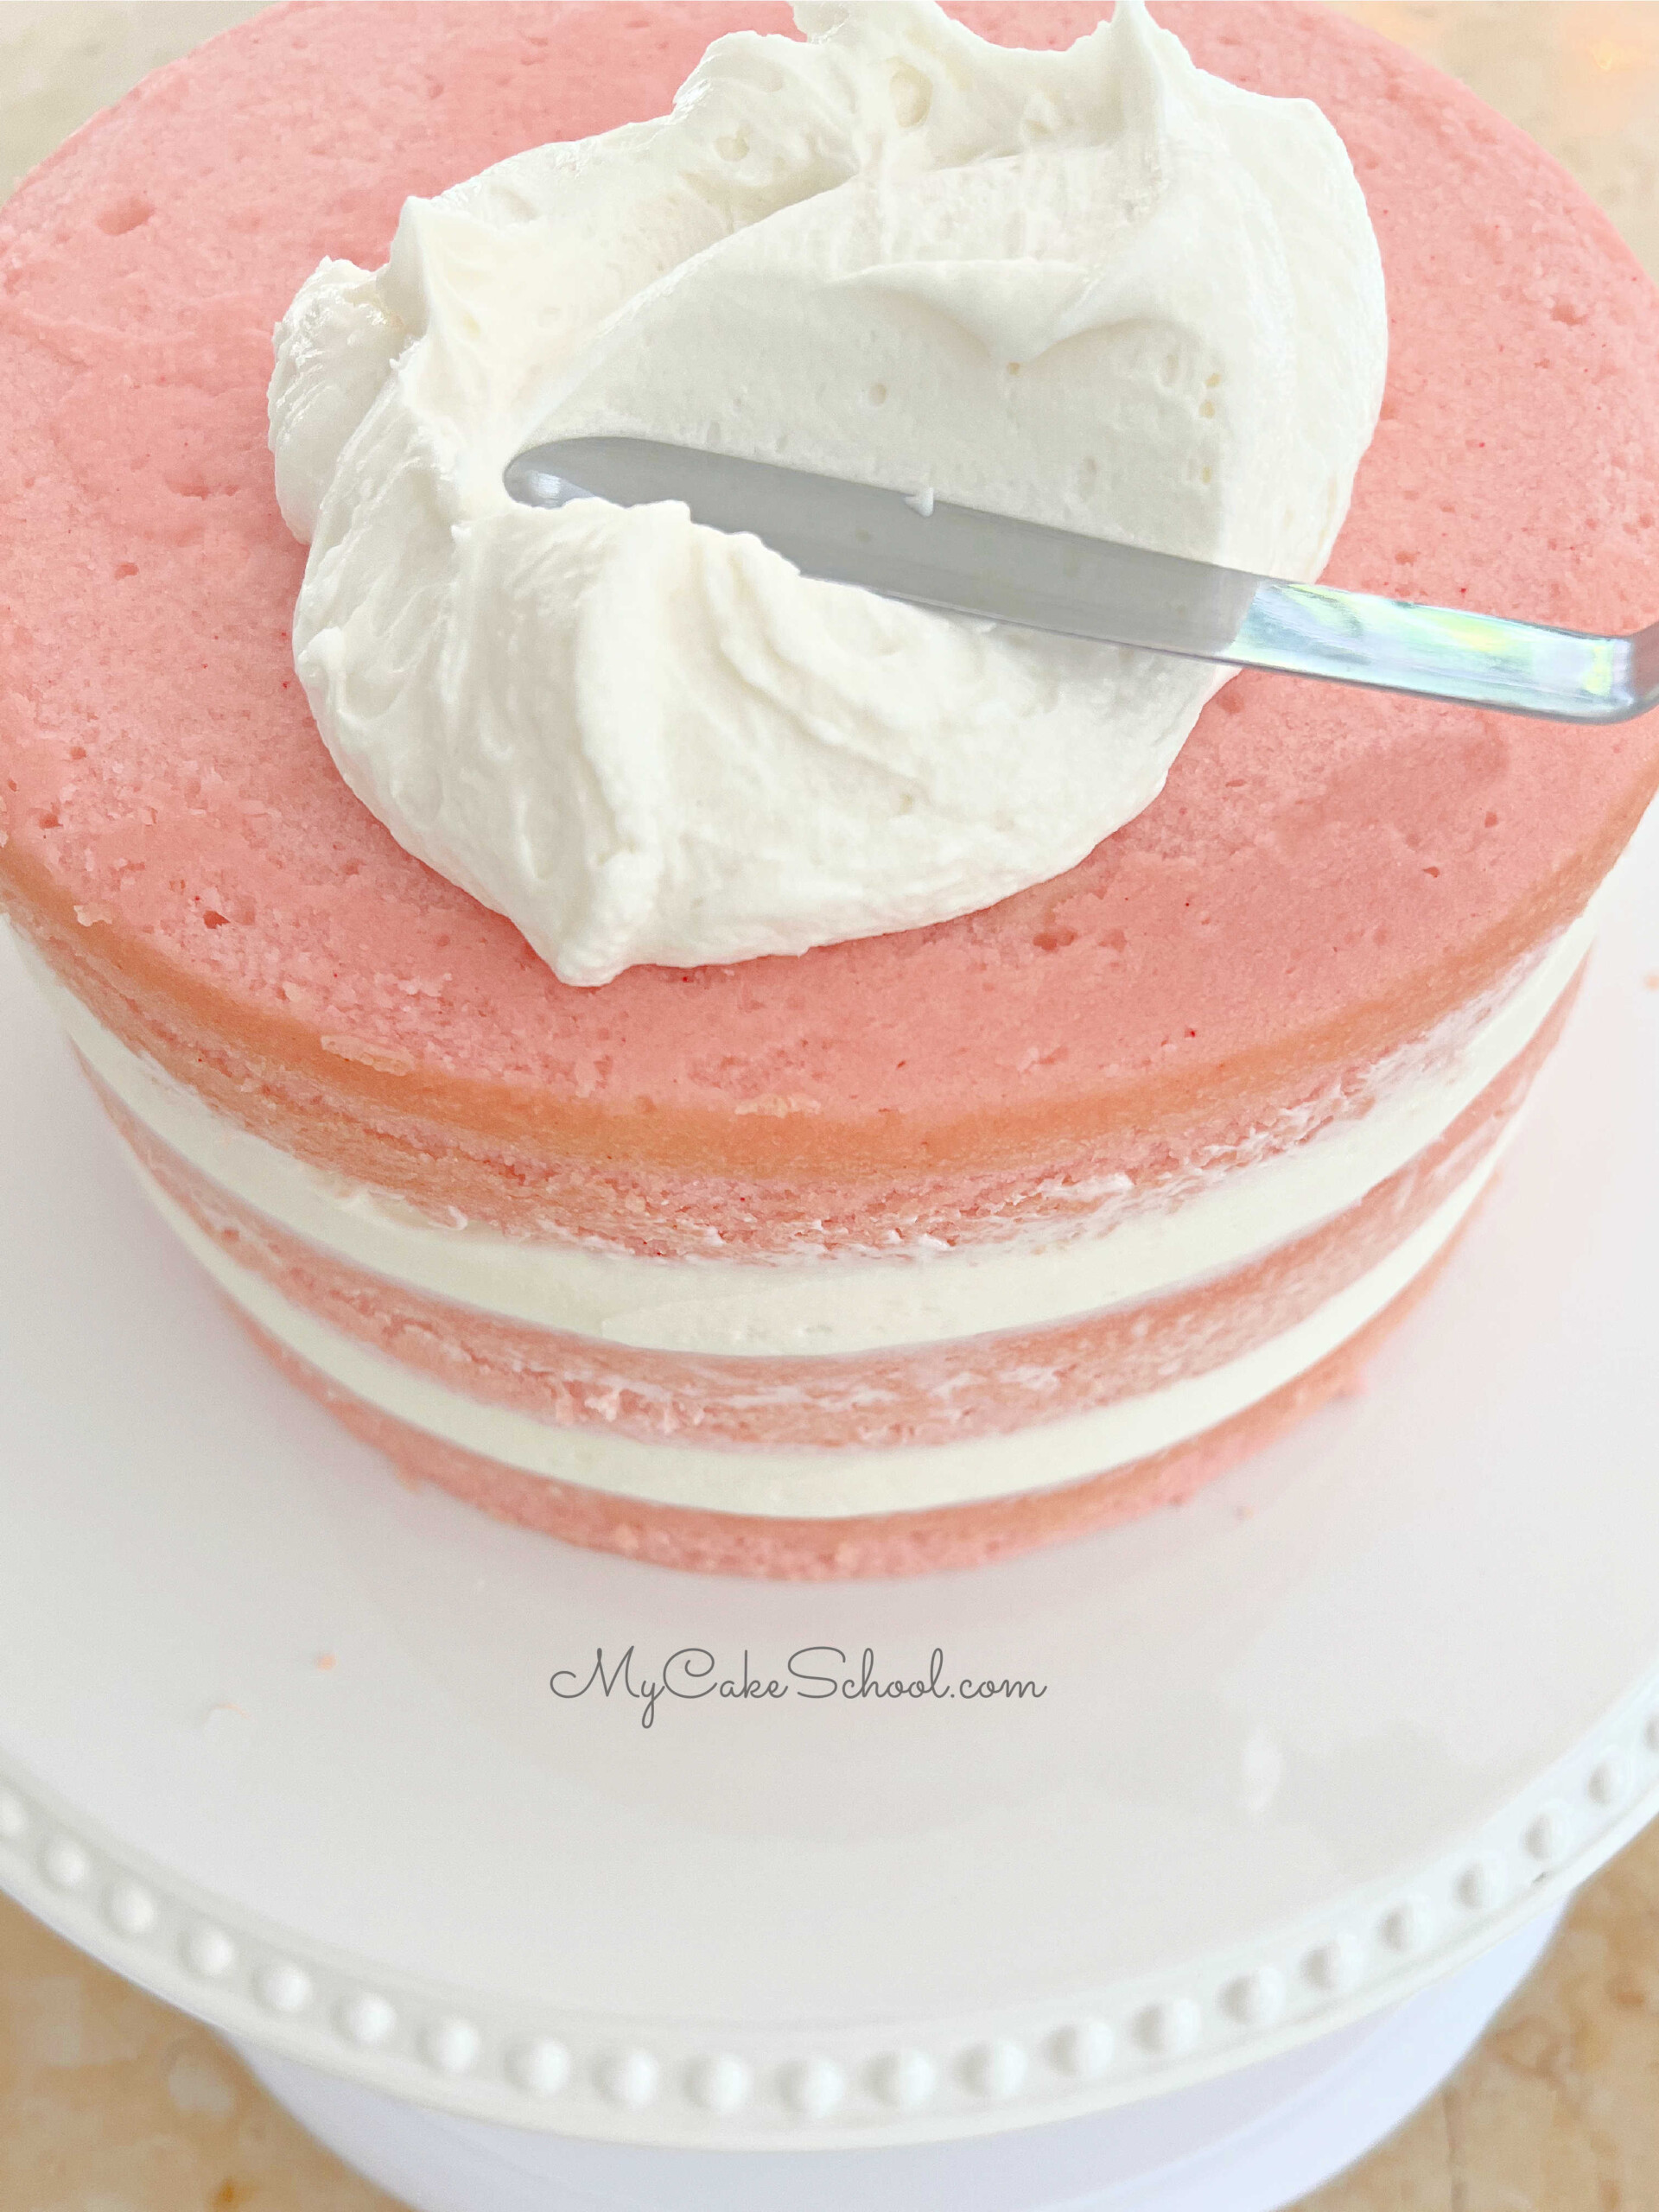
We chose our Classic Vanilla Buttercream for our frosting today. This is a very easy, delicious American buttercream which combines confectioners sugar, softened butter, vanilla extract, a pinch of salt, and a splash of milk.
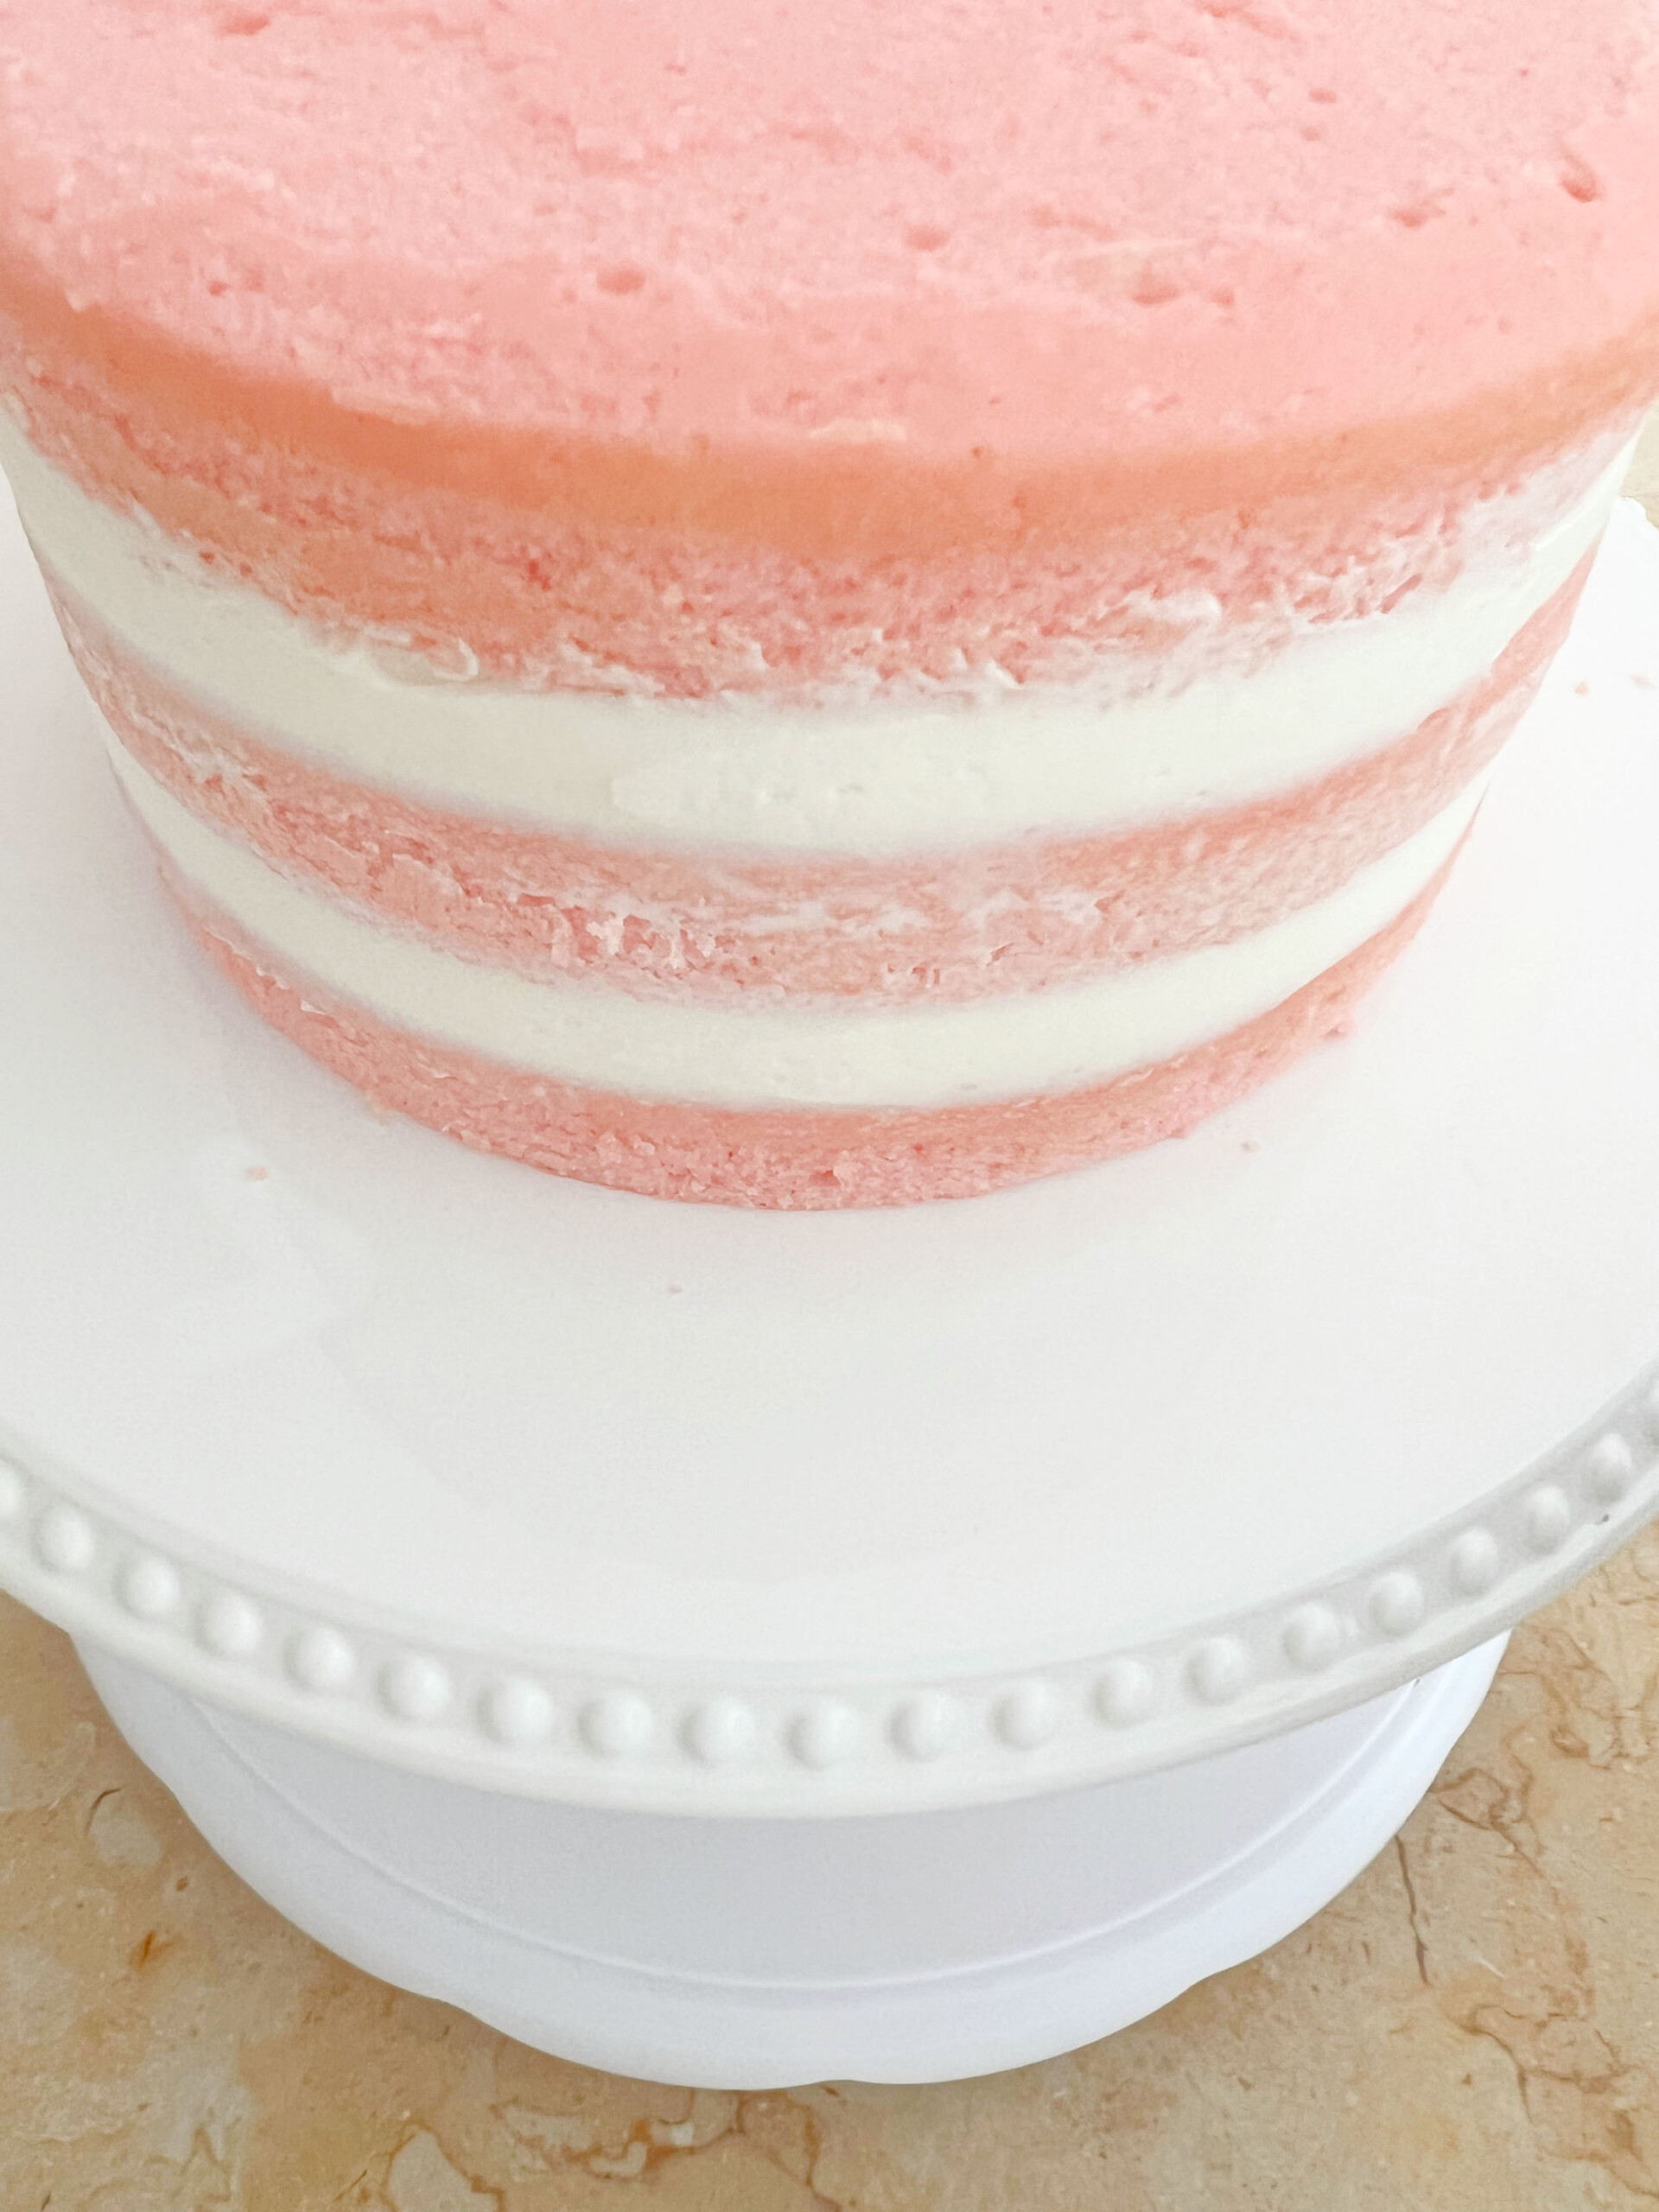
To assemble the cake, place the first pink velvet cake layer on the pedestal.
If using a soft filling like our whipped cream filling, it is best to pipe a dam of buttercream around the edge of the cake layer (about ¼-1/2 inch from the edge). You can do this using a disposable piping bag with the tip snipped away.
Then, fill it with whipped cream, and repeat for the second cake layer. Top with the third cake layer.
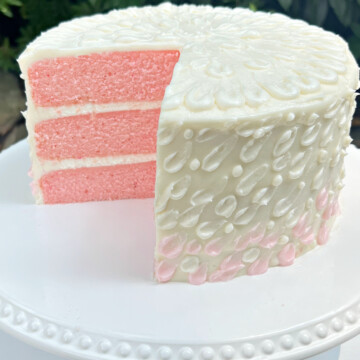
Decorating the Pink Velvet Cake
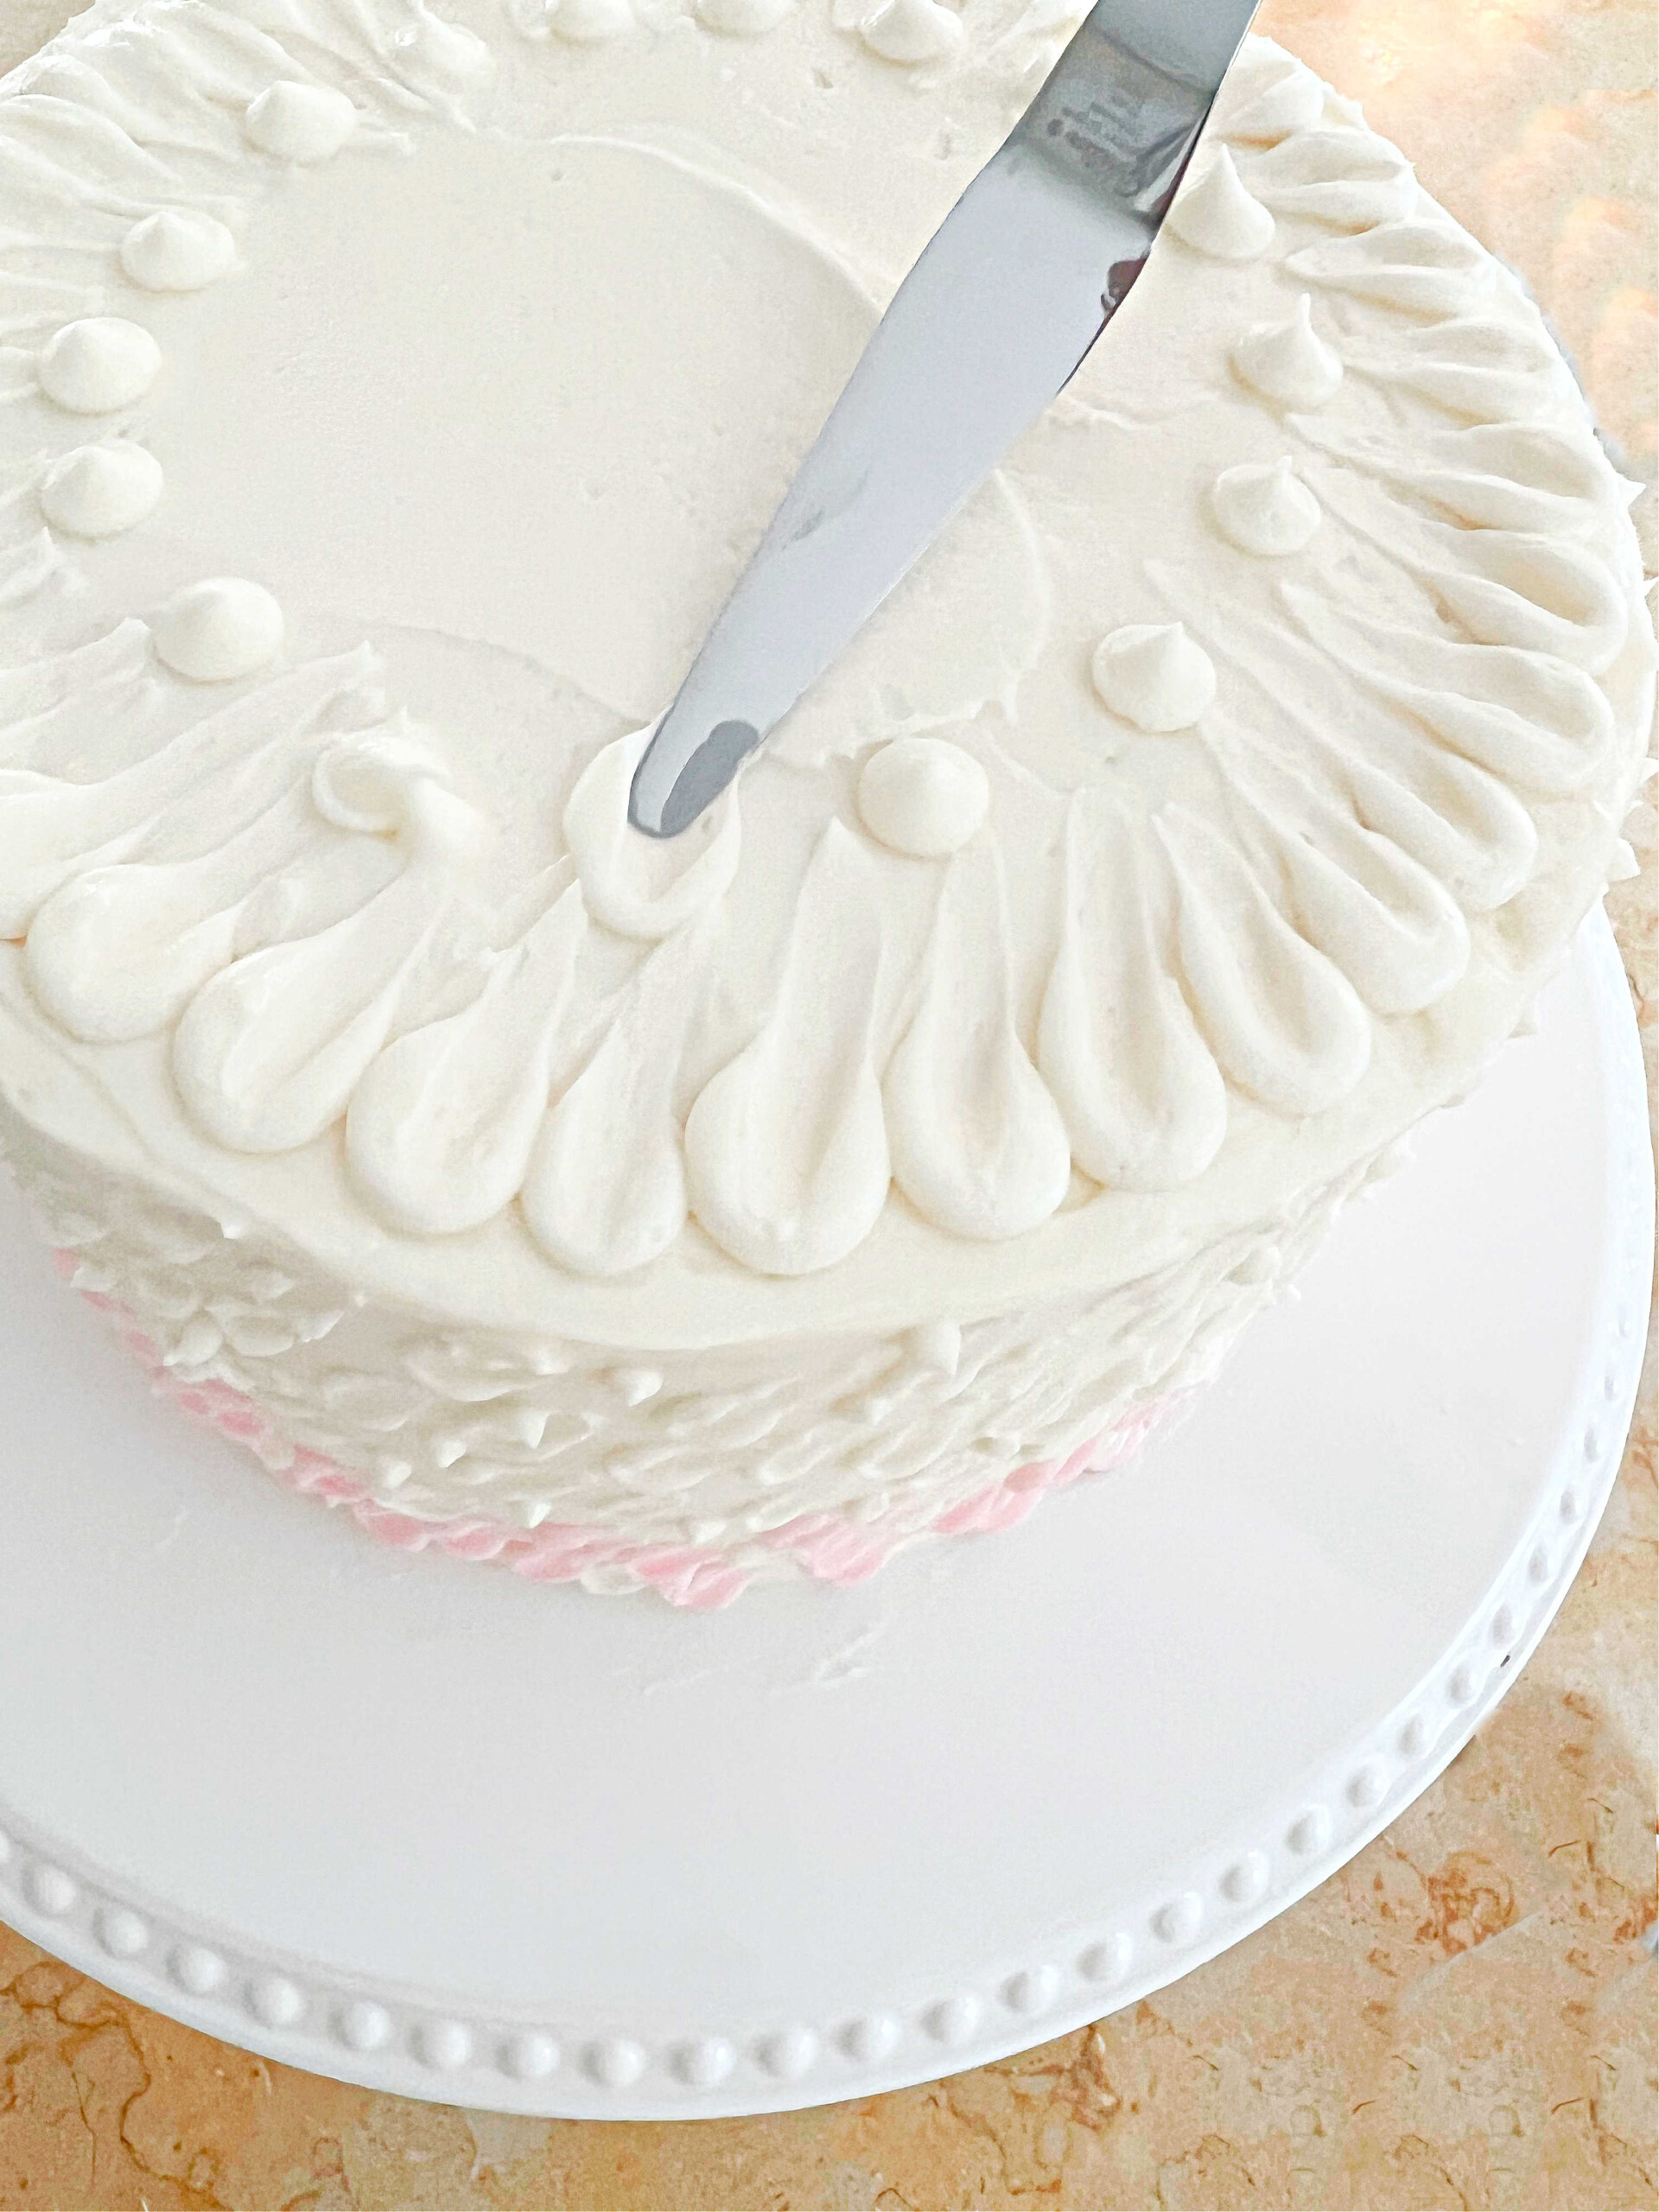
We decided to add a little texture to our frosted cake. For this technique, pipe dots of buttercream using piping bags with the tip snipped away. Then, spread with a small offset spatula. (We used a tapered offset spatula).
This is the same technique that we used in our painted buttercream cake with chocolate spheres tutorial!
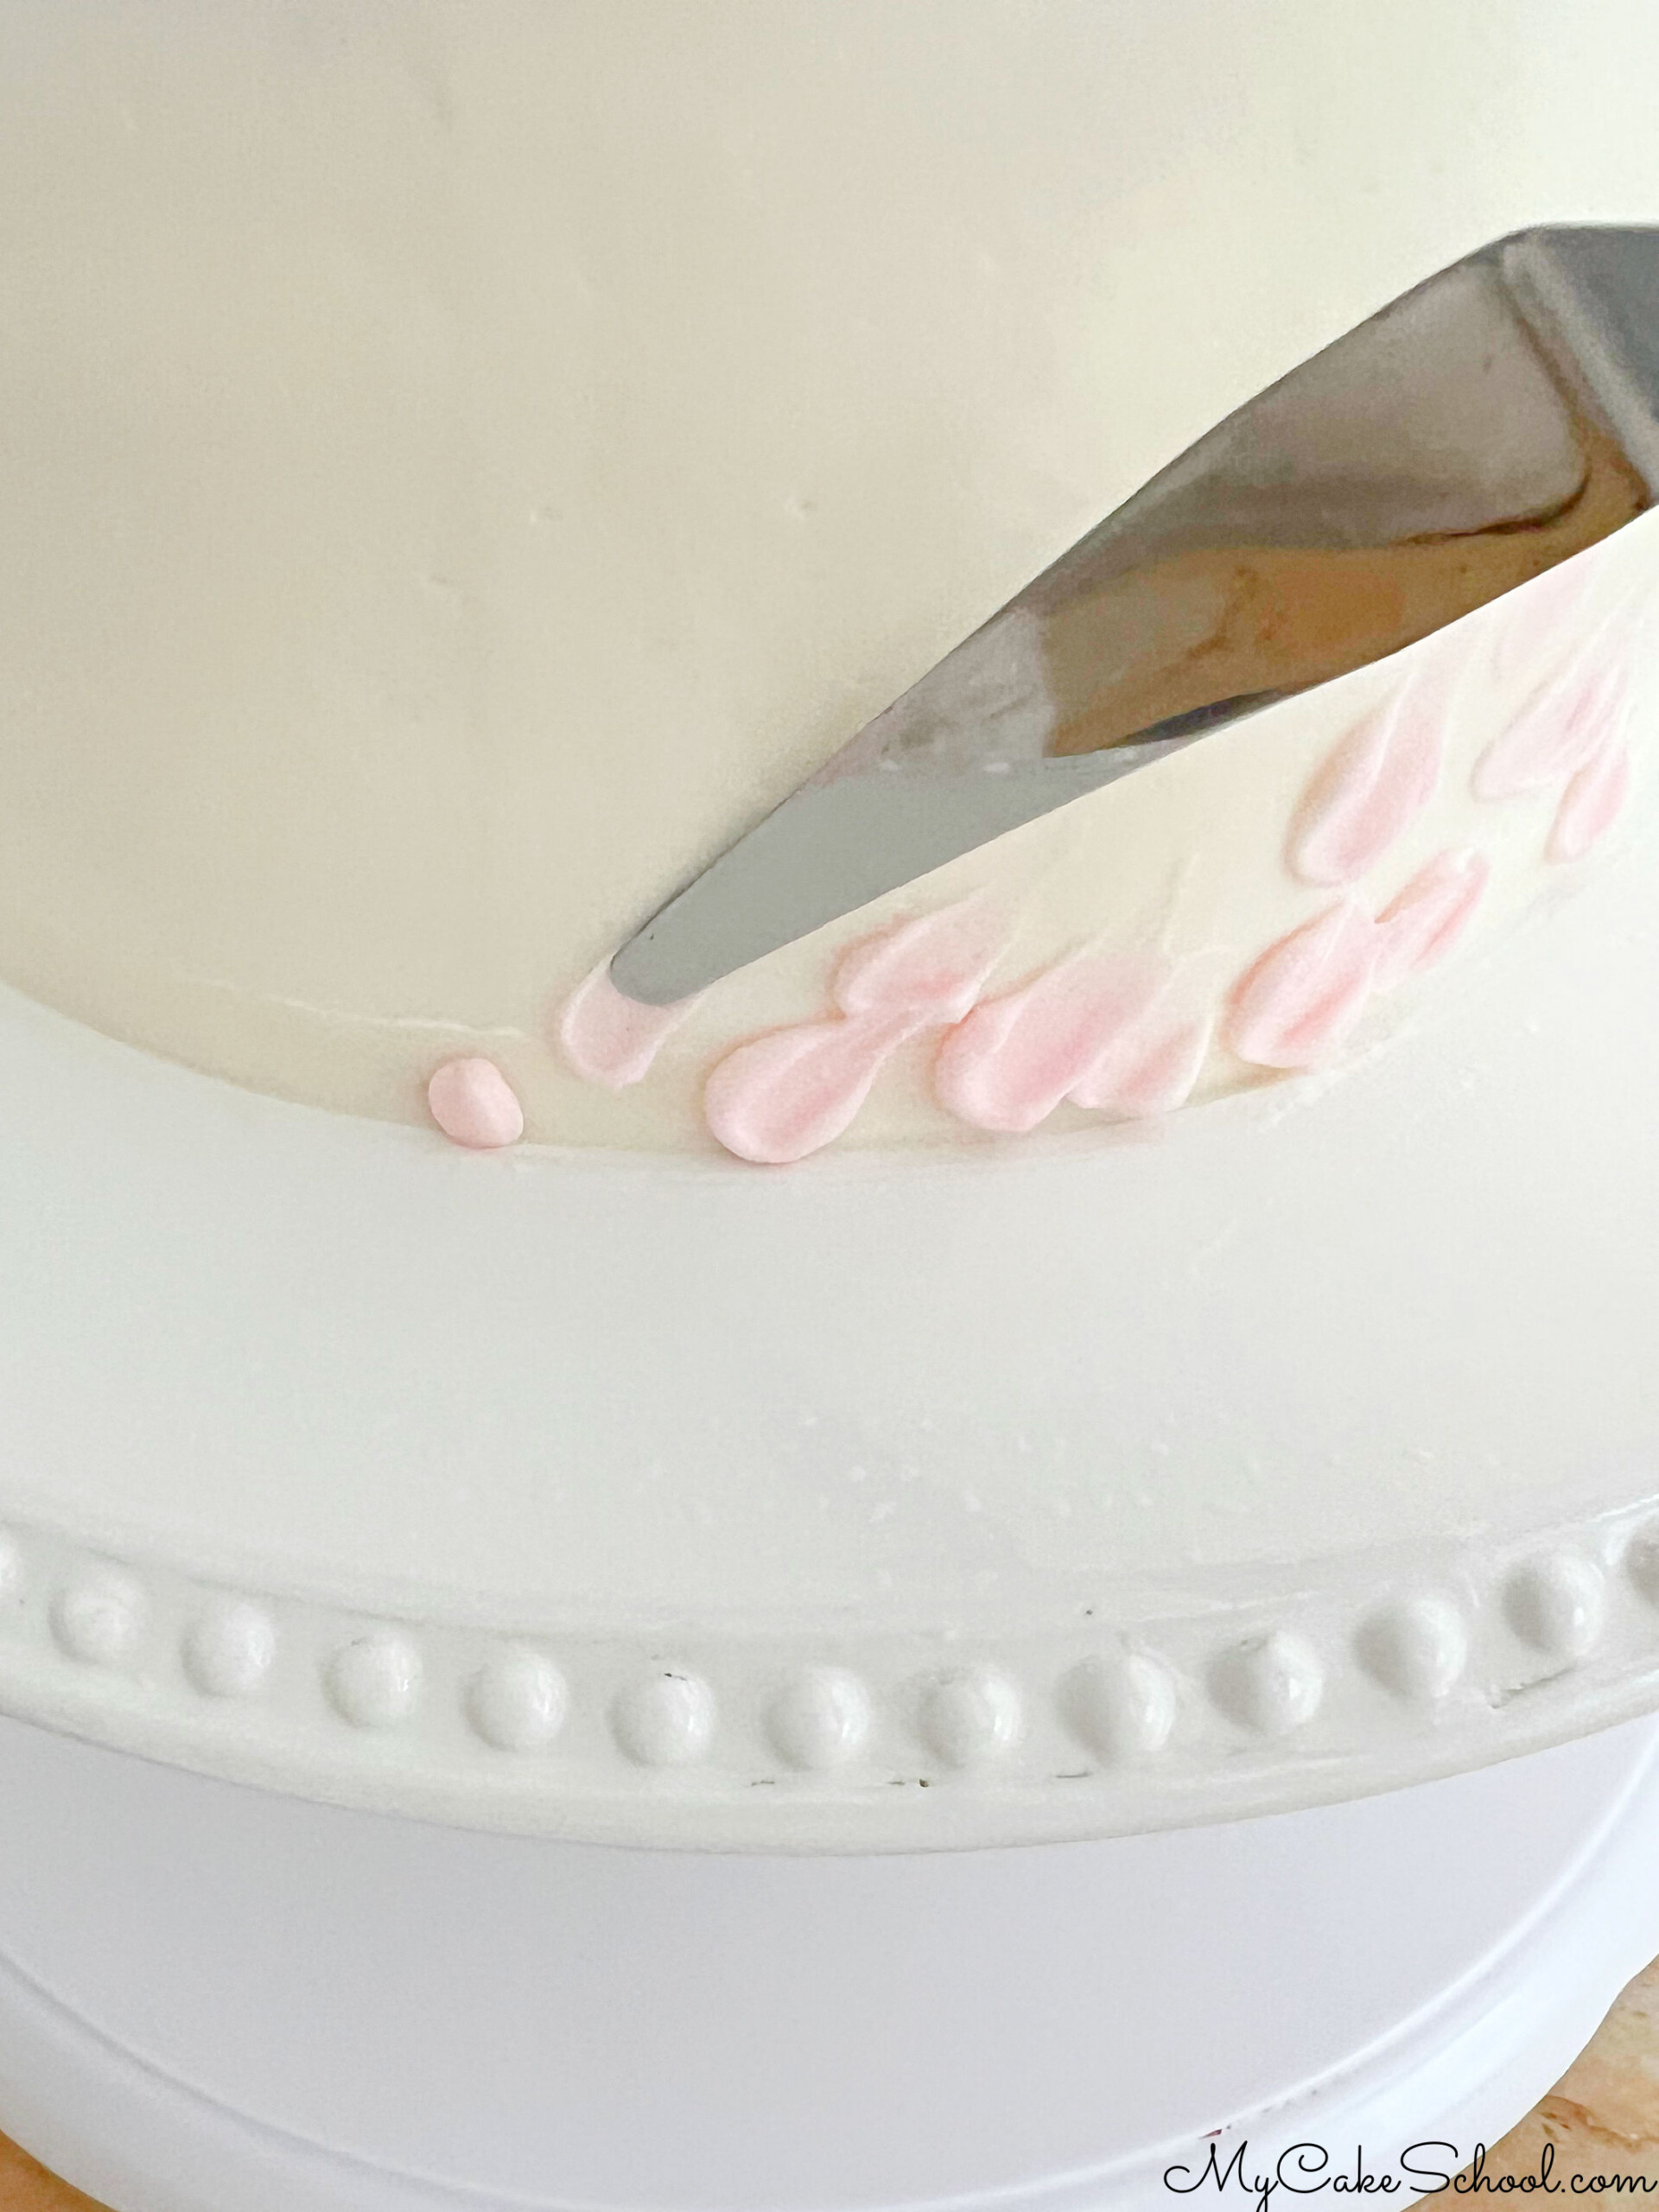
We repeated the texturing on top of the cake also, starting with the outer edge of the cake and working inward.
Recipe FAQs
More Pink Cakes
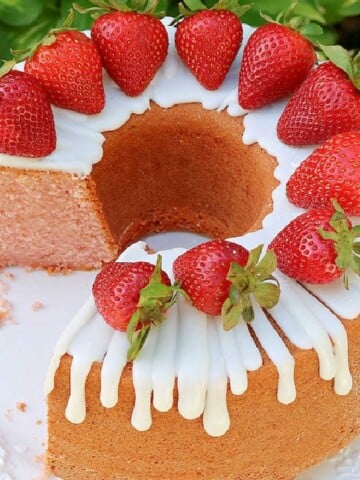
In addition to today's Pink Velvet Cake, we have other great fruit flavored cakes that are pretty shades of pink as well. Some of our favorites are our Strawberry Cake, Cherry Cake Recipe, Raspberry Cake, and Pink Champagne Cake.
Also, don't miss our full collection of Velvet Cake Recipes!
Thanks so much for stopping by! We'd love for you to check out our other Cake Recipes, including our favorite cake recipes from scratch and cake mix recipes.
You can also find all sorts of fun cake decorating tutorials in our Cake Decorating section!
Have you made this? We would LOVE for you to leave a ⭐️ rating as well as a comment and photo below! We really appreciate your feedback!
Pink Velvet Cake
Ingredients
- 1 8 oz (226g) package cream cheese, softened
- 1 ½ sticks (168g or ¾cup) Unsalted Butter, softened
- 2 cups (400g) sugar
- 4 large eggs
- 3 cups (342g) cake flour (See notes for substitution if needed.)
- 2 teaspoons (8g) baking powder
- ½ teaspoon (3g) baking soda
- ½ teaspoon (3g) salt
- 1 cup (242g) buttermilk (See notes for substitution if needed.)
- ¼ cup (54g) vegetable oil (We use Canola oil.)
- 1 Tablespoon (12g) vanilla extract
- Pink Coloring Gel (We used Americolor Deep Pink)
Whipped Cream Filling
- 1 cup 240g heavy cream
- ¼ 29g cup powdered sugar
- 1 4g teaspoon vanilla
Vanilla Buttercream
- 3 sticks (339g) unsalted butter, softened (Should be slightly softened but cool to the touch and holding it's shape)
- 7 cups (690-805g) confectioners' sugar (Adjust amount based on desired consistency.)
- 2 tsp. (8g) vanilla extract (If you prefer a lighter frosting, you can use clear imitation vanilla.)
- ⅓ cup (72)g whole milk or cream, more if needed
- ½ teaspoon (3g)salt
Instructions
- Preheat the oven to 325 degrees F. Grease and flour three 8 inch pans, adding a circle of parchment or wax paper to the bottom of each pan.
- In a medium bowl, whisk the flour, baking powder, baking soda, and salt for 30 seconds and set aside.
- In another bowl, add the buttermilk, oil, and vanilla extract. Set aside.
- In the bowl of your mixer, add the butter and cream cheese and mix at medium speed until smooth.
- Gradually add the sugar and mix at medium speed for 2-3 minutes.
- Add the room temperature eggs one at a time, mixing until the yellow of the yolk disappears.
- With the mixer on low speed, alternately add the flour mixture and the milk mixture, beginning and ending with the flour mixture (We did 3 additions of the dry mixture, 2 additions of wet). During this time, add a drop or two of coloring gel- start with less than you think you will need and adjust as needed.
- Mix the batter just until well combined- be careful not to over-mix. Divide the batter between the three pans.
- Bake at 325 degrees F for 25-28 minutes or until a toothpick inserted into the center comes out clean or with just a few crumbs attached. Let cool for 5-10 minutes in the pans on a wire rack before turning out.
- This recipe makes 7 ½ cups of batter. Works for cupcakes also (although there will be little to no dome).
For the Whipped Cream
- Chill the mixing bowl and beaters/ whisk attachment in the freezer for 10 minutes.
- Pour the whipping cream, powdered sugar and vanilla into the chilled mixing bowl, begin beating on low speed gradually increasing to medium high speed.
- The cream begins to thicken (approx. 1 ½ minutes) and soft peaks form....peaks that slightly bend over. Watch closely as this happens quickly.
For the Vanilla Buttercream
- Cream the (slightly softened) butter until smooth. Blend in the vanilla.
- Add half of the powdered sugar and most of the milk. Beat at medium speed until the powdered sugar is incorporated.
- Add remaining powdered sugar and milk and mix at medium speed another 3 to 4 minutes scraping the sides of the bowl occasionally. I slow down the mixer to very slow. (#2 on the Kitchenaid) for 1 to 2 minutes. This will help eliminate air pockets in the buttercream. The texture will become very smooth.
- This recipe can be doubled or halved.
- Yields approximately 4 ½-5 cups of frosting. Enough to frost a 3 layer 8 or two layer 9 inch cake.
- If your buttercream is too thin, add more sugar. If the consistency is too thick, add a bit more milk
That looks and sounds wonderful! So pretty too :-)
Thanks Teri! ;0)
Hi Clifteen, Wilton's baking and serving chart is a great reference for batter amounts per pan. We try to always list the amount of batter that a recipe makes so that you can adjust to the number of layers or pan size that you are making.(This recipe makes about 7 1/2 cups batter).
https://blog.wilton.com/cake-baking-serving-guide/
Great cake. I made it without the cream filling though, in a 9 inch cake pan. I am making it for a gender reveal party. Turned out very moist with a great taste, not dry or spongey.. I am not a fan of dry sponge cakes.
Hello. THANKS for these DELICIOUS looking recipes. Can you use AP Flour instead of Cake Flour?
Hi Cathy! The cake should still be good with AP Flour, but cakes with cake flour have a softer, finer crumb. We have a substitution for cake flour listed in the Notes if you'd like to try it!
I would love to make this cake for church. Can this cake be made in as a half sheet cake?
Hi Terry, I'm glad that you are making this! It should do just fine as a sheet cake. You can check out Wilton's batter chart to get an idea of approximately how much batter it takes for various sizes of sheet cake (2 inch height). This recipe makes about 7.5 cups of batter.
https://blog.wilton.com/cake-baking-serving-guide/
Do you have to use the whipped cream filling? I have tried several of your recipes and I love them. Could I just stick with the buttercream frosting.
Hi Roselyn, yes of course! Use whatever filling and frosting is your favorite. Buttercream is a great option also.
can I make in 3 6x2 pans instead?
Hi Elaine, yes, you can make this as a three layer 6 inch cake. As a general rule of thumb, you'll want to fill the pan about 2/3 full so that there is room for the batter to rise. You may have some batter leftover which can be used for cupcakes, etc.
I would like to make this cake recipe in 3 6-inch heart shaped cake pans. Is there too much batter in this recipe? If so, what is the percentage I need to decrease. Thank you.
Hi Kary, you may have some leftover, the general rule is not to fill past about 2/3 full. You could pour any additional batter into cupcakes if you'd like. They freeze well too. I don't experiment much with reducing batter amounts.
Hi,
I love your recipes and have made some great cakes. Thank you!!
My concern though with some of your ingredients you use. Canola oil is extremely bad and I just looked up the deep pink coloring gel by Americolor. Have you seen the ingredients in that? In good conscious I cannot buy that. I eat mostly whole foods but on special occasion will make one of your cakes. Is there a possiblity to try and use better ingredients?
Thanks, Cyn
Hi Cynthia, I haven't tried substituting with the canola oil alternatives (refined avocado oil etc). If you don't want to use canola oil, it is definitely worth experimenting with. Let us know what you think. Also, there are lots of natural coloring gel options that you can try.