Monster Truck Cake Video
Today, we're going to show you how to make a 3D monster truck cake! Keep this cake design in mind for birthday cakes for the truck lovers in your life!
We have had A LOT of requests for car cakes, truck cakes, and MONSTER truck cakes. We are so happy that we finally have a video for this!
Table of Contents
Alternative to the Platform or our Truck Cake
This video starts with Mom (BeBe) building the platform for the monster truck cake. Don't let this step scare you from making this cake design!
However, if you'd prefer not to take a trip to the hardware store, an easy alternative is to cover a block of styrofoam with black fondant (or a black plastic tablecloth) to give the illusion of space beneath the cake. I would use melted candy melts to glue the styrofoam to the cake base (or even "real" glue).
Basic Cake Notes/Details
There's nothing like actually fully viewing the video tutorial to understand all of our steps in creating the monster truck cake. However, here is a simplified look at our process!
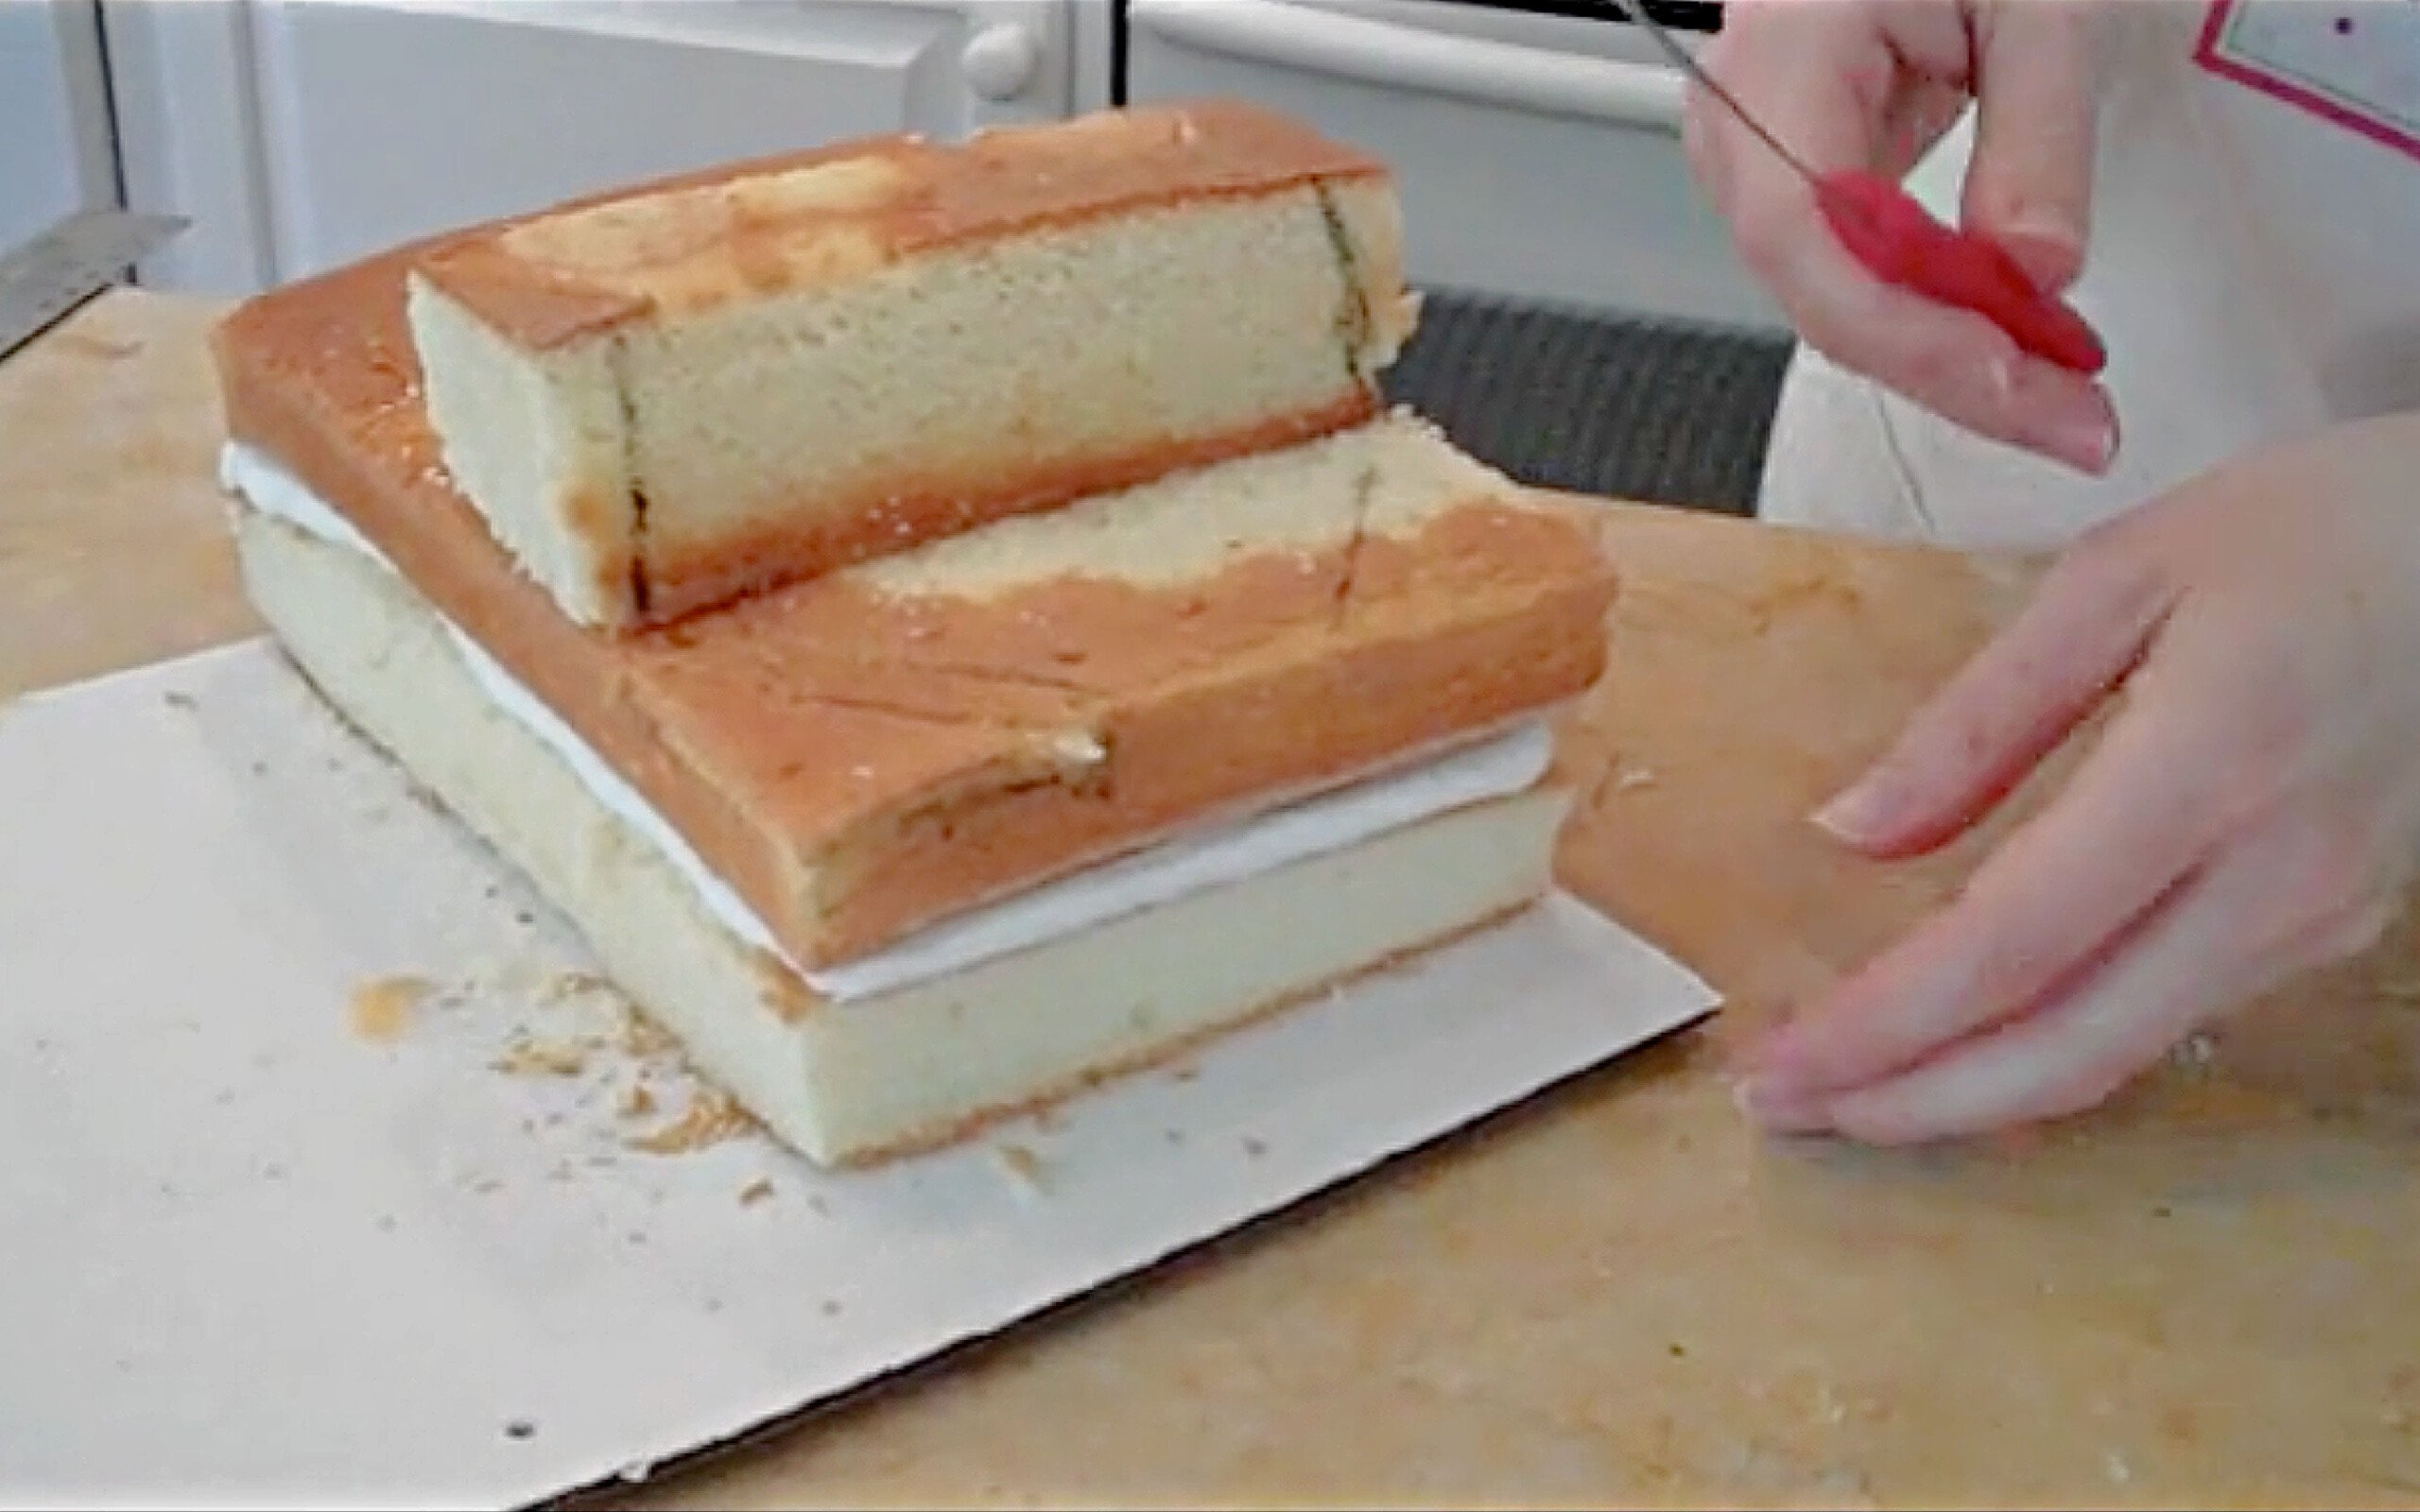
For today's cake, we used a single 9x13 cake layer and a loaf pan (White Almond Sour Cream recipe). Make sure that the cakes have fully cooled before decorating. I you are baking in advance, you may even prefer to wrap (plastic wrap & foil) and freeze the cake layers until you are ready to assemble.
Next, split the 9x13 in half, dam & fill with buttercream and stack. (It's on it's own cake board). Then, trim down loaf cake to form the cab of the truck.
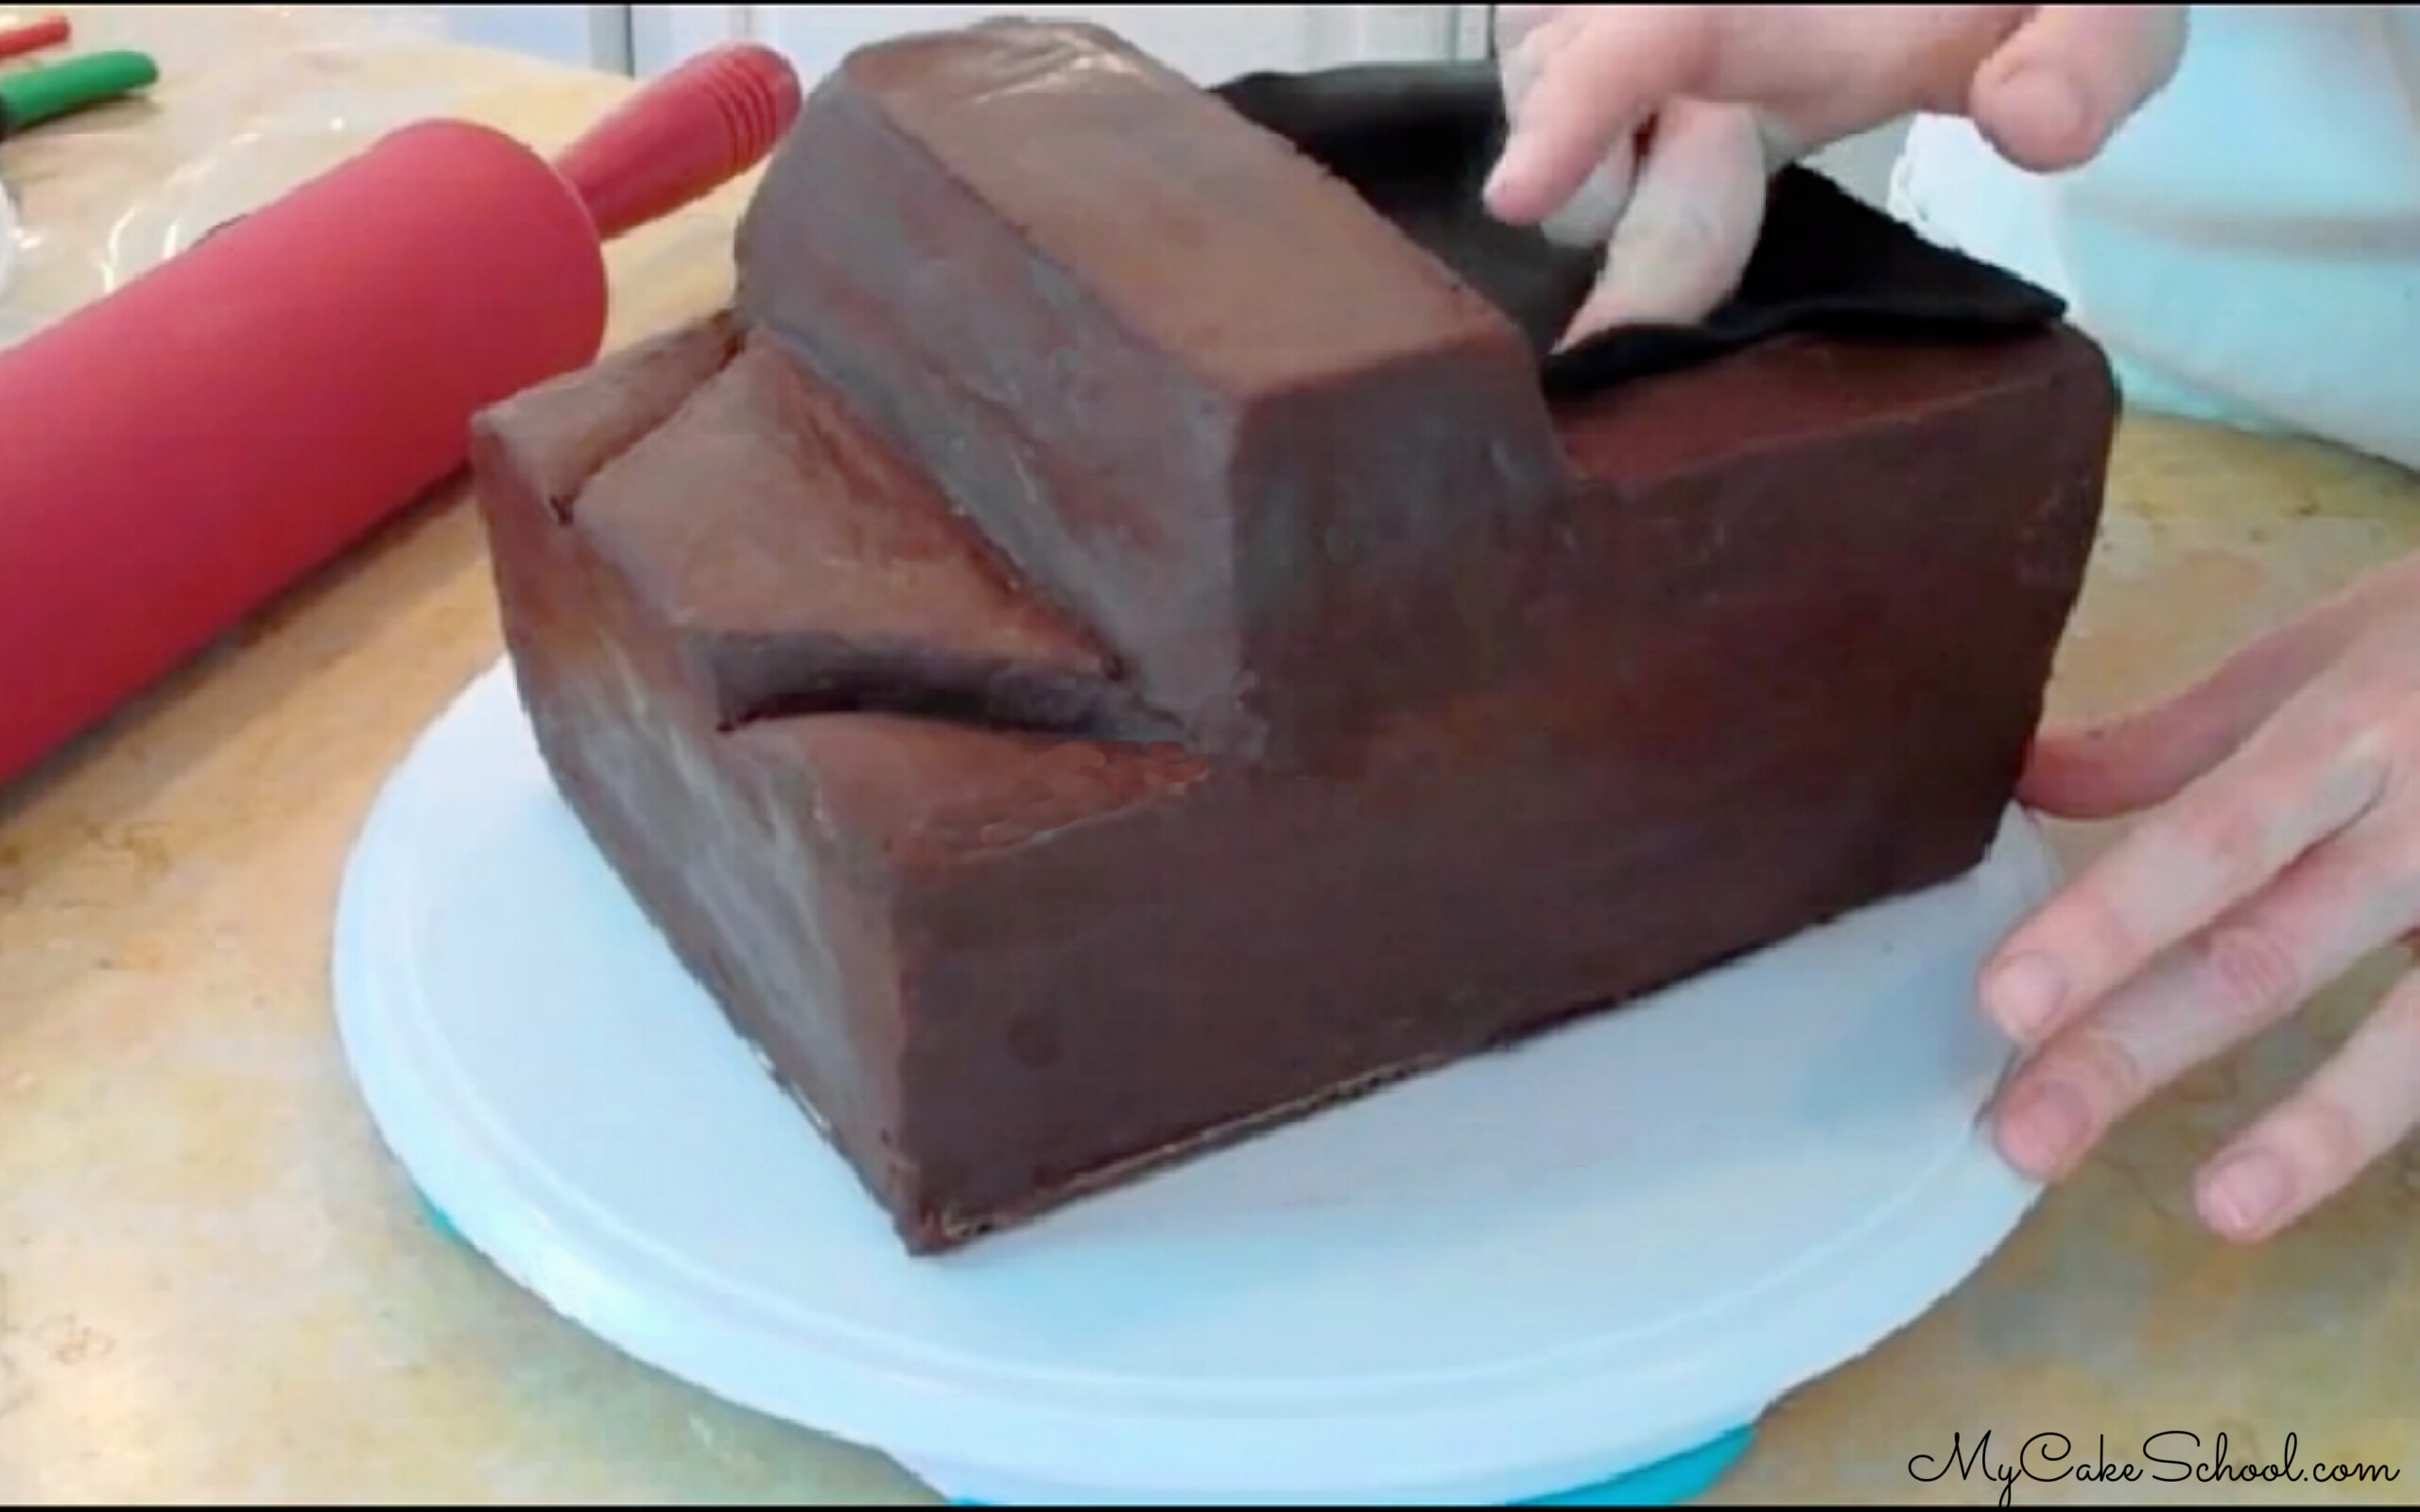
Carve away pieces of cake to form the hood.
Add scrap pieces of the loaf cake to form the bed of the truck (*optional--you could just keep it flat)
Ganache over everything using our simple spreadable ganache and an offset spatula. (This is a 2:1 ratio by weight of semi-sweet or dark chocolate to heavy cream.) Chill to firm everything up before covering with fondant.
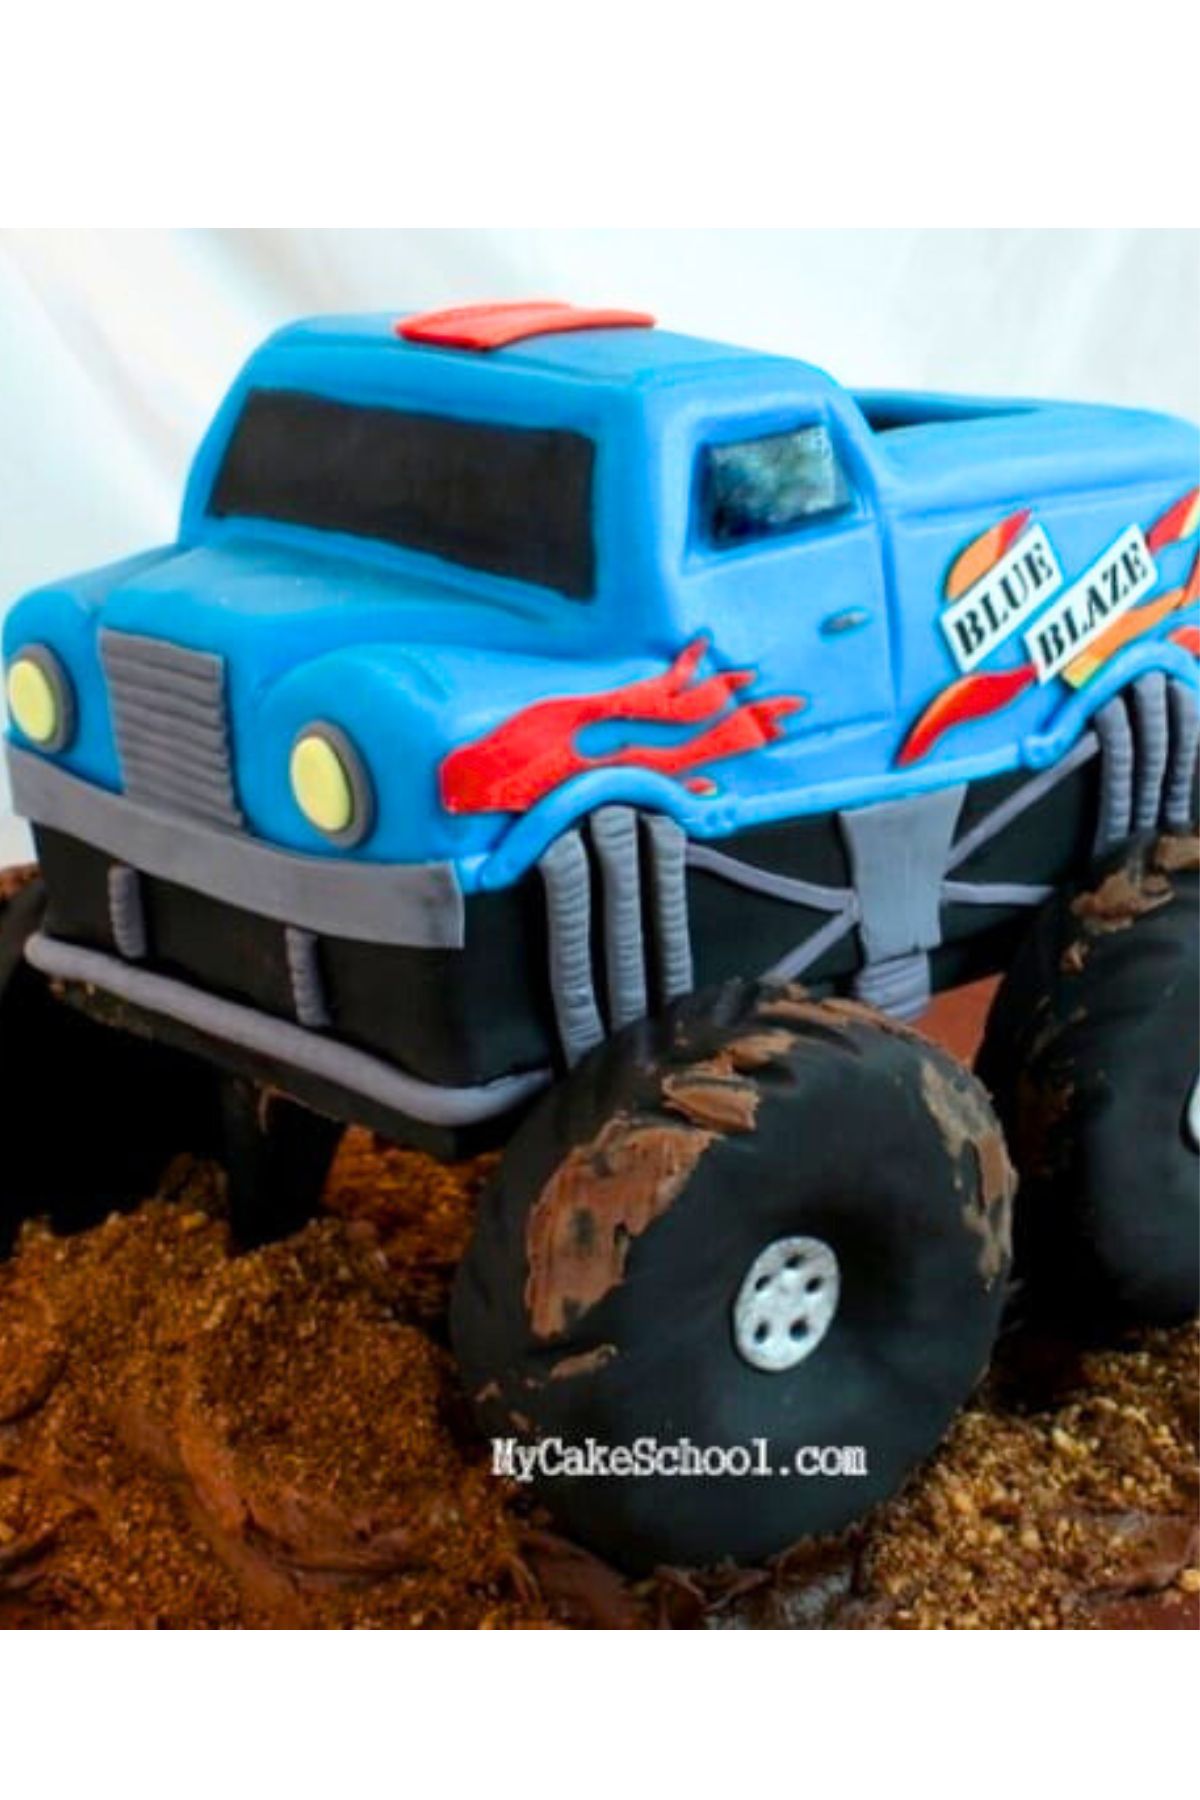
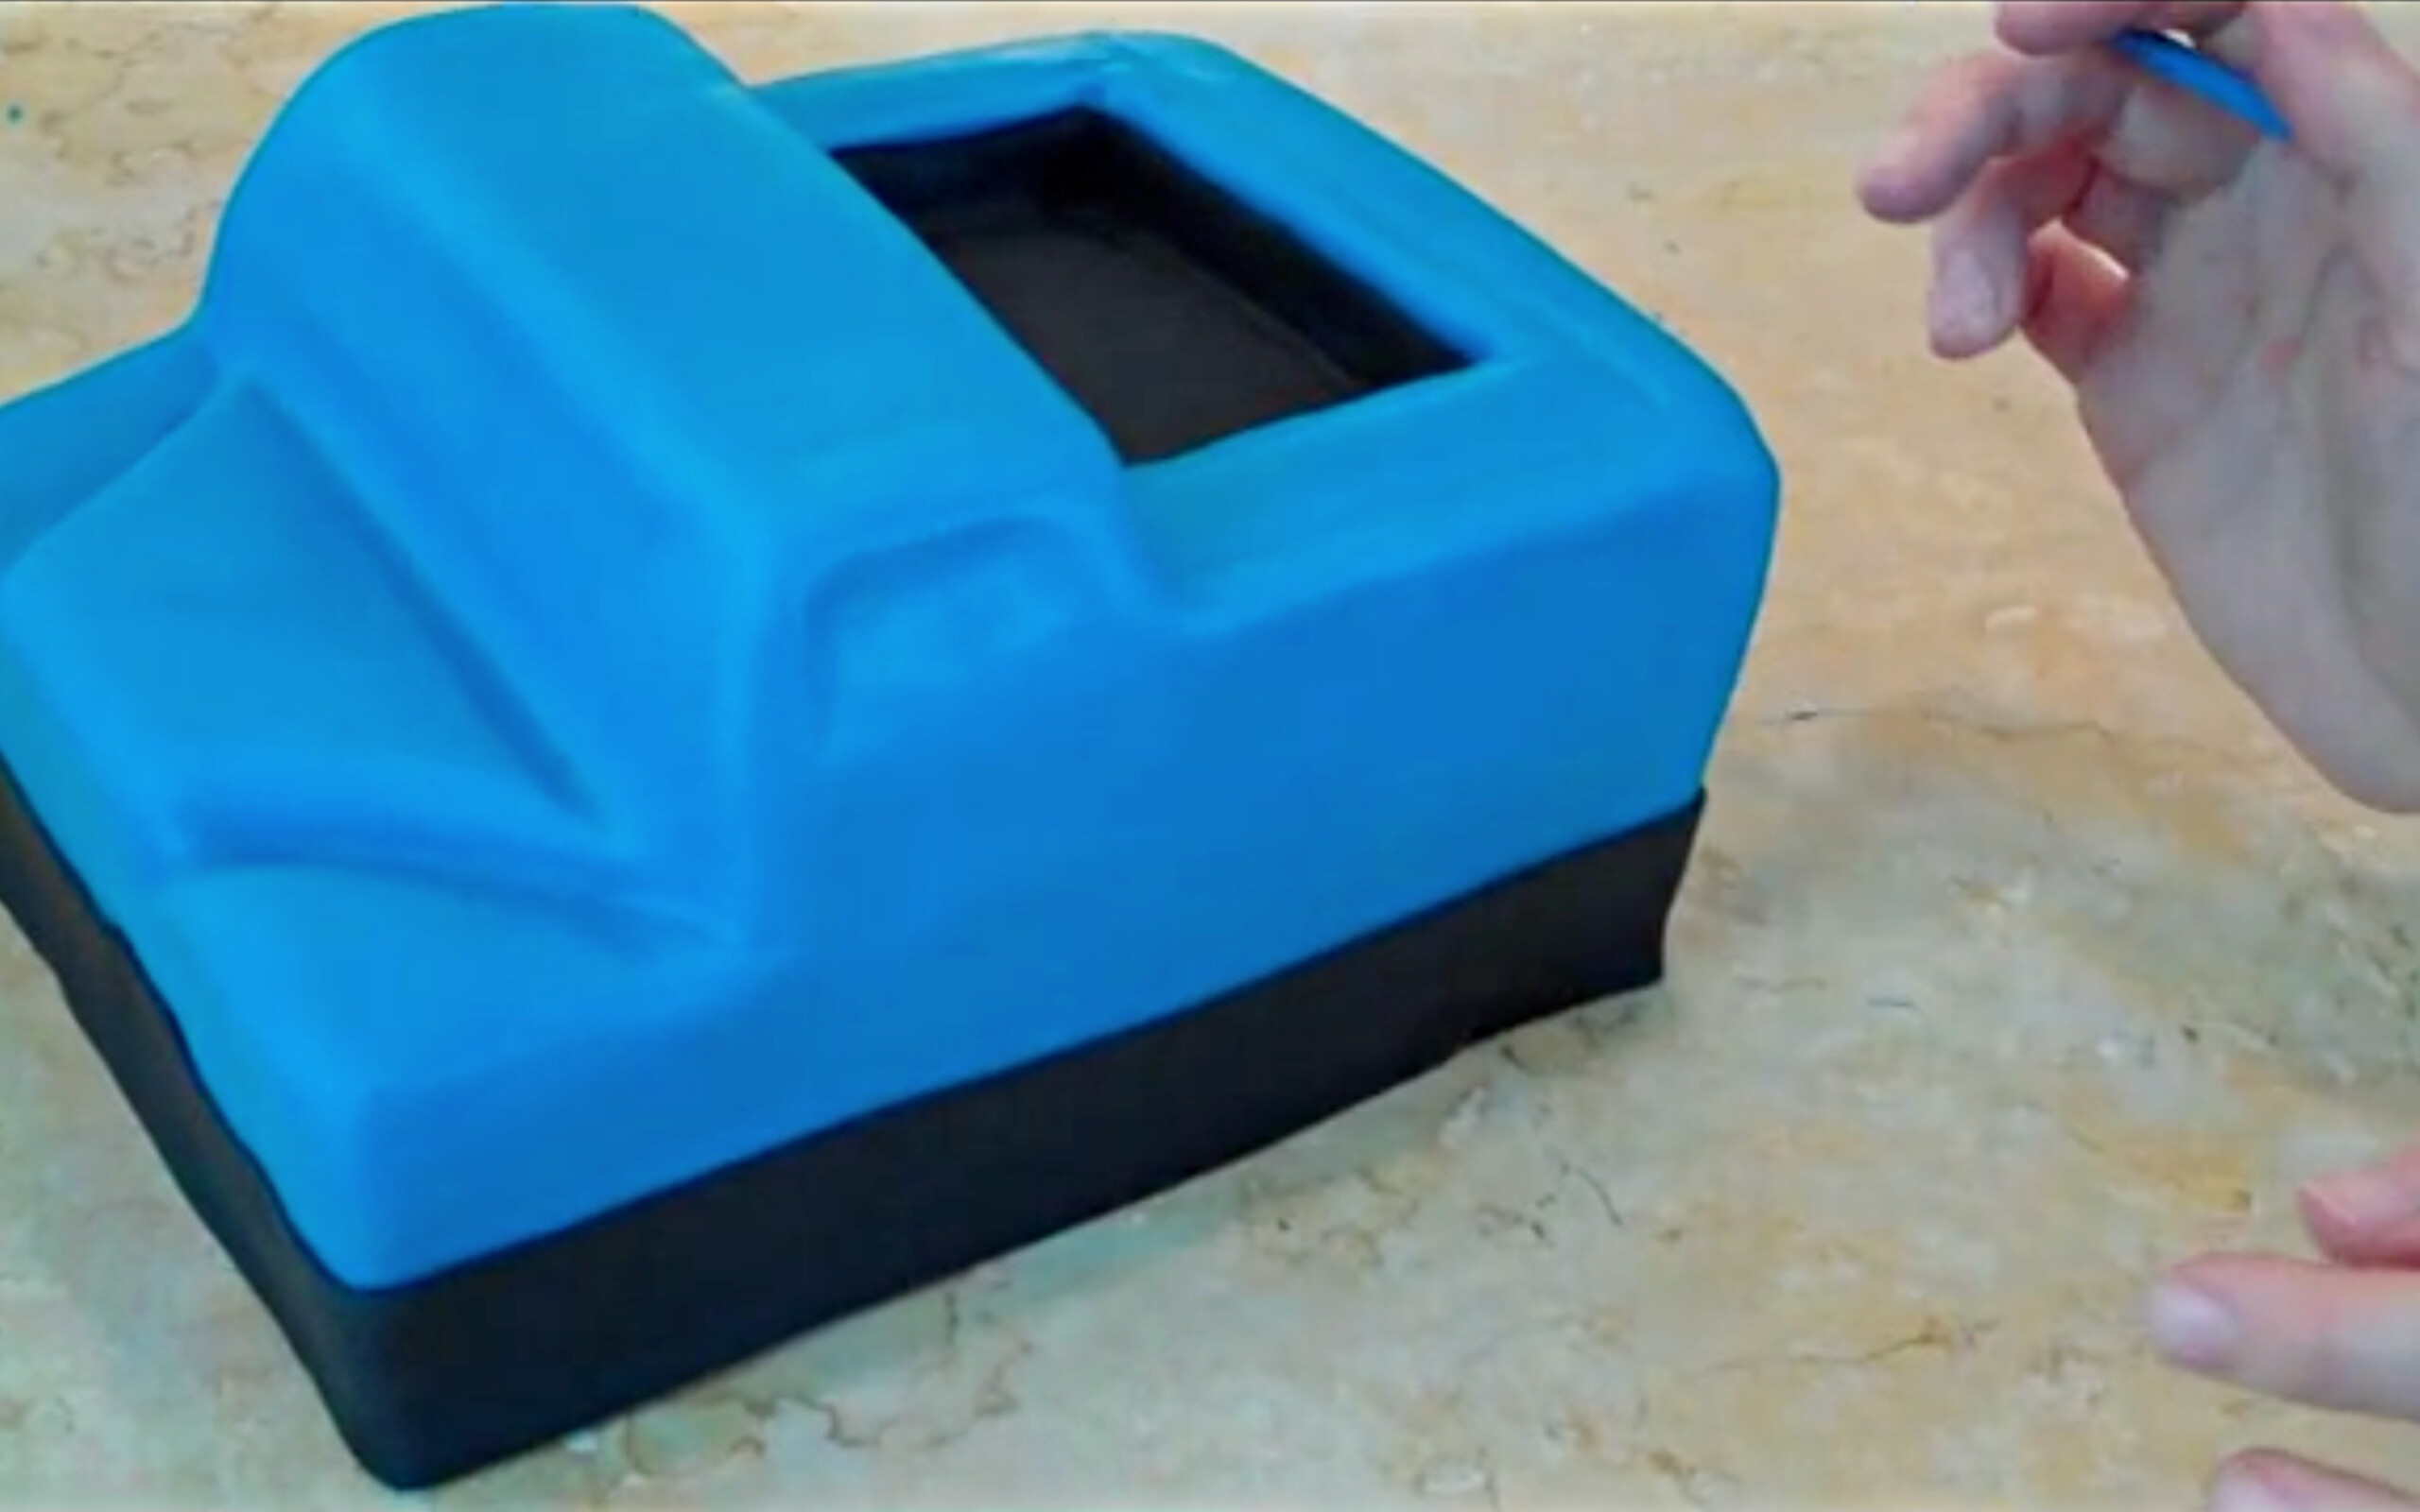
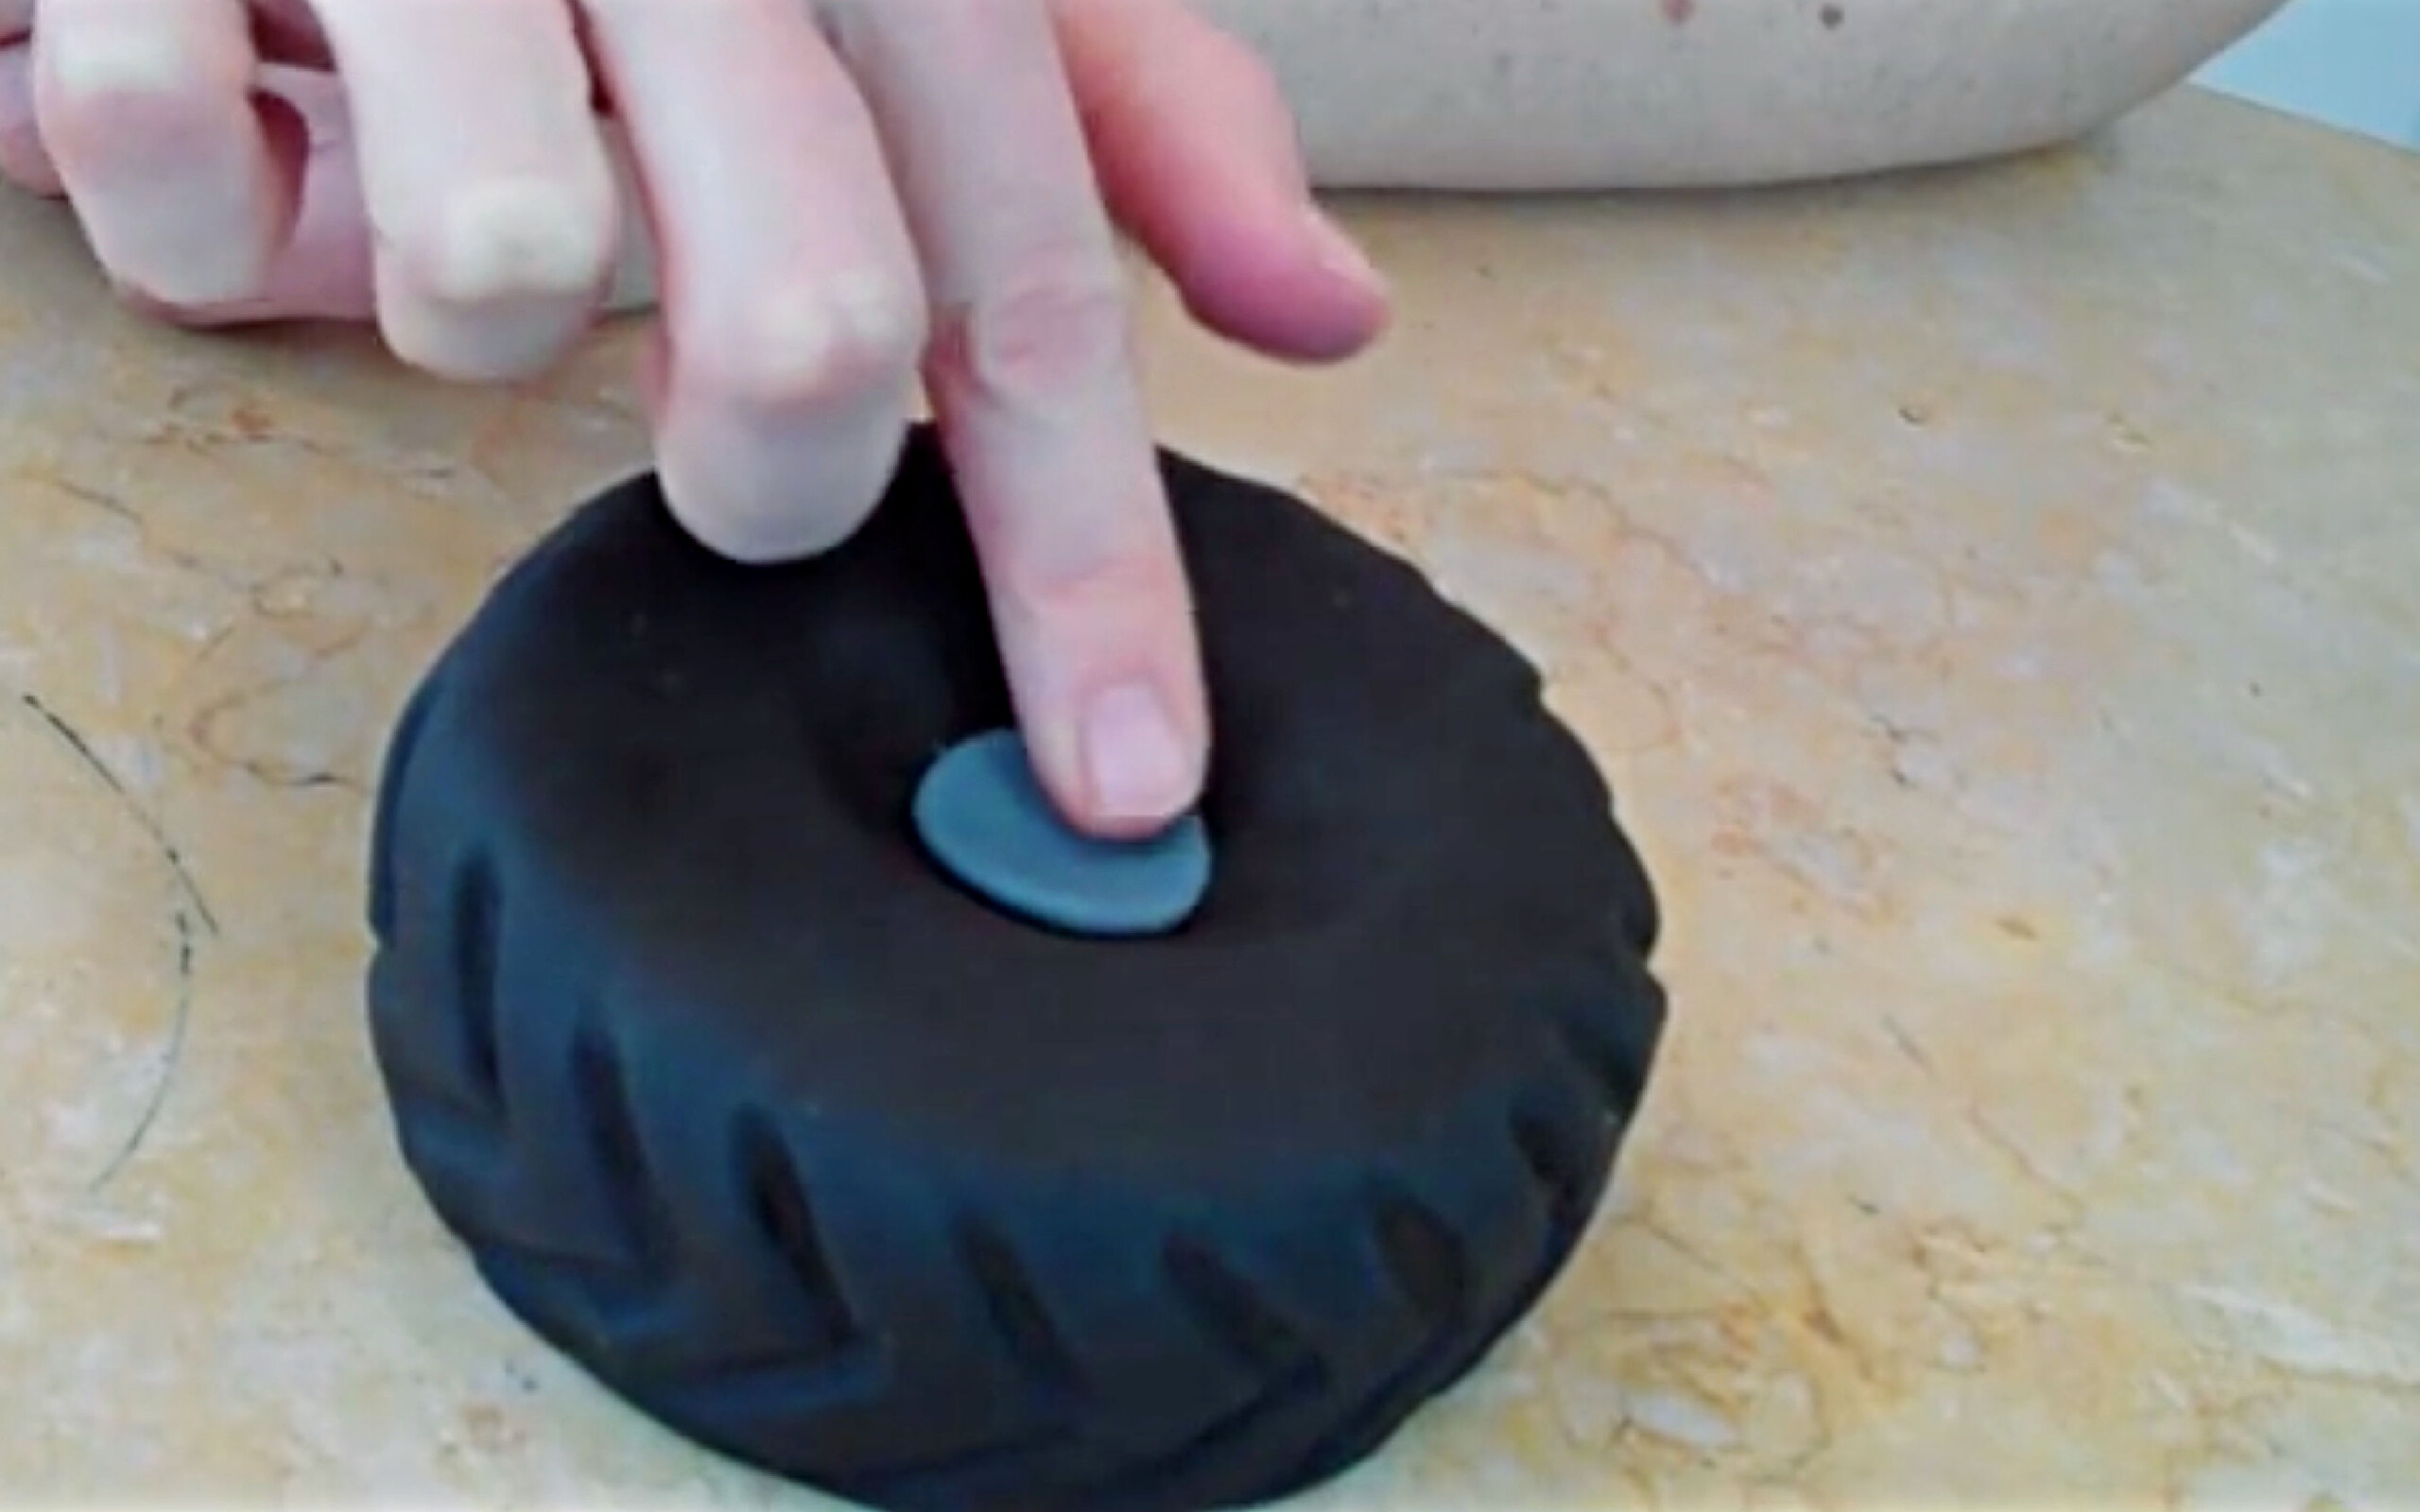
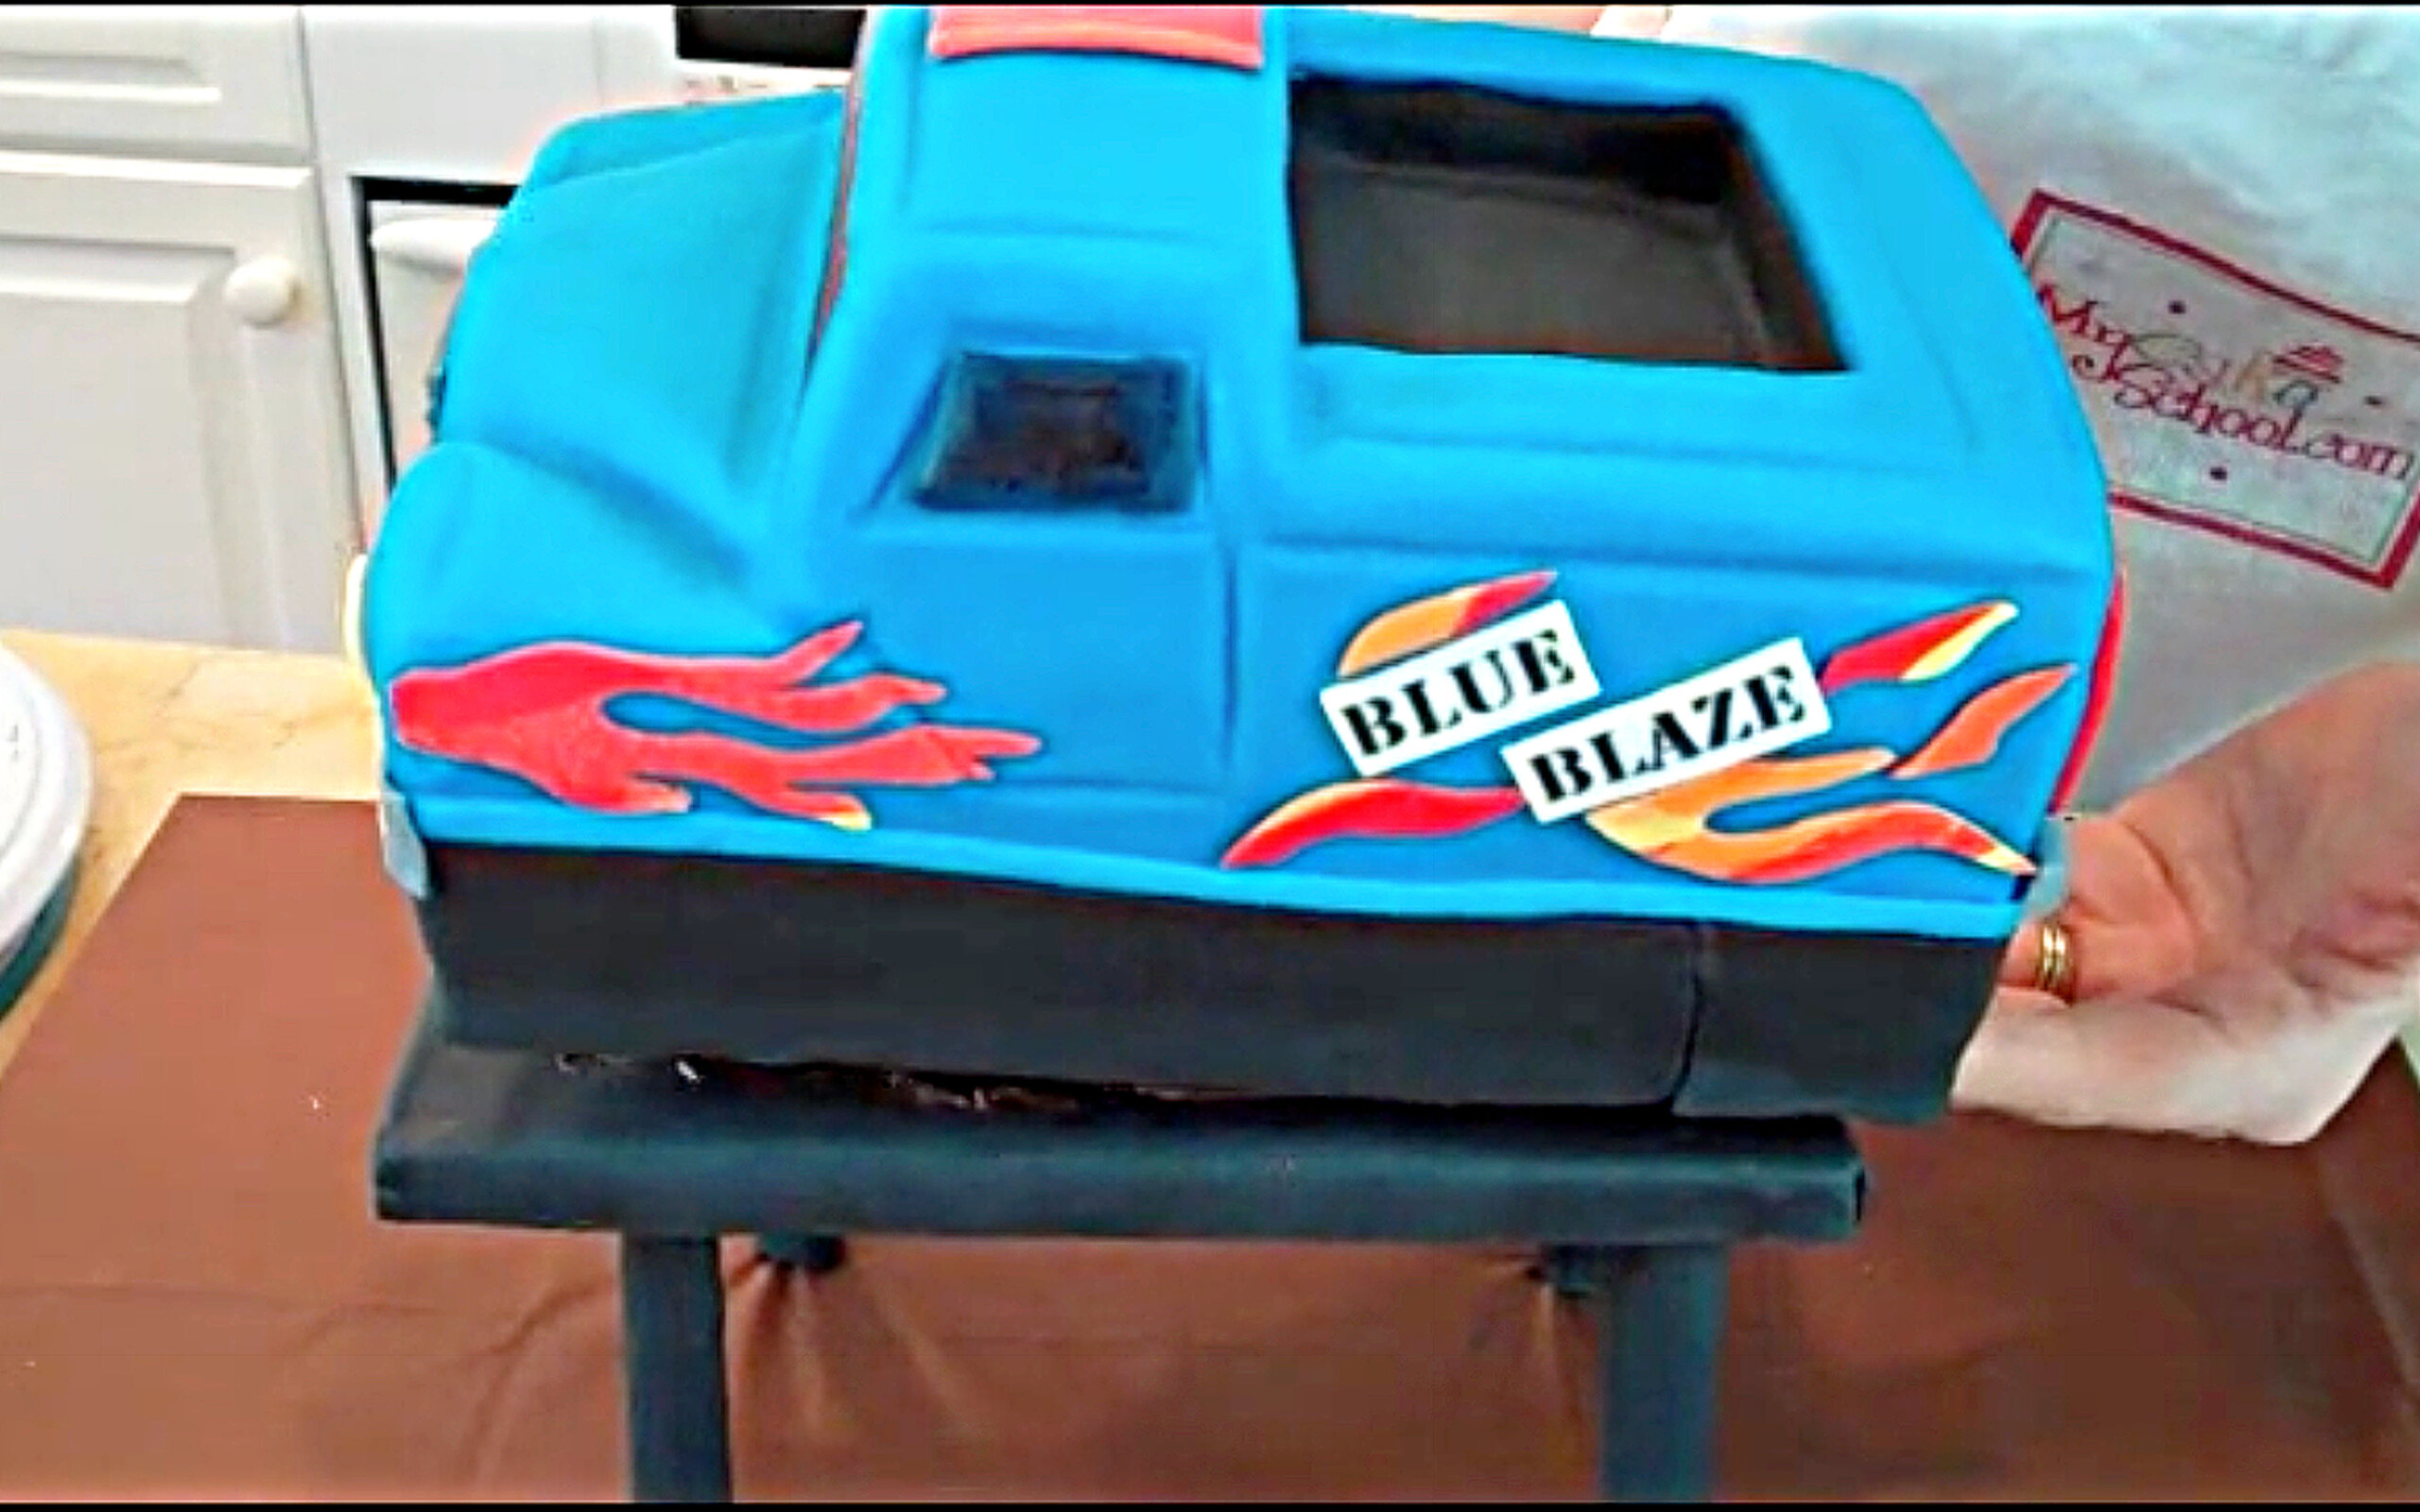
Cover the monster truck with blue fondant. Layer on accents.
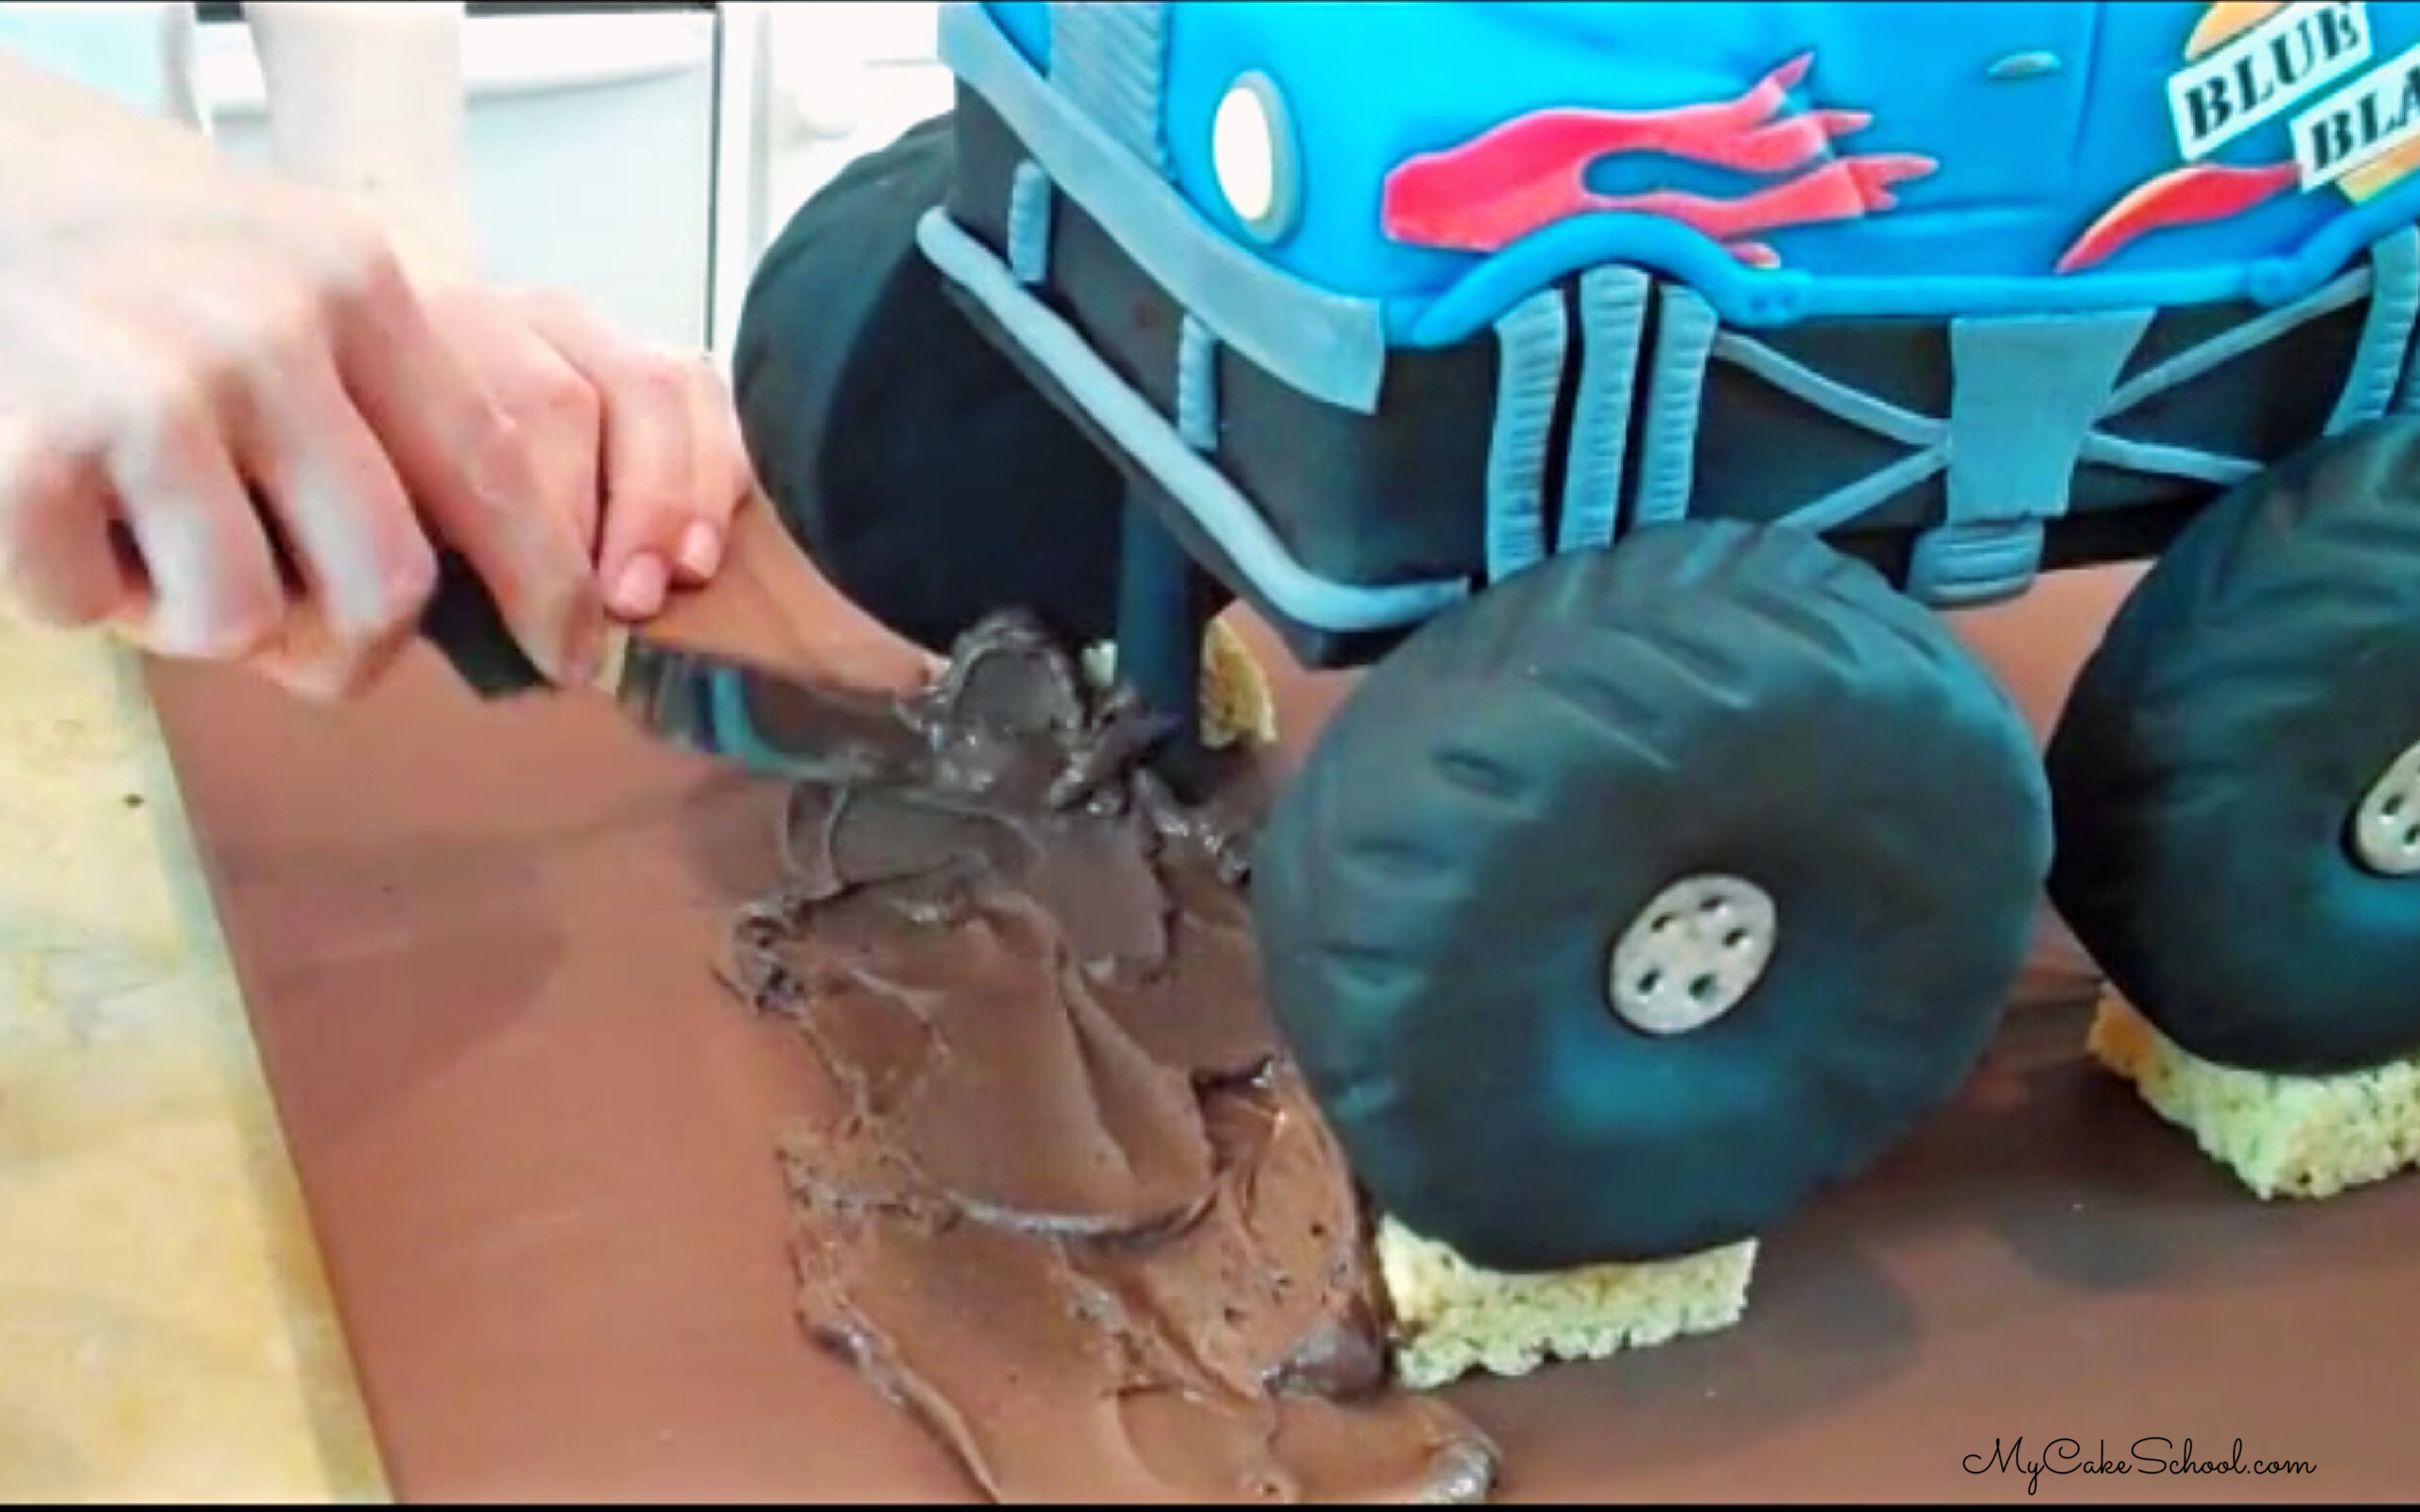
Here's a look at our fondant-covered rice cereal treat tires!
Add the cake to the platform (we "glued" it with melted chocolate).
Add the tires, and use frosting "mud" to cover anything that needs to be hidden, and to make it more realistic! ;0)
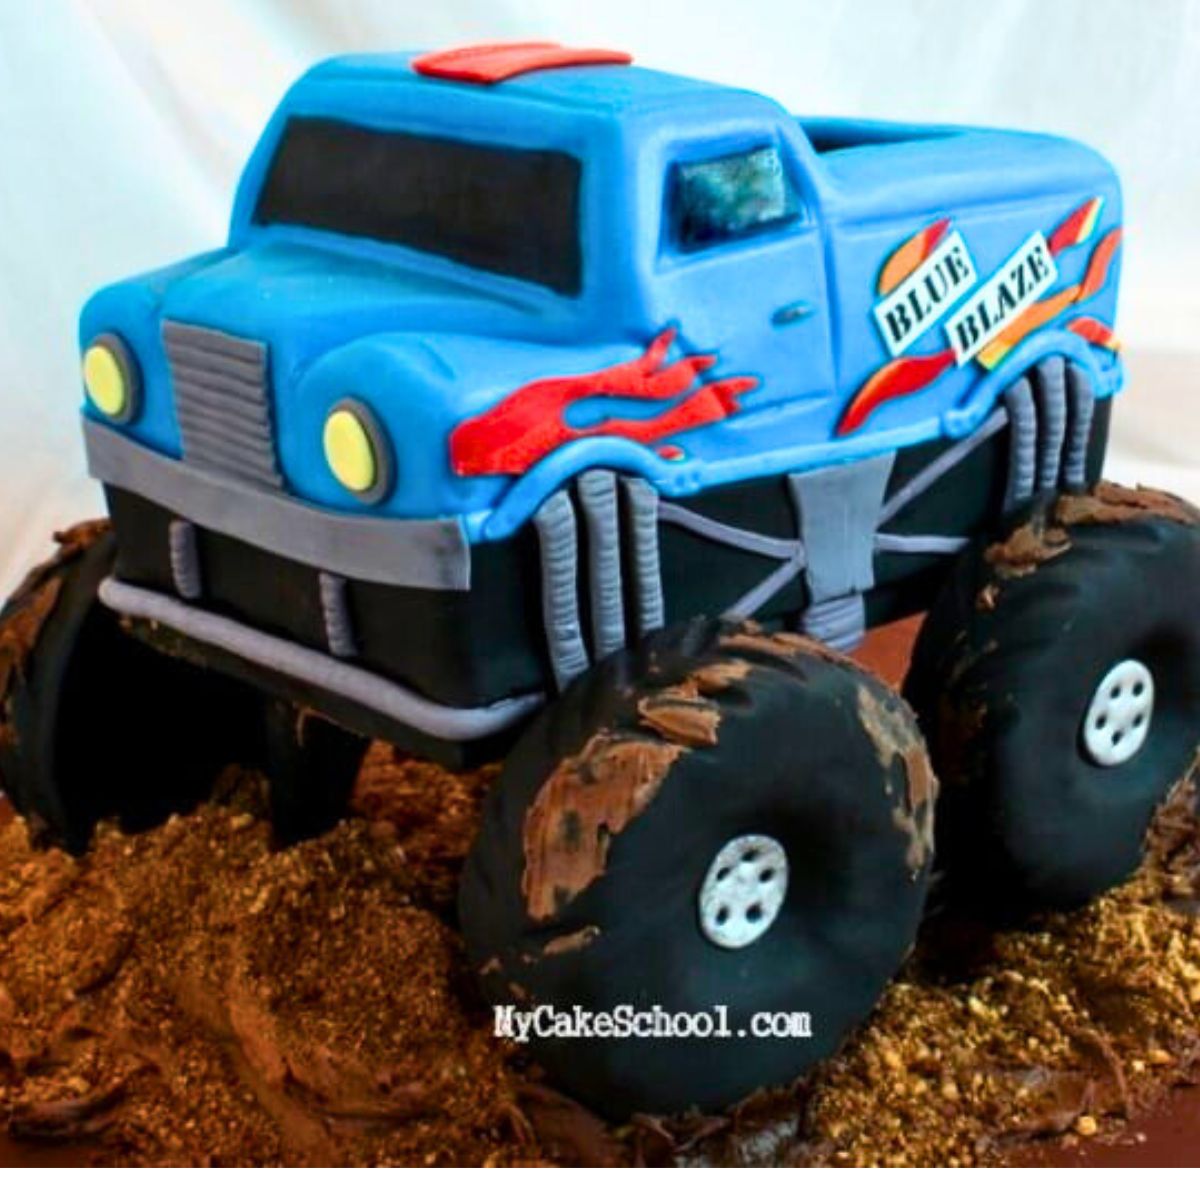
Here's our finished Monster Truck Cake! Enjoy the video!
Cake Recipes
So many cake recipes would work great with this monster truck cake, whether cake recipes from scratch or cake mix recipes.
Some of our favorites, aside from our doctored cake mix WASC Cake used in today's recipe, is our chocolate cake from scratch, orange cake, almond cake, and marble cake!
Our easy lemon cake and easy marble cake mix recipe are great options also!
More Birthday Cakes
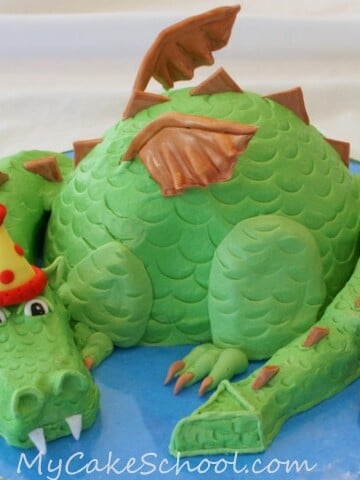
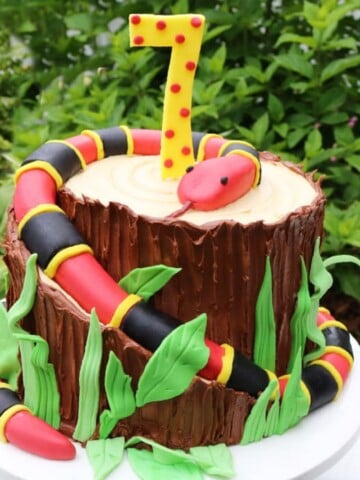
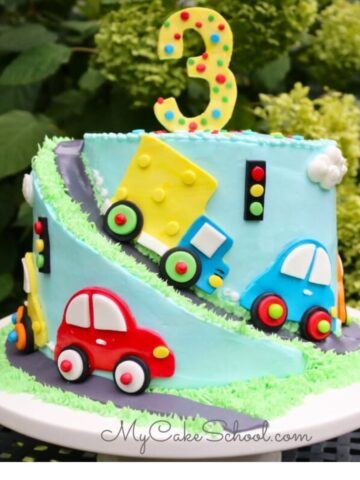
In addition to today's Monster Truck Cake, we have many more Birthday Cake Ideas to share with you! Some of our favorites are our Cars and Trucks Cake, Shark Cake, Jungle Cake, Farm Cake, and Snake Cake!

Have you made this? We would LOVE for you to leave a ⭐️ rating as well as a comment and photo below! We really appreciate your feedback!

Monster Truck Cake
Ingredients
- 9x13 cake layer o your choosing
- Loaf cake -Ours is 8 ⅜" x 4 ⅜" use whatever you have- you can carve it down as needed.
- cake cardboard or foam core which you'll later cut to the size of the cake
- Ganache We used a 2:1 ratio of chocolate to cream--simple spreadable ganache
- Fondant- I used Duff's pre-colored blue fondant to cover the truck. Black pre-colored Satin Ice fondant for strip around base of cake. Grey fondant for bumper grill and misc accents. Yellow fondant for lights. Yellow, Orange and Red for flames.
- Rice Cereal Treats- You could make your own Rice Krispies Treats but we used premade for our tires. We used 6 of the 22 gram RKTs per tire! Then at the end of the video we used 4 more pieces to boost our tires a little higher.
- Chocolate Royal Icing & crushed chocolate and/or honey graham cookies--*Optional--this is what I used for MUD and dirt. Chocolate Buttercream would work as well!
- Frosting Sheet/Edible image printer--OPTIONAL-- I printed off the truck's name.
- FMM Multi Ribbon Cutter- Optional -- I use this for easily cutting uniform strips of fondant.
- Miscellaneous Tylose powder optional, I like to knead a little into decorative fondant pieces, Sugar Glue (aka tylose glue) or your "glue" of choice, X-acto or other sharp knife, "The Mat"-optional.
- vodka or lemon extract for painting, misc paintbrushes (optional), toothpicks, coloring gels of your choice for fondant accents
For the Wooden Platform (See our post for alternative)
- We made a sturdy wooden platform to create the space beneath the cake. An easier alternative would be to cover a styrofoam block with black fondant or a black plastic tablecloth to create the illusion of space.
- 1 18"x20" wooden board that is ½ inch thick Covered the top with a brown plastic tablecloth
- 6 6"x8" wooden board
- hand drill
- 4 6x1" screws
- Wooden dowel, ½ inch thick and cut into 4" sections. They will cut for you at home improvement store. (*later we wished these were 3 ½" to better fit the size of our tires. Ideally, the top of the tires will be slightly taller than your platform.
Instructions
- Once these cakes have completely cooled, you can begin assembling. *You may find it easier to bake, wrap, and freeze your cake layers in advance. Then, partially thaw and assemble.
- This is the simplified version of our steps. See video to fully understand our process.
- Split the 9x13 cake in half. Then, dam & fill the cake with buttercream and stack. (It's on it's own cake board)
- Next, trim down loaf cake to form the cab of the truck.
- Carve away pieces of cake to form the hood.
- Add scrap pieces of the loaf cake to form the bed of the truck (*optional--you could just keep it flat)
- Ganache over everything using our simple spreadable ganache (a 2:1 ratio of dark chocolate or semi-sweet chocolate to cream). Chill for 15 minutes in the freezer or longer in the refrigerator to firm everything up.
- Then, cover the ganached cake with blue fondant
- Layer on accents, add the monster truck cake to wooden structure, using melted chocolate as glue. Add the tires, remaining details, and frosting "mud" to hide anything that needs to be hidden!
i made this for my brothers 50th birthday he was totally over the moon going to try more of your cakes keep up the good work
photo.php?fbid=3687967639459&set=a.3687967439454.2170222.1283244168&type=1&theater
Could I use buttercream to cover the entire truck instead of the ganache?
Hi Acerola, yes that would be fine
Hi Melissa, how many does this cake serve? I've watched the video but don't remember it mentioned. Will it serve 20 and how would you suggest cutting it.
Hi, we cut the cake and got 25 to 28 slices. I cut slices from the top of the truck first then divided the cake lengthwise .......the truck was 6 inches wide and my slices were 1 x 3.
How much would you charge for this cake? Hard for me to calculate a quote since I haven't made one and dont quite know how long it will take me! HELP!
I'm making this cake now and will cover and decroate it tomorrow. I cant seem to find the flames can you tell me where I can find them? This is going to be a cool cake for a very special 4 year old....... Thanks for posting it. LOVE your site!!!!
How many does this cake serve?
Hi Beverly, I answer this above in a April 10, 2012 entry :)
i am so thankful for these videos! i will be making this for my grandson's 6th bday this week! am very excited!
do you remember about how much ganache was needed for this?
thank you :)
Hi Lynn, thank you for your nice comment on the videos. I think I used two 10 oz. packages of Ghirardelli Chocolate Baking Chips 60 % cacao. I think there was leftover ganache but I didn't make notes on this. So whatever chocolate you like to use ....20 ounces and 10 ounces heavy cream (I weigh my amounts) should be plenty. Hope all goes smoothly and I know your grandson will love this cake!!
this was such a fun project! my grandson was very happy. :) due to his allergies the cake i used for the loaf pan was dairy/gluten free. i made legos, making a silicone mould and then popping out various colored legos. i loaded the bed of the truck with them. it was so cute. he was a happy little guy! i am making another for this weekend. my daughter and her fiance have a group that have remote control four-wheel vehicles that they take out to do "crawling" competitions. this weekends is the last of the season, and they thought this cake would be a nice finishing touch. i will try and remember to post pics of the two. thank you again. Lynn