Carved Ganache Cake Tutorial
In this free cake video, you will not only learn how to make chocolate ganache, but you'll also learn a wonderfully simple and elegant technique for decorating the cake with a carved ganache effect.

Table of Contents
Carved Ganache Cake Design
This "carved ganache" technique is one that I had never experimented with before. While we often use ganache as a foundation beneath our fondant, it was really nice to let the ganache be the star of the show for a change!
I was inspired over a year ago by a "Carved Ganache Cake" which was featured on TheCakeBlog.com, and was created by Sweet Ruby Cakes. (Click here to see!) -- While I don't know the details on how she created her beautiful cake, I was definitely inspired to see ganache in a different light.
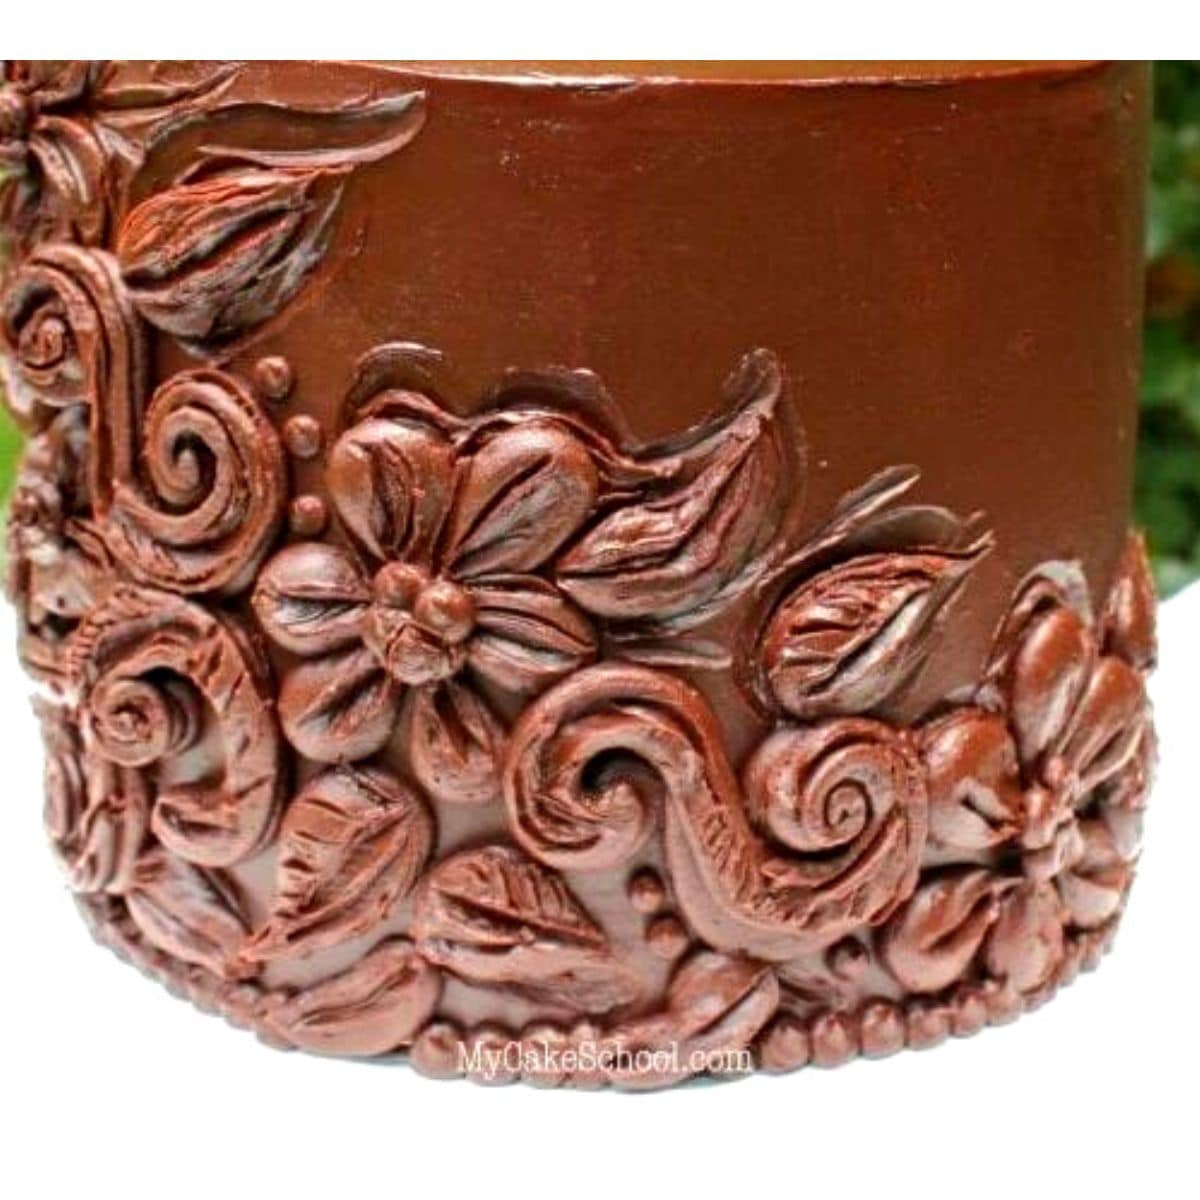
How to Create a Carved Ganache Effect
The cake that I will demonstrate is much simpler than you would think, because the dramatic, raised look is achieved simply by piping.
The "carved effect" comes together very quickly afterwards, with the use of simple tools. While I use gum paste/clay tools in my tutorial, my first practice run on a paper plate was done with toothpicks. So, there's definitely room to improvise!
I hope that you enjoy the tutorial! Please check beneath the video for additional tips and a list of materials.
Materials for Carved Ganache Cake
My cake is 6 inch, 3 layer cake which is filled & frosted with "Simple Spreadable Ganache" ( which we demonstrate in the video).
Our chocolate & cream measurements are based on our 6" cake. A great resource for figuring out needed ganache & cream amounts is the Ganacherator. A simple google search will lead you to this free excel download.
Dark Chocolate (we used 22 oz.) - We used Trader Joe's which has 54% cocoa solids.
Heavy Cream (11 oz)
Digital Scale- We love our digital scale and prefer to weigh our ingredients. This is true with most recipes, but we find it especially helpful when making ganache because we are working with ratios of chocolate to cream.
Gum Paste/Clay Tools (optional) -- I used a set that I bought at Michael's on the clay aisle, but it is so easy to improvise with toothpicks, knives, etc.
Piping Tips- This will vary with your design...but I used a Wilton tip 10 (medium round tip) for my flower petals, leaves, and scrolls. I used a Wilton tip 3 for the centers of my flowers, misc. dots, and misc. accents on the scrolls.
Helpful Tips for Working with Ganache
Cocoa Solids, Cacao, etc.
We have best results with chocolates containing higher than 54% cocoa solids or cacao.
The higher the cocoa butter content, the firmer the chocolate is going to set up (which is especially nice when your ganache will be a foundation for your fondant.)
In the video, we demonstrate with Trader Joe's Dark Chocolate (54% cocoa solids)....but we also show another batch that we made which sets up even firmer due to it's high cacao percentage (60%) -- Bittersweet Ghirardelli chips.
Ratios for Different Types of Chocolate
For dark chocolate, a 2:1 ratio of chocolate to cream works well for a frosting consistency.
For white chocolate, 3:1 ratio works well...(but you can increase the amount of chocolate even more for firmer results).
What Does it Mean when Chocolate Seizes?
If any water finds its way into your melted chocolate, it will seize...becoming grainy, thick, and impossible to work with.
Eliminate Remaining Bits of Chocolate in your Ganache
If you have any pieces of chocolate that do not melt completely after combining with the hot cream, you can microwave for a few seconds at a time (stirring in between), until all chocolate is melted.
Another popular alternative is to use an immersion blender to take care of any remaining pieces.
Using Chocolate Chips in Ganache
Chocolate chips do not melt quite as easily as chopped chocolate bars, although we still use them from time to time (Ghirardelli brand for example).
Make sure that you heat your heavy cream to the boiling point before pouring over your chocolate. This helps with the melting and also makes the ganache less perishable.
Can You Make Ganache in the Microwave?
Yes you can! We have had good luck with microwaving the chocolate and cream together in small increments until the chocolate is almost completely melted. You can find more information on this technique in our Ganache Drip Video (although we use a 1:1 ratio of chocolate to cream in this tutorial)
How to Store Ganache
Storage: After making the ganache, we allow it to sit/rest overnight an thicken up a bit. If frosting a cake with it, I frost the cake and allow it to set up/firm up overnight before then covering with fondant.
Ganache can be stored at room temperature (in our experience) for two days. Opinions on this vary-- some sites say longer. Ganache can be frozen for at least 3 months in an airtight container.
For our ganache carving...I frosted the cake and did my piping & carving all in the same day.

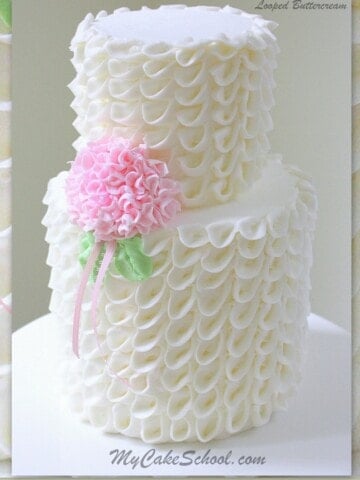
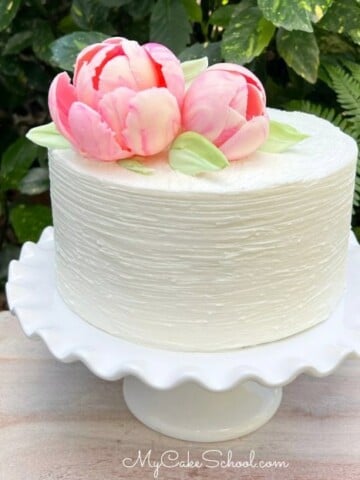
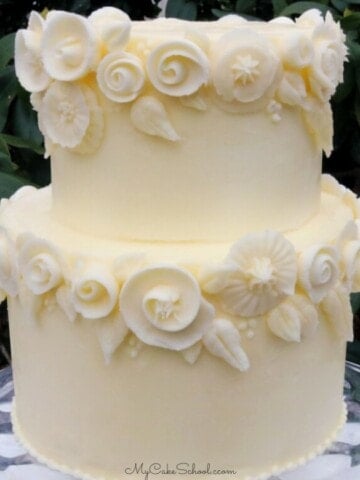
Elegant Cakes
We have even more elegant cakes for you to choose from in our Cake Decorating Tutorials section!
We also have some other delicious chocolate cakes including easy Chocolate Mousse Cake, Chocolate Cake from Scratch, German Chocolate Cake, and Black Forest Cake!
We hope that you enjoy this two-part video! Thanks so much for stopping by!
Have you made this? We would LOVE for you to leave a ⭐️ rating as well as a comment and photo below! We really appreciate your feedback!
Part One: Making the Ganache & Applying it
Part Two: Demonstrating the "Carved" Design
Thank you so much Michelle, we're happy to have you on the site.
Brilliant! Thanks Heaps, Melissa!
Aaahhh. Love ganache! So...question. Where do I GET A MyCakeSchool SHIRT? And I'm sure it will need to be extra large, after I'm done eating this yummo cake. Thanks a lot. Lol
Great looking cake, Melissa!!! And your technique is flawless!!! I can't wait to make this and post a pic! Thanks for the tutorial!!!!
Hi Maria, the ganache cake will not do well in heat and humidity. You could keep it in a cool area and bring it out just before cutting.
BeBE- so it is safe to say that if I use it instead of buttercream for a crumb coat under fondant I would have to keep it in a cool place too. Thank you most of my cakes are for BBQs and picnics and outdoor birthday parties.
Hi Maria-- I would rather use ganache beneath my fondant than buttercream. I would go with something with 60%cacao, like the chocolate in this video that we showed that set up to be very firm. I think that it will be fine in outdoor parties unless the heat is just unbearable. Everything--whether frosted or ganache is going to melt or soften at some point. Good luck!
Love, love, love this. I cannot wait to do this. I loved the idea of the luster dust for contrast because all I was thinking was how cool would it look with white chocolate accents as well as the dark chocolate ones.
Great video! I've never made nor worked with ganache and I'm a bit confused about how long I can leave it out without refrigeration. When you initially make the ganache (Day 1), you let it sit out in a bowl covered with plastic wrap overnight to set. Then, the next day (Day 2) you frost the cake with it and let the cake sit out overnight to settle. So the next day (Day 3) when you're ready to decorate, you're already at the three day mark for the ganache being out of the refrigerator. By the time you decorate the cake and deliver it, I'm thinking it would be another day (Day 4). So, is that ok? And do you tell the people that the cake needs immediate refrigeration or that it can sit out for a few more days? Just confused on the overall timing of everything. Any comments/advice would be appreciated!!
Hi Kristy, yes, I understand your concern.
Day 1.....make ganache and let cool to room temperature until thickened (somewhat like peanut butter consistency). This could take 2 to three hours depending on conditions in your home. It is now ready to use or can be covered with plastic wrap and refrigerated until ready to use. It could be left out overnight to set. If the ganache is too firm to spread, just microwave 5 seconds at a time and stir until spreadable.
Day 2......your unfrosted cake will already be filled and settled and ready to frost and decorate with ganache. If you are doing this all in the same day, you can settle your cake for a few hours with a weight on top. When your cake is completed I would refrigerate until you are ready to serve, taking it out of the refrigerator a few hours prior to serving.
There are conflicting opinions on how long ganache can stay out of refrigerator due to the technique used, varying conditions in homes and ratios of chocolate to cream used.
Hope this helps.
GREAT technique!!!! See-- this is why My Cake School is the best!!! I have learned SO much!!! Year 3 subscription coming up- and I'm more than thrilled to still be a student!!! Thanks Melissa and BeBe and a thank you to all my fellow classmates!!!
Mo
Thank you Mo!! :0) -- Your kind words mean the world to us! xoxox Thank you for staying with us year after year..we so appreciate having you as a member!