Tree Stump Cake with Carved Initials- Tutorial
Hi everyone! Today I'm making a sweet Tree Stump Cake with Carved Initials!
This sweet woodland themed cake design is perfect for anniversaries, wedding showers, and on a larger scale, even weddings! It's a woodland cake in buttercream.


Table of Contents
How to Make a Tree Stump Cake with Carved Initials
I started with a two layer, 6 inch tier. I wanted to go with a birch tree stump so that I could keep it mostly white.
I frosted the cake with our Classic Vanilla Buttercream tinted with copper coloring on top.
Then, I followed with white buttercream around the sides. Let the frosting around the sides extend slightly above the top edge. (In the photo, I'm using my trusty bench scraper for quick smoothing.)

I then spun my cake on the turntable as I sliced of the excess icing around the top, holding my spatula nearly parallel to the top edge.

Since I used a crusting buttercream, I allowed the frosting to crust before then going back and smoothing here and there with my Viva brand paper towel. (Viva brand has no impressions or quilting.)
You do not have to use a crusting buttercream though for this cake--as you can see, I did very little smoothing! I wanted to keep it realistic.

Next, I added lots of rings on top of our stump cake with my toothpick.

I used a heart shaped cookie cutter to create an impression on the front side of our stump.

Since I'm going for a carved look, I used a piping bag fitted with a tip 3 (and filled with buttercream tinted chocolate brown) to trace over the heart impression that I made. I did something that I never do--I allowed the piping tip to scrape across the surface of the icing (ack!) -- but, totally necessary for the look.
I had to stop and wipe off the piping tip every so often so that things wouldn't get too messy.

Birch trees are white with thin grey/black markings. I fitted my piping bag with a tip 2 and filled with grey/black buttercream (tinted with Americolor Black). Just as with the writing, I slightly buried my piping tip in the white icing as I piped.
I also used my toothpick and knife to make random impressions in the bark.

We're looking pretty good at this point but we need some woodland accents...bring on the mushrooms and ferns!
For the Fondant Mushrooms
Since I knew that I wanted some thin-stemmed mushrooms, I decided to cut away most but not all of my cardboard cake circle.
This is so that I could use a toothpick to punch holes here and there so that my mushroom (anchored with a toothpick) could fit into it. If larger stand-up mushrooms are in your plan, use two stacked cake circles as your cake base so that you can have slightly longer anchors.

For my taller mushrooms, I formed the fondant stem around a toothpick. I left a little bit of the toothpick exposed on both ends.
For the top, I rolled my fondant into a ball and flattened it and formed into a mushroom shape. Then, I pushed it on top of my stem.
(**If you are going to allow your mushroom tops to dry over several hours, create a tiny hole in the bottom so that you can piece the top and stem together easily later.)
I kneaded a little bit of tylose into my fondant (which was tinted with Americolor Copper coloring) so that it would firm up more quickly and be easier to work with.
If your fondant is too soft, you may need to allow it to dry for several hours. Since mine was firmer, I was able to use it almost immediately.

For easy, ready in an instant mushrooms, go squatty style! The stem is just a ball of fondant, flattened slightly on top and bottom. No anchor required!

For a realistic touch, we sprinkled them with cocoa powder (so easy and effective!)

Ferns
Next, let's move to the ferns. I bought this Wilton fern mold on impulse a couple of months ago and was so excited to have an excuse to use it!
You could easily make buttercream ferns or vines if you would rather!
I dusted my silicon fern molds with a little cornstarch (and then wound up needing to brush just the slightest bit of shortening.) It worked perfectly!
I just rolled my fondant (with a little tylose kneaded into it) over the mold. I rolled it very thin, until I could see the fern shape from the other side.
Then, I took a very sharp knife and holding it flush against the mold, I cut away the excess. My fern color was a combination of leaf green coloring and a very small amount of brown coloring.

I applied the ferns to the cake immediately.
Then, I added further detail with a paint that I created on my artists palette with vodka mixed with a little leaf green, a little Americolor Electric Green, a little Americolor Chocolate Brown, and a little Americolor White.

I added a few tiny red fondant ladybugs (head and dots colored with an Americolor Black pen).
That's it!
This sweet buttercream birch tree stump cake is simple but so charming! You could make it on a much larger scale in a tiered cake design for birthdays or even rustic weddings!
More Tree Stump Cakes!
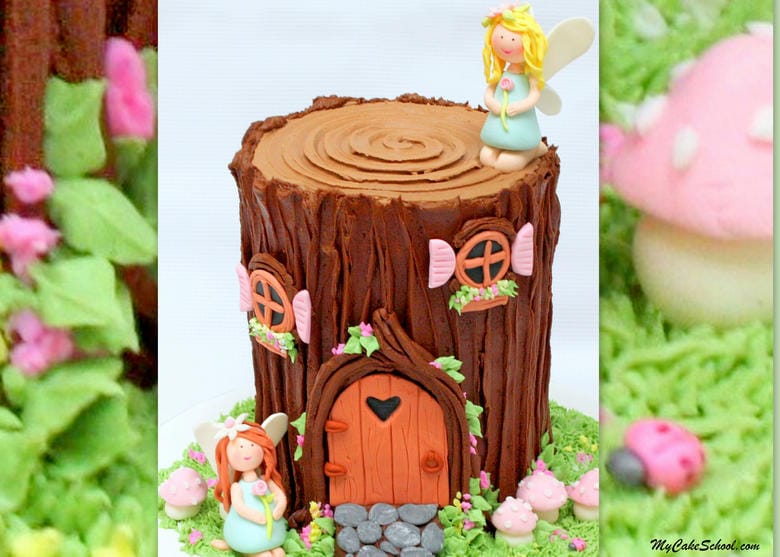
We hope that you enjoyed the tutorial! If you are looking for inspiration for fairy themed cakes, we have a CUTE Fairy House Tree Stump Cake video tutorial!
We also have a Sweet Woodland Owls Cake that features owls nestled in a buttercream tree stump.
There are so many fun cakes to try! Have fun experimenting!

Thanks for stopping by the blog today, we hope you'll come back again soon!
We are so happy you found it helpful!! Have fun making your daughter's cake, it is wonderful that you can do that for her.
Very nice cake.i am thinking about making a 3 tier wedding cake. Birch tree theme.
Thanks for all the help.
Hi Teresa, That sounds like a lovely wedding cake!!