Christmas Village Cake Tutorial
We're excited to share a CUTE new Christmas Village Cake just in time for Christmas and winter gatherings!
I've seen several Christmas and winter village cakes over the years, most of them done with gingerbread cookies. I absolutely love the look, but thought it would be fun to create a bright and colorful cookie village.
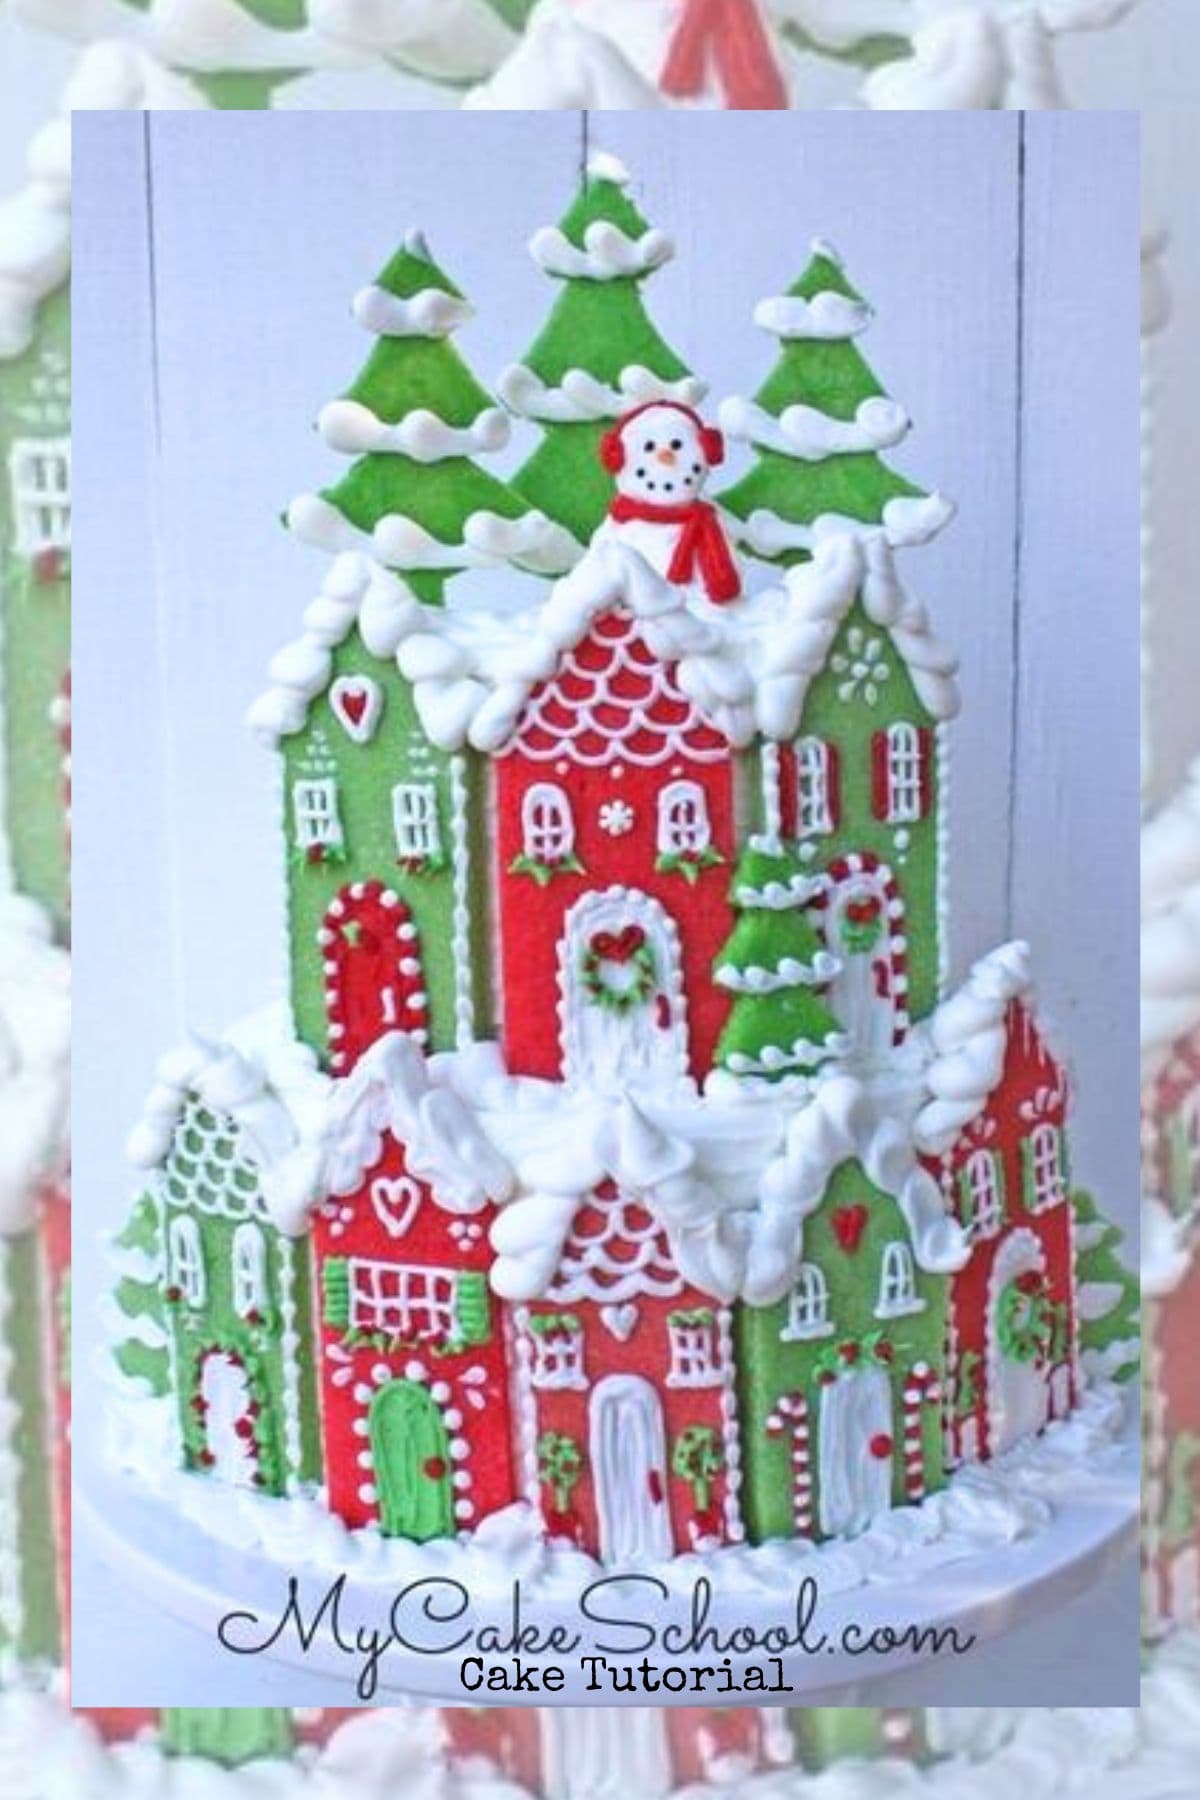
Using sugar cookie dough allowed us to easily add color without having to frost the entire cookie. Instead, we could simply add buttercream details! Of course, if you enjoy decorating cookies with royal icing, that is a great option too.
This cake was time consuming, but I really enjoyed it, and the design options are endless!

Whether you choose to decorate your winter cake with an entire village of houses, or just one or two, we think you will LOVE the end result. This is such a fun cake to create, and who wouldn't love the added bonus of a cookie with their cake?!
Enjoy the tutorial, and don't miss our additional notes and tips below!
Table of Contents
Materials:
We used 8 inch and 6 inch stacked tiers. Each tier was on it's own cardboard cake circle cut down to size. The upper tier was supported by 4 bubble tea straw supports cut down to size and inserted into the bottom tier. The cake was frosted in our Fluffy Vanilla Buttercream Frosting Recipe
Template: Christmas Village Template
Sugar Cookie Recipe (We used two batches of a store-bought sugar cookie mix)
Buttercream Frosting (We used our Fluffy Vanilla Buttercream Frosting recipe. Our Classic Vanilla Buttercream would be a good choice also!)
Piping Tips: Small Round Tips: 2, 3 Medium Round Tip: 10 (you can substitute with similar sizes)
Coloring Gels: Americolor Red Red, Mint Green, Black, Orange
Lollipop Sticks for toppers (we used 4)
Additional Notes
As we mentioned in the video, we tinted our cookie dough red, a lighter shade of red, and green...and also reserved out a bit of un-tinted dough for the snowman. I used two batches of cookie dough but I also did a lot of experimenting with different houses (and had leftovers!)
We cut our houses and trees AFTER baking the cookie dough only because the cookie mix that we are using spread a lot when baked and we wanted sharp edges.
If you are working with a cookie recipe that does not spread, you can cut out your shapes as usual before baking.
We attached our cookies to lollipop sticks for the cake toppers with melted candy melts.

More Christmas Cakes
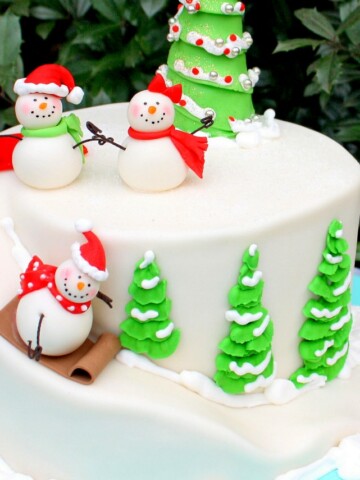
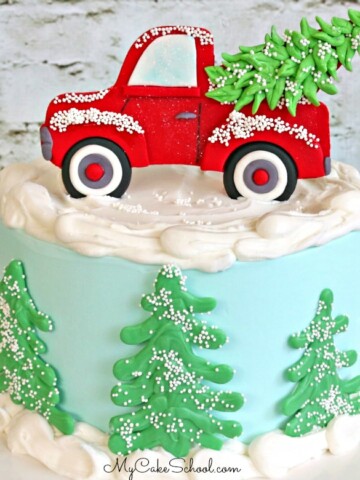
In addition to today's cake, we have many more Christmas and winter cake designs to share with you! Some of our favorites are our easy Christmas Tree Cake, Sledding Snowman Cake, and Reindeer Cupcakes!

Cake Recipes
All sorts of cake recipes would be perfect for today's Christmas Village cake. Some of our favorite Christmas cake recipes are our Gingerbread Cake, Red Velvet Cake, Eggnog Cake, and Spice Cake! But there are many more to choose from.
Enjoy the Video
Thanks so much for stopping by, we hope that you enjoy this Christmas Village Cake! Keep in mind that you can easily simplify this design by creating a single tier cake, or by using just a few houses across the front or as cake toppers!
Have you made this? We would LOVE for you to leave a ⭐️ rating as well as a comment and photo below! We really appreciate your feedback!
Thank you so much Patricia!! xo