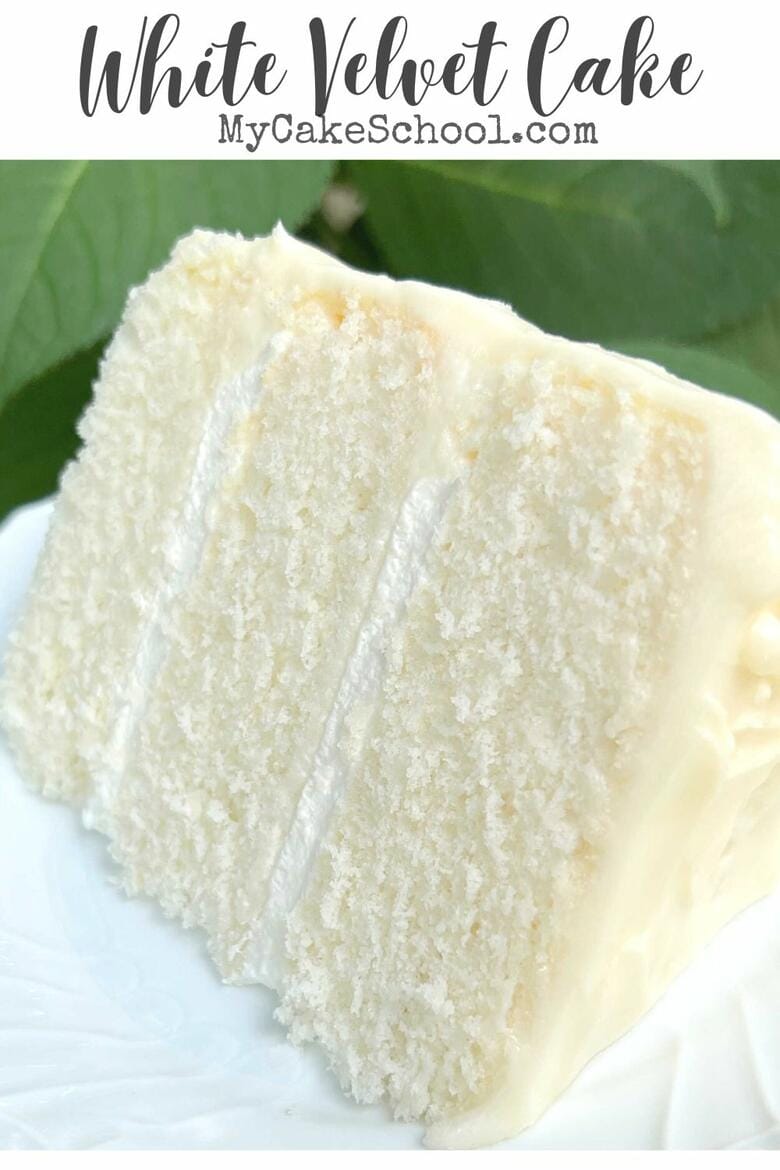
White Velvet Cake
If you're in search of the perfect homemade white cake recipe, you must try this White Velvet Cake!
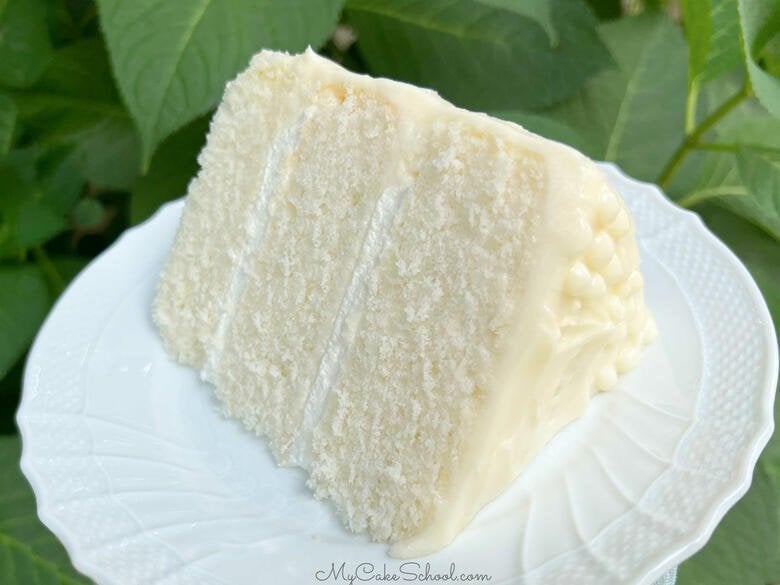
It has become our new go-to. This cake is light, velvety soft, flavorful, and super moist.
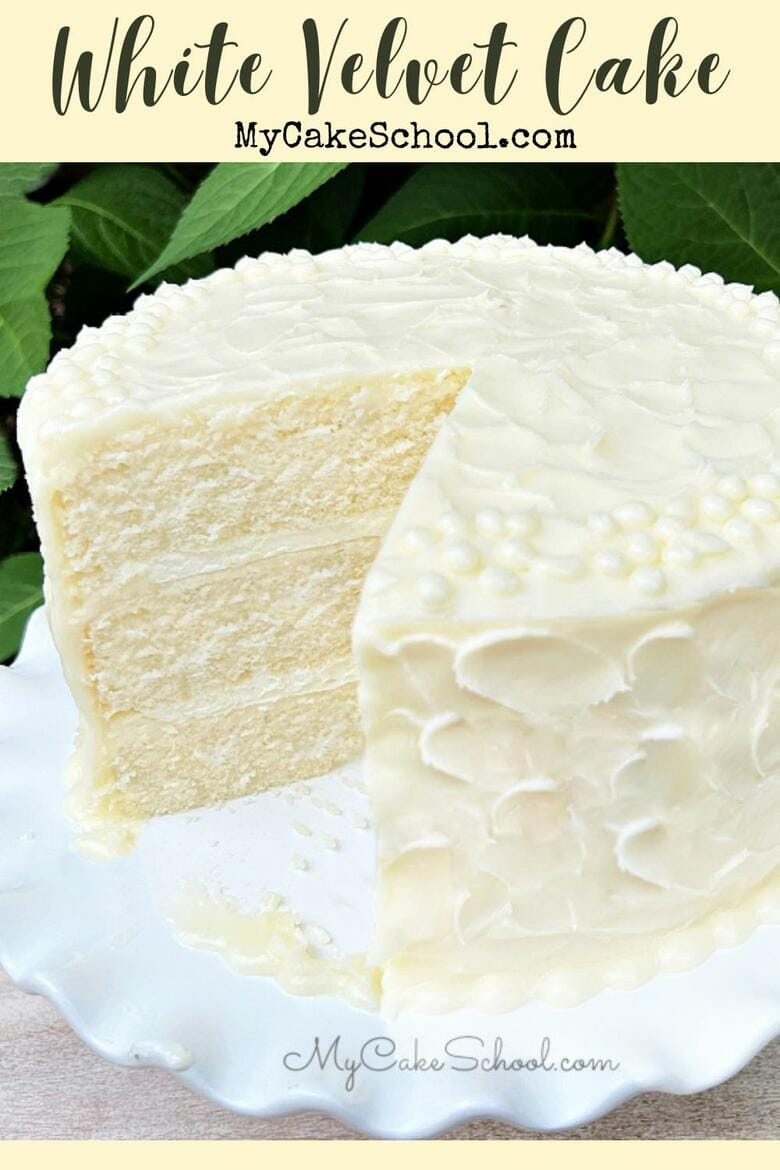
Table of Contents
What Makes this White Cake Special?
There are lots of reasons to love this homemade white cake recipe!
We've made several "velvet cakes" lately, including our Lemon Velvet Cake, Vanilla Velvet Cake, and Chocolate Velvet recipes- they all have a common "secret ingredient" of softened cream cheese which gives the cakes a soft, velvety texture.
Our Homemade Strawberry Cake ,Almond Cream Cake, and Cream Cheese Pound Cake recipes contain cream cheese in the batter as well. (Make sure to add these to your list for another time!)
We find that the cream cheese in the cake batter results in cake layers that are softer, creamier, and have added richness while still maintaining a fluffy texture.
As an added bonus, the extra acidity from the buttermilk in today's White Velvet Cake recipe softens the strands of gluten, resulting in an even more tender cake.
Since we're making a White Cake recipe today, we used egg whites in order to keep the color nice and light. The egg whites also result in a lighter more delicate crumb.
*Don't miss our full collection of Velvet Cake recipes!
How to Make White Velvet Cake
This white velvet cake is very simple to make, and it yields about 7.5 cups of batter- enough for three fluffy 8 inch cake layers.
You can find the full printable cake recipe further down in this post, but here is a quick rundown of our steps!
- Preheat the oven to 325 degrees F. Grease and flour three 8 inch pans. We like to add a circle of parchment to the bottom of each pan to ensure that nothing sticks!
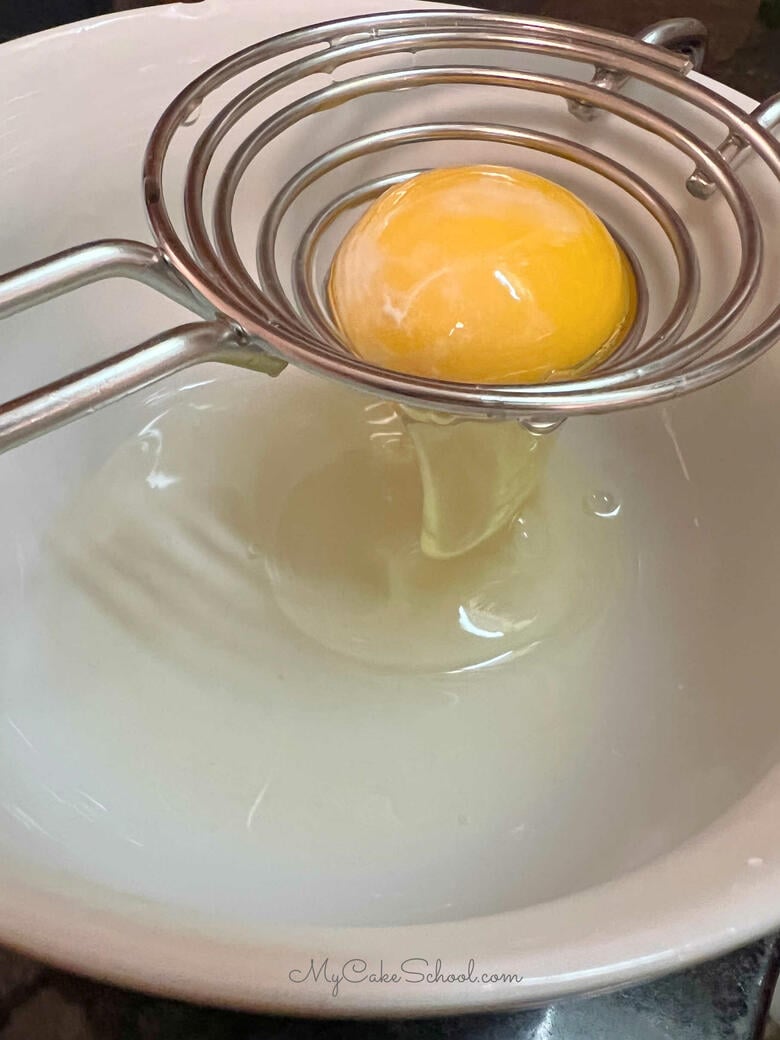
- Separate Egg Whites Go ahead and separate your eggs and place the six egg whites in a bowl to the side. (You won't be using the yolks.)
- Flour Mixture: In a medium bowl, whisk the flour, baking powder, baking soda, and salt for 30 seconds and set aside.
- Buttermilk Mixture: In another bowl, add the buttermilk, vegetable oil, and vanilla extract. Set aside.
- Butter & Cream Cheese: In the bowl of your mixer, add the butter and cream cheese and mix at medium speed until smooth.
- Add the Sugar: Gradually add the sugar and mix at medium speed for 2-3 minutes.
- Egg Whites: Mixing on low speed, add the 6 egg whites one at a time (it's fine to estimate), mixing to incorporate after each addition.
- Adding Dry and Wet Ingredients Alternately: With the mixer on low speed, alternately add the flour mixture and the buttermilk mixture, beginning and ending with the flour mixture (We did 3 additions of the dry mixture, 2 additions of wet)
- Fill the Pans: Mix the batter just until well combined- be careful not to over-mix. Divide the batter between the three prepared 8 inch cake pans.
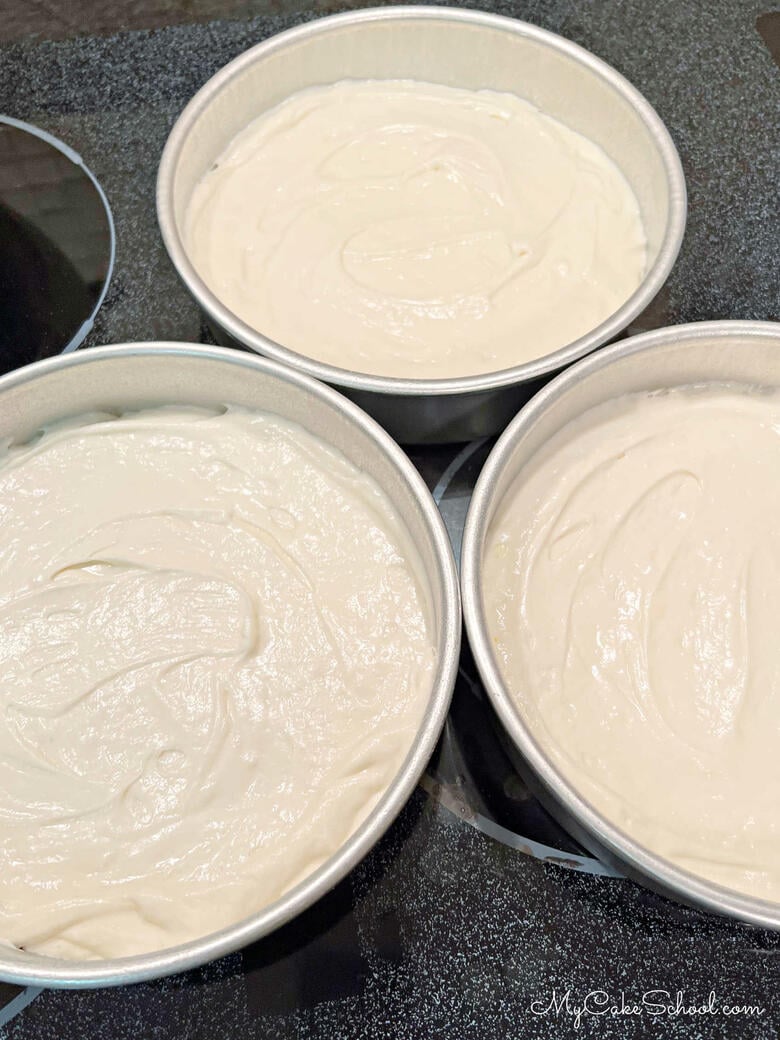
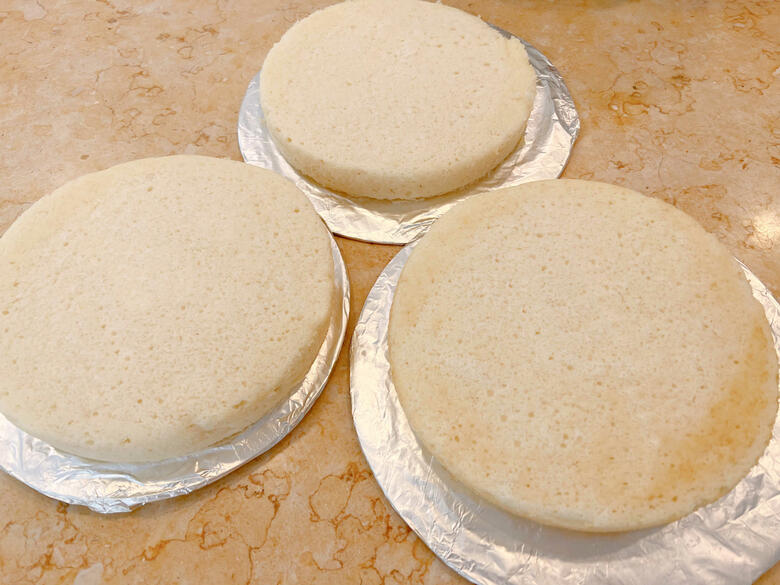
- Time to Bake! Bake at 325 degrees F for 28-30 minutes or until a toothpick inserted into the center comes out clean or with just a few crumbs attached. Let cool for 5-10 minutes in the pans on a wire rack before turning out. *Baking times may vary slightly
Whipped Cream Filling
We've been going through a homemade whipped cream filling phase lately- we just love it! So, we whipped up a quick batch of sweetened whipped cream for our White Velvet Cake. It is really simple to make and tastes sooo good.
However, there are many fillings that you could use with this recipe- from fruit fillings to buttercream fillings and more. Everything pairs well with white cake!
If you've never made whipped cream filling before, here is a quick rundown of our steps. It has a bit of added sweetness from the confectioners sugar and a hint of vanilla.
- First, chill the mixing bowl and beaters/ whisk attachment in the freezer for 10 minutes.
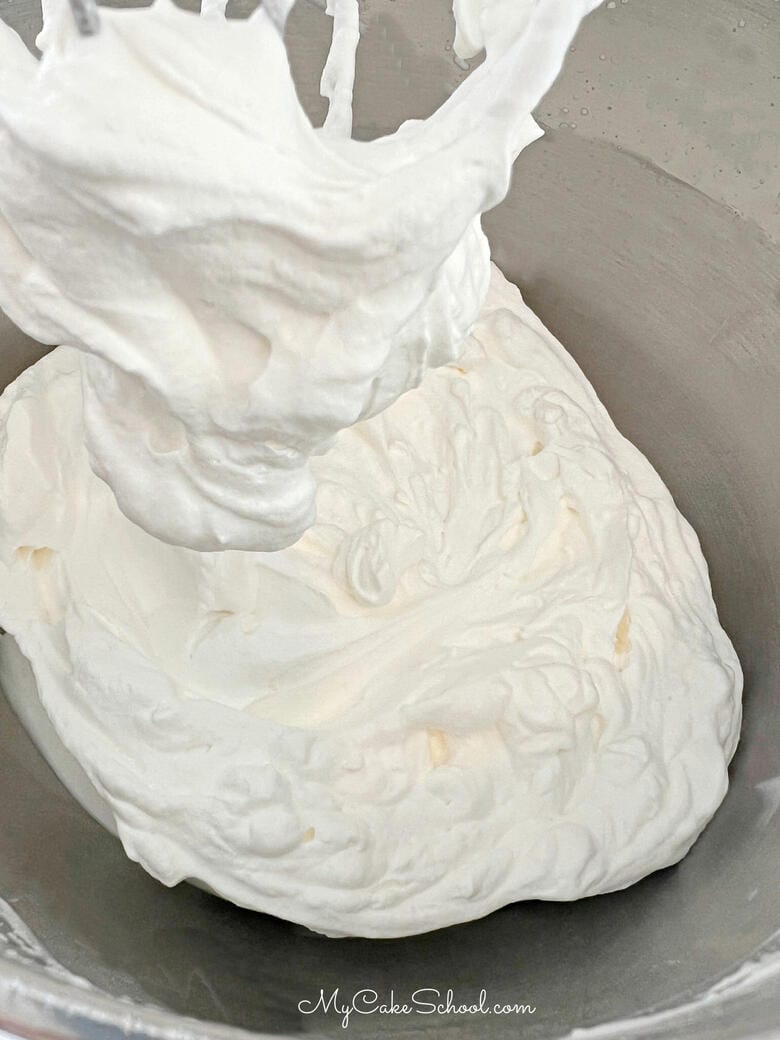
- Pour the whipping cream, powdered sugar and vanilla extract into the chilled mixing bowl. Begin mixing on low speed gradually increasing to medium high speed.
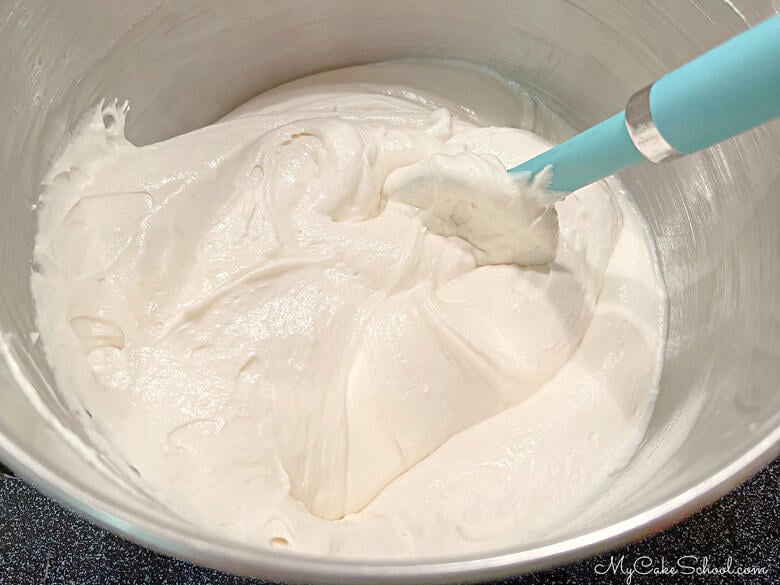
- Mix until the cream begins to thicken and stiff peaks form- be careful not to over-mix. At "stiff peak" stage, peaks form and hold their shape when beaters are lifted. This is when it's ready.
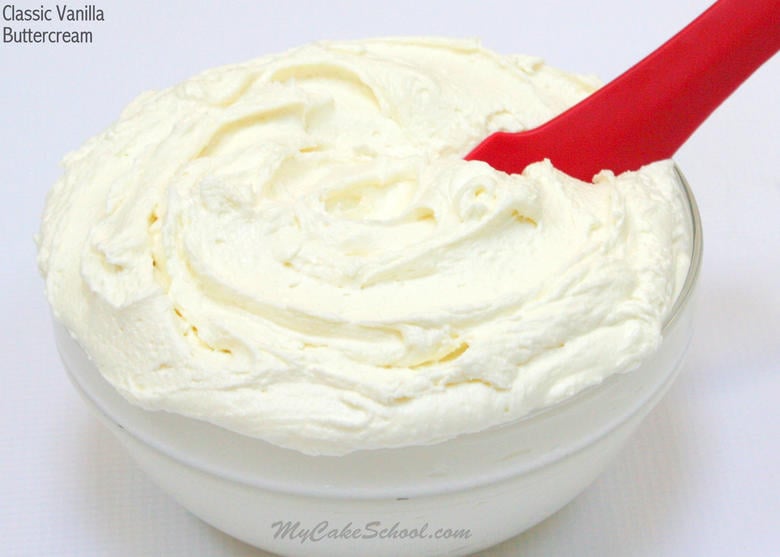
Classic Vanilla Buttercream
We kept things very simple for our vanilla frosting. This is our go-to recipe for American Buttercream. It is a simple combination of butter, powdered sugar, milk (or cream), salt, and vanilla.
You can use this Vanilla Buttercream as a filling or frosting, and it pipes great too!
It is a crusting vanilla buttercream recipe. It develops just a very light, thin "crust"- something that you would only notice if you are a fan of the Viva Paper Towel method of smoothing, which allows you to lightly smooth over the frosting once it has set.
We most often use the Hot Knife Method of smoothing buttercream these days, when we need a smooth finish. However, lately we are doing lots of textured techniques instead (like our ridged buttercream cake video). Really, anything goes! Have fun with it.
- In the bowl of your mixer, mix the softened butter until smooth. Blend in the vanilla extract.
- Add half of the powdered sugar and most of the milk. Mix at medium speed until the powdered sugar is incorporated.
- Next, add the remaining powdered sugar and milk and mix at medium speed another 3 to 4 minutes scraping the sides of the bowl occasionally. Then, I slow down the mixer (#2 on the Kitchenaid) and mix for 1 to 2 minutes. This slower mixing will help eliminate air pockets in the buttercream. The texture will become very smooth.
- This vanilla frosting recipe can be doubled or halved.
- If the consistency of your buttercream is too thin, add more sugar. If the consistency is too thick, add a bit more milk!
A Note About the Brand of Confectioners Sugar
**Buttercream should never be grainy. Some brands of confectioners sugar work better for buttercream frosting than others.
The difference can be a matter of the type of anti-caking agent the brand uses, pure cane sugar vs. beet sugar (cane is preferred), and more. We have always had great results when using Dominos and US Sugar (from Costco) brands for our frostings.
Assembling the White Velvet Cake
- Now it's time to put this beautiful white velvet cake cake together! If you are assembling the cake on the same day that the layers were baked, make sure that your cakes have completely cooled before assembling and frosting.
- Place the first cake layer on your cake plate or pedestal. Pipe a dam of buttercream about ¼ -½ inch from the edge of the cake using a disposable piping bag with the tip snipped away (or a ziplock bag with the corner snipped away).
- The purpose of the dam is to prevent the filling from escaping when the layers are stacked.
- Spread the whipped cream within the dam and repeat for the second layer. Then top with the third cake layer. Fill in any gaps between the cake layers with buttercream.
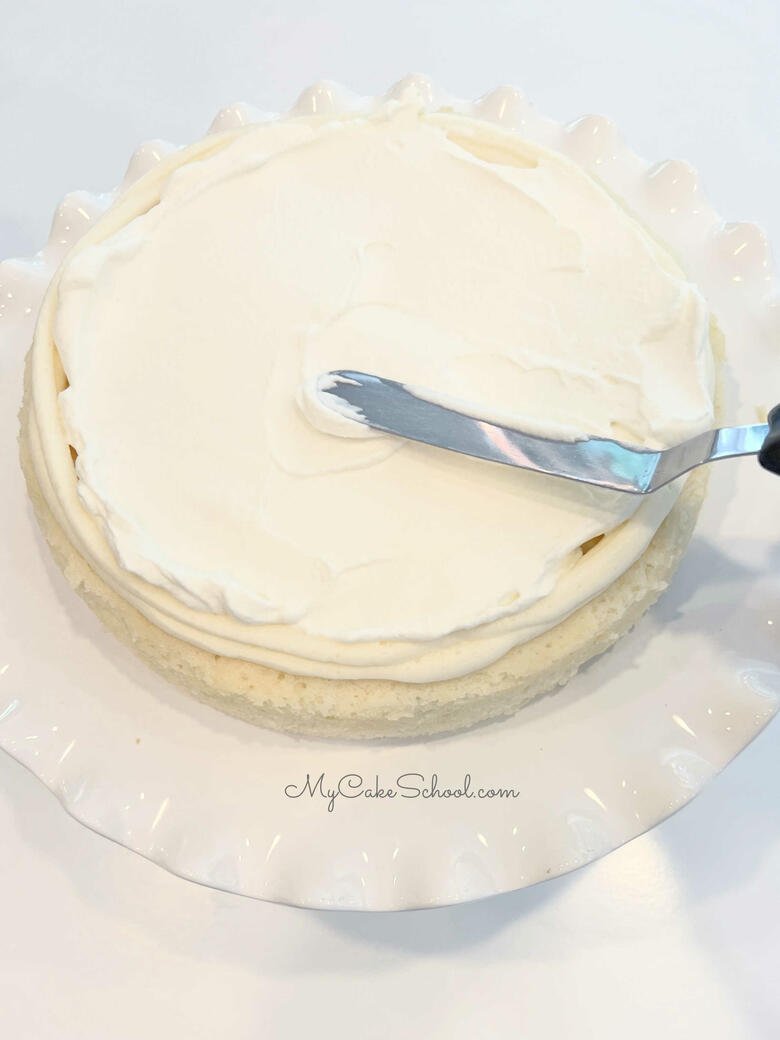
- Next, I like to apply a crumb coat (thin coat) of frosting and chill for 15-20 minutes in the freezer (or longer in the refrigerator) to firm things up. Chilling is an optional step but it makes it easier to apply the final coat of frosting without the layers shifting.
Decorating the White Velvet Cake
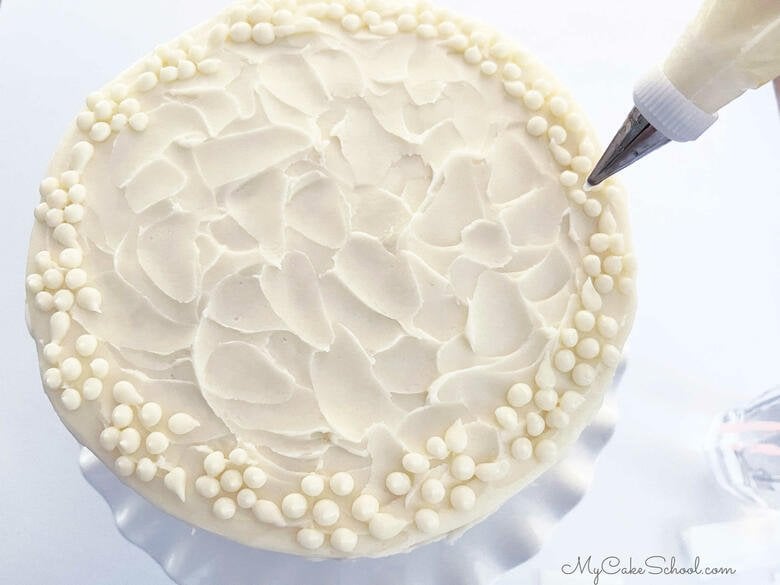
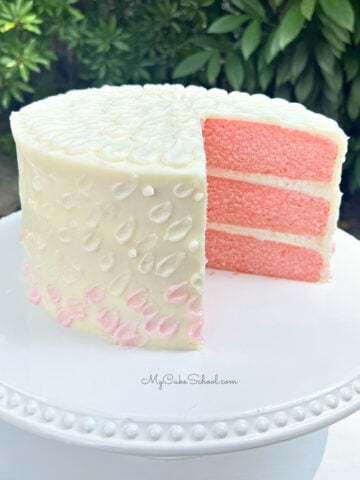
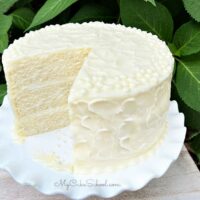
- I applied the final coat of frosting and added texture with an offset spatula. I piped a bead border using a round tip 3 to the base of the cake, and then made a simple piped daisy design around the top edge.
Here's the finished cake! Don't you just want to dive in? We hope that you enjoy this popular cake recipe as much as we have.

Make sure to check out our full collection of cake recipes and cake decorating tutorials! You. may even like to create a more rustic, naked cake design. The decorating options are endless.
More Vanilla Cakes
In addition to today's delicious White Velvet Cake, we have several delicious vanilla cakes for you to try! Just a few of our favorites are Vanilla Buttermilk Cake, Homemade White Cake, and Yellow Cake!
Have you made this? We would LOVE for you to leave a ⭐️ rating as well as a comment and photo below! We really appreciate your feedback!
White Velvet Cake
Ingredients
- 8 oz (226g) cream cheese, softened (we used one 8 oz package, full fat.)
- 1 ½ sticks (168g) unsalted butter, softened
- 2 cups (400g) sugar
- 6 egg whites room temperature
- 3 cups (342g) cake flour See notes if substitution is needed.
- 2 teaspoons (8g) baking powder
- ½ teaspoon (3g) baking soda
- ½ teaspoon (3g) salt
- 1 cup (242g) buttermilk (See Notes for substitution)
- ¼ cup (54g) vegetable oil (We use canola oil)
- 2 teaspoons (8g) Clear Vanilla Extract (You can use real vanilla extract if you would rather but the cake will not be quite as light in color)
Whipped Cream Filling
- 1 cup (240g) heavy cream
- ¼ (29g) cup powdered sugar
- 1 (4g) teaspoon vanilla extract
Classic Vanilla Buttercream
- 2 sticks (226g) unsalted butter, softened. slightly softened but cool to the touch and holding it's shape
- 6 cups (690 grams) powdered sugar You can adjust the sugar amount up or down based on your consistency preferences.
- 2 tsp. (8g) vanilla extract (use clear imitation vanilla if you like a whiter frosting)
- ⅓ cup (72g) milk or cream, more if needed
- ½ teaspoon (3g) salt
Instructions
- Preheat the oven to 325 degrees F. Grease and flour three 8 inch pans, adding a circle of parchment or wax paper to the bottom of each pan.
- Go ahead and separate your eggs, saving only the 6 egg whites for this recipe. Set them in a bowl to the side.
- In a medium bowl, whisk the flour, baking powder, baking soda, and salt for 30 seconds and set aside.
- In another bowl, add the buttermilk, vegetable oil, and vanilla extract. Set aside.
- In the bowl of your mixer, add the butter and cream cheese and mix at medium speed until smooth.
- Gradually add the sugar and mix at medium speed for 2-3 minutes.
- Mixing on low speed, add the 6 egg whites one at a time (it's fine to estimate), mixing to incorporate after each addition.
- With the mixer on low speed, alternately add the flour mixture and the milk mixture, beginning and ending with the flour mixture (We did 3 additions of the dry mixture, 2 additions of wet)
- Mix the batter just until well combined- be careful not to over-mix. Divide the batter between the three pans.
- Bake at 325 degrees F for 28-30 minutes or until a toothpick inserted into the center comes out clean or with just a few crumbs attached. Let cool for 5-10 minutes in the pans on a wire rack before turning out. *Baking times may vary slightly.
- This recipe makes 7 ½ cups of batter.
- Can be used for cupcakes but they have no dome. Our recipe for Homemade White Cake or Vanilla Cupcakes will bake up slightly fuller (with small dome).
For the Whipped Cream Filling
- Chill the mixing bowl and beaters/ whisk attachment in the freezer for 10 minutes.
- Pour the whipping cream, powdered sugar and vanilla extract into the chilled mixing bowl, begin beating on low speed gradually increasing to medium high speed.
- The cream begins to thicken (approx. 1 ½ minutes) and stiff peaks form- be careful not to overmix. This happens fairly quickly! At "stiff peak" stage, peaks form and hold their shape when beaters are lifted. This is when it's ready.
For the Vanilla Buttercream
- Cream the (slightly softened) butter until smooth. Blend in the vanilla.
- Add half of the powdered sugar and most of the milk. Beat at medium speed until the powdered sugar is incorporated.
- Add remaining powdered sugar and milk and mix at medium speed another 3 to 4 minutes scraping the sides of the bowl occasionally. I slow down the mixer to very slow. (#2 on the Kitchenaid) for 1 to 2 minutes. This will help eliminate air pockets in the buttercream. The texture will become very smooth.
- This recipe can be doubled or halved.
- Yields approximately 4 ½ cups of frosting.
- If your buttercream is too thin, add more sugar. If the consistency is too thick, add a bit more milk.
To Assemble the Cake
- Place the first cake layer on your cake plate or pedestal. Pipe a dam of buttercream about ¼ -½ inch from the edge of the cake using a disposable piping bag with the tip snipped away (or a ziplock bag with the corner snipped away).
- Spread the whipped cream within the dam and repeat for the second layer. Then top with the third cake layer. Fill in any gaps between the cake layers with buttercream.
- Next, I like to apply a crumb coat (thin coat) of frosting and chill for 15-20 minutes in the freezer (or longer in the refrigerator) to firm things up. This makes it easier to apply the final coat of frosting without the layers shifting.
- I applied the final coat of frosting and added texture with an offset spatula. I piped a bead border using a round tip 3 to the base of the cake, and then made a simple piped daisy design around the top edge.
Can you use bread flour instead of cake flour?
Hi Tina, I wouldn't recommend it as the texture of the cake would be effected by the higher protein content of bread flour. It wouldn't be as soft and tender as cakes made with cake flour (or even all-purpose).
Almond flavoring is referred to as a White Wedding cake. I use
1 tsp almond and 2 tsp clear vanilla. My favorite as well. I grew up on this cake and had it at my wedding as well. The bakery is now closed so I improvised and made up my own version.
would I be able to split these layers? I am hoping to make just one 8 inch cake and split it to fill it with whipped cream
I am thinking about trying this recipe for Easter. Have you ever tried using almond extract instead of vanilla. I am looking for a unique flavor that was in my daughter's bridal shower cake almost 20 years ago but my niece (who ordered the cake) cannot remember the name of the individual who made it. It was one of the best cakes I have ever tasted. I don't bake cakes very often anymore due to my age and the fact my body can't handle a whole lot of sugar intake very well...but I have found your recipes to be some of the very best I've tried. Your butterscotch cake is definitely one of my favorites!
Hi Linda! I've never tried almond with the white velvet recipe but I'm sure that it would be very good! Most of our almond cakes call for a tablespoon of extract although you could use less for a more subtle flavor.
We have two almond layer cake recipes-- one is Almond Velvet Cake and is very similar to this one but uses whole eggs rather than whites.
https://www.mycakeschool.com/almond-cream-cheese-layer-cake/
We also have another very popular recipe for Almond Cake linked below which is a bit softer.
https://www.mycakeschool.com/almond-cream-cheese-layer-cake/
Whether you adjust the white velvet cake or try one of the other almond cake recipes, you'll have a great cake. Have a Happy Easter ;0)
will this bake up well as a sheet cake can it be doubled or soand make a half sheet
Hi Chris, I haven't tried this as a sheet cake or doubled- but I don't see why it wouldn't work!
This is my GO TO recipe for all my Vanilla based cakes! It is so moist, a little dense so it holds up to stacking. The taste is incredible. I even use it for cupcakes.
Thank you for your feedback, Stacey! So glad to hear it is your go-to! :0)
Can the cream cheese be omitted? I don’t like it
I saw your funfetti recipe but could I add sprinkles to this one to make it a funfetti cake also?
Hi Amber, I don't see why not!
Is this cake suitable for a 3-tier wedding cake or does the cake flour make it a too delicate crumb to safely stack to 3-tiers?
Hi Ember, I haven't made this recipe as a tiered cake, but we've heard from readers that have. It is not too soft to stack.
Will this recipe work at high elevation? I live at 4500’, and would like to know if I need to make any changes.