How to Make a Cake
Today, I'm going to show you how to make a cake! If you are new to making or decorating cakes, this video is a great place to start.
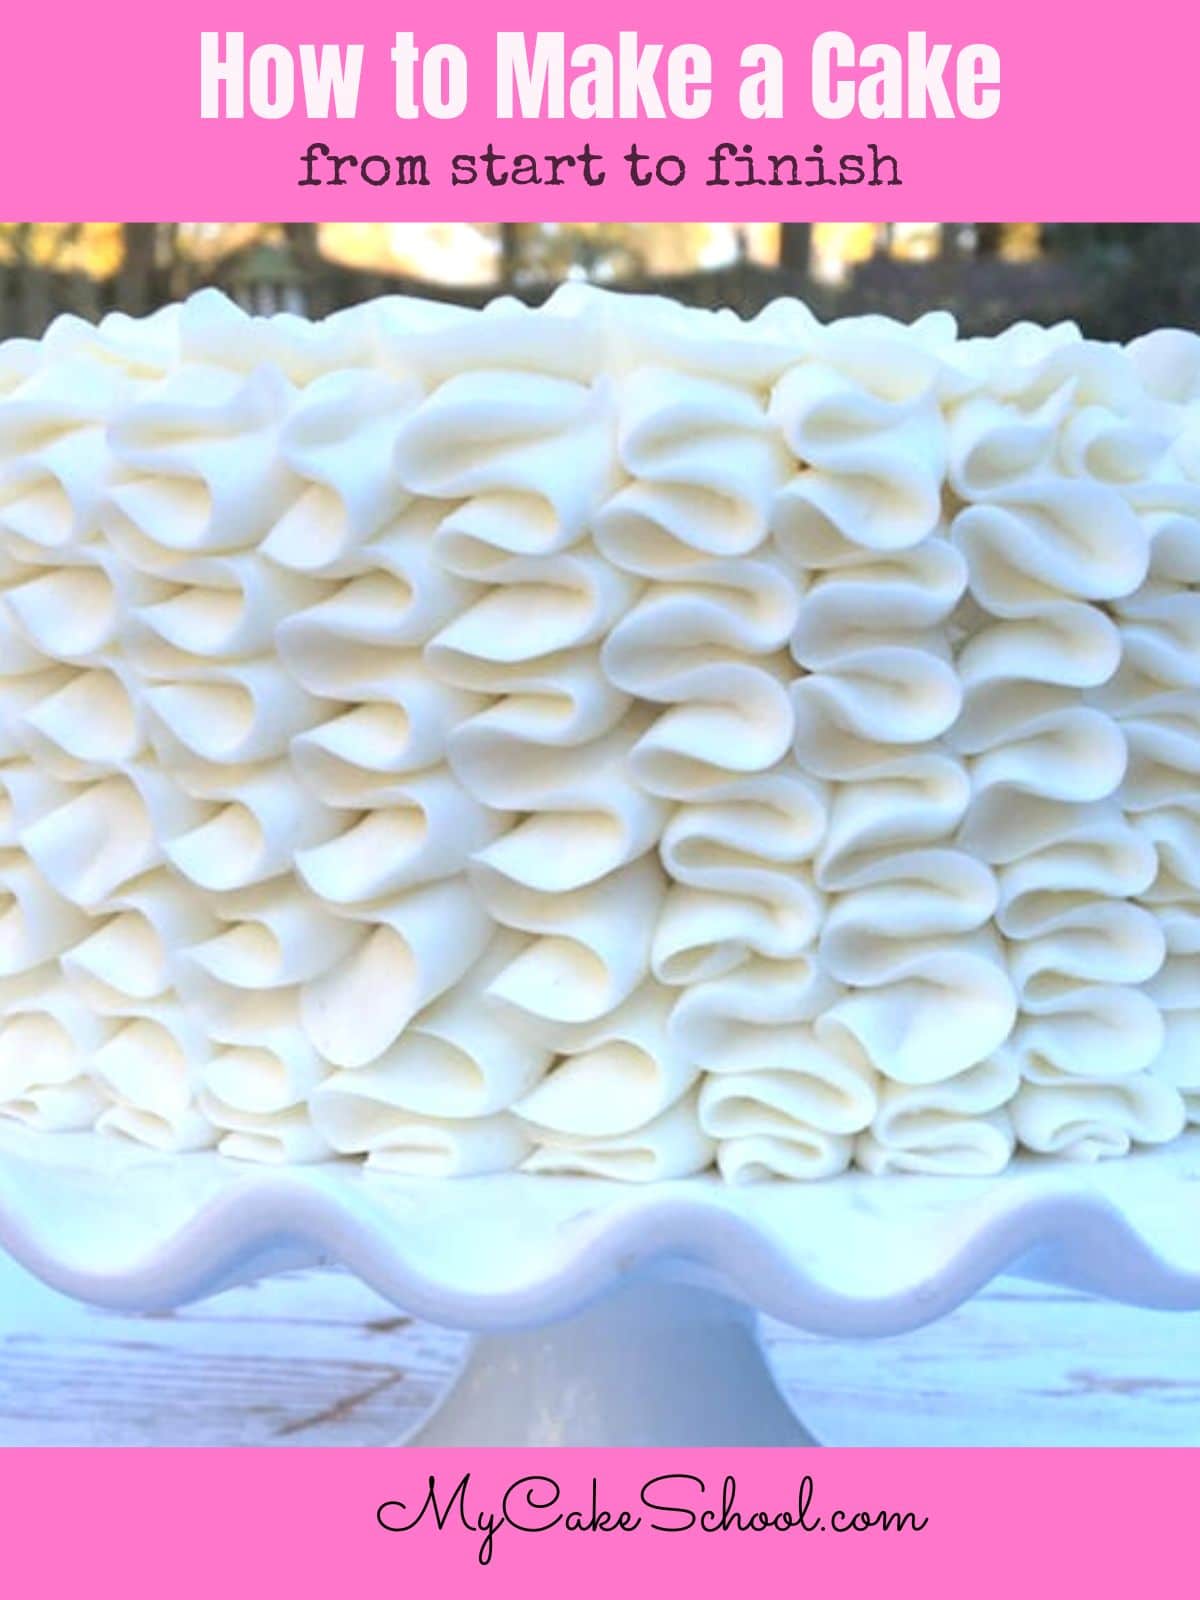
Table of Contents
What You Will Learn
In this video, we'll show you how to successfully mix & bake a cake, how to wrap and freeze cake layers, trim cake layers, & settle the cake.
Then, I'll show you how to apply the crumb coat & pipe a simple ruffled buttercream design.
We'll show you key baking and cake decorating tips and tricks that will help you to become a better baker and cake decorator!
You can apply most of these methods to any cake that you are preparing. Have fun experimenting!
Part One: Mix, Bake, Freeze
Part Two: Settle, Crumb Coat, Decorate
Materials: How to Make a Cake
We used this White Almond Sour Cream Cake Recipe (which uses the conventional creaming method)
Buttercream (our classic vanilla buttercream and fluffy vanilla buttercream are both good options)
Cake Pans (Today, we used two 8 inch cake pans)
Digital Scale (optional but helpful)
Wilton 104 piping tip
Cardboard cake circle
Recipe FAQs
Thanks for Stopping By!
Thanks so much for stopping by, we hope that you enjoyed the video! Now that you know how to make a cake, we hope you'll have fun experimenting with different recipes, cake designs, and more!
Don't miss our huge collection of hundreds of cake recipes and free cake decorating tutorials! You'll find everything from birthday cake recipes to birthday cake design ideas, baby shower cakes, and more.
We have lots of cake recipes from scratch as well as cake mix recipes!
Some of our most popular cake recipes are White Velvet Cake, Carrot Cake, Lemon Cake, and Strawberry Cake!
Hi Tawanda, I am sorry you are having trouble. Tell me what you see when you try to view the video. If the page is not displaying properly you could try visiting the site in a different Browser ( if you are using Safari, you could try Chrome, Firefox or one of the others). Let us know if you continue to have problems.
Hi! Was wondering whether i can use the reverse creaming method for butter cakes.
Btw great video. Learn lots from you.
Best video on cake baking basics I've found and I love your recipes!
Thanks so much, Nikki! I missed your comment before but happy to hear that the video helped ;0)
Hola ! Me llamo Kattia y soy de Costa Rica , estoy demasiado feliz y emocionada de poder aprender con ustedes , de forma gratuita gracias por poder hacer posible que mujeres como yo que desean superarse encuentren espacios como este.
Thank you, Kattia!!