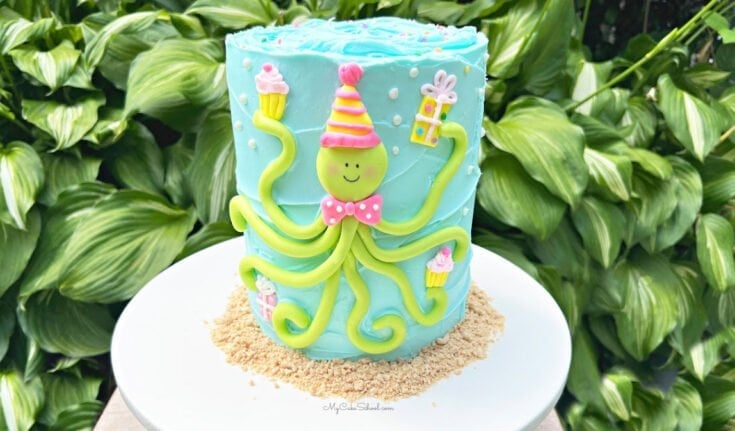
Cute Octopus Birthday Cake
In today's video tutorial, I'll show you how to make an adorable, simple Octopus Birthday Cake design that would be perfect for young birthdays.
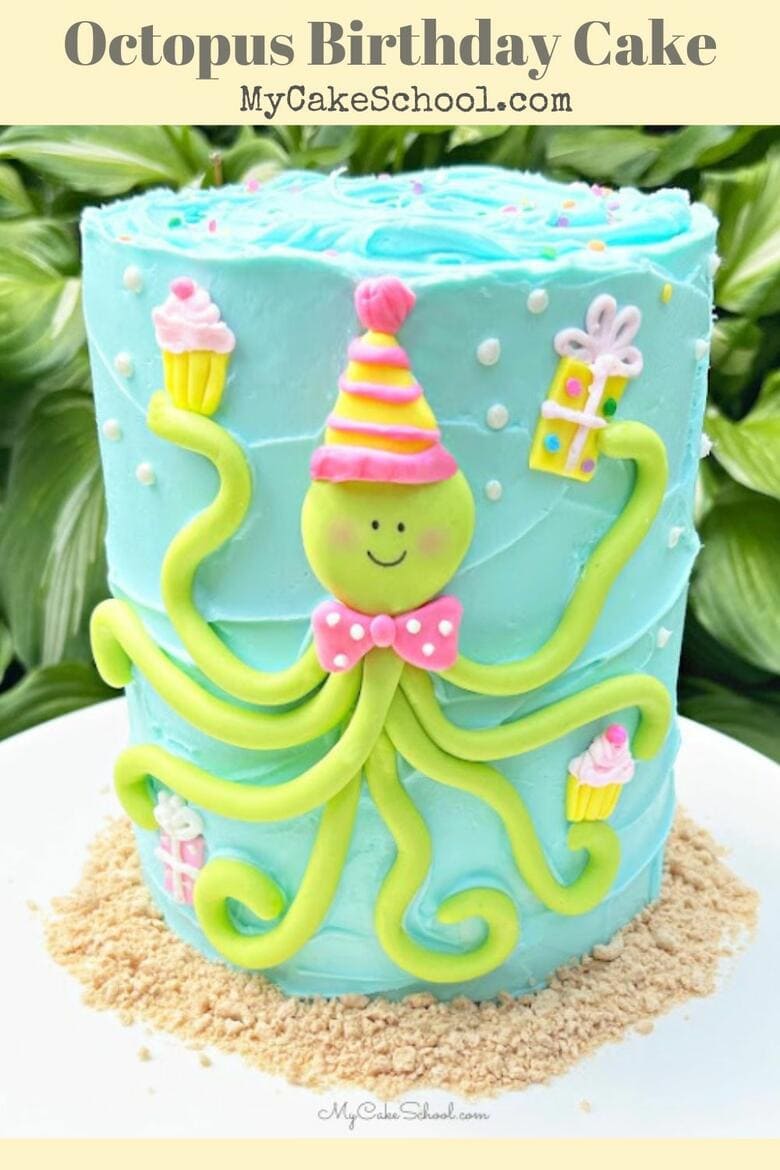
If you love cute cakes, you've come to the right place. We had so much fun making this octopus cake design! In the video, we decorated a 6 inch double barrel cake but the design could be altered for cakes of any size, and would be great for sheet cakes also!
This octopus cake is perfect for any skill level of cake decorating- you can copy our cake design just as it is, or make other fun objects or candy, etc. for the octopus to hold to fit the party theme.
You may also like to check out our Octopus Cake Topper blog tutorial!

Table of Contents
How to Make an Octopus Cake
This octopus cake is so cute and easy, and would make a perfect birthday cake design for little ones!
You can find the printable directions further down in this post. Here is a quick rundown of our steps!
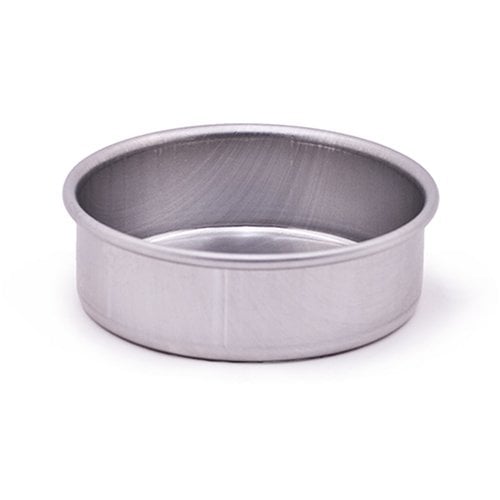
Double Barrel Cake: For this cake, we decorated a 6 in. double barrel cake. It is four 6 inch cake layers with a cake cardboard halfway up (cut down to size) and 5 bubble tea straw supports beneath cut to the height of the first two cake layers. The cake is resting on it's own cake cardboard cut to the size of the cake.
Frosting the Cake: I like to crumb coat the cake first (thin coat of frosting), chill in the freezer for 15-20 minutes to firm things up, and then add the second coat of frosting. I frosted with a small offset spatula, then removed the excess with a bench scraper and added additional texture with my offset spatula.
Octopus! For the Octopus, roll a ball of green fondant for the head and flatten it to about 1.5 inches wide or whatever size you like. Roll 8 "snakes" of fondant for the legs. Mine were thin, and approximately 4.5-5 inches in length. Cover the legs with plastic wrap so they don't dry before you're ready to decorate.
Draw the Face: Once the face is dry to the touch, you can draw on the face with a food coloring pen. I added rosy cheeks also with pink petal dust (applied with a dry paintbrush).
Fondant Gifts: Next, I made the little gifts and cupcakes for the octopus to hold! You can create whatever items you like to personalize the cake even more for the birthday boy or girl ;0)
Sand: Crush cookies to make sand
Chill Cake before Decorating: I placed the frosted cake in the freezer for about 15-20 minutes to firm up the buttercream. Then, I moved it to the cake pedestal (the cake was already on a cake cardboard).
It's easier to apply fondant pieces to chilled buttercream- and it allows you to move things around as you figure out the placement (without worry of messing up the frosting).
Apply the fondant pieces to the cake. Add the "cookie sand" around the base. Add sprinkles, buttercream "bubbles", buttercream bows on the gifts and swirls for the cupcakes.
More Ocean Themed Cakes!
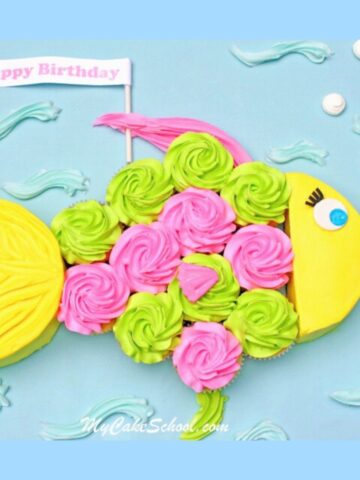
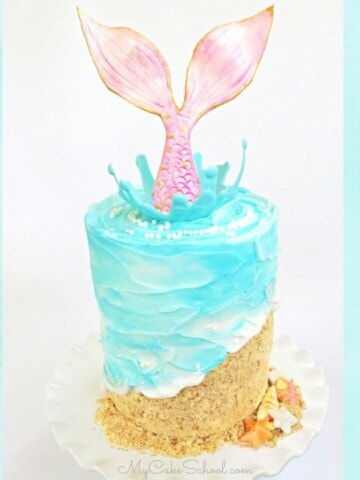
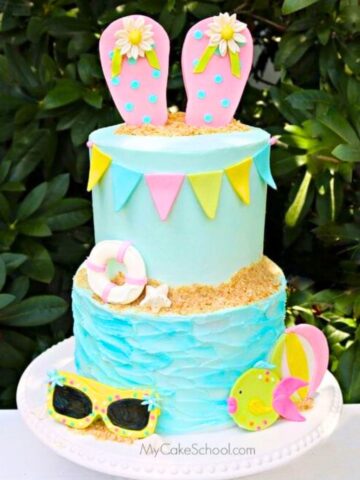
In addition to today's Octopus Birthday Cake, we have more beach themed cake designs to share with you! Some of our favorites are our Mermaid Cake, Shark Cake, Beach Cake, and Fish Cupcake Cakes!
You can also check out our Summer Cakes for more fun ideas!
Cake Recipes
This easy Octopus Cake could work with all sorts of Cake Recipes! Just a few of our favorites are our Lemon Cake Recipe, Cookies and Cream Cake, Orange Cake, and Vanilla Velvet Cake.
We have lots of favorite cake recipes from scratch as well as cake mix recipes!
Have you made this? We would LOVE for you to leave a ⭐️ rating as well as a comment and photo below! We really appreciate your feedback!
Octopus Birthday Cake
This cute and easy Octopus Birthday Cake is such a cute cake for kids' parties!
Ingredients
- For this video, we decorated a 6 in. double barrel cake. It is four 6 inch cake layers with a cake cardboard halfway up (cut down to size) and 5 bubble tea straw supports beneath cut to the height of the first two cake layers. The cake is resting on it's own cake cardboard cut to the size of the cake.
- Classic Vanilla Buttercream (or your buttercream of choice)
- Coloring Gels: Americolor Sky Blue, Lemon Yellow, Electric Green, Deep Pink
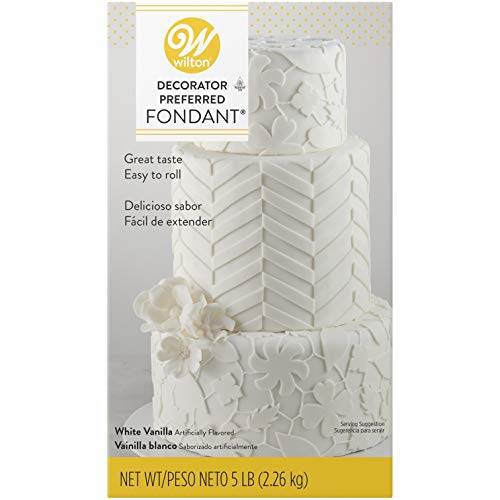
- Fondant (we used Wilton)
- Edible Glue (Tylose Glue, Piping gel...you can also just lightly dampen fondant in places that need a bit of tackiness)
- Confetti Sprinkles- Optional
- Vanilla Cookies, crushed for "sand" border (You can also use crushed cereal or graham crackers)
- Piping Tips: Wilton Tip 3 (small round tip)
Instructions
- Frost the cake. I like to do a crumb coat (thin coat of frosting), chill in the freezer for 15 minutes to firm things up, and then add the second coat of frosting. I frosted with a small offset spatula, then removed the excess with a bench scraper and added additional texture with my offset spatula.
- For the Octopus, roll a ball of green fondant for the head and flatten it to about 1.5 inches wide or whatever size you like (mine was probably around ¼ inch at the thickest part, thinner around the edges). Roll 8 "snakes" of fondant for the legs. Mine were thin, and approximately 4.5-5 inches in length. Cover the legs with plastic wrap so they don't dry before you're ready to decorate.
- Once the face is dry to the touch, you can draw on the face and add rosy cheeks if you'd like with pink petal dust.
- Create the gifts and little cupcake liners from fondant.
- Crush cookies to make sand
- When ready to decorate the cake and to move to the cake base/pedestal, I chilled the cake in the freezer for about 15-20 minutes to firm up the buttercream. Then, I moved it to the cake pedestal (the cake was already on a cake cardboard). And decorated the cake.
- Apply the fondant pieces to the cake. Add crushed cookies for sand around the base. Add sprinkles, buttercream "bubbles", buttercream bows on the gifts and swirls for the cupcakes.
Recommended Products
As an Amazon Associate and member of other affiliate programs, I earn from qualifying purchases.
Well "he" is soooo cute!! Such a cute birthday cake idea!!
That is so cute! Made me smile :-) I love it! Simple and clever as always!