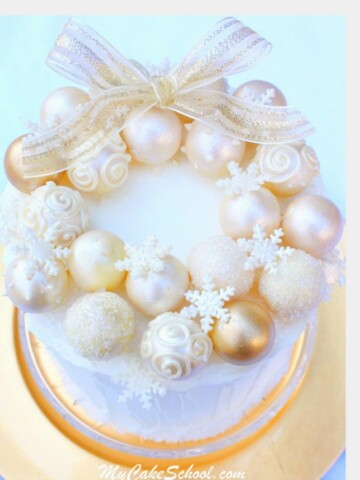
Hanging Ornaments Cake
Today's Hanging Ornaments Cake design is so much fun to make, and perfect for Christmas parties!
The festive colors and dimension of the ornaments makes it a stand-out centerpiece for the dessert table.
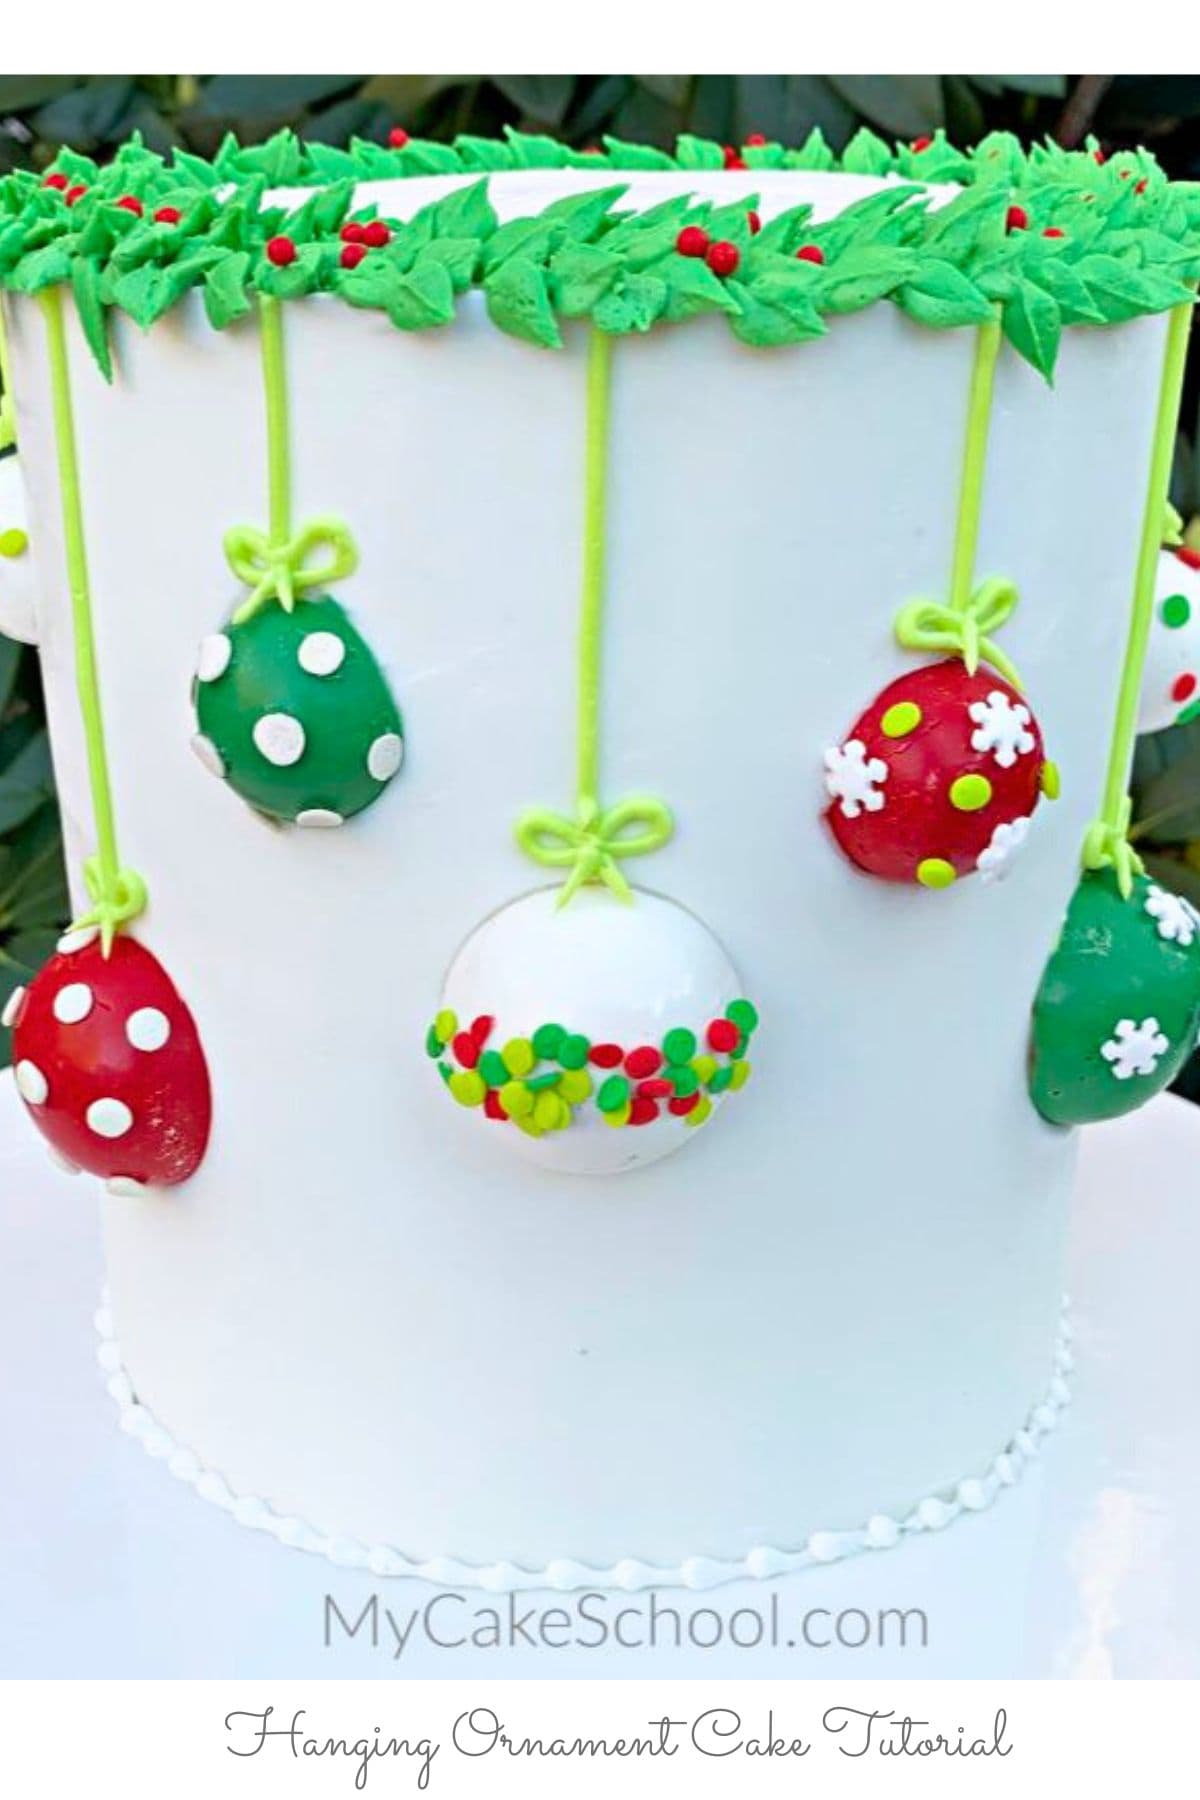
Table of Contents
Silicone Half Ball Molds
I love this chocolate ornament design for it's uniqueness and simplicity, but also because it gives me an excuse to use my silicone half ball molds!
I've used this set of molds for other cake designs as well and we always love the results! Check out these free cake tutorials for more fun with chocolate molds: Chocolate Spheres Cake and Ghost with Balloons Cake
Alternate Ornament Design
As a side note, you could also create and dry flat circle cut outs from fondant (with a little tylose) to create cute and colorful ornaments if you don't have a silicone mold like the one that we used.
It will be a different look, but still very cute! (We did a similar idea with stars in this Baby and Moon Shower Cake Tutorial!)
Cake Recipes
There are so many cake recipes that would be perfect for this Ornament Cake design. Some of our favorite Christmas cake recipes are Red Velvet Cake, Peppermint Cake, Gingerbread Cake, and Spice Cake!
However, we have so many more tried and true favorites in our Cake Recipes section!
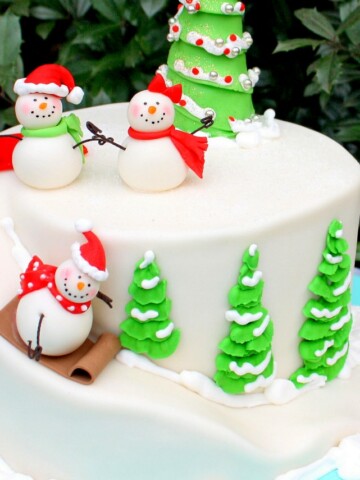
More Christmas Cake Designs
We have more Christmas and winter cake designs to share! Don't miss our roundup of Christmas and Winter Cake Designs and Recipes!
Materials for Ornament Cake:
For this tutorial, we made a double barrel cake using four 6 inch cake layers, a cake board cut down to the size of the cake on the bottom, a cake board cut slightly smaller than the cake for the middle, and four bubble tea straws for support as we demonstrated at the beginning of the video.
You'll need to use your cake base of choice, whether a few stacked (wrapped) cake boards, a small cake drum, or pedestal.
Buttercream- We used our Classic Vanilla Buttercream recipe (our Fluffy Vanilla Buttercream Recipe would be good for this also)
Candy Coating- We used candy melts since we made red and green ornaments. These can be a little tricky to melt-- if it is too thick, you can stir in a small amount of shortening. Try not to overheat in the microwave--just melt in small increments. (I probably used about ¼ cup of each color). ***Instead of pre-colored candy melts, you can tint your candy coating yourself but it will need to be oil based candy coloring gel so that the chocolate won't become too thick or seize.
Silicone Mold- (affiliate)
Small flat brush or spatula to spread chocolate
Assorted Sprinkles
Piping gel or edible glue of choice. (You can also mix a little warm water with tylose powder to make a glue)
Piping Tip: Small round tip 3 or similar size for piping strands of buttercream as well as bead border, leaf tip 352
Coloring gel: Electric green (strands and bows), Holly Leaves are a mixture of Wilton Leaf Green and Avocado Green

Ornament Cake Notes:
If you aren't comfortable with piping the buttercream strands, you can also extrude fondant and apply to a chilled buttercream cake (so that you can move things around as needed).
Chill the chocolate ornaments just before handling so that they will be less fragile.
Enjoy the Video!
We hope that you will give this ornament cake a try! Don't miss our full collection of hundreds of cake decorating video tutorials!
Beautiful cake! Simple, Quick and Fabulous as always! :-) Love it!
Thanks Teri! xoxo
Beautiful Cakes! Thanks for always keep us inspired. :-) Wishing everyone a lovely holiday season. Lisa G.
So pretty! Another favorite!! Merry Christmas to you & your family???
Thank you, GuppyLove, and Merry Christmas to you too!!