Baby and Moon Cake- A Video Tutorial
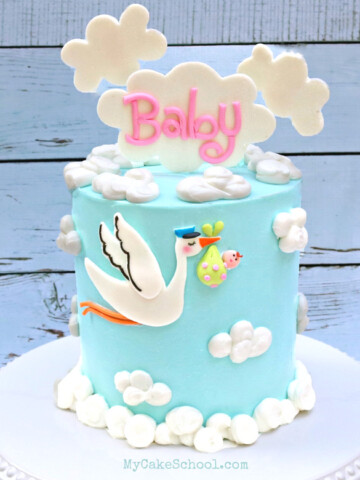
Today, we are sharing the sweetest Baby and Moon Cake for baby showers, which features a cake topper of a baby sleeping a crescent moon. If you love cute cakes like we do, this design is sure to become a favorite!
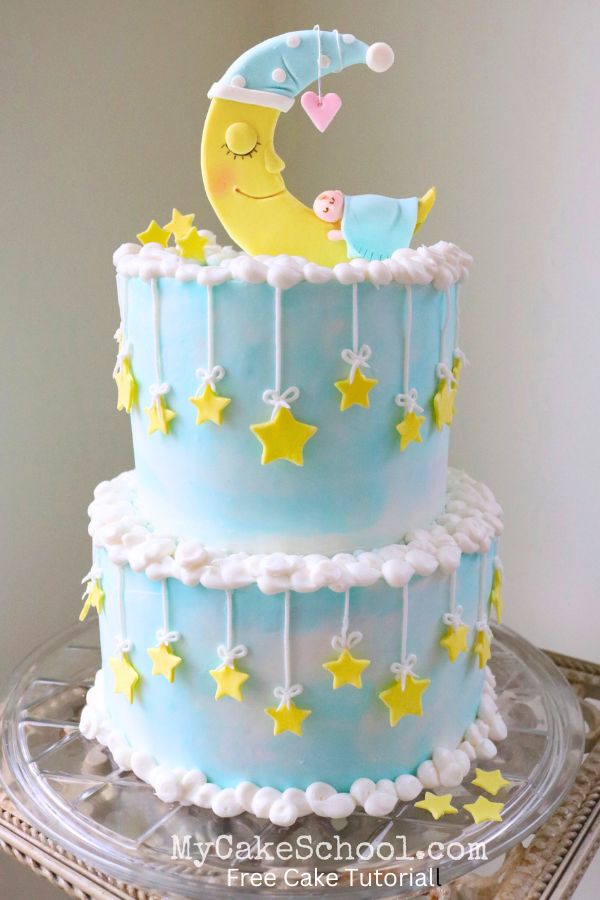
This tiered Moon and Stars cake features 8 inch and 6 inch buttercream-frosted tiers with fondant and gum paste accents. While our cake topper is the star of this cake design, we added clouds and stars for an added dose of cuteness.
We hope that you enjoy the tutorial! Don't miss our additional notes and materials below!
**To be on the safe side, make sure to dry the moon for 2-3 days before adding the anchor to the back.
Table of Contents
Materials for Baby and Moon Cake:
In this video, we used 6 inch and 8 inch tiers, frosted with our fluffy vanilla buttercream frosting recipe. Each tier is on it's own cardboard cake circle cut to the size of the tier, and the top tier is supported by 4 bubble tea straws cut to the the height of the bottom tier.
Coloring Gel: Americolor Sky Blue, Lemon Yellow, Copper (skin tone), Chocolate Brown, Deep Pink
gum paste
fondant for stars
Food Coloring Pen- (I used a Wilton food writer pen in brown)
Scriber needle or toothpick for creating mouth of moon
Pink Petal Dust (and shade of pink is fine, we used Cosmos pink)
Piping Tips: Small round tip 2 (strings for stars), Tip 10 for clouds as well as for cutting polka dots for blanket)
Floral Wire for hanging up the heart (any flexible gauge- ours was 26)
Cutters: We used a small heart cutter as well as a small & medium sized stars
Miscellaneous: I used a Wilton turntable for spinning the cakes while frosting them with my bench scraper and small offset spatula. Disposable piping bags, couplers, knife or xacto, cake base or pedestal, fondant rolling pin
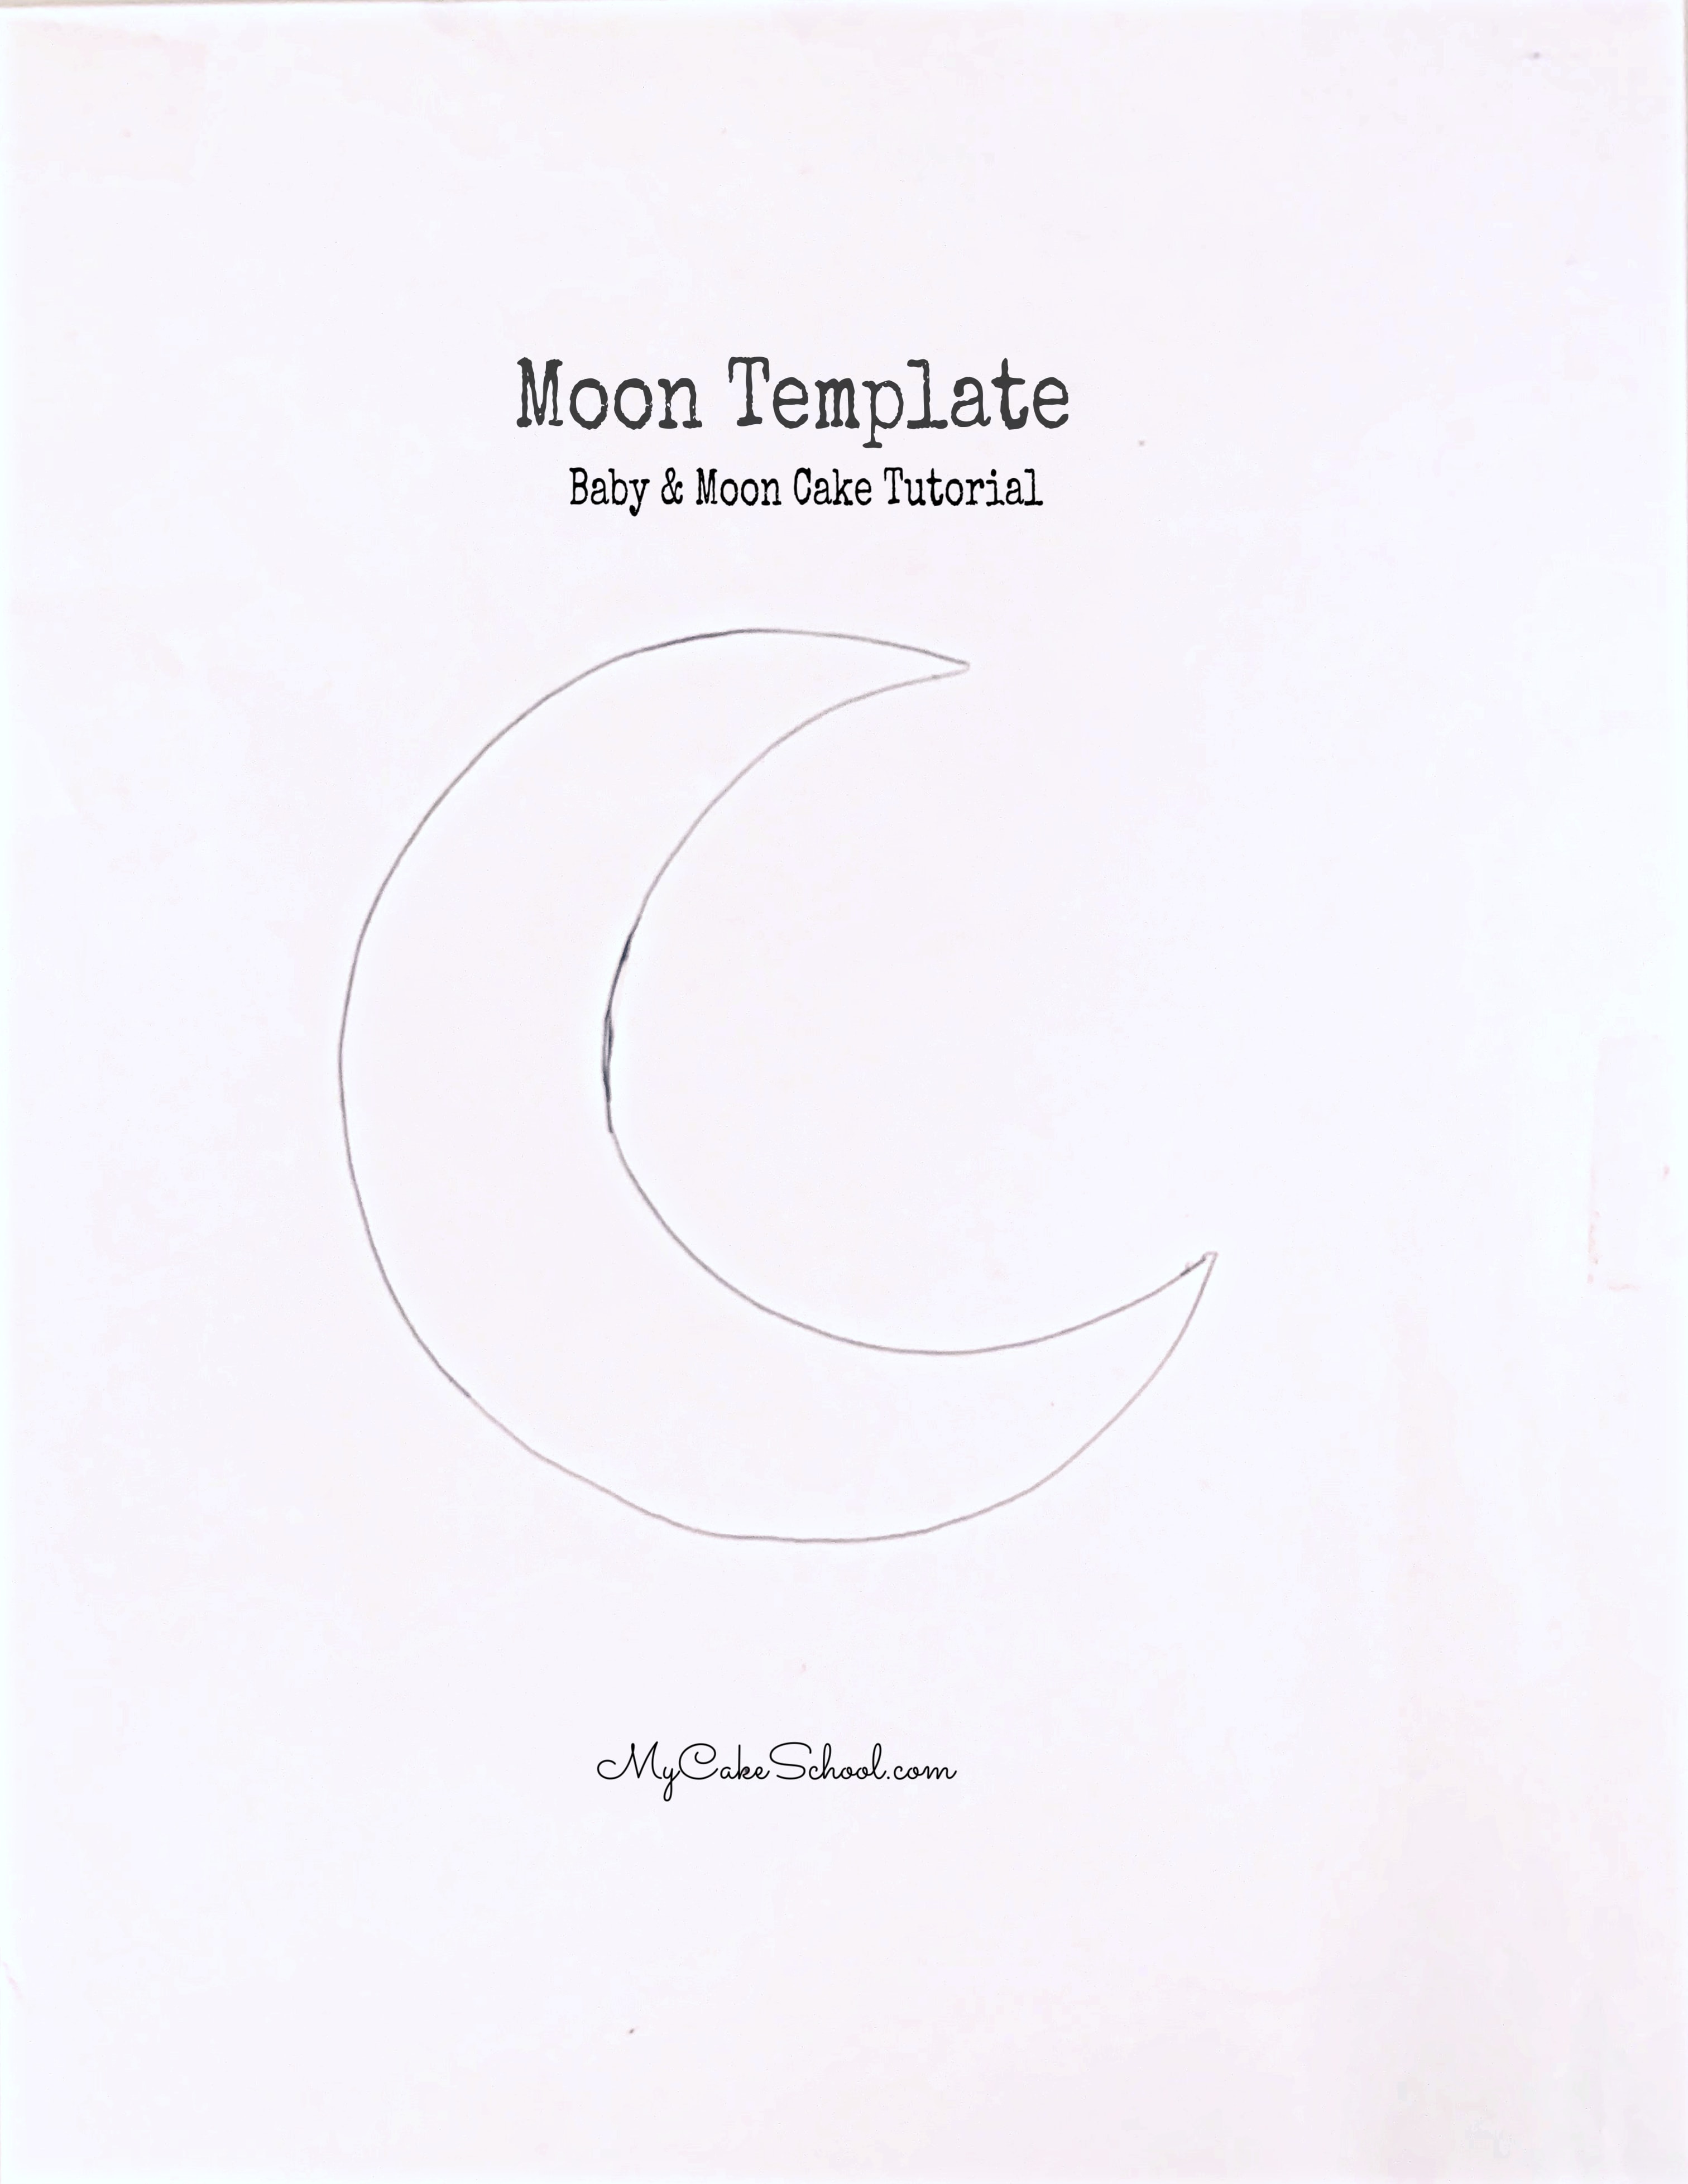
Notes for the Moon Cake Topper:
Although fondant can be firmed up by kneading in tylose powder, I recommend using gum paste for this cake topper if possible, so that you can be sure that your topper will dry very firm.
I would cut out your moon topper at least 2-3 days in advance to be on the safe side. Humid conditions can mean longer dry times. Allow your gum paste moon to dry on parchment paper. You can flip it after the front of the moon is dry, so that the opposite side can also be better exposed to the air.
We used melted candy coating for attaching the lollipop stick to the back of the moon (in addition to a strip of gum paste). You could also create "tylose glue", by combining ¼ tsp. tylose powder with 2 tablespoons warm water.
My gum paste moon is about ¼ inch thickness to make it stronger as well as to provide more support for our sleeping baby.

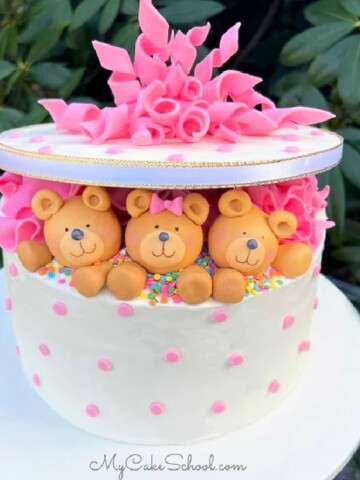
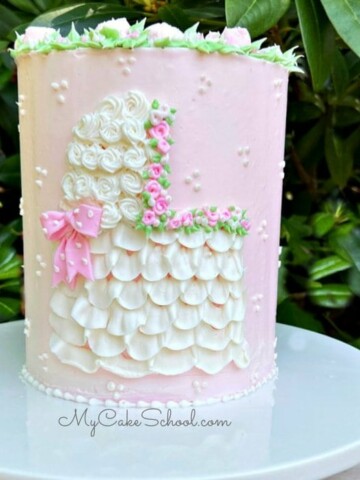
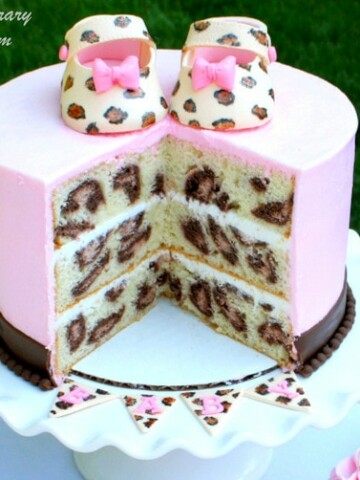
More Baby Shower Cakes
We hope that you enjoyed this video tutorial! If you give this design a try, we would love for you to leave a comment and photo below.
For a full collection of our favorite baby shower cake and ideas, hop over to our collection of Baby Shower Cake Ideas!
Baby Shower Cake Recipes
Today's baby and moon cake could be adapted to cakes of any size. The same goes for the cake flavor.
Some of our favorite cake recipes are White Velvet Cake, Vanilla Buttermilk Cake, Lemon Cake from Scratch, and Lemon Velvet Cake, but there are so many more!
Make sure to check out our full collection of cake recipes!
That is so stinking cute! :-) I love it! Hope I get to use this idea. Fabulous as always!
This cake is so adorable :) I hope I have the opportunity to make it some time!!!
LOVE! LOVE! What I appreciate about your designs is they are accessible to the novice like me. I have used so many for our family birthdays and get rave reviews thanks to your expertise! Thank You!
I agree with Nancy! The designs look so complicated, but your step by step directions are so easy to follow... sure hoping there is a baby shower coming up for me soon... this one is adorable!
Very cute!!!
Thank you all so much for your comments!! We really appreciate them, and we're so glad that you enjoyed this cake tutorial! xoxo
Love this cake topper!
Hi Mary, Great work!! Your cake looks wonderful, we love seeing it! Thanks for posting.
Hi, what are the dimensions of the moon cake topper in inches please,
Thanks , Sylvie