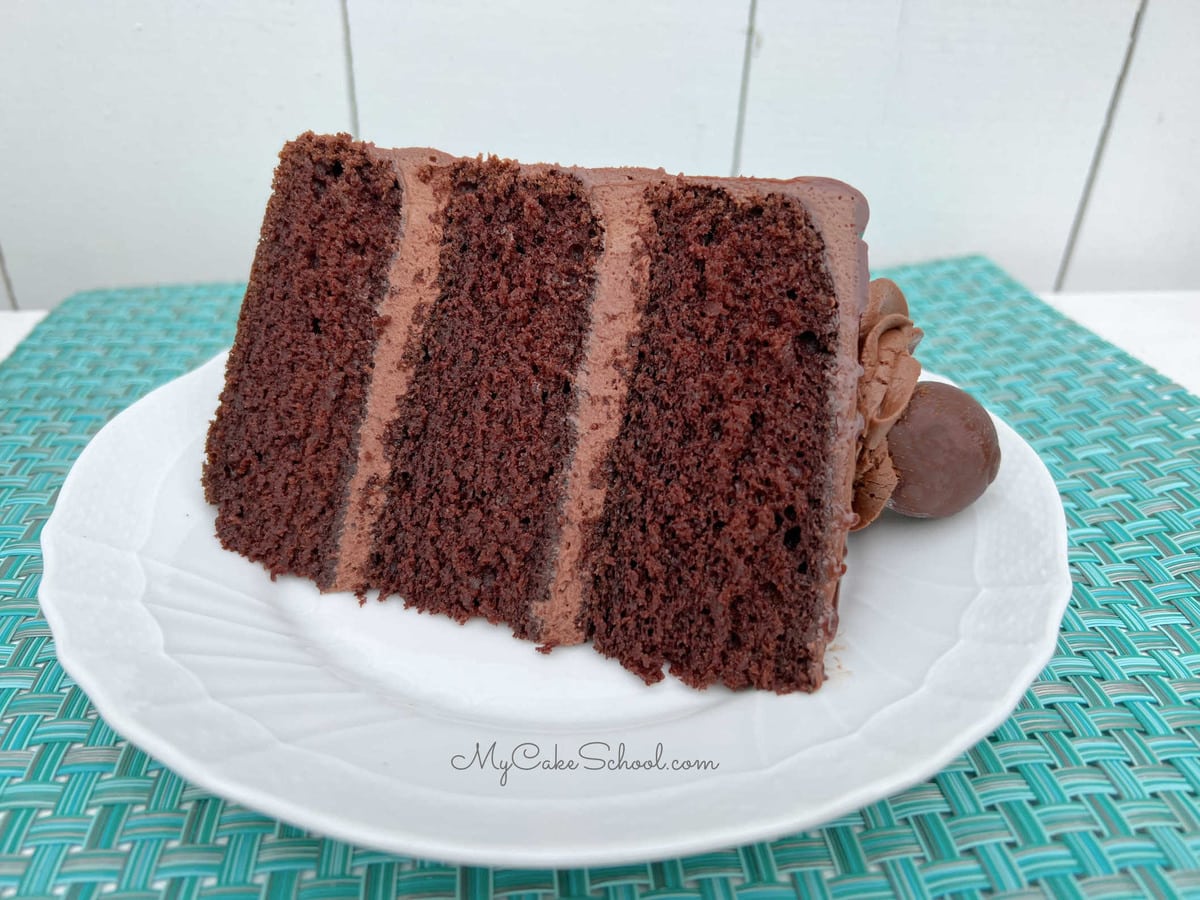
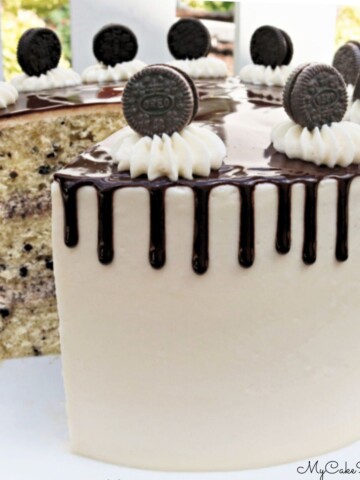
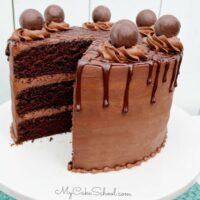
Chocolate Truffle Cake
Calling all chocolate lovers--This decadent Chocolate Truffle Cake is just for you!
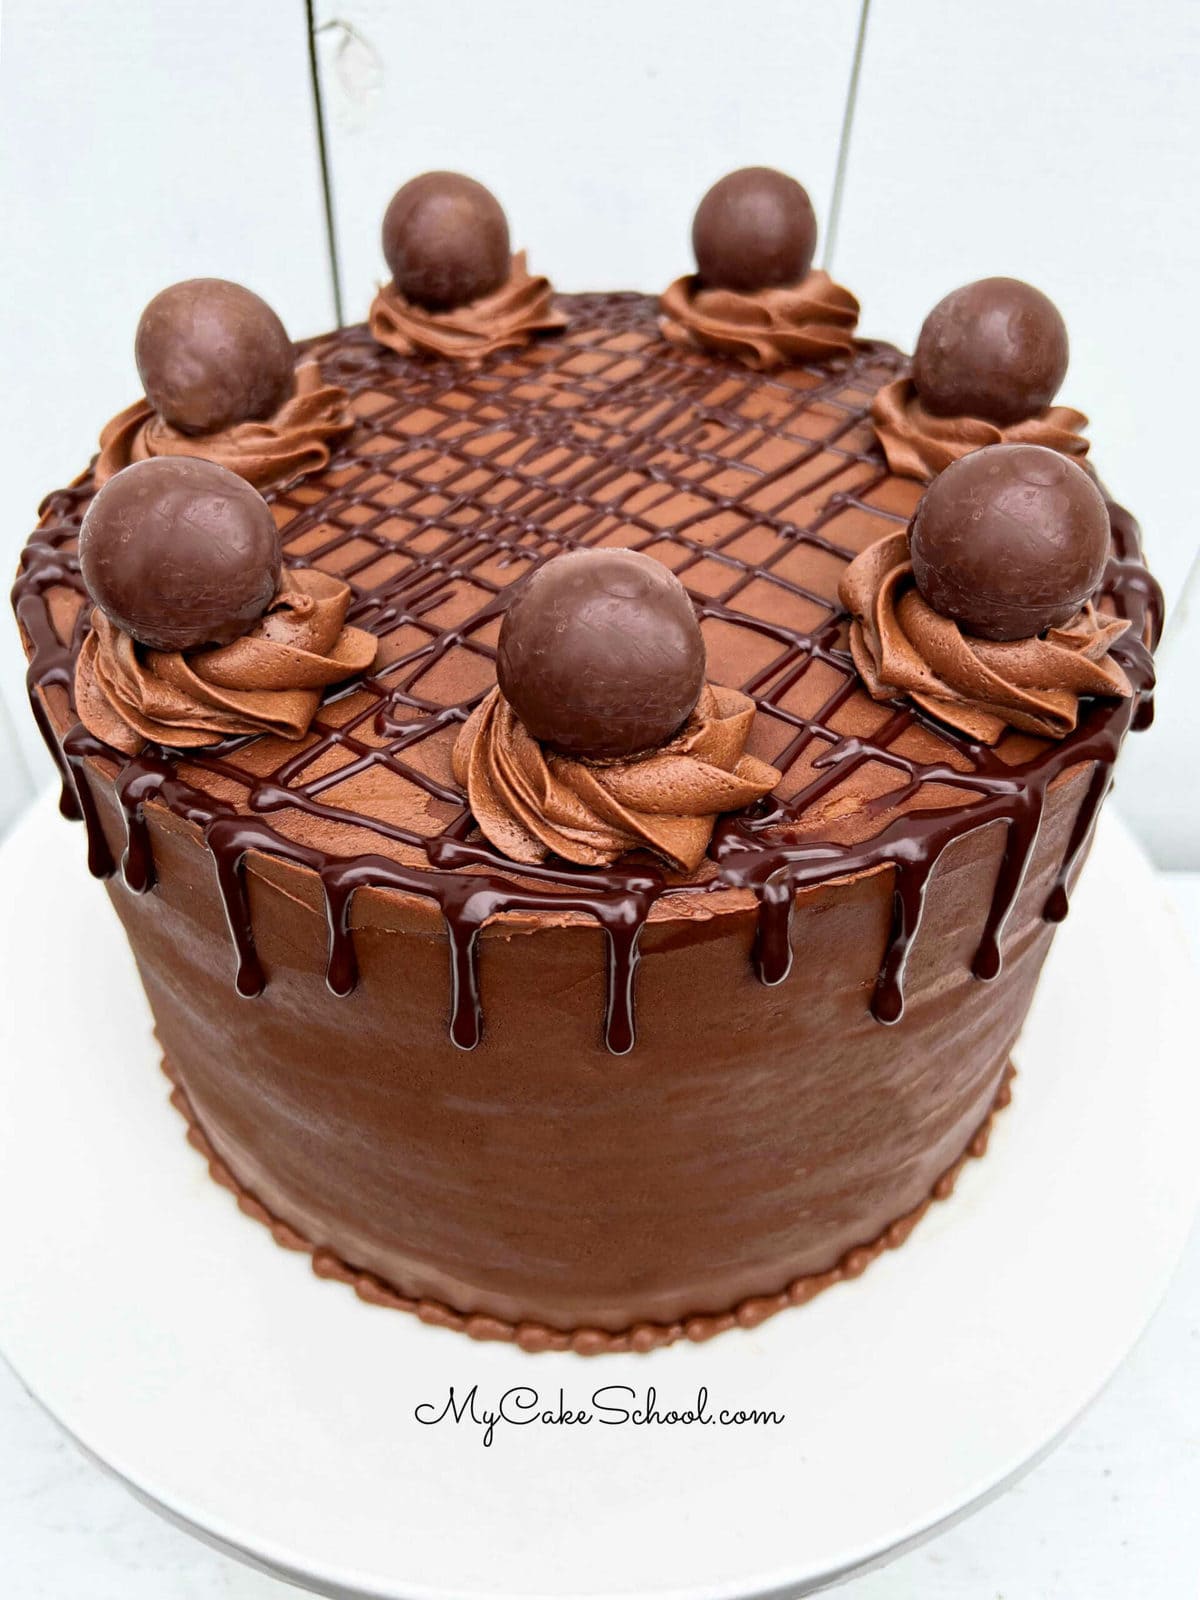
Rich layers of moist chocolate cake are filled with a chocolate truffle filling and frosted in chocolate buttercream frosting with a ganache drip.
This impressive truffle cake is sure to please a crowd!

Table of Contents
Why we Love it
There are so many reasons to love this chocolate truffle cake! Here are just a few:
- Rich and decadent
- Based on our Classic Chocolate Cake recipe that we love!
- Fantastic ganache filling (which is easy to make)
- Looks impressive and tastes amazing!
How to Make a Chocolate Truffle Cake
You can find the full, printable recipe further down in this post. Here is a quick look at our steps. You'll notice that we use the Reverse Creaming Method of mixing in this recipe, which results in a velvety soft, moist texture.
- Preheat Oven and Prepare Pans: First, preheat the oven to 350 degrees F and prepare three 8 inch cake pans. (We grease, flour, and line our pans with parchment paper).
- Flour Mixture: In a mixing bowl, add the dry ingredients: granulated sugar, all purpose flour, unsweetened cocoa, baking soda, baking powder, and salt. Whisk for one minute to blend.
- Butter: Next, add the softened butter a few pieces at a time while the mixer is on low speed. Mix until the dry ingredients look like coarse sand and are moistened. Scrape the bottom and sides of the bowl.
- Wet Ingredients (minus coffee):In a separate bowl whisk the eggs, milk, vegetable oil and vanilla extract until blended.
- Adding Egg Mixture: With the mixer on low speed, slowly add approximately half of the egg mixture to the dry ingredients. Increase the speed to medium and mix for 1 ½ minutes at medium speed. Don't mix above medium speed.
- Scrape the bottom and sides of bowl. Add the remaining egg mixture in two pourings, beating for 20 seconds after each pour. Scrape the sides and bottom of bowl.
- Coffee: Slowly add the cup of hot coffee and mix another 30 seconds until blended. The batter will be very runny.
- Time to Bake! Pour the cake batter into 3 prepared 8" pans and bake at 350 degrees for 25 to 30 minutes or until the center of the cake springs back to the touch and a toothpick comes out clean.
- Cool the cakes 10 minutes in their pans on a wire rack and then turn out. The layers should be cooled completely before adding the filling and frosting.
For the Chocolate Truffle Filling
This melt-in-your-mouth chocolate truffle cake filling is a rich, heavenly ganache. It is based on a 1:1 ratio of chocolate to cream, and so if you need to make extra filling or less, just keep the ratio of chocolate to cream the same (by weight).
We are using 12 ounces of chocolate and 12 ounces of whipping cream to create a luscious ganache.
Easy Ganache Filling (in the Microwave)
We LOVE how easy this delicious chocolate filling is to make.
First, place the chocolate in a microwave safe bowl and combine with whipping cream. We used Ghirardelli semi-sweet mini chips. Heat the chocolate mixture in the microwave for 30 seconds and stir.
Mix for 15 more seconds and stir. Repeat as needed in small increments until the chocolate is almost entirely melted. Gently stirring should melt the remaining chocolate. Be careful not to overheat.


The chocolate will thicken as it cools.
Another Option: Stovetop Preparation of Ganache
We are keeping things simple and preparing our truffle filling in the microwave.
However if you prefer the stovetop method, simply combine the semi-sweet chocolate and heavy cream in a saucepan over medium heat.
Then, whisk the chocolate and cream for about 10 minutes or until the chocolate has melted and the mixture is smooth.
Pour the ganache into a mixing bowl and allow to cool. That's it! Easy and delicious.
Reserve Ganache for the Chocolate Drip
If you'd like to create a chocolate drip as we did to decorate the top of the cake, reserve ½ cup of the ganache mixture and set it to the side. This reserved ganache for the chocolate drip will not be whipped.
Whipped Ganache (Truffle Cake Filling)
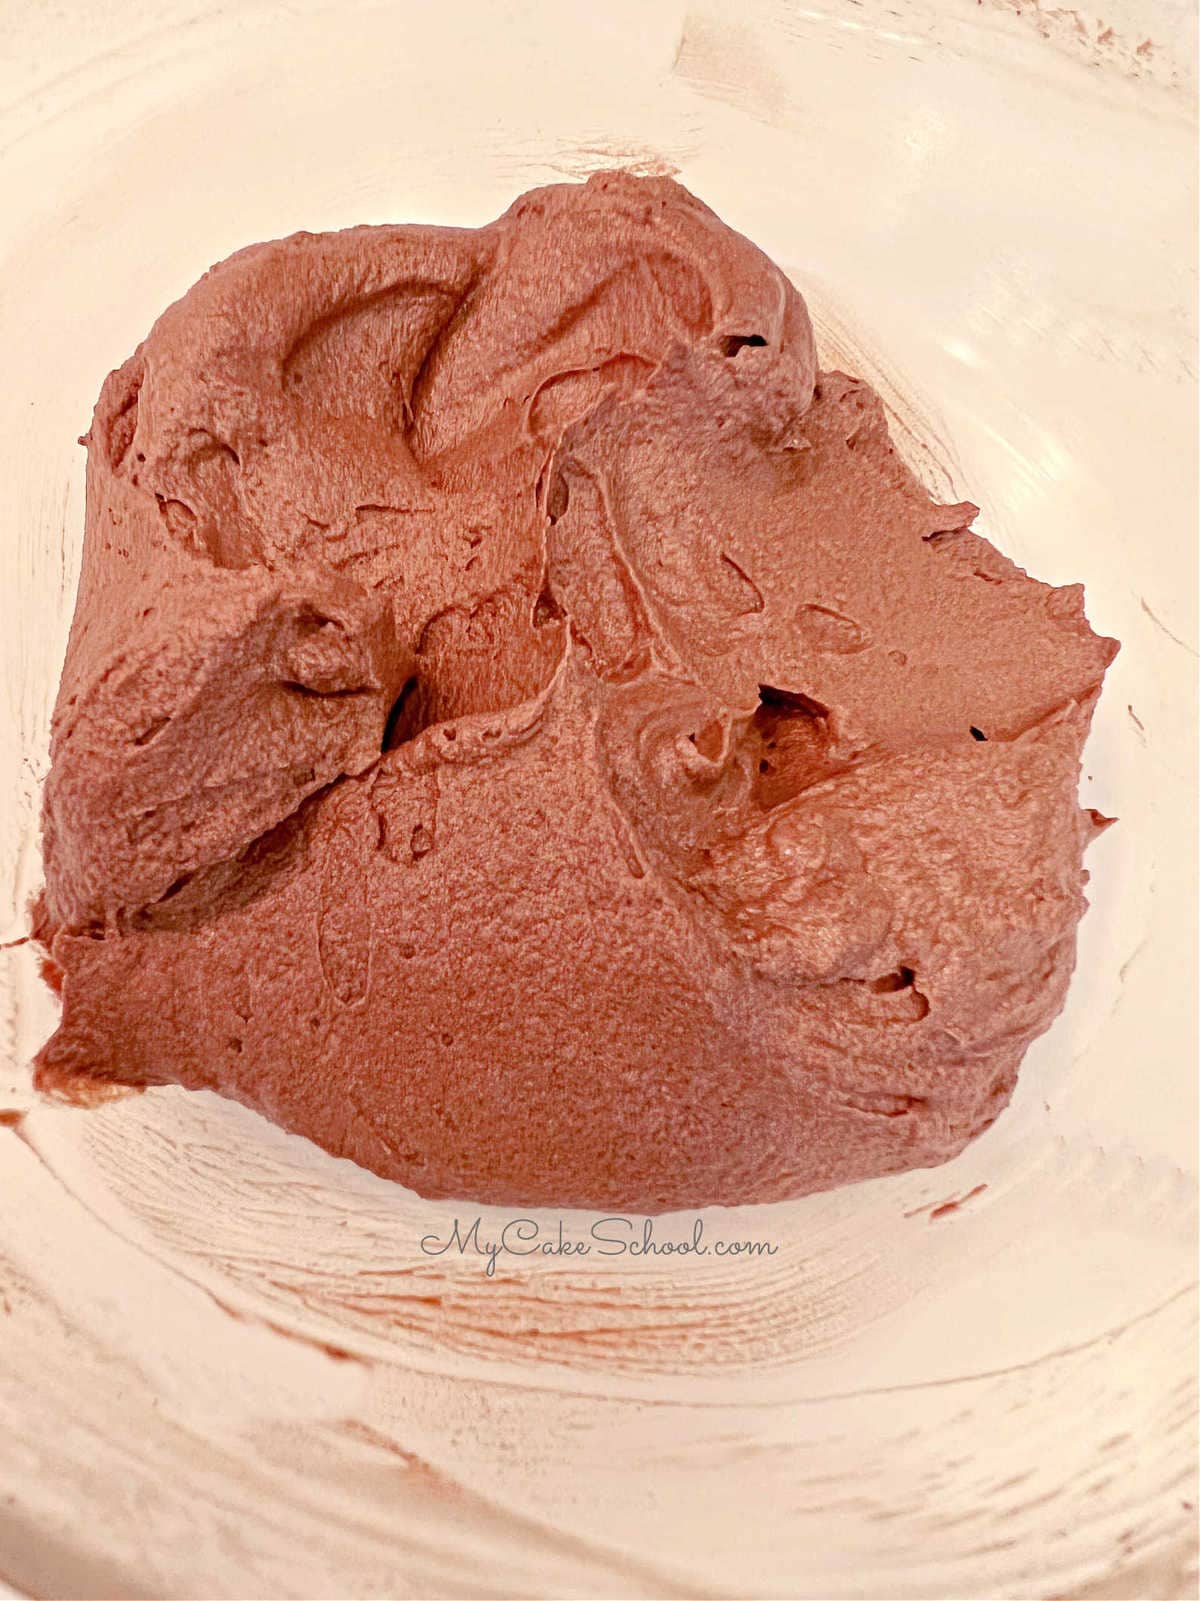
Next, refrigerate the remaining ganache for an hour or until the mixture has begun to cool and thicken. You can see the thickness of the chilled chocolate mixture in the photo below.

Using a handheld mixer, whip the chilled ganache on medium speed until stiff peaks form (about 20-30 seconds). If the chocolate mixture is too fluid after beating, chill it a bit longer and repeat. Be careful not to over mix.
Here is our finished whipped ganache (aka truffle filling) for our layer cake!
Chocolate Buttercream Frosting
We used our go-to chocolate buttercream frosting for this recipe which is so quick and easy to make.
It's a combination of butter, confections sugar, unsweetened cocoa powder, vanilla extract, salt, and milk. It is creamy, chocolatey, makes for a great filling or frosting, and pipes perfectly!
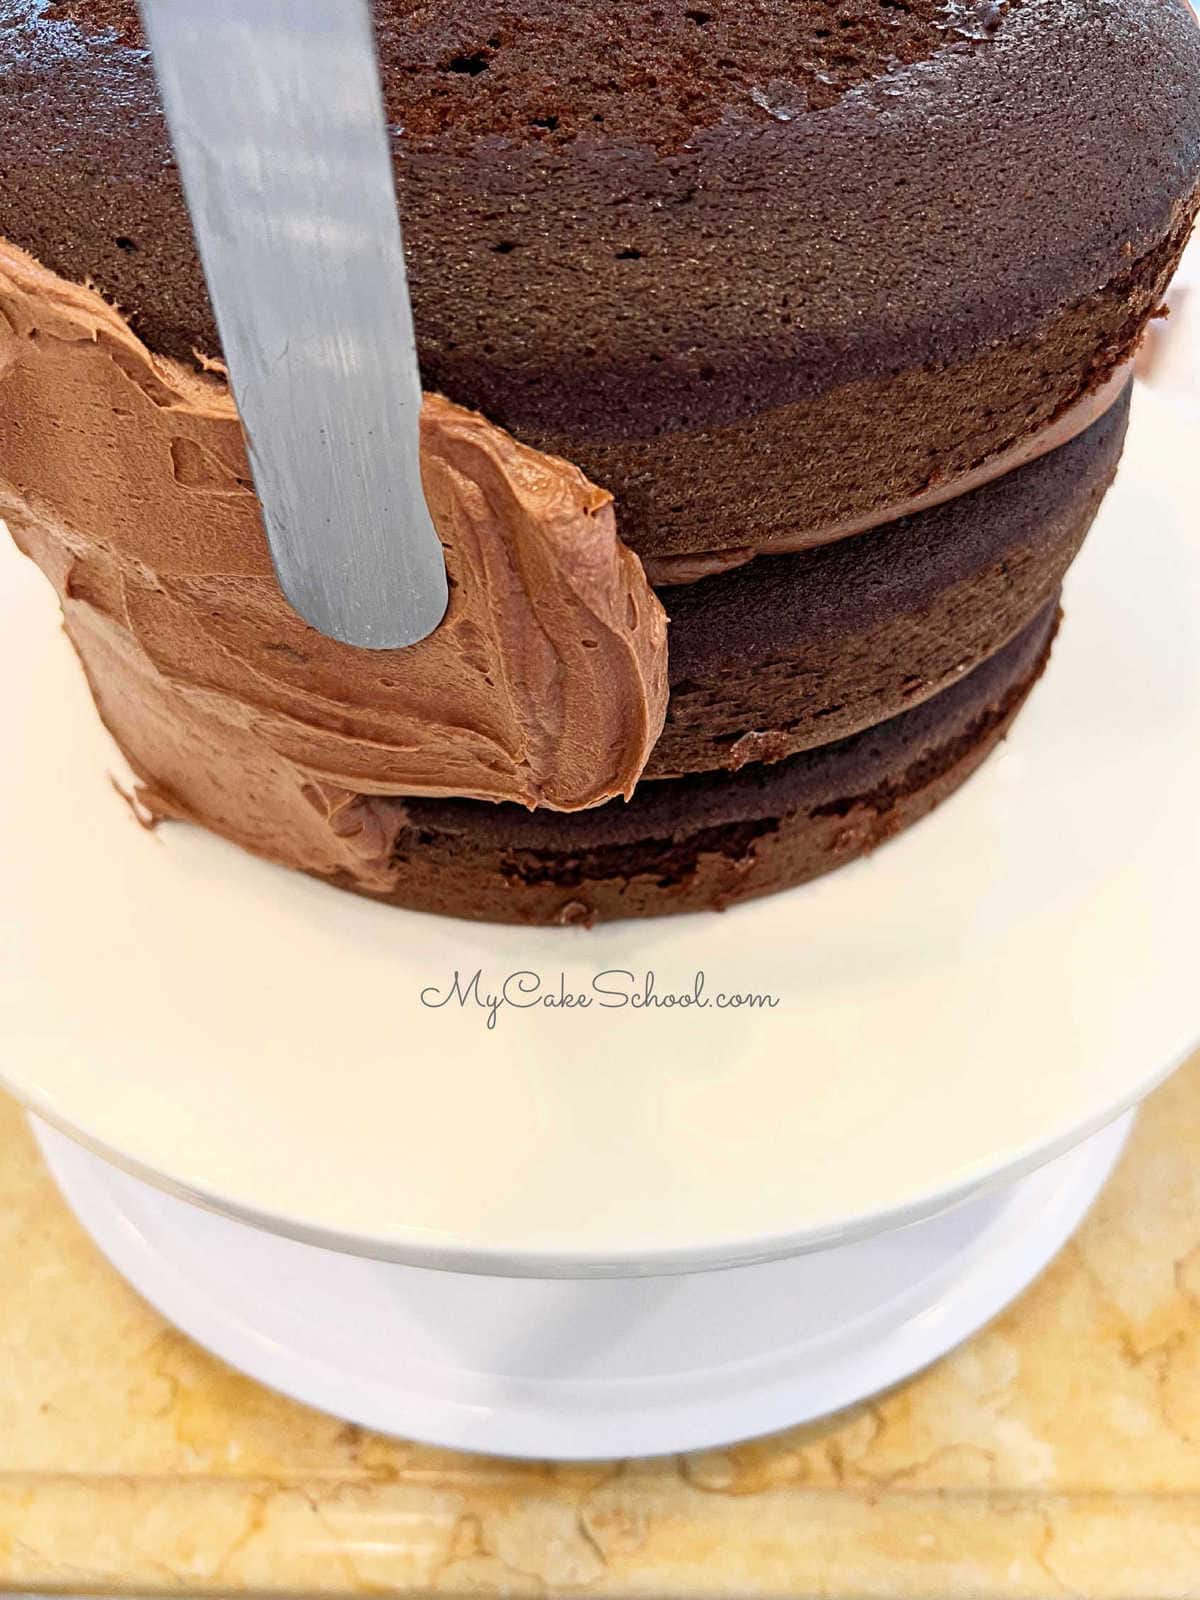
Assembling the Chocolate Truffle Cake
Place the first chocolate layer on the cake base or pedestal. Pipe a dam of buttercream around the edge of the layer (about ½ inch from the edge) using a disposable piping bag with the tip snipped away.

Fill in with the chocolate truffle filling. The dam is optional but I like to pipe a dam whenever I'm working with a softer filling. If not using a dam, just be sure not to take the filling all the way to the edge of the cake.
Top with the second chocolate cake layer and repeat the steps. Add the final cake layer and fill in any gaps between the layers with frosting.
Frosting the Chocolate Truffle Cake
- Apply a thin layer of frosting on top of and around the sides of the cake. This is known as the "crumb coat" and is helpful for trapping the crumbs.
- Next, I like to chill the cake in the freezer for about 10-15 minutes to firm everything up for the final coat of frosting.This prevents the cake layers from sliding around as you frost it with the final coat.
- Add the final layer of chocolate buttercream and smooth with a bench scraper or spatula. (For an extra smooth finish, use the hot knife method of smoothing!
- For this buttercream smoothing method, you heat a metal bench scraper or offset spatula in very hot water, dry it off, and glide over the freshly chilled and frosted cake.
You can find more details in our free video tutorial: Hot Knife Method of Smoothing Buttercream.
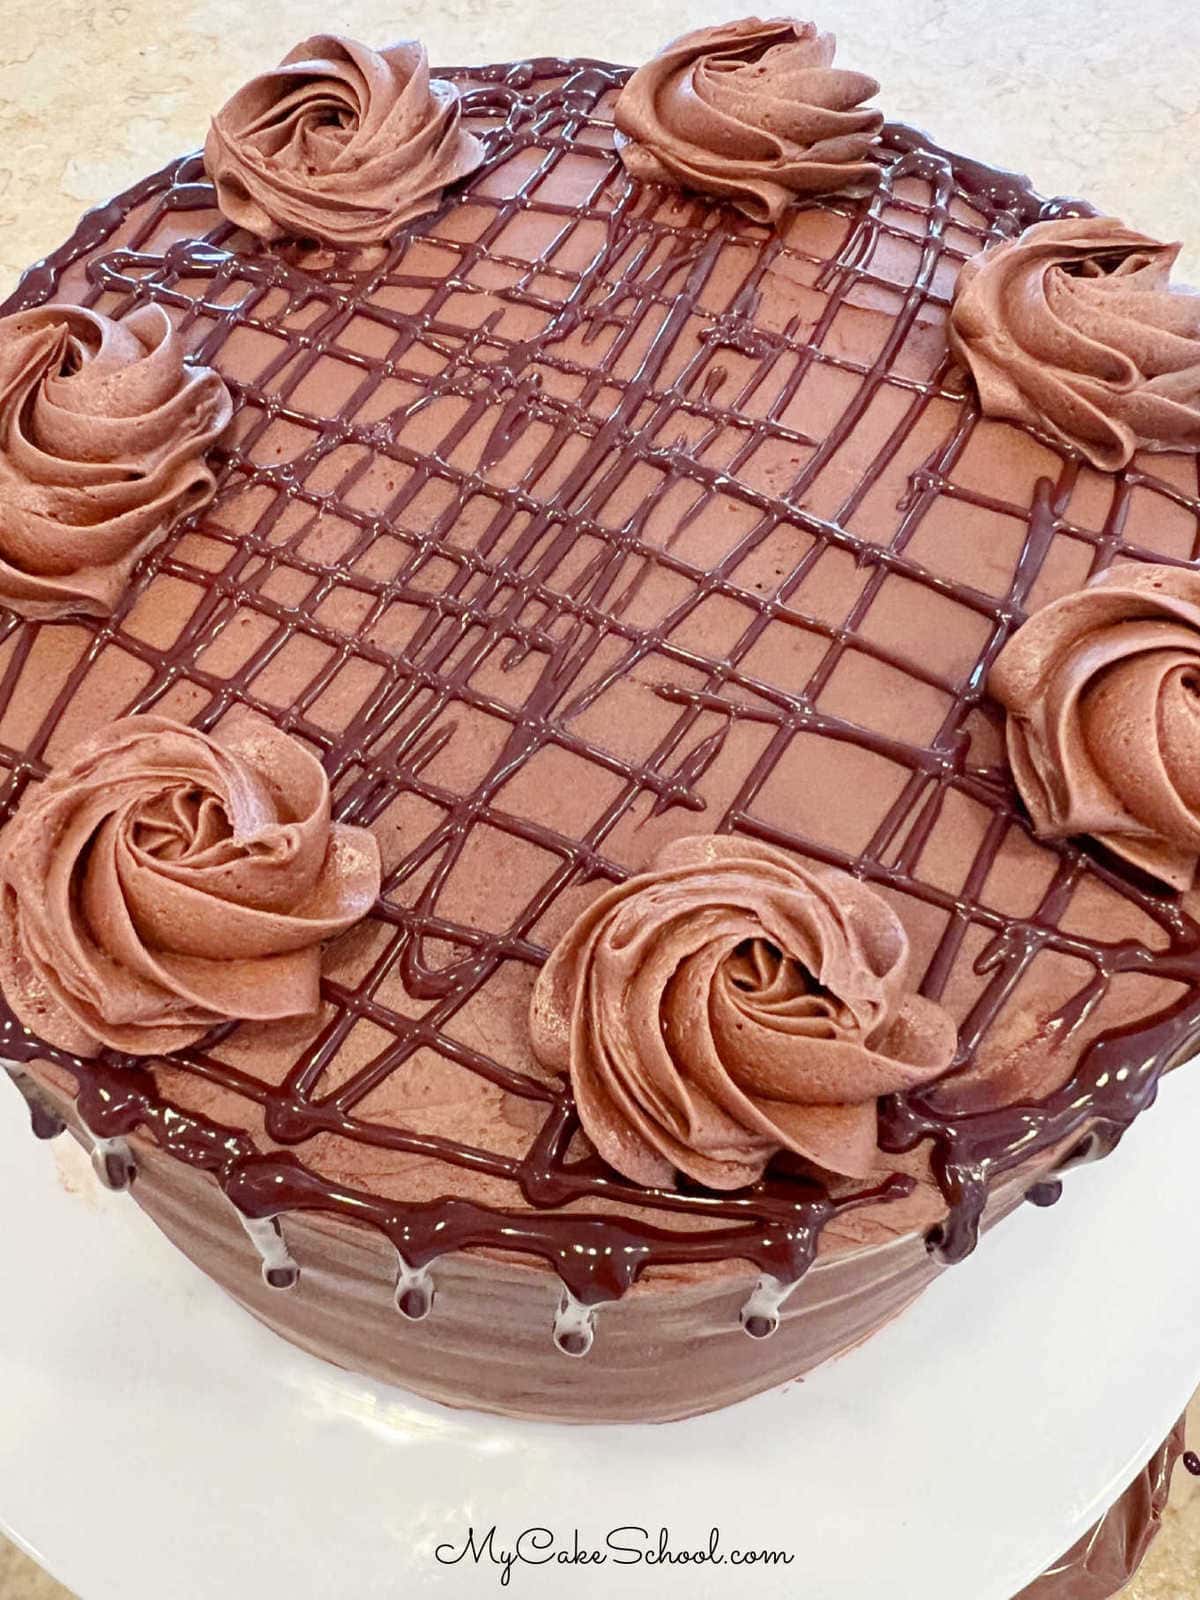
Decorating the Chocolate Truffle Cake
- Next, I spooned my reserved ganache into a disposable piping bag. If the ganache is too thick, you can microwave it for a few seconds at a time before loading it into the bag.
- If the ganache is too thin/loose, allow it to cool a bit more.You can do a test run of the drip on the inside of your bowl of ganache to see how far the drips will travel.

- After applying the ganache drip around the top edge of the cake, I added drizzles in a zigzag pattern over the top.
- I finished things off with large rosettes of buttercream around the top edge of the cake piped from a 2D piping tip.
(For more details on star tip piping techniques like these rosettes, hop over to our free Star Tip Basics Video Tutorial!)
Final Touches
As an optional step, we upped the wow factor a bit by placing (store-bought) chocolate truffles on each rosette. I just love the look!
This decadent dessert is sure to become the favorite cake of the chocolate lovers in your life! Keep this recipe in mind when planning a birthday cake, Valentine's Day cake, anniversary cake, or any celebration that calls for something special!
Recipe FAQs
More Chocolate Cakes
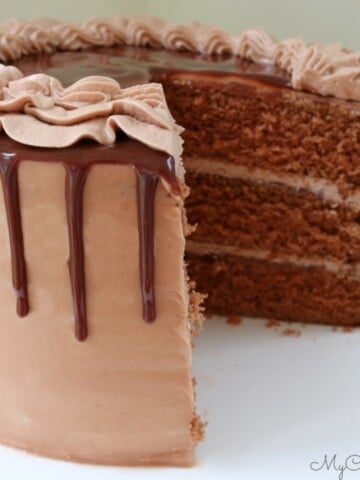
We love chocolate cakes, and have so many cake recipes to share with you. In addition to the white chocolate version of this cake (our White Chocolate Velvet Cake), we have so many other recipes to share!
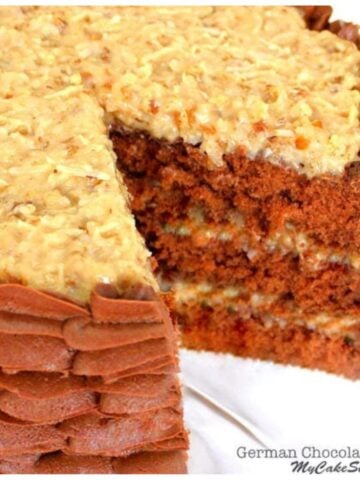
Some of our favorites are our Chocolate Bundt Cake, Black Forest Cake, Marble Cake, and German Chocolate Cake.
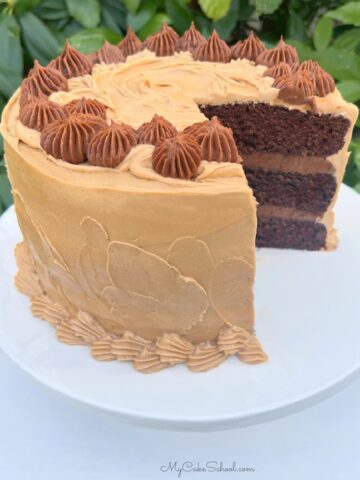
Here are just a few of our go-to recipes, but you can find our full collection of favorites here: The Best Chocolate Cake and Frosting Recipes!

Thanks so much for stopping by! We hope that you love this decadent Chocolate Truffle Cake. Don't miss our other cake recipes from scratch as well as our favorite cake mix recipes!
Have you made this? We would LOVE for you to leave a ⭐️ rating as well as a comment and photo below! We really appreciate your feedback!
Chocolate Truffle Cake
Ingredients
Chocolate Cake Layers
- 2 cups granulated sugar (400g)
- 2 ¾ cup all-purpose flour (322g)
- 1 cup unsweetened cocoa (lightly spoon into cup then sift) (82g)
- 2 teaspoons baking soda (10g)
- ½ teaspoon baking powder (2g)
- ½ teaspoon salt (2g)
- 2 sticks (226g) unsalted butter, softened (do not soften in microwave)
- ¼ cup vegetable oil (54g) We use Canola Oil
- 4 large eggs, room temperature (You can place the eggs in a bowl of warm water if you are in a hurry.)
- 1 cup milk (220g)
- 1 teaspoon vanilla extract (4g)
- 1 cup hot coffee, it can be instant or brewed (220g)
Truffle Filling
- 12 oz Semi-Sweet Chocolate We used Ghirardelli Mini Chocolate Chips
- 1 ½ cups 12 oz Whipping Cream
Chocolate Buttercream Frosting
- 3 sticks unsalted butter, softened (339g) unsalted butter, softened
- 8 cups powdered sugar icing sugar in UK (920g) more if needed.
- 1 cup unsweetened cocoa powder, sifted (82g) (measure then sift). Do not use Dutch processed cocoa.
- ¾ cup Milk plus 2 Tablespoons or more if needed to reach the spreading consistency you like (180g)
- 2 teaspoons vanilla extract (6g)
- 1 teaspoon salt (6g)
Decoration
- *Optional: We used store bought truffles around the top edge of the cake.
Instructions
For the Chocolate Cake
- Preheat oven to 350 degrees
- Grease and flour THREE 8 inch cake pans
- In a mixing bowl, add the dry ingredients: sugar, flour, cocoa, baking soda, baking powder, and salt. Whisk for 1 minute to blend.
- Add softened butter a few pieces at a time while the mixer is on low speed. Mix until the dry ingredients look like coarse sand and the dry ingredients are moistened. Scrape the bottom and sides of the bowl.
- In a separate bowl whisk the eggs, milk , oil and vanilla until blended.
- Method is important when using the Reverse Creaming Method. With the mixer on low speed, SLOWLY add approximately ½ of the egg mixture to the dry ingredients. Increase the speed to medium and mix for 1 ½ minutes at medium speed. Don't mix above medium speed. Scrape the bottom and sides of bowl. Add the remaining egg mixture in 2 pourings, beating for 20 seconds after each pour. Scrape the sides and bottom of bowl.
- Slowly add the cup of hot coffee and mix another 30 seconds until blended. The batter will be very runny. Don't worry!
- Pour into 3 prepared 8" pans and bake at 350 degrees for 25 to 30 minutes or until the center of the cake springs back to the touch and a toothpick comes out clean.
- Cool the cakes 10 minutes on a rack and then turn out of the pans.
- *Yields approx 9 cups of batter.
For the Chocolate Truffle Filling
- Place chocolate in a microwave safe bowl and combine with cream. Heat for 30 seconds and stir. Mix for 15 more seconds and stir. Repeat as needed in small increments until the chocolate is almost entirely melted. Gently stirring should melt the remaining chocolate. Be careful not to overheat.
- The chocolate will thicken as it cools.
- Reserve ½ cup of the ganache and set it to the side if you plan to do a drip like we did. You will not whip this.
- Refrigerate the remaining ganache for an hour or until the mixture has begun to thicken.
- Using a handheld mixer, whip the chilled ganache on medium speed until stiff peaks form (about 20-30 seconds). If the chocolate mixture is too fluid after beating, chill it a bit longer and repeat. Be careful not to over mix.
Chocolate Buttercream Frosting
- Add butter to your mixing bowl and mix on low to medium speed until smooth. Add vanilla and blend into the butter. As you begin adding the powdered sugar, salt, and cocoa powder, add about ¾ of the milk. Begin mixing at low speed so you won't have a cloud of powdered sugar.
- Continue to mix adding remaining milk as needed. It may take 5 to 6 minutes to reach the smoothness and consistency you like. Don't mix above medium speed. It will take a bit longer if using a hand mixer. As you mix, the frosting will become very smooth. You can add additional milk one Tablespoon at a time if the frosting is too thick or additional powdered sugar if the frosting is too soft.
- This is my favorite chocolate frosting! Recipe can easily be doubled or halved. This recipe makes approximately 7 cups of frosting.
Cake Assembly
- Place the first chocolate cake layer on cake base or pedestal. Pipe a dam of buttercream around the edge of the cake using a piping bag with the tip snipped away (or a piping tip 10 or 12). Spread the truffle filling inside of it. *I like to use a dam when working with softer fillings.
- Place the next layer on top of the filling and repeat. Top with the third layer of chocolate cake.
- Apply a thin crumb coat of chocolate buttercream and chill to firm up the cake. I chill my cake in the freezer for about 10-15 minutes. Apply the final coat of frosting. Chill the cake again before applying the ganache drip.
For the Drip
- The reserved ganache for the drip should be fluid but not super runny. If it is too loose, chill a bit longer in the refrigerator. If it has firmed up, warm it in the microwave for a few seconds at a time. Place the ½ cup of reserved ganache into a piping bag with a small bit of the tip snipped away.
- You can test the consistency of the drip by applying it around the top edge inside of your bowl. When it's time to apply to the cake, apply the drip around the top edge all the way around. Then, I applied the drizzle in a back and forth motion on top.
- I applied chocolate rosettes around the top of the cake using a 2D large star piping tip and added a chocolate truffle to each (Ours are Lindt brand but use whatever you like)!
Looks and sounds delish as always! :-)
For the cake recipe, it says to use 1 cup of hot coffee. Can I use 1 cup of hot water instead of 1 cup of hot coffee for the cake recipe?
Also, I am going to use the truffle filling as a filling for cupcakes.
If you use truffle filling for the filling of this cake recipe for making cupcakes, how many times do you need to multiply the truffle filling recipe that you have on this page?
Please let me know.
Hi Senthil, yes you can substitute the coffee with hot water.
For the truffle filling, this should give you about two cups. Since each cupcake will have a small amount of filling, I think you should be fine just as it is. However, if you feel you need more, you can increase as needed using equal amounts by weight (1:1 ratio).
It's my understanding from internet inquiry and my personal measurements with a standard measuring cup and digital scale that there are 240 grams of milk or hot coffee in 1 cup not the 220 grams shown in the recipe.