Witch Shoes Cake
Halloween is almost here and we have one final cake tutorial to share for a cute and easy Witch Shoes Cake!

This cute and brightly colored Halloween cake features textured buttercream, striped witchy legs and her colorful polka dotted fondant witch shoes! (The bows are my favorite!)
We finished things off with a ruffled orange skirt for an added dose of cuteness.
Table of Contents
How to Make an Easy Witch Shoes Cake
*You can find the full, printable detailed instructions below in the card below, but here is a quick rundown!
- Use whatever cake size you like! For this project, I used a 6 inch double barrel (tall!) cake which stood about 7 inches tall. My cake was four cake layers with a cake cardboard halfway up and four bubble tea straw supports beneath.
- If you decide to use a different size of cake, you can simply adjust the size of your witch shoes and legs-- this would be great on top of a sheet cake also!
- Roll out your black tinted (or pre-colored) fondant-- if you have any tylose powder on hand, you can knead a little into the fondant for faster, firmer drying but that is optional.
- Cut out your shapes using our templates (also linked in the card below).
- Allow the shoes, bows, and legs to dry until they've firmed up a bit- several hours or overnight is fine as the shoes are mainly supported from behind by the cake.
- Add decorations to the shoes and paint stripes onto the witch legs
- Add a buttercream ruffle using a large petal tip (Wilton 125 is a good option.)

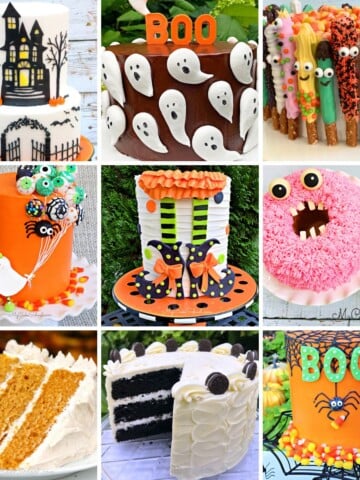
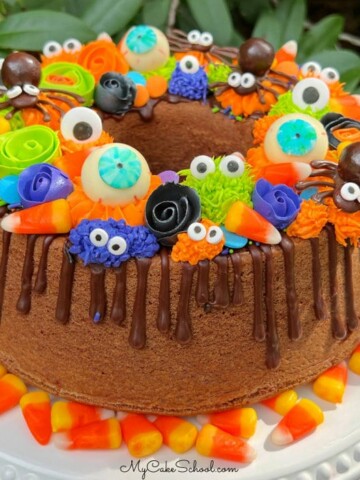
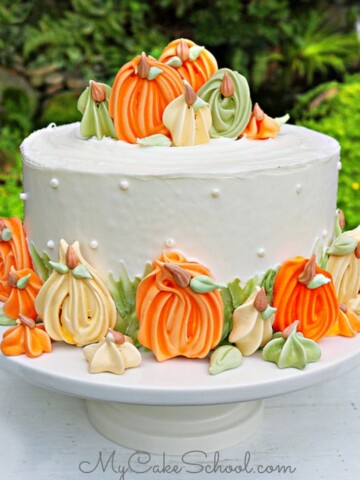
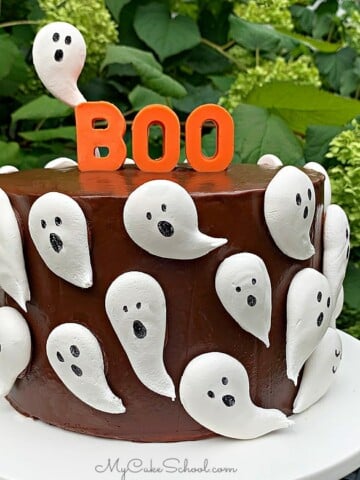
More Halloween Cakes
We've created lots of Halloween tutorials over the years, and this is one of our favorites!
If you'd like to see our full roundup of free Halloween cake tutorials, make sure to scroll through our FAVORITE Halloween Cake Tutorials and Ideas!
If you're looking for more witchy cakes, don't miss our Clumsy Witch Cake Tutorial, Witch Hats Cake, and Party Witch Cake tutorials!
Cake Recipes
You can use any cake recipe for this sweet Witch Shoes cake! Some of our favorites are Orange Cake, Lemon Cake from Scratch, Chocolate Cake from Scratch, and Almond Cake. We also have a great Black Velvet Cake!
Make sure to check out our full collection of Cake Recipes as well as Cake Decorating Tutorials. We have so many to share with you for all sorts of special occasions.
Enjoy the Video!
We hope that you enjoy this Witch Shoes cake! We had so much fun making it.
Have you made this? We would LOVE for you to leave a ⭐️ rating as well as a comment and photo below! We really appreciate your feedback!
So cute and fun! I Love It! :-)
This cake is so cute, I just love the boots!! You always do the cutest Halloween cakes! :-)
Cute cake! I am looking for your Halloween cake from a while back that was orange with a yellow circle and black witch, BOO, and black bats on top all made from fondant. I made it once and can't find that tutorial anymore. I think it had the templates and I need the witch template. Can you tell me if its still in the school and how to find it? Thanks so much!! Love that cake!
Hi Gloria- Here is a link for you!
https://www.mycakeschool.com/witch-silhouette-halloween/
I just came across your site by accident. At first I was a bit skeptical because there are so many online cake classes that I thought "This is just another online class that leaves you hanging." However, I must admit I was wrong. I had to watch one of your FREE videos before becoming a believer. You are very detailed and thorough - definitely a teacher. This is amazing.
Thank you so much Millie! I appreciate your feedback ;0)
I’m a new, self- taught cake decorator. Your tutorials are so helpful and encouraging. I appreciate that you get right to the point, without a lot fluff. Thanks so much!
Thanks so much, Dee Dee! I'm glad that you found us! ;0)