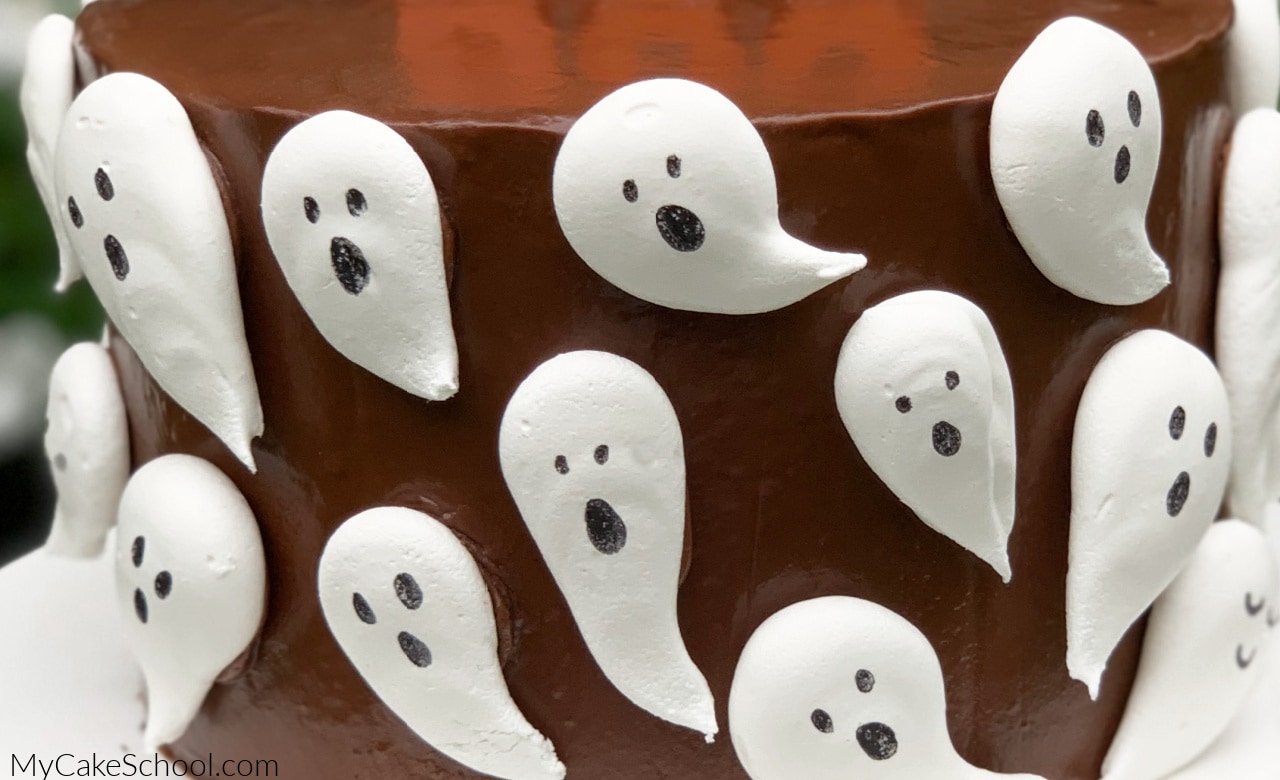
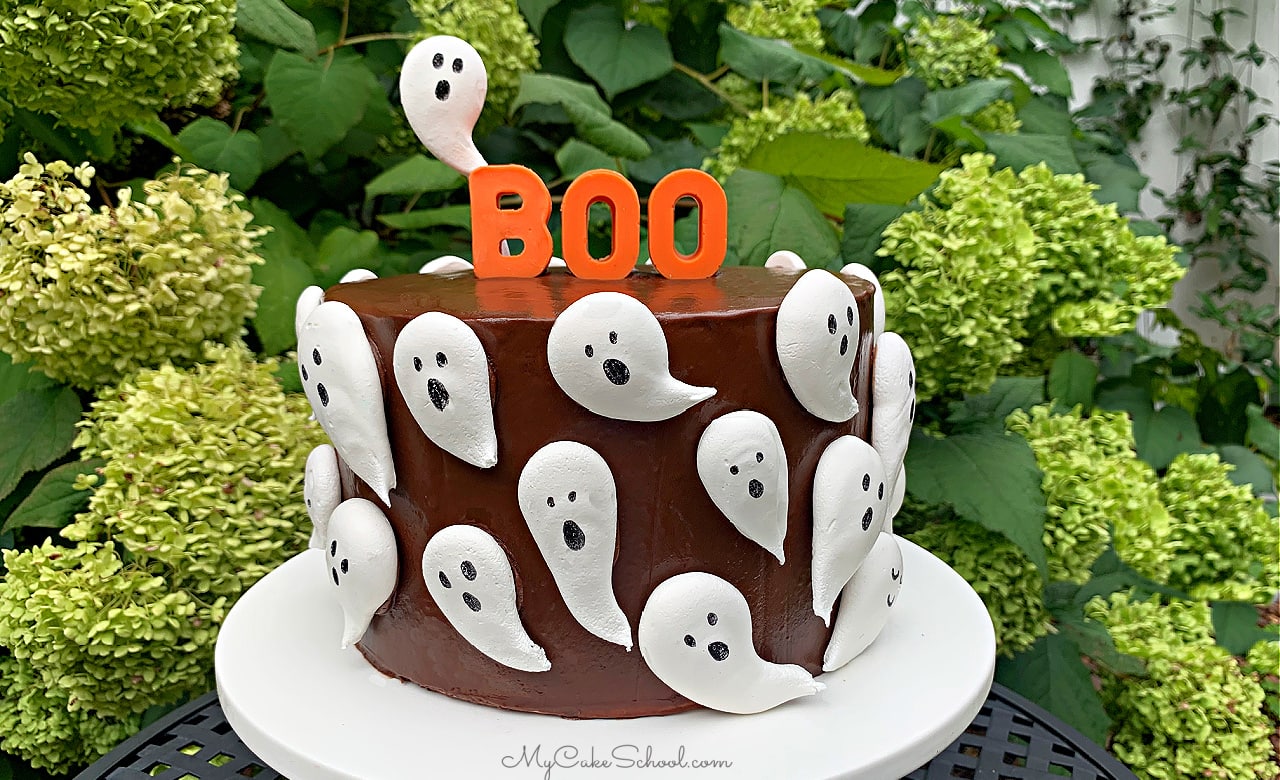
Ghost Meringues Cake
Celebrate Halloween this year with this CUTE and simple Ghost Meringues Cake!
We just love to make meringues for cake decorating- not only because they are delicious and easy to make, but also for their fun, puffed appearance.

In today's short video tutorial, I'll show you how to make meringues, as well as how to create the cute meringue ghosts that we use to decorate the cake!
We loved making this Halloween cake, and we hope that you'll love it too!
Table of Contents
How to Make Meringues
This recipe for meringues is our favorite as it is so simple to make.They are light and crisp on the outside, and soft and slightly chewy in the center.
*You can find our full, printable recipe below, but here is a quick rundown:
- We started with egg whites which we whipped using our electric mixer and whisk attachment until foamy soft peaks formed.
- Next, we slowly added our super fine sugar and clear vanilla, followed by powdered sugar and continued to beat until stiff peaks had formed.
- Then, we piped our meringues onto a parchment lined cookie sheet and baked at 175 degrees F for about 1 hour and 45 minutes-- start checking on them at this time, but you'll know that they are ready when they are dry to the touch and can easily be moved on the parchment.
- We then turned off the oven, leaving the meringues inside for another hour as they continued to cool and dry.
- Once the meringues were completely cool and dry, I drew on their little faces with a food coloring pen. (My pen was a Wilton Candy Decorating Pen but any Foodwriter pen should work fine!)
Making Meringues- Tips for Success
This recipe is very easy, but here are a few important tips to keep in mind!
- Any trace of fat/grease inside of your mixing bowl or on your whisk attachment will prevent the egg whites from whipping up. You also want to be very careful when separating your eggs that no egg yolk makes it into the egg white mixture. This can also interfere with the egg whites whipping up as it should.
- Meringues are more difficult to make in humid climates. Rainy days or even steam from running dishwashers can cause the meringue not to whip up properly. Also, meringues left out will absorb moisture in the air, making them slightly softer.
- Once your meringues are cool and dry, they can be stored in an airtight container.
- Bake your meringues on the lowest rack of your oven to prevent browning.
- We use clear vanilla in our meringues as real vanilla can give an off-white tint to the cookies.
- If meringues are baked at a heat that is too high, they are more likely to brown. My recipe calls for baking at 175 F. When I baked at 200, my meringues had more of an ivory or cream-colored tint.
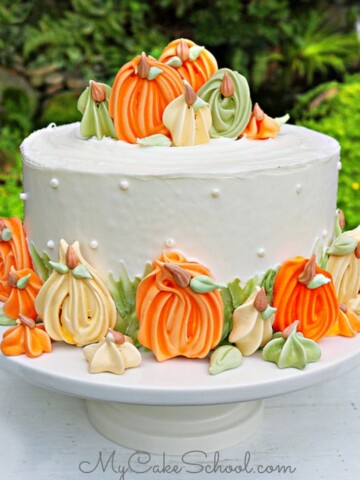
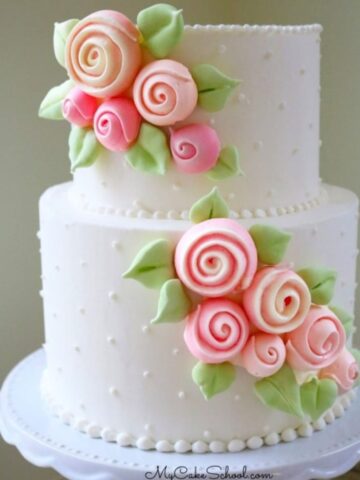
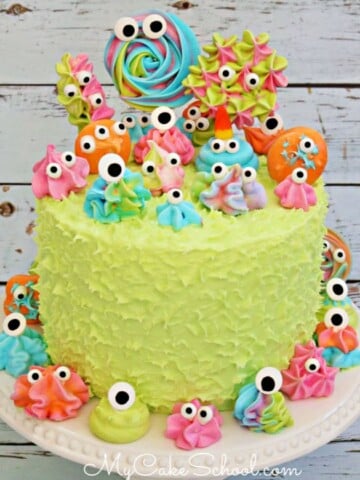
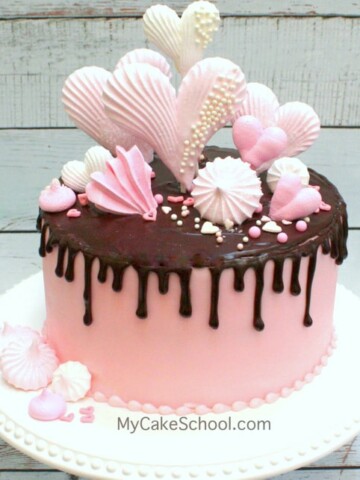
More Cakes with Meringues
Here are just a few more examples of cake designs that incorporate meringues! The options are endless.
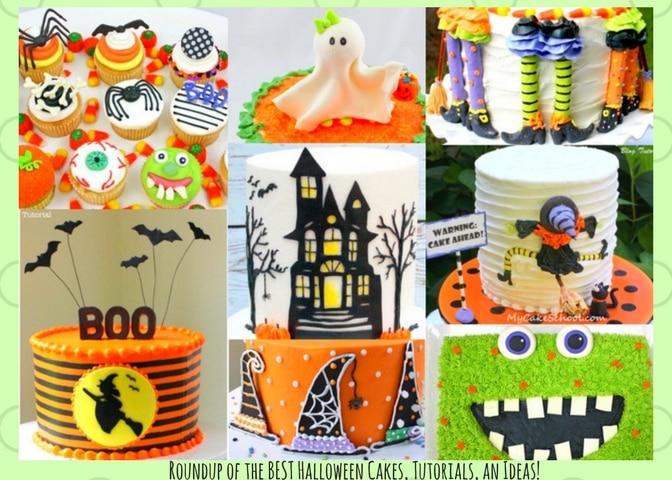
More Halloween Cake Ideas
We've created tons of Halloween Cake tutorials for our Free Tutorials Section as well as our Member Tutorial section over the years! Check out this roundup of our favorites! Roundup of Halloween Cake Ideas!
Some of our favorites are our Haunted House Cake and Clumsy Witch Cake!
Cake Recipes
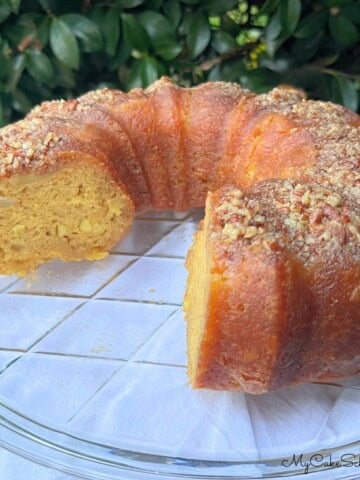
There are so many cake recipes that would be perfect for this cake design! Chocolate Cake from scratch, Marble Cake, Vanilla Velvet Cake, and more.
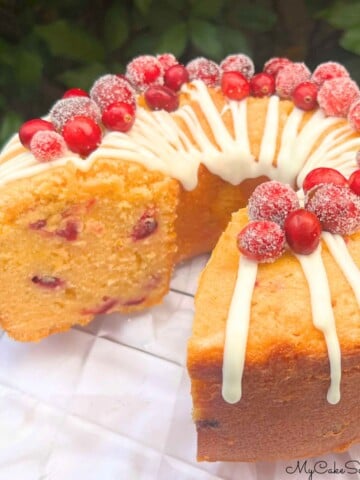
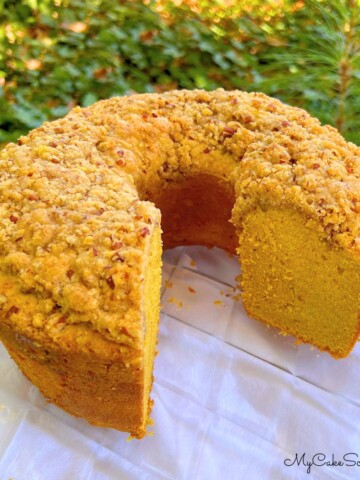
Or, if you are thinking more along the lines of pumpkin spice cakes and spice cakes, check out our Fall Cake Recipes! Here are a few more to keep in mind this fall:
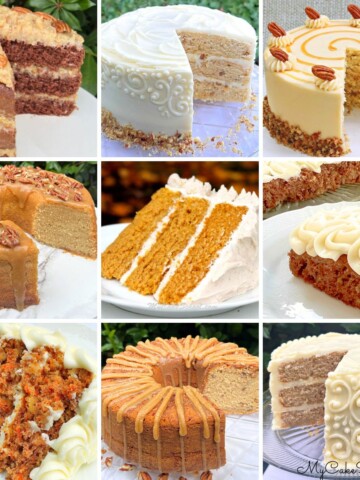
Also, don't miss our full collection of hundreds of cake decorating tutorials and cake recipes! We have so many cakes to share with you!
Enjoy the Video
Ghost Meringues Cake- A Free Cake Decorating Video
These cute Ghost Meringues are simple to make and are so cute as decorations on Halloween cakes!
Ingredients
Ingredients for the Meringues
- 4 egg whites
- Pinch of salt (we used popcorn salt because it is finer)
- ¾ (150g) cup super fine sugar - if you do not have this you can make your own by processing granulated sugar in a food processor or bullet blender- if doing this, measure/weight first.
- ½ teaspoon (2g) clear vanilla (real vanilla will change the color)
- 1 (115g) cup powdered sugar, sifted. (If using measuring cup, measure then sift)
Miscellaneous
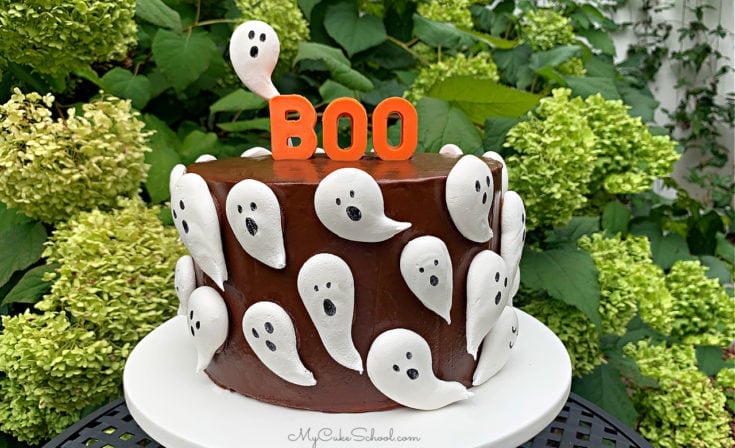
- Place on the ghosts on your cake of choice. We used an 8 inch cake tier frosted in chocolate buttercream.
- Black Food Coloring Pen for ghost expressions
- Disposable Piping Bags, Cake Board/Cake Pedestal
- *Use your frosting of choice. We used our Classic Chocolate Buttercream Recipe but substituted 1 cup Special Dark Cocoa for a darker shade (in place of the 1.5 cups unsweetened cocoa that the recipe calls for).
Instructions
Instructions for Meringues
You'll want to use the lowest rack position in your oven. Preheat to 175 degrees F
Line baking sheet with parchment paper.
It is very important that your mixing bowl & whisk attachment/beaters are completely clean & free of grease so that the egg whites whip up properly.
In your mixing bowl, beat the egg whites & salt at medium-high speed (using whisk attachment) until foamy and soft peaks form (about 50 seconds).
Gradually add the super fine sugar and vanilla while mixing at medium speed. Follow with the powdered sugar (reduce speed as needed to prevent a cloud of powdered sugar!). Return to medium high speed until stiff peaks form.
If you wish to tint your meringues, gently fold in your color (No need for our ghosts)
Pipe the desired shapes onto parchment-lined cookie sheet.
Bake for approximately 1 hour and 45 minutes (lower rack of the oven) or until meringues are dry and can easily be popped off of the parchment. Turn oven off but leave the pan in the oven for an additional hour to cool/dry.
Once they are completely cooled, store in an airtight container away from strong lighting or sunlight. Light could cause any colored meringues to fade.
Meringues can be kept at room temperature in an airtight container for 3 weeks, or longer in the freezer.
Decorating the Meringue Ghosts
After the meringues are cool and dry, decorate the ghosts with a black Foodwriter pen. (I used a Wilton Foodwriter for Candy but any food coloring pen will work!)
Attach the ghost meringues to the buttercream frosted cake by piping buttercream on the back of each ghost.
If you'd like to attach a lollipop stick to the back of a ghost to give the cake more height, you can do so by dipping a lollipop stick in melted candy melts and chill for a few minutes in the freezer.
My "BOO" topper was made from melted Orange candy melts poured into a silicone mold. (This is an alphabet mold that I've had for a few years- there are lots of options online for these types of molds). Another option would be to have additional ghosts on top!
Notes
***In our Meringue Roses video tutorial, we folded in the powdered sugar after stiff peaks formed. We have since changed the recipe slightly to add the powdered sugar soon after adding the superfine sugar. Then beat until stiff peaks form. Although both methods will give great results, the updated method helps reduce the chance of deflating the meringue. (You can see this updated version in our Monster Meringues free video tutorial).
Super Cute and Fun! :-)
This looks amazing, and I'm going to try it out this week for a party. Just curious how you secured the "BOO" letters on the cake. Thanks so much!
Hi Barbara, that's great, glad that you are making it! ;0)
The chocolate "Boo" letters are thick enough that they stood on their own. You can add a little fresh buttercream to help secure if you need to!
(If I were using thinner chocolate letters, I would either pipe anchors at the base of each letter if piping the candy coating letters freehand, or if using molds, you could attach anchors to the back of the chilled letters with melted candy coating & then chill for a few minutes before adding to the cake.)