Party Witch Silhouette Cake
In this cake decorating video tutorial, you will learn how to make a cute and simple Party Witch Cake, which features a witch silhouette in a colorful, ruffled skirt!
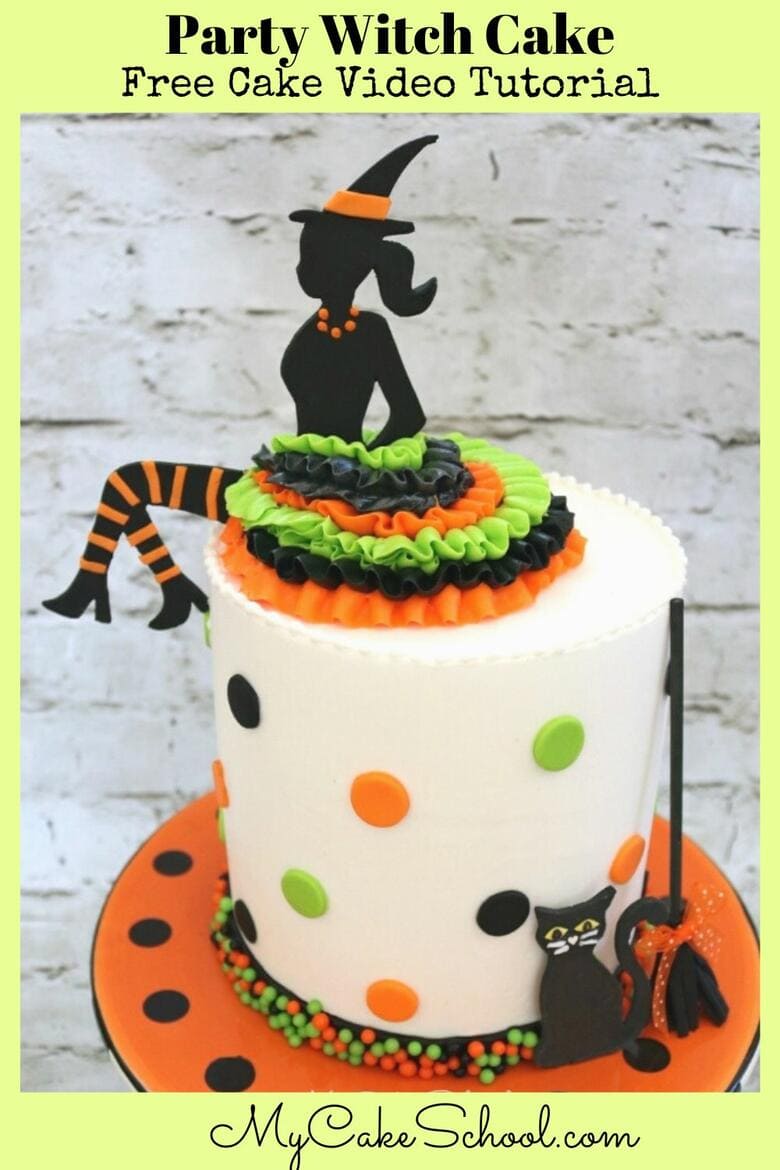
Table of Contents
Silhouette Cake Toppers
My witch cake topper was inspired by the popular silhouette cakes that feature women sitting on the side of cakes with buttercream party dresses.
We thought that it would be fun to do a Halloween version of this design, and I love how it came out!
This is fun witch cake is perfect for Halloween parties, and a fabulous alternative to the usual spooky or creepy designs.
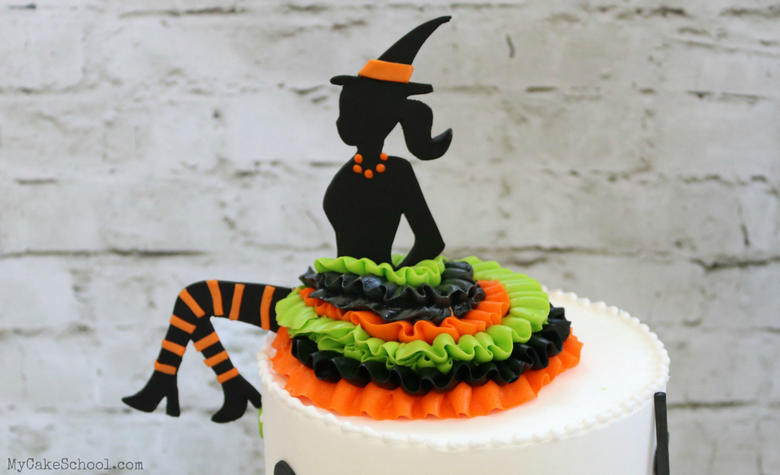
I love the added dimension that the ruffles give to this cake, and the dress design options are endless!
You could change up the colors, swap out the ruffles for rosettes, or make the skirt spill over the side of the cake for something more dramatic!
Materials for Party Witch Cake:
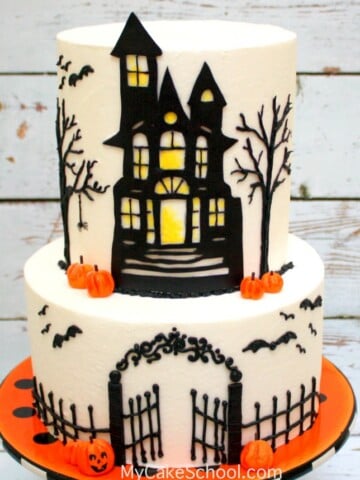
This is a four layer double barrel 6 inch cake, that stands about 6 inches tall. As usual, we used 4 layers for this double barrel design.
The first two filled layers have 4 bubble tea straws inserted into them, cut down to the height of the first "tier".
Then, we placed a cardboard cake circle cut down to size on top of the straws, followed by the next two filled cake layers. The cake is frosted all as one with our Fluffy Vanilla Buttercream Frosting. Of course, this design would work with any size of cake!
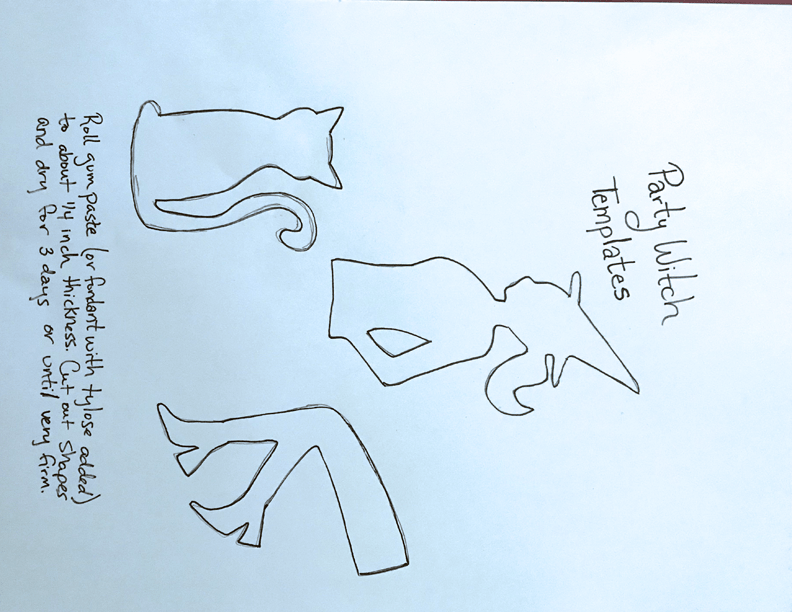
Templates for Witch & Cat Silhouettes
Crusting Vanilla Buttercream (Our Fluffy Vanilla Buttercream Recipe or Classic Vanilla Buttercream are good options). A non-crusting buttercream may soften your silhouettes.
Gum Paste (tinted black) -- or fondant with enough tylose to make it a gum paste consistency
Fondant (we used pre-colored black fondant, as well as white fondant tinted with orange and green coloring)
Halloween Sprinkles for border
Coloring gels: We used Americolor Super Black, Orange, Electric Green, Lemon Yellow
Black Food Coloring Pen (optional) for cat eyes
Piping Tips: Petal Tip 104 for ruffles, Tip 2 for pearls and bead border
Xacto or thin sharp knife for cutting out silhouettes
Lollipop sticks for anchors as well as for our broom handle
Vodka, everclear, or lemon extract- for combining with black coloring gel to create a paint for the broomstick
Piping Gel- Our adhesive of choice for the sprinkle border, etc.
Fondant ribbon cutter for border (optional)
Tylose Powder- Especially helpful if you are working with fondant and need to create a more gum-paste like consistency.
Parchment Paper (we lined our cookie sheet)
Miscellaneous: I use a bench scraper, turntable, and small offset spatula when frosting my cake, Disposable piping bag, small paintbrushes for applying piping gel, etc., two cardboard cake circles cut to the size of the cake...one is used midway up for this double barrel construction., Bubble Tea Straws or your supports of choice
Notes for Witch cake Topper:
I prefer to use gum paste for the silhouette as it will dry really nice and firm. However, you can also use pre-colored black fondant with a good amount of tylose kneaded into it.
You should be able to feel the consistency change as you knead it into the fondant. This will allow for it to dry nice and firm, similar to fondant.
Allow at least a few days to dry to be on the safe side. Also, cut out two sets of silhouettes just in case one decides to break! Eek!
Quick Alternative to Black Gum Paste Silhouette
In case your gum paste topper breaks (eek!) or doesn't dry in time, or if you are just in a time crunch to begin with, you can cut your silhouette from black card stock or firm black paper, etc. and attach a lollipop stick anchor to the back.
Or, for something even longer lasting, you can order a plastic silhouette cake topper on Amazon, and just add the buttercream skirt and fondant hat when decorating the cake.
As you saw in the video, the anchors for my silhouettes (lollipop sticks) were partially visible. I did this so that the gum paste would make very little to no contact with the buttercream. (The moisture from buttercream can sometimes cause gum paste to soften.)
If using a Non-Crusting Buttercream
If using a non-crusting buttercream frosting, try to avoid or minimize contact between the frosting and gum paste silhouettes.
This is because gum paste and fondant tend to absorb moisture from non-crusting frosting and soften.
Even if using a crusting frosting as we did, try to minimize contact by not pushing the silhouettes into the frosting. That is what the lollipop stick anchor is for.
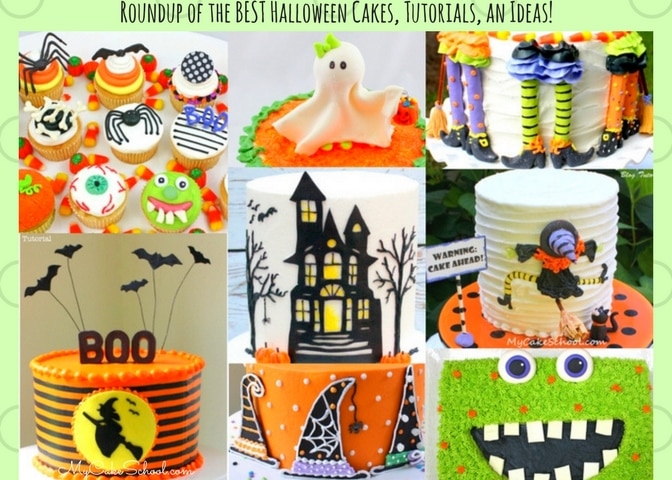
More Halloween Cake Tutorials
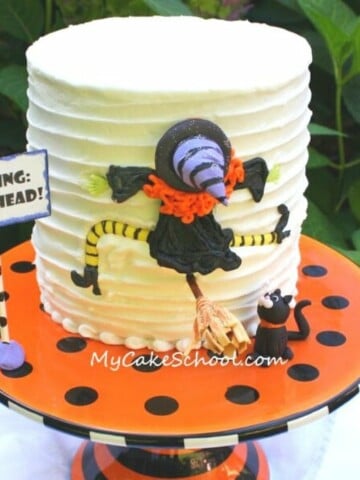
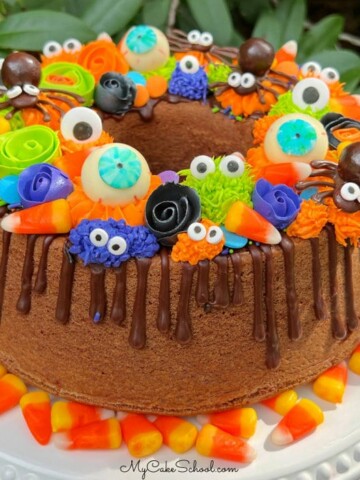
We've made so many fun Halloween Cake Tutorials over the years! I'm sharing a few of them below, but you can find our full collection of favorite free Halloween Cake tutorials here: The Best Halloween Cake Tutorials

Oh I love this design and the colours! :-) Looks awesome as always! Simple and fabulous!
That is just the cutest cake!! I am definitely gonna try to do that one for my next halloween party...thank you for sharing your talents!
Hi Caroline, Thank you for your post, the cake stand it several years old we bought it from Sur la Table. I am not sure if it is still available.
Hi Gracie, Thank you for your nice comment about the cake.