Buttercream Transfer Flower Cake
We're happy to share this cute Buttercream Transfer Cake video tutorial with you!
We love to create frozen buttercream transfers. This sweet and colorful cake would be perfect for all sorts of occasions and the technique can be applied to endless designs!
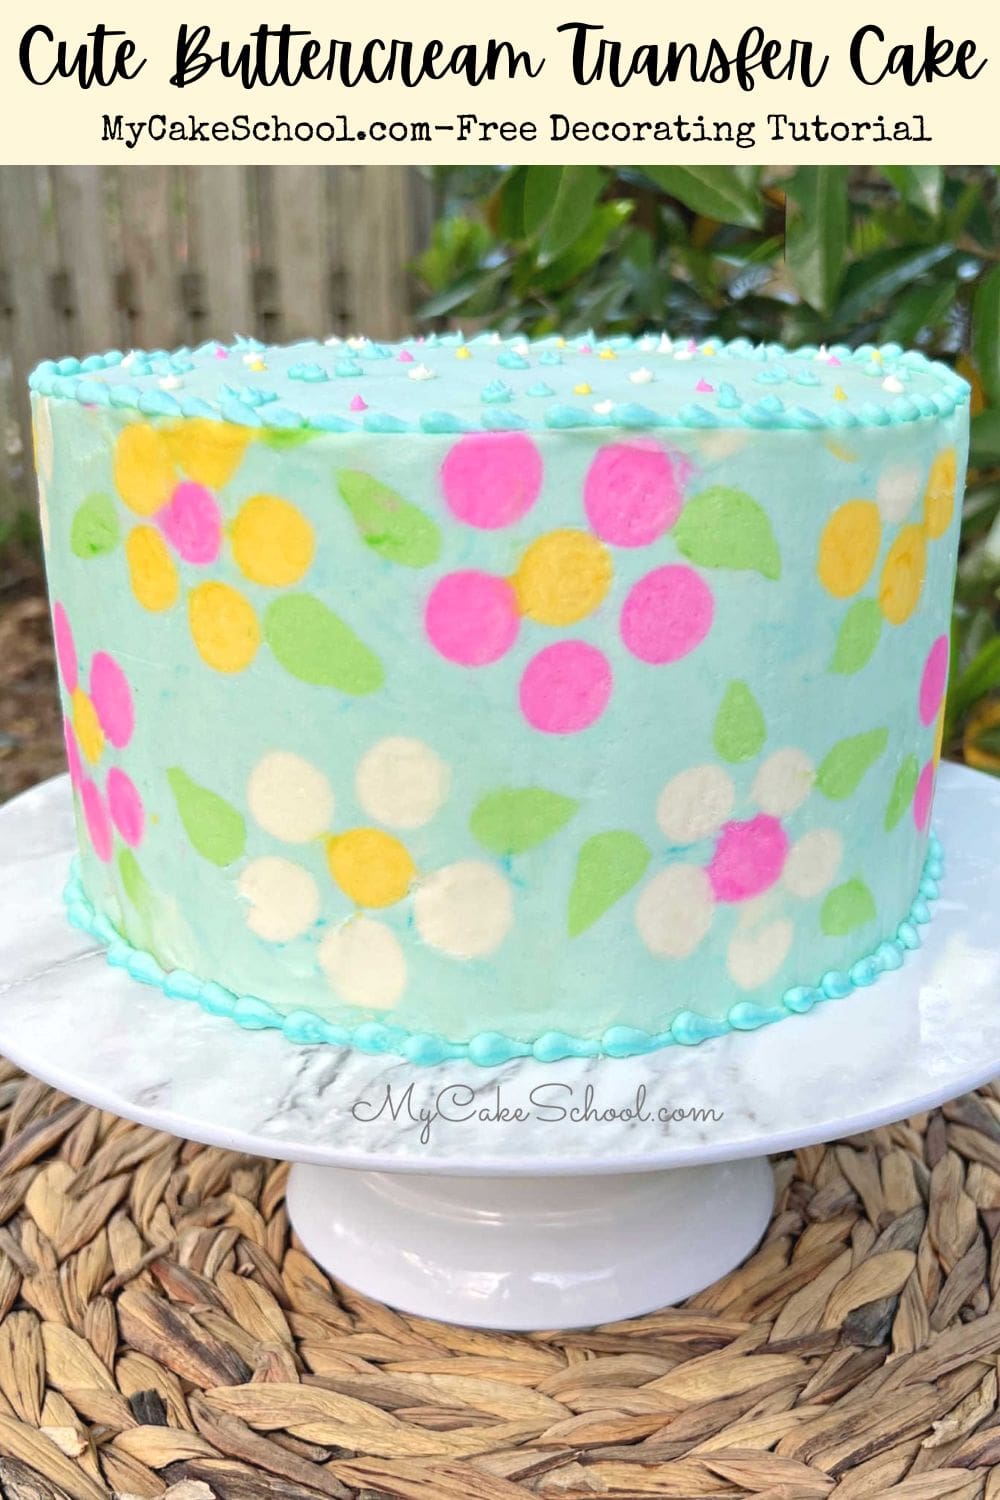
Table of Contents
What is a Frozen Buttercream Transfer?
Frozen buttercream transfers have been around for years. You simply trace or pipe your design onto acetate (or parchment), freeze until very firm, and then transfer to your cake.
Often, frozen buttercream transfers are created on wax or parchment paper, and then frozen and applied to the cake, with the smooth side of the design facing up.
This is how we made our cute Rudolph sheet cake which you can see here: Rudolph Buttercream Transfer.
Frozen buttercream transfers are often applied as decorative accents rather than the wrap that we are demonstrating today.
Buttercream Transfer Wrap
While we've made a buttercream wrap before in our Marbled Buttercream Cake Tutorial, it didn't involve tracing a design and transferring.
This is my first frozen buttercream transfer wrap, where a piped design was created on acetate, wrapped around the cake, and frozen. It is such a fun technique!
I love the simplicity and cheerfulness of this design. It would be great for birthdays, spring and summer celebrations, and more.
We hope that you enjoy the video! Don't miss our helpful tips and notes in the how-to card further down in this post.
Tips for Frozen Buttercream Transfers
Butter-Based Frostings vs. Shortening-Based
It is easiest to create a frozen buttercream transfer if you are working with a butter-based frosting, like our Classic Vanilla Buttercream. This is because butter based frostings will get much firmer much more quickly (15-20 minutes or so) when chilled.
This is extremely helpful for this technique, especially when it is time to remove the acetate wrap from the frosted, chilled cake.
A shortening based buttercream (like our high ratio frosting) takes much longer to firm up when chilled, and so we do not recommend it for this design.
Correcting Imperfections in the Frosting
If you have any imperfections in your buttercream transfer, go over the chilled design with a hot spatula (heated under hot water and dried).
You can spot correct as needed by gliding the hot spatula over the chilled buttercream to smooth.

Cake Recipes
Any cake recipe would be great for this cake design! Some of our favorites are our Lemon Cake, Orange Cake, Chocolate Cake, Strawberry Cake Recipe and Cherry Cake.
If you are looking for vanilla cakes, make sure to check out our Vanilla Buttermilk Cake or White Velvet Cake recipes! We have lots of flavorful cake recipes from scratch and great cake mix recipes as well.
Have you made this? We would LOVE for you to leave a ⭐️ rating as well as a comment and photo below! We really appreciate your feedback!
Buttercream Transfer- Flower Cake
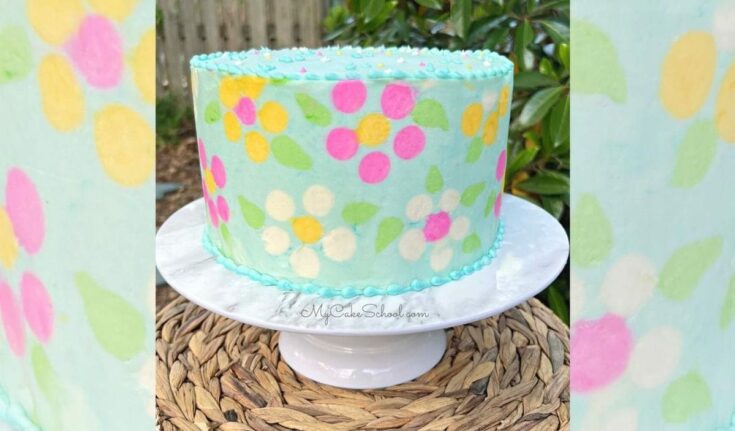
This cute buttercream transfer cake was so much fun to make! I love this cheery design but this technique could be applied to all sorts of designs and occasions.
Materials
- We decorated an 8 inch cake with our Classic Vanilla Buttercream Recipe. (I made a double batch) *See Notes
- Coloring Gels: Wilton Rose, Leaf Green, Golden Yellow, Sky Blue
- Disposable Piping Bags
- Acetate- Measure the circumference of your chilled, crumb coated cake to find the length that you need.
- Piping tips: I used no tips for the wrap, but a tip 3 for the borders.
- Cardboard Cake Circle- Optional. Mine was one a cake cardboard cut down to the size of the cake. This allowed me to decorate the cake on the turntable and then easily chill and move it to the pedestal.
- Foam core or cardboard/cake board, long cookie sheet, etc. for moving decorated acetate to freezer.
Instructions
Fill and crumb coat (thin coat) your cake layers with vanilla buttercream. We like to use a butter-based frosting as it firms up quickly when chilled. Chill the cake in the refrigerator while you move to the next step.
Tint your buttercream. I used maybe ½-3/4 cup for each of the colors I used most. Less for the green.
I tinted the remaining buttercream blue for the background and borders.
Pipe design onto acetate strip using buttercream-filled disposable piping bags with the tip snipped away. I slid foam core beneath to move it to the freezer. You could also use a sheet cake cardboard, long cookie sheet, etc. Chill for at least 30 minutes until very firm. Don't remove until your background buttercream is ready to be applied.
Using an offset spatula, apply the blue buttercream on top of the very chilled/firm flowers. Make an even layer of buttercream covering the acetate.
Remove the cake from the refrigerator. Carefully pick up the acetate wrap and apply the middle of the wrap to the cake first, then wrap each side around. (It's less awkward to handle this way).
Smooth around the sides with your hands, a bench scraper or fondant smoother to make sure that the frosting is really making contact with the cake. If your acetate is taller than your cake, it's easy to fix later. If you have wrinkles or bumps, smooth as best you can but it's also easy to patch and smooth later.
Chill the cake for at least 1 hour- I chilled for 2 hours. You want the buttercream to be very firm.
As you begin to peel off the acetate, there should only be a light film of frosting on the acetate- if there is more, or if the cake looks too textured (soft frosting), stop unwrapping. Secure the acetate back to the cake and return to the freezer.
After removing the acetate, patch any imperfections with soft buttercream and then go back over the firm cake with a bench scraper to smooth it. (I heat mine under very hot water before using).
Slice off any excess frosting that you have around the top edge of the cake with a sharp, hot knife. Add frosting to the top of the cake if you haven't already. Fill in any gaps as needed.
If your cake frosting begins to soften before you've finished smoothing it, just pop it in the freezer for a bit longer.
I removed the chilled cake from the turntable by running a sharp knife around the base of the cake and moved to the pedestal. I added a bead border on top and bottom of the cake with a round tip 3. I added more little dots of color on top of the cake with a tip 3.
Notes
Buttercream: It's best to use a butter-based frosting like our Classic Vanilla Buttercream for buttercream transfers because shortening based frostings take much longer to firm up when chilled.
Recommended Products
As an Amazon Associate and member of other affiliate programs, I earn from qualifying purchases.

Super cute! Fabulous as always! :-)
Thanks Teri! xo