How to Make Marbled Buttercream
Marbled buttercream is a popular cake decorating technique lately and I love how easy it is to create with a few simple steps!

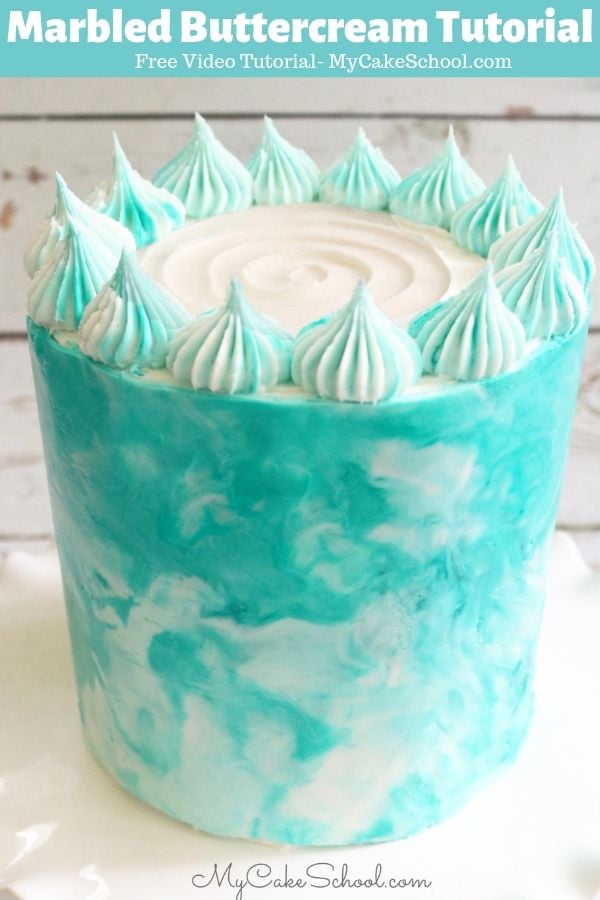
In this free cake video tutorial, I'm going to show you how to create a beautiful marbled buttercream effect using strips of acetate.
Table of Contents
Acetate vs. Parchment Paper for Marbled Buttercream
I've seen marbled buttercream created successfully with strips of parchment paper also, but I prefer acetate because it is more stiff and as an added bonus, it is clear so that you can see what your marbled buttercream is going to look like before actually attaching it to the cake!
If you've ever made a chocolate/candy coating collar for your cakes using acetate or parchment, this technique is almost identical, but easier thanks to the thicker consistency and more forgiving qualities of buttercream ;0)
How to Make Marbled Buttercream
- For best results, use a buttercream that contains butter (rather than all shortening) as butter-based frostings will become firm much more quickly when chilled. Our Classic Vanilla Buttercream (all butter) or our Fluffy Vanilla Buttercream (part shortening, part butter) are good examples.
- Apply a crumb coat of frosting to your cake.
- Cut your acetate to the appropriate length for wrapping around your cake, plus a little extra. If your cake tier is taller than one acetate strip, you can tape two together to the appropriate height (as I did in my video). If you don't have acetate, you can use parchment paper.
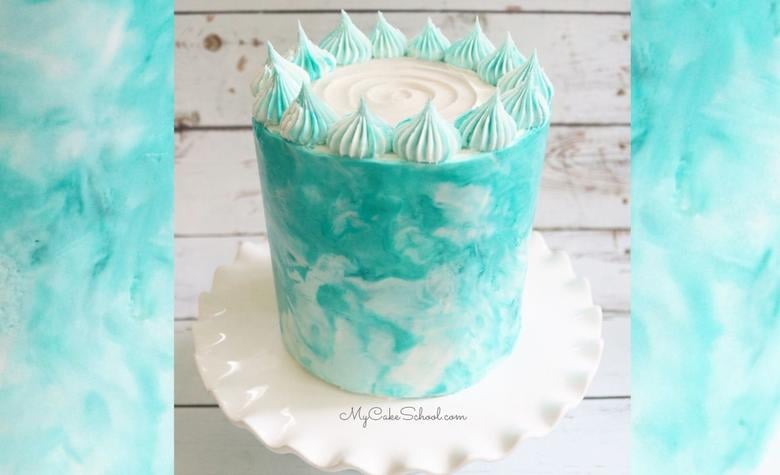
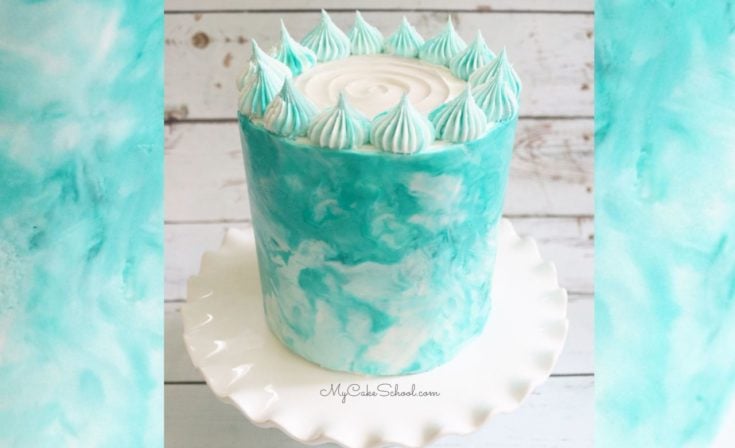
- Apply buttercream in varying shades to the acetate, letting the colors mix together. My cake was a mixture of white, light turquoise and medium turquoise with a thin dark swirl of color here and there.
Applying the Acetate to the Cake
- Important: Pick up the frosted acetate and starting with the middle section of the acetate, press against the tier (making sure the bottom of the acetate strip is lined up with the bottom of the cake.) Wrap one side, then the other.
- When making this video, we had to re-film applying the frosted strip to the cake because I started with one end of the acetate and wrapped around. It worked...but it was more difficult than it needed to be because the strip was so long. The other way (shown in the video) is much simpler.
- Gently smooth over the acetate to make sure the buttercream is fully attached to the cake, and pop in the freezer for about 25-30 minutes to firm up the frosting. Then, remove the acetate and smooth over any imperfections you may have with a hot spatula or bench scraper.

In the video, I'm using acetate strips - I purchased a package of pre-cut strips a couple of years ago.
Now, acetate strips are more commonly sold by the roll. Here is a link (affiliate) of acetate in a 4 inch width: Acetate for Marbled Buttercream, Chocolate Collars, and More.
Marble Buttercream Cake

Learn how to make a cake with a beautiful mable buttercream effect in this free cake decorating video tutorial!
Ingredients
- In this video, we decorated a four layer 6-inch double barrel cake with a cake cardboard halfway up, resting on four bubble tea straw supports. The tier is on a cake cardboard as well.
- Frosting/buttercream that contains butter (so that it becomes firm when chilled)
- Strips of acetate- I had to tape two together to get the height that I needed. (Buttercream was applied to the other side-not the taped side.)
- Coloring Gel: I used Americolor Turquoise in varying shades
- Miscellaneous: piping bags, spatula and/or bench scraper, turntable (optional), large star piping tip for border (ours is Ateco 869)
Instructions
- Bake, cool, assemble, and crumb coat your cake.
- Lay down parchment or waxed paper on your work surface.
- Adjust the length of your acetate as needed. Also, if your cake is a double barrel (tall), you may need to tape two together...just make sure to flip it over before applying the buttercream.
- Mix up your colors. In my bowl was white (untinted) frosting, light teal, and medium teal which I allowed to swirl together a little. I also skimmed through the different shades with my spatula so that I had color variation when I applied it to the acetate.
- Once the acetate is covered (leaving a little blank on each end for you to hold onto, apply it to the cake starting in the MIDDLE of the acetate strip and then wrap each end around the cake.
- Lightly smooth over with your hand or a bench scraper and freeze for about 25-30 minutes or until you can easily peel the acetate away.
- While the frosting is still firm, patch any little air pockets that you may have with additional frosting, and smooth over any imperfections in the frosting with a hot spatula or bench scraper.
- Trim away excess frosting around the top edge if needed. Decorate the top of the cake. (I swirled the frosting on top and did a french tip border with the remaining frosting).
Notes
It is best to use a buttercream that has a good amount of butter (rather than all shortening) in the recipe so that it will firm up more quickly when chilled.
Recommended Products
As an Amazon Associate and member of other affiliate programs, I earn from qualifying purchases.


@D Mcbride- I missed your cake! Great job, thanks for sharing!
@Joan- I've never done this as we have a large pack of it, but you probably could!
You have an awesome site. I have made many a birthday cake and cupcakes using your recipes. I have a question. Were some of the videos removed or are not yet loaded? Some do not open for me. For example, I cannot find the video for the Marbled Buttercream Cake.
Thanks,
Mike
Thanks so much for posting this tutorial! It really helped me to make such a cool design and I think the cake turned out great!
Yay! Your cake is beautiful, love those colors together. Thanks for sharing!