Pressed Flowers and Cake Decorating
Today, we will show you how to press flowers, and use them to decorate a beautiful cake. More and more, cake decorators are incorporating pressed flowers into cake design for a look that is uniquely elegant.

You can purchase a variety of beautiful pressed flowers online for your cake decorating, but today, we will show you how to make your own pressed flowers.
Table of Contents
Decorating Cakes with Pressed Flowers
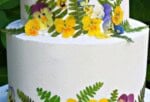
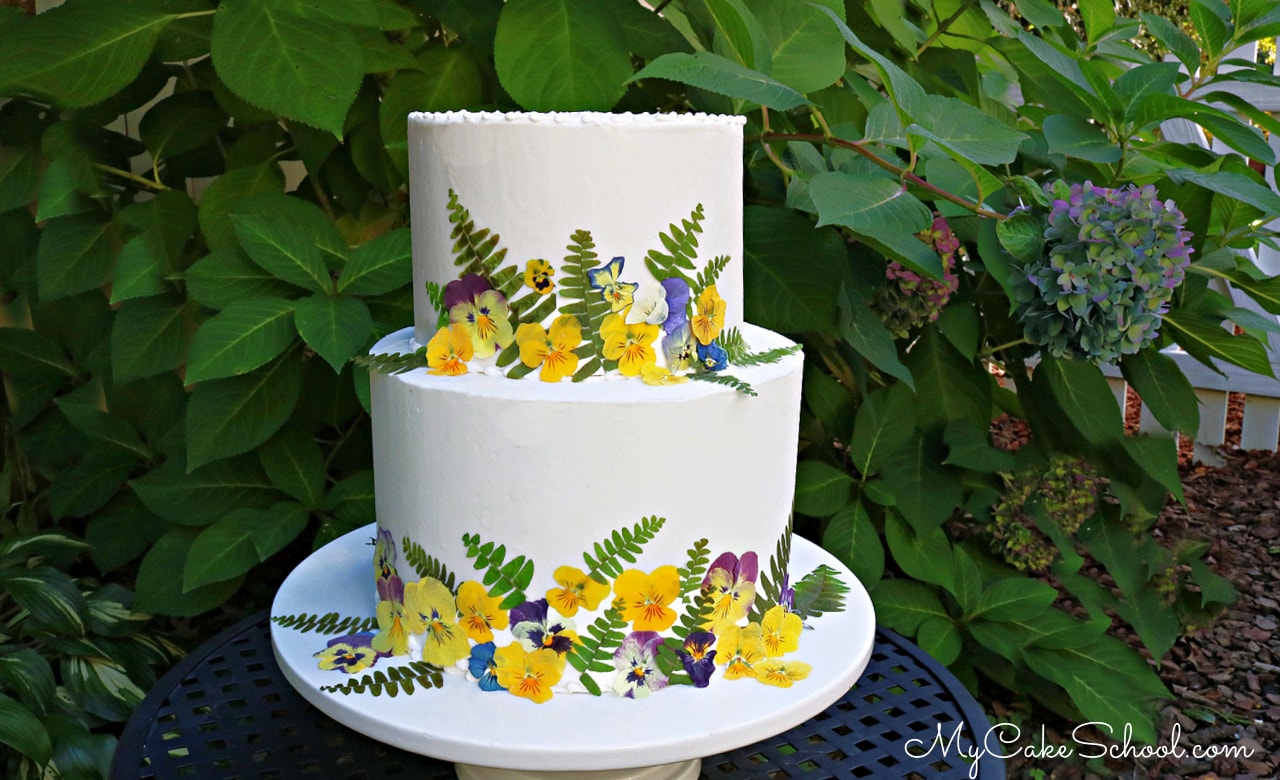
In today's short video tutorial, I will demonstrate how easily you can achieve this cake design with pressed and dried pansies and Boston ferns.
We love how the cake turned out, and this cake would make a perfect birthday cake design, bridal shower cake design, and more!
Make sure to Check Flower Toxicity
Pansies were a great choice for us as they are readily available this time of year.
However, you can use the same pressed flower technique on flowers of any kind. Make sure to choose flowers that are food safe!
(There are many sites online that list toxic flowers). Make sure to look up the specific flowers that you have in mind.
Materials & Notes for Pressed Flowers Cake
Cake Details/Size
We decorated a two tiered cake (6 inch tier and 8 inch tier) which was frosted with our Classic Vanilla Buttercream recipe. As usual with tiered cakes, each tier was resting on it's own cake cardboard cut to the size of the cake.
The top cake tier was supported from beneath by 4 bubble tea straws. (Visit our quick tutorial on tier stacking for more details!)
How to Press Flowers for Cake Decorating
We pressed our pansies and ferns between parchment paper, placed inside of a book, and then placed a heavy book on top. We left them for two weeks to dry. After two weeks, they were very dry and paper-like.
Please note that in some cases, and with thicker flowers or petals, dry times will vary. It may take closer to 3 weeks.
Applying Pressed Flowers to Cake
Flowers may be applied to the cake with dots of buttercream or piping gel.
However, if your cake has been chilled to firm up the buttercream, the slight condensation that forms on the frosting may also serve as an adhesive for your flowers. Or, if working with a freshly frosted cake that has not crusted, the flowers will adhere with no trouble.
Piping Tips: We used a small round piping tip 3 to pipe a bead border at the base of both tiers after stacking the cake. I actually piped a stacked bead border on the base of the bottom tier.
Cake pedestal or sturdy cake base/drum of choice
Miscellaneous: piping gel (or edible adhesive of choice), small paintbrush, heavy books for pressing, parchment paper
Can you Press Flowers with an Iron?
We experimented with using an iron to speed up the process of pressing flowers as is described in many articles online. However, using the book method was our preference.
If you are in a time crunch, you can iron your flowers between parchment paper on low heat for about 15 seconds. Allow to cool for 15 seconds, then repeat. You can find more information on this process HERE.
With the ironing method for pressed flowers, it took many rounds of ironing/cooling before the pansies became dry. My preference is the "heavy book" method, but ironing is a good option when you are in a time crunch.
Cake Recipes
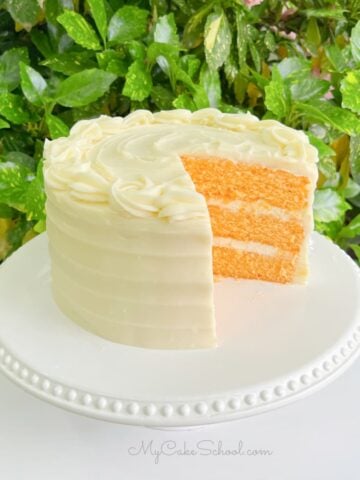
Any cake recipe would be great for this cake design. Some of our most popular are our Lemon Cake Recipe from Scratch, Vanilla Velvet Cake, White Velvet Cake, and Almond Cake.
However, there are so many more options! You can find them all in our Cake Recipes section (which includes cake recipes from scratch as well as cake mix recipes!)


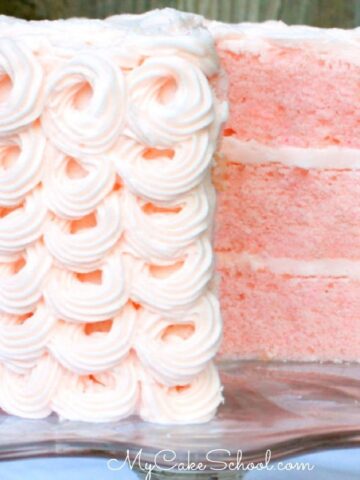
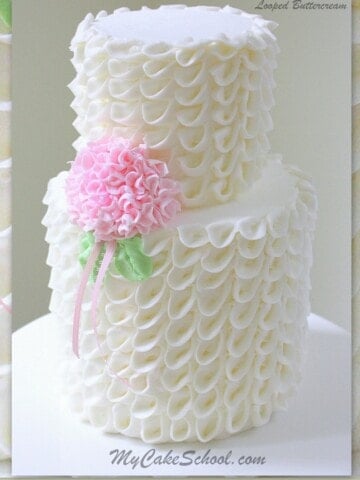
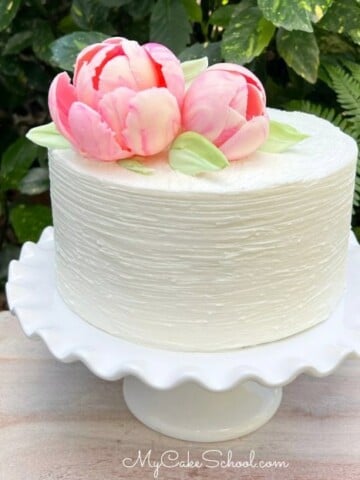
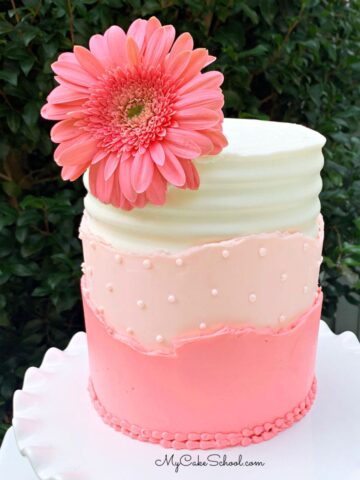
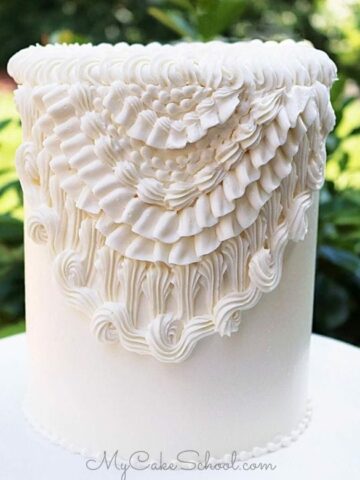
Elegant Cakes
In addition to today's Pressed Flowers Cake, we have many more elegant cake designs to share with you! We are sharing just a few below, but you can find many more in our section of Elegant Cakes.
Enjoy the Video!
If you decorate your cakes or cupcakes with pressed flowers, we would love for you to leave a comment and photo below!
Have you made this? We would LOVE for you to leave a ⭐️ rating as well as a comment and photo below! We really appreciate your feedback!
Beautiful! I love it! :-)