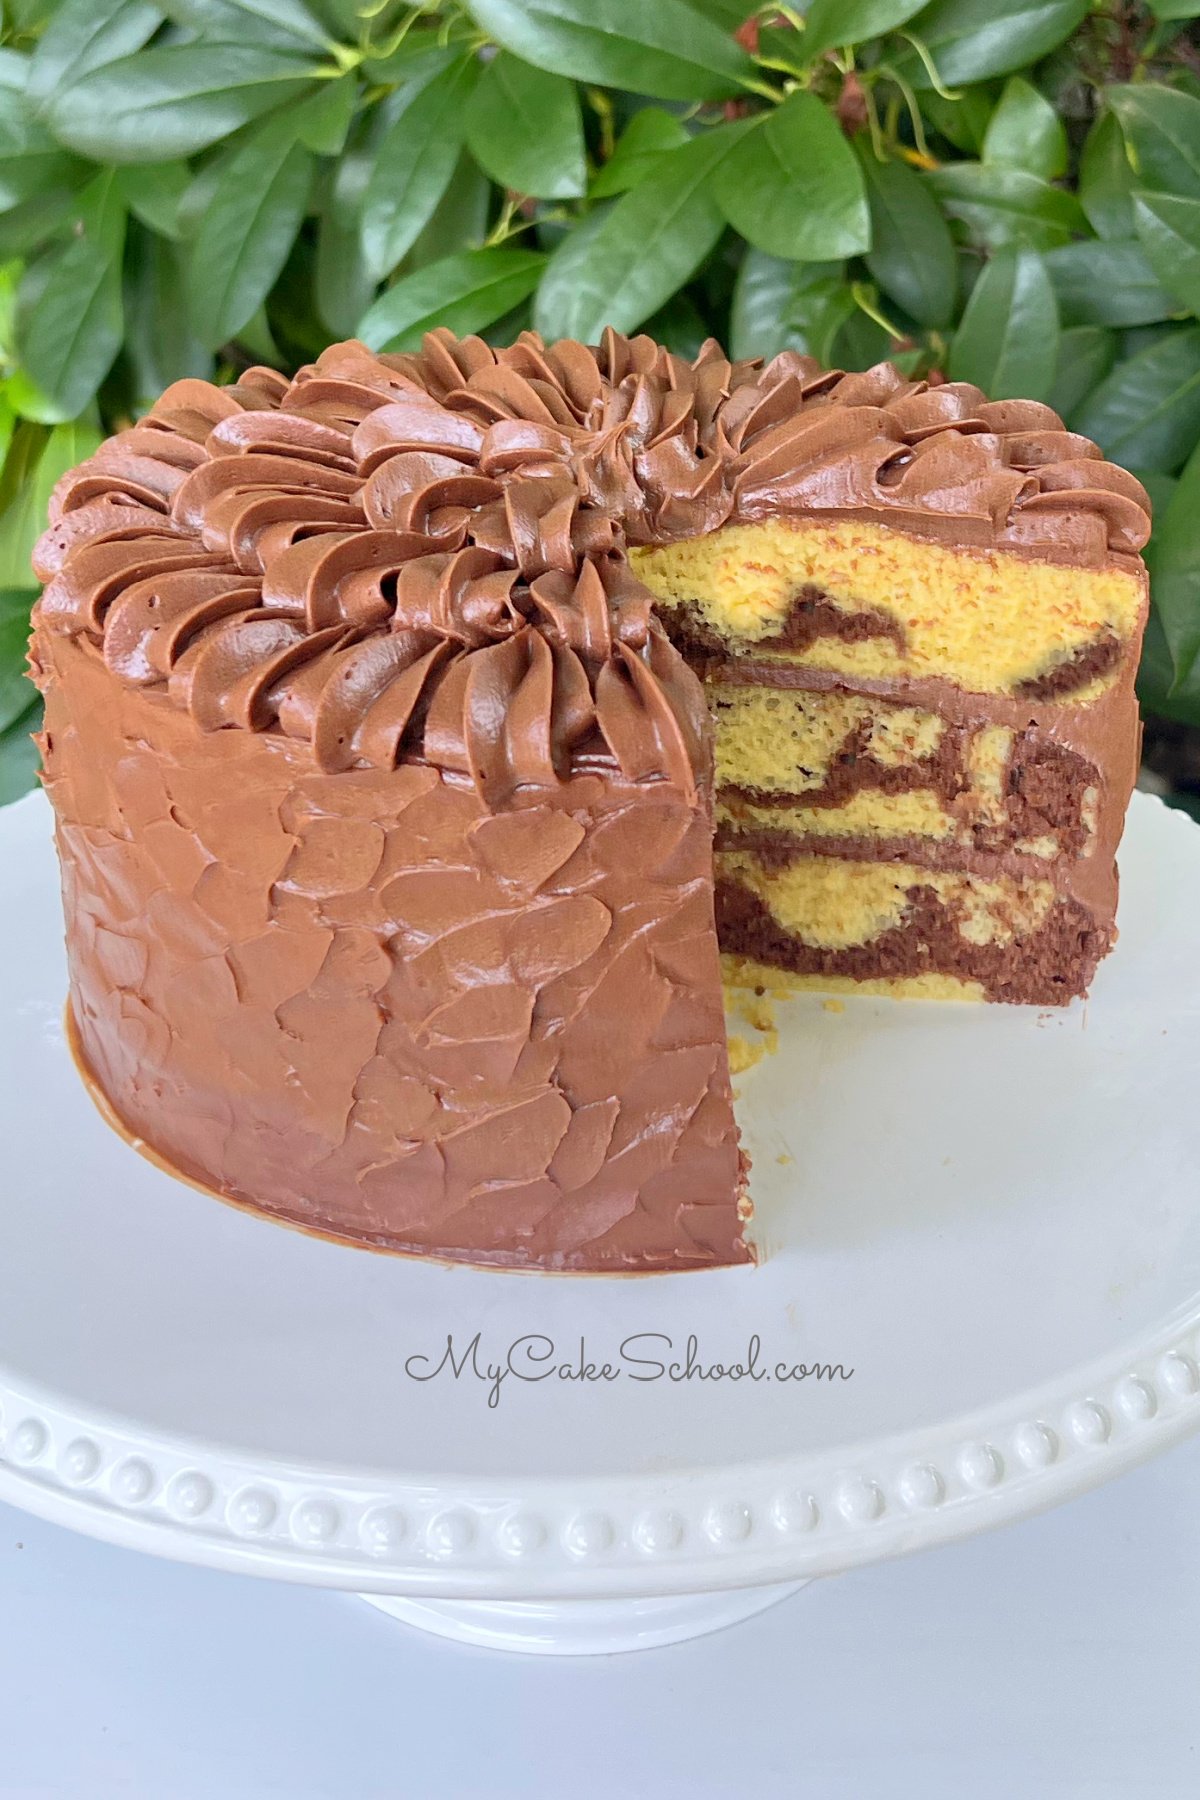
Marble Cake (from Cake Mix)
We are happy to share this incredibly moist marble cake mix recipe with you! This easy marble cake has become an instant favorite. The flavor and texture are amazing!
As with all of our cake mix recipes such as Apple Bundt Cake Strawberry Cake from Cake Mix, and our Easy Banana Cake, we've added several ingredients to give this box marble cake recipe a from-scratch texture and flavor. (We have a scratch Marble Cake on the site also!)
Most importantly, the addition of vanilla instant pudding and sour cream give this cake such an amazing texture.
The added sugar and flour also give us more batter to work with- enough for three 8 inch cake layers! If you are looking for easy and delicious birthday cake recipes, this is a great one!
(We've also used these ingredients to create a great chocolate doctored cake mix recipe as well- make sure to check out our Chocolate Mousse Cake!)
Table of Contents
How to Make a Marble Cake Mix Recipe
We didn't use a marble box cake mix- instead, we doctored a box of yellow cake mix for this delicious recipe!
You can find the full, printable cake recipe and ingredients further down in this post. Here is a quick look at our steps!
- Preheat the oven to 325 degrees F. Grease and Flour three 8 inch round pans. We also like to line the bottom of our pans with parchment paper.
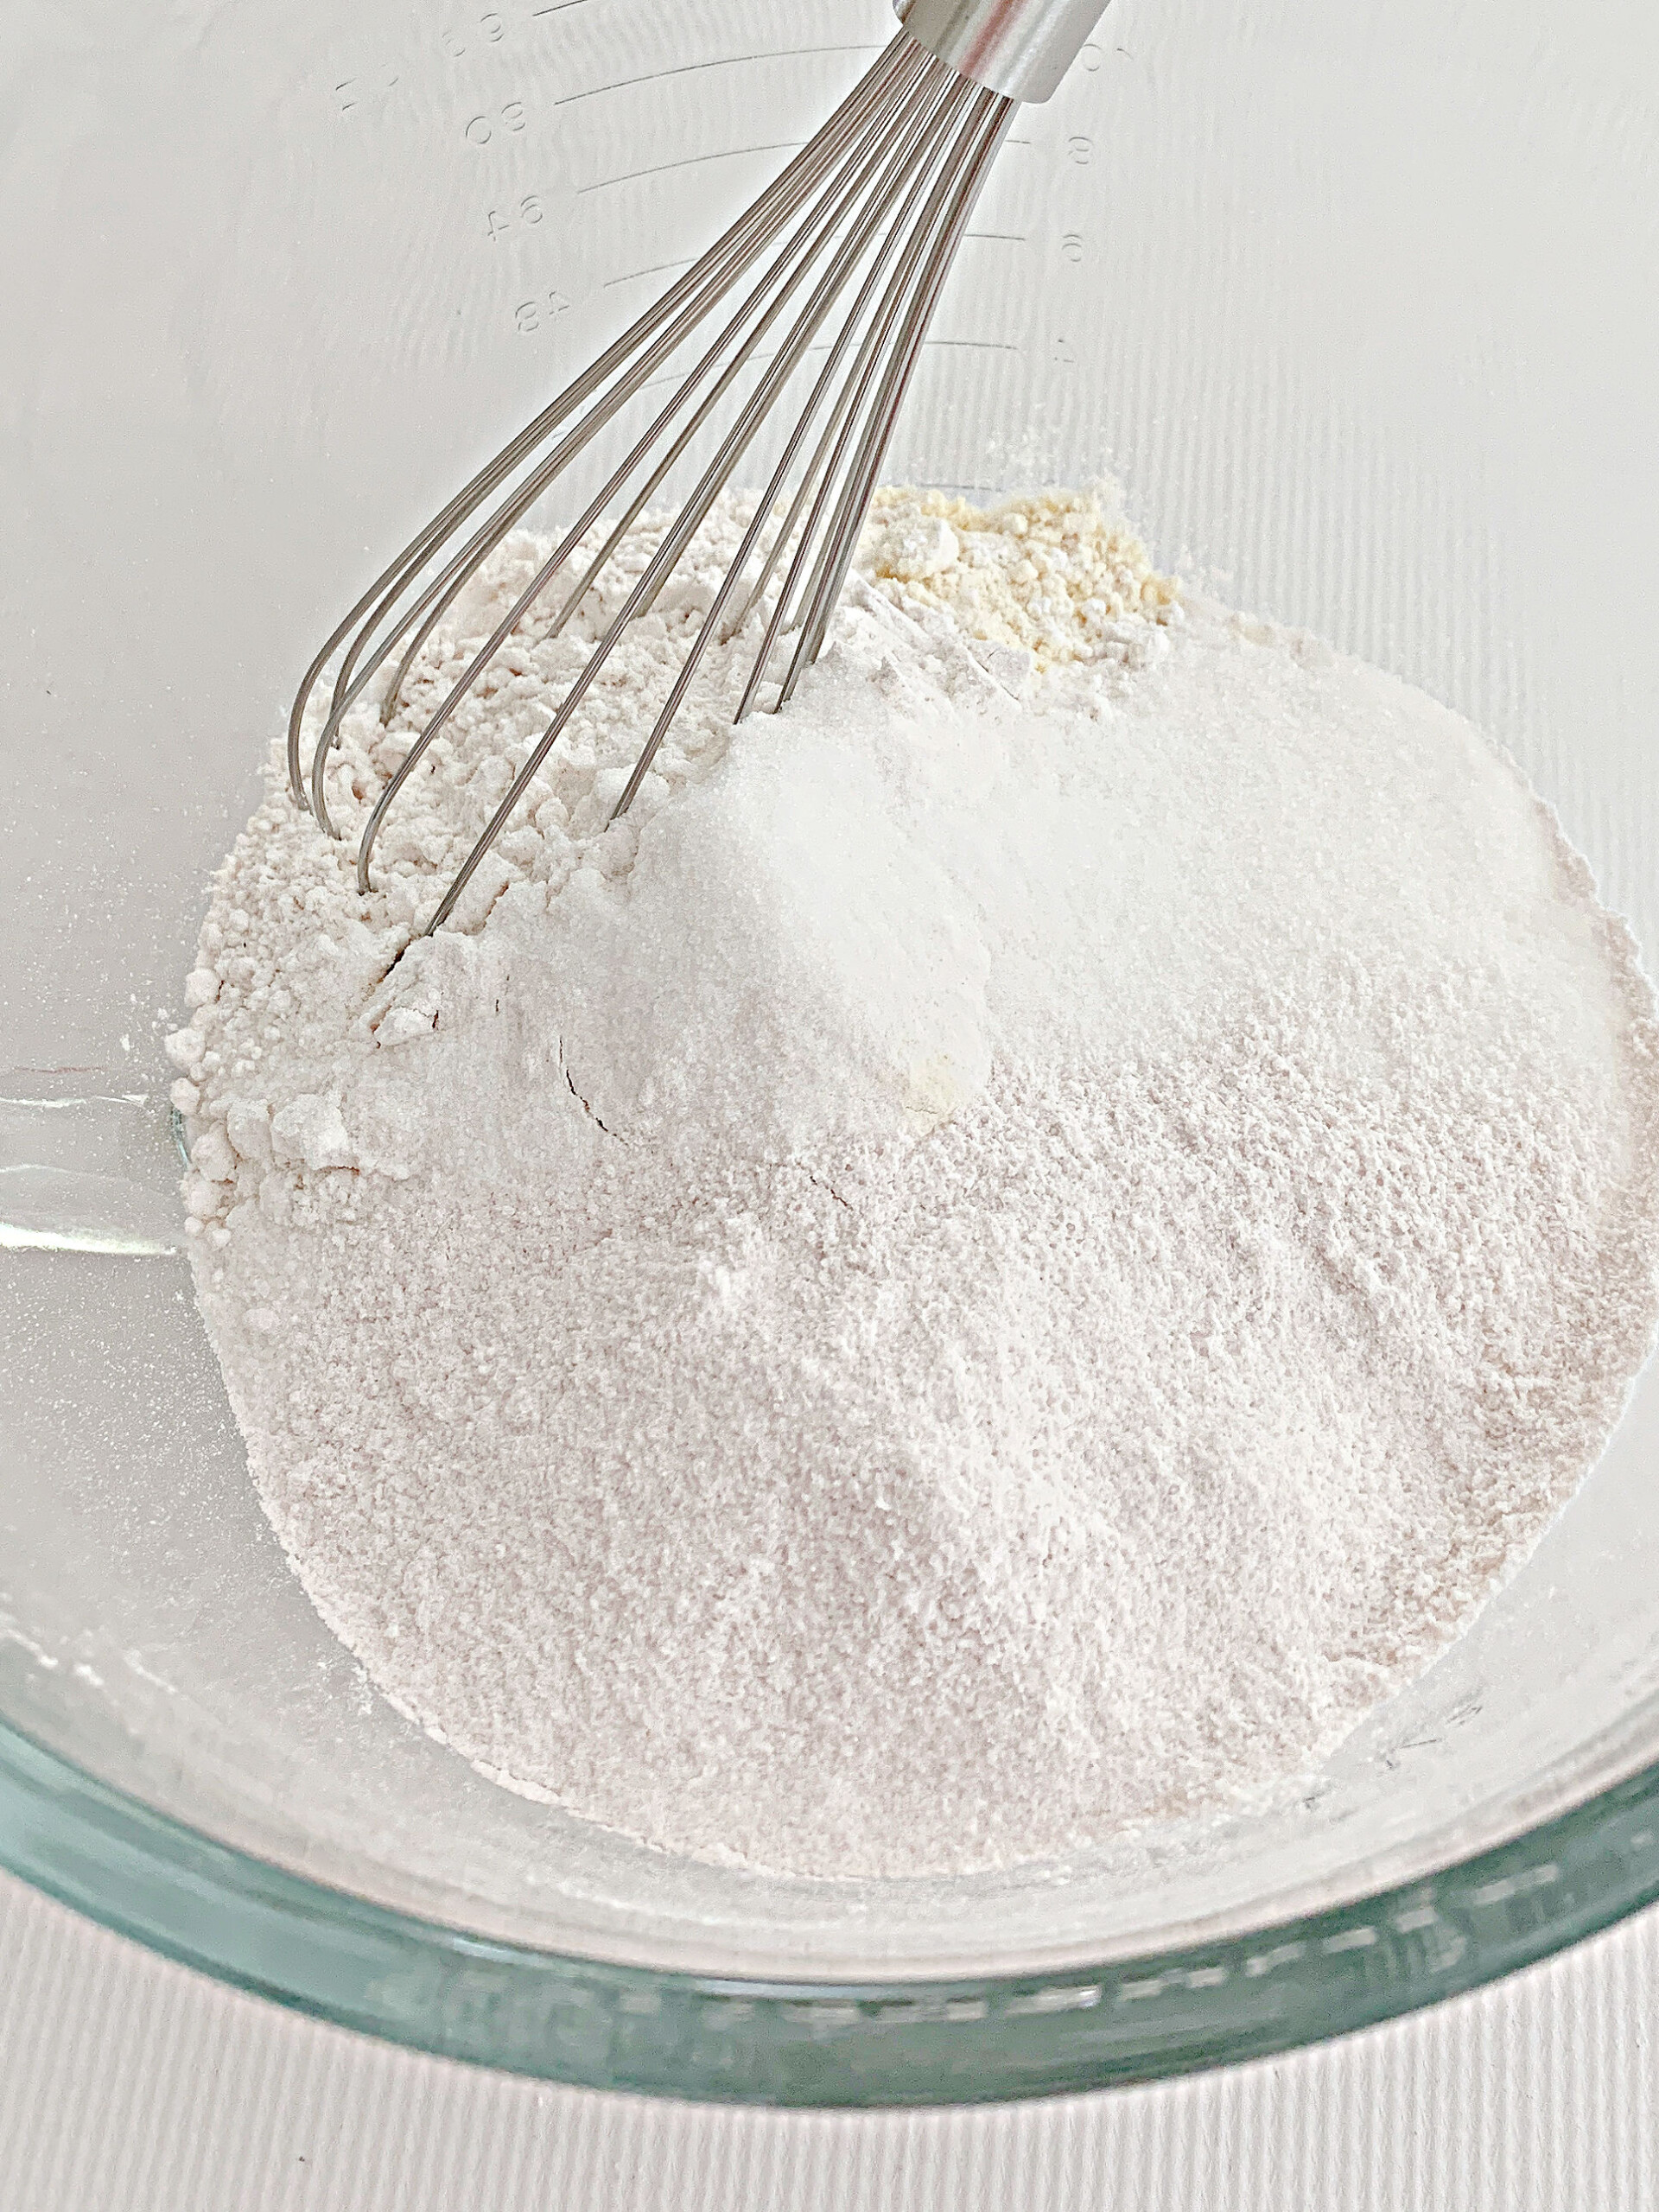
- Dry Ingredients: In the bowl of your mixer, add the yellow cake mix, all purpose flour, sugar, and vanilla pudding mix. Whisk to blend.
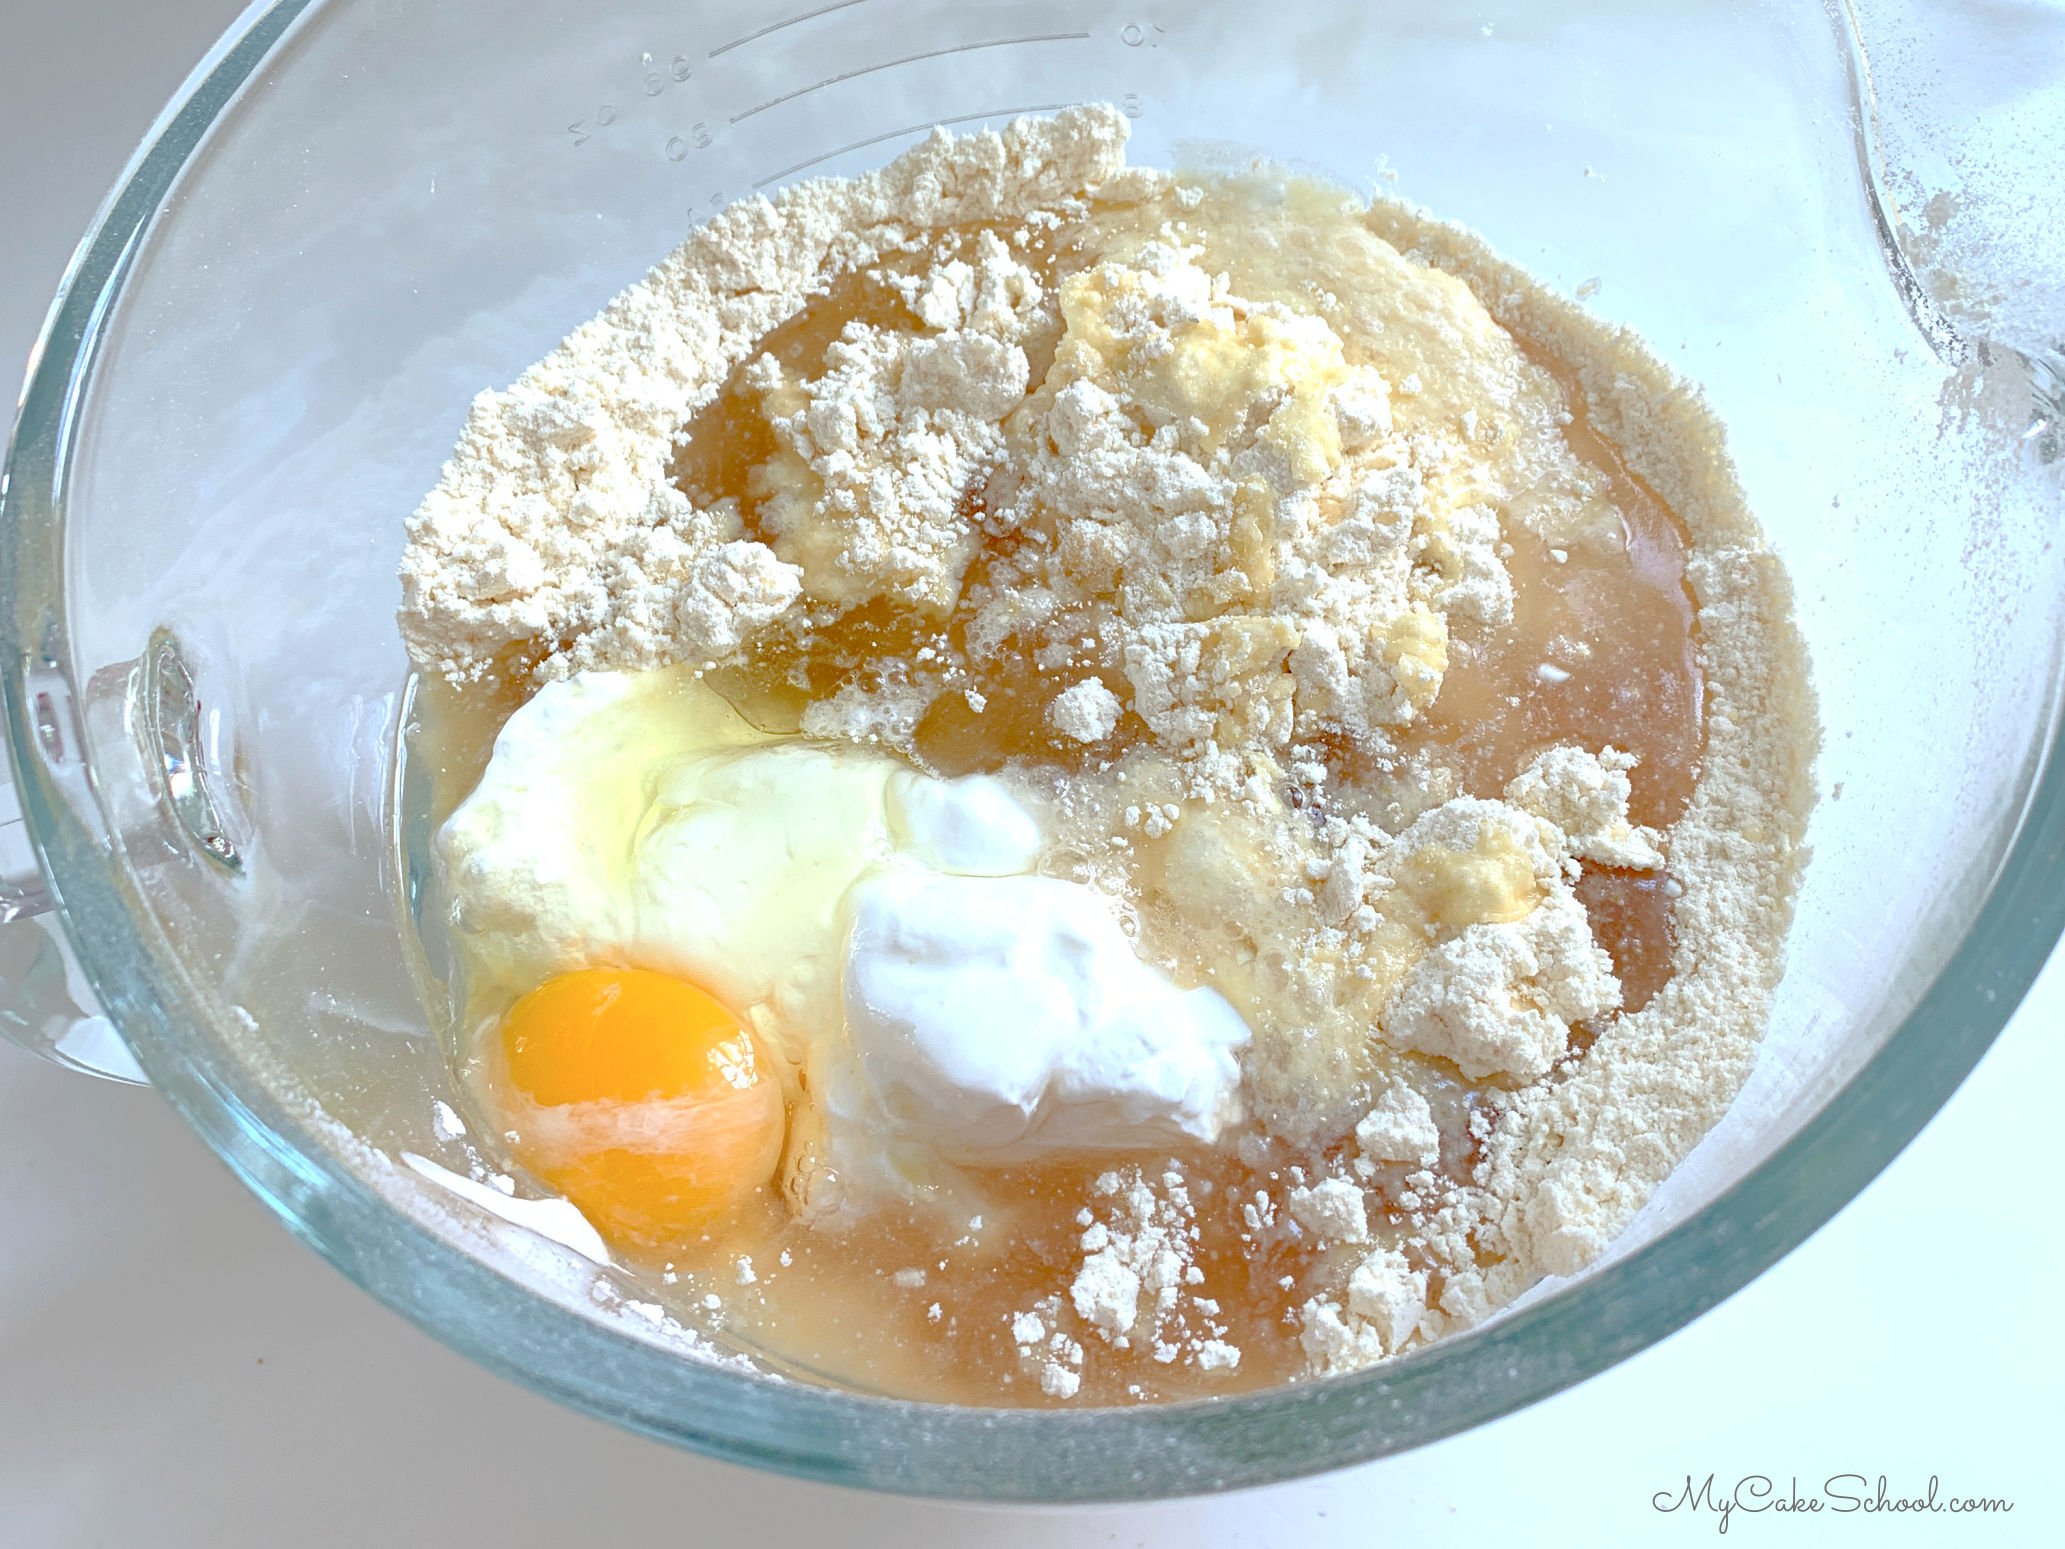
- Next, add the eggs, vegetable oil, sour cream, water, and vanilla extract . Mix on low speed for about 30 seconds.
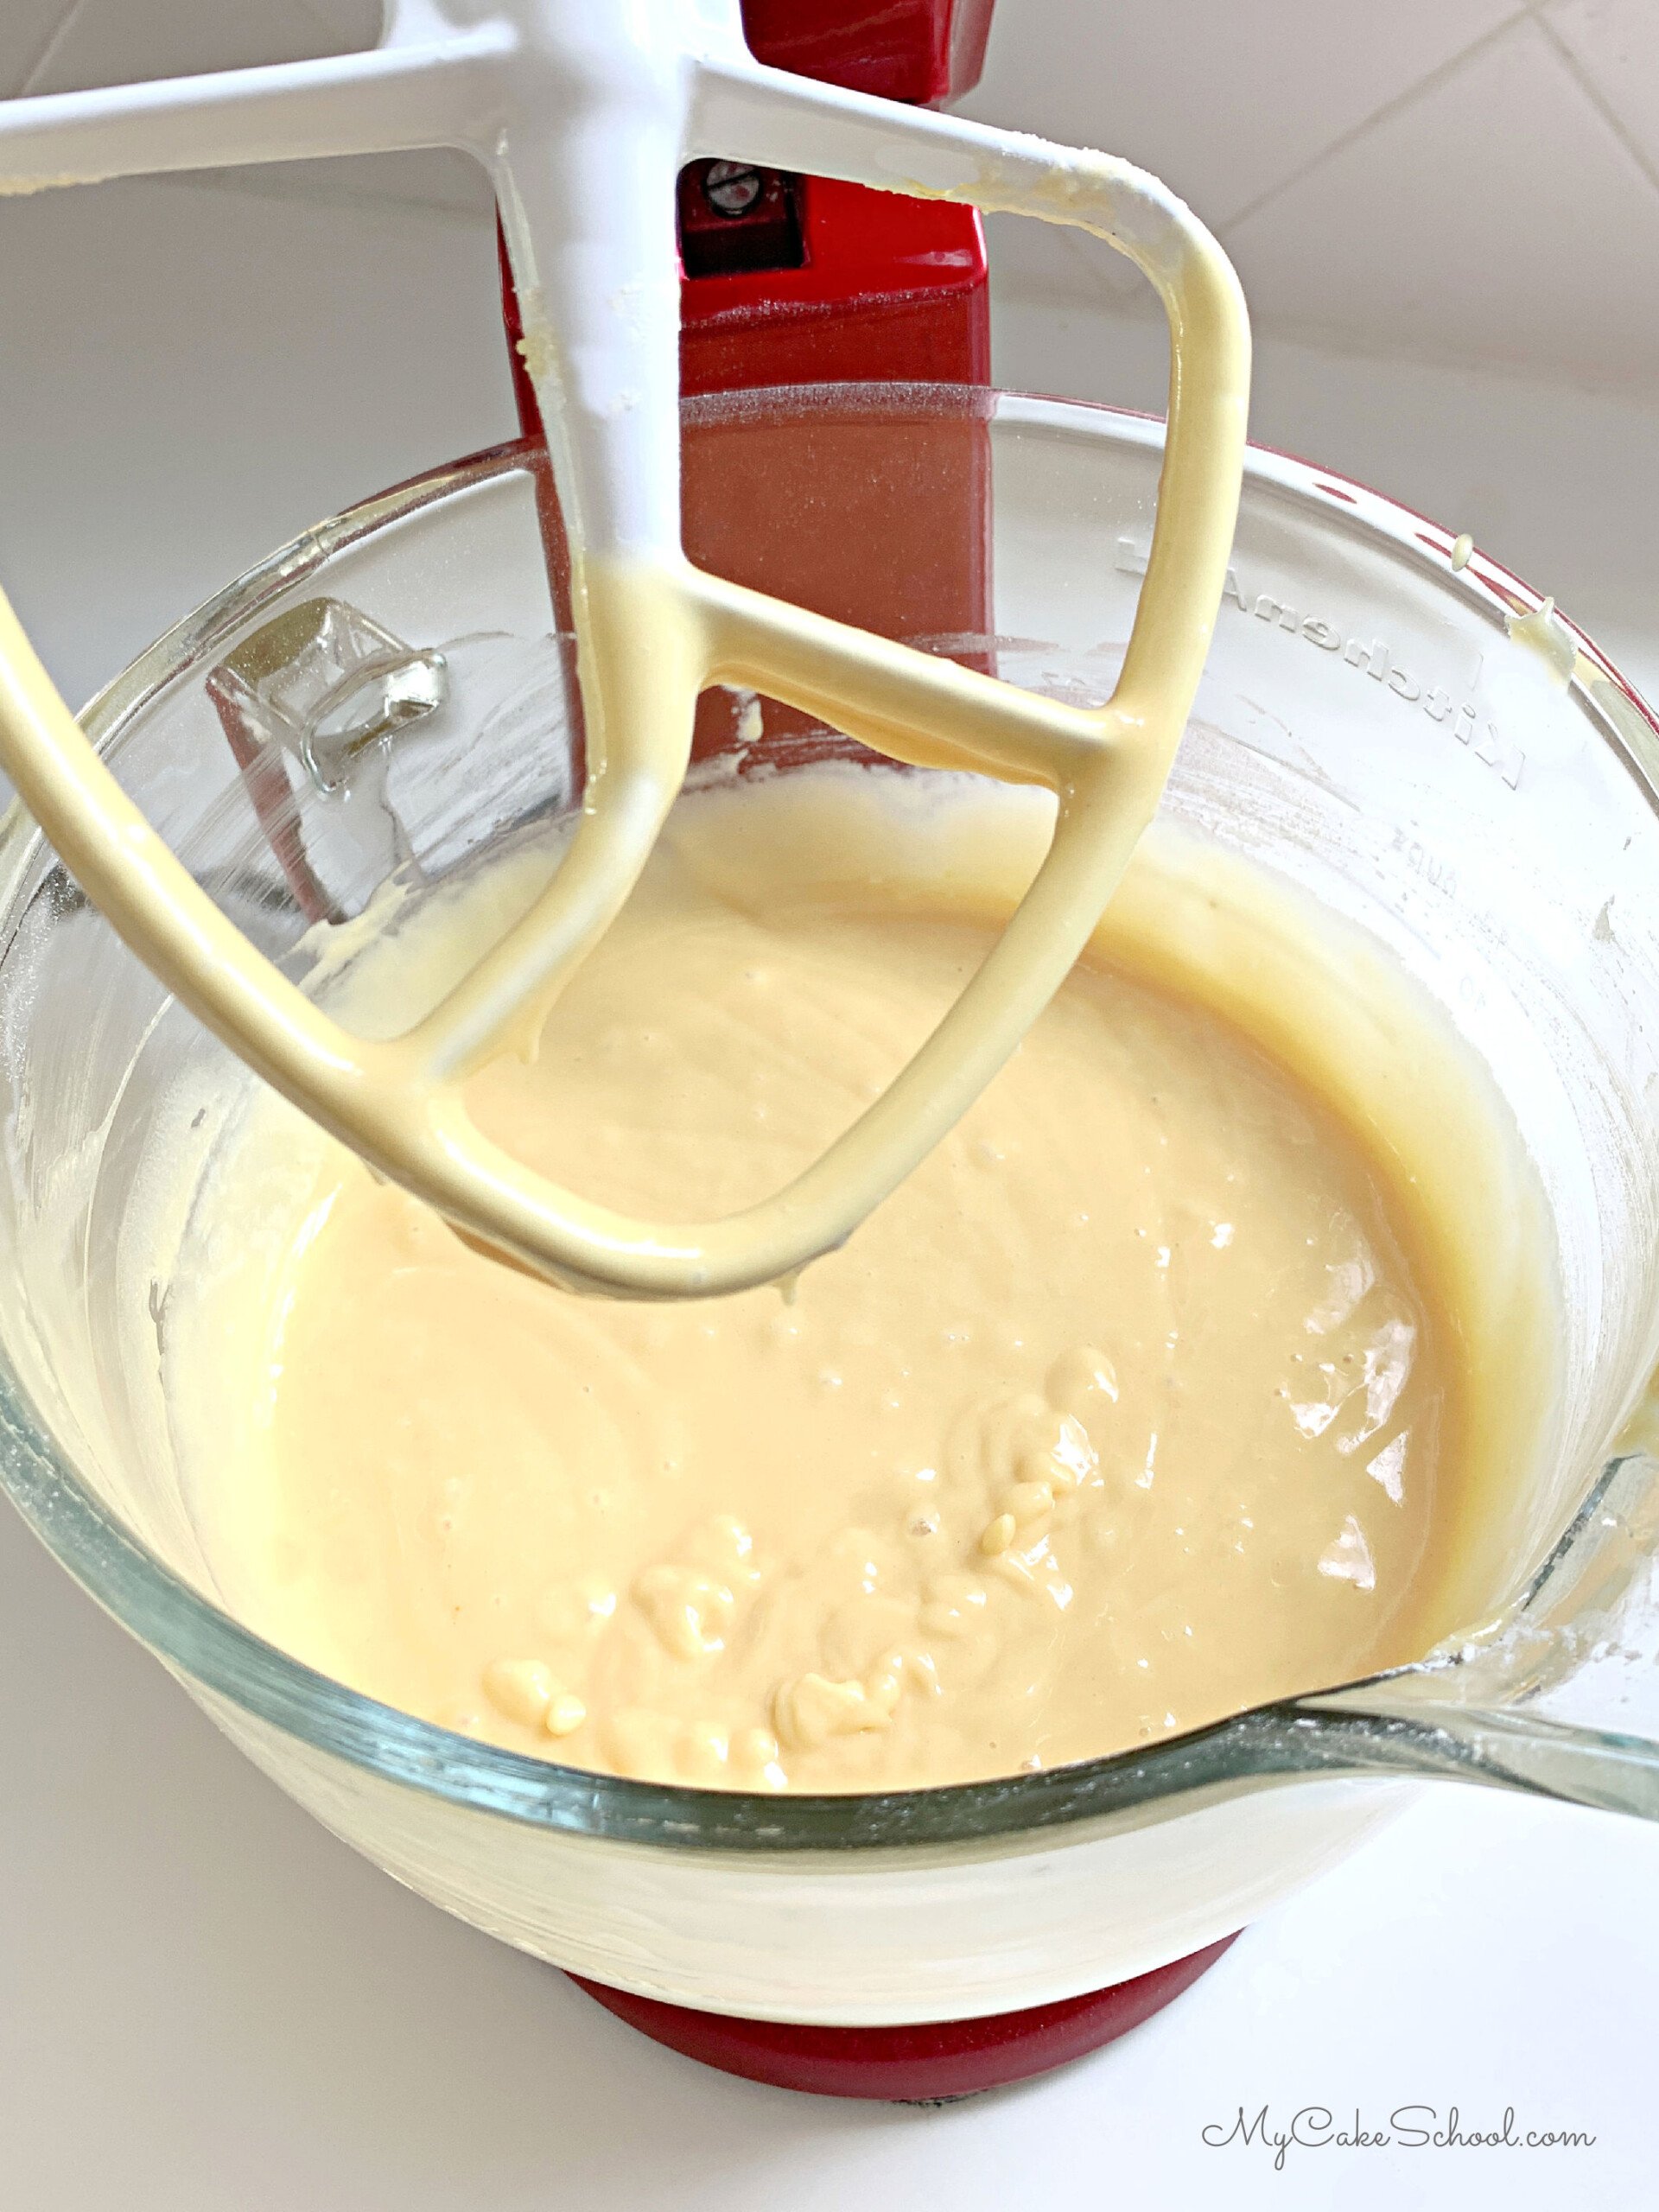
- Scrape down the sides and bottom of the bowl as needed and mix on medium speed for two minutes. The yellow cake batter should look well blended.
FOR THE CHOCOLATE BATTER
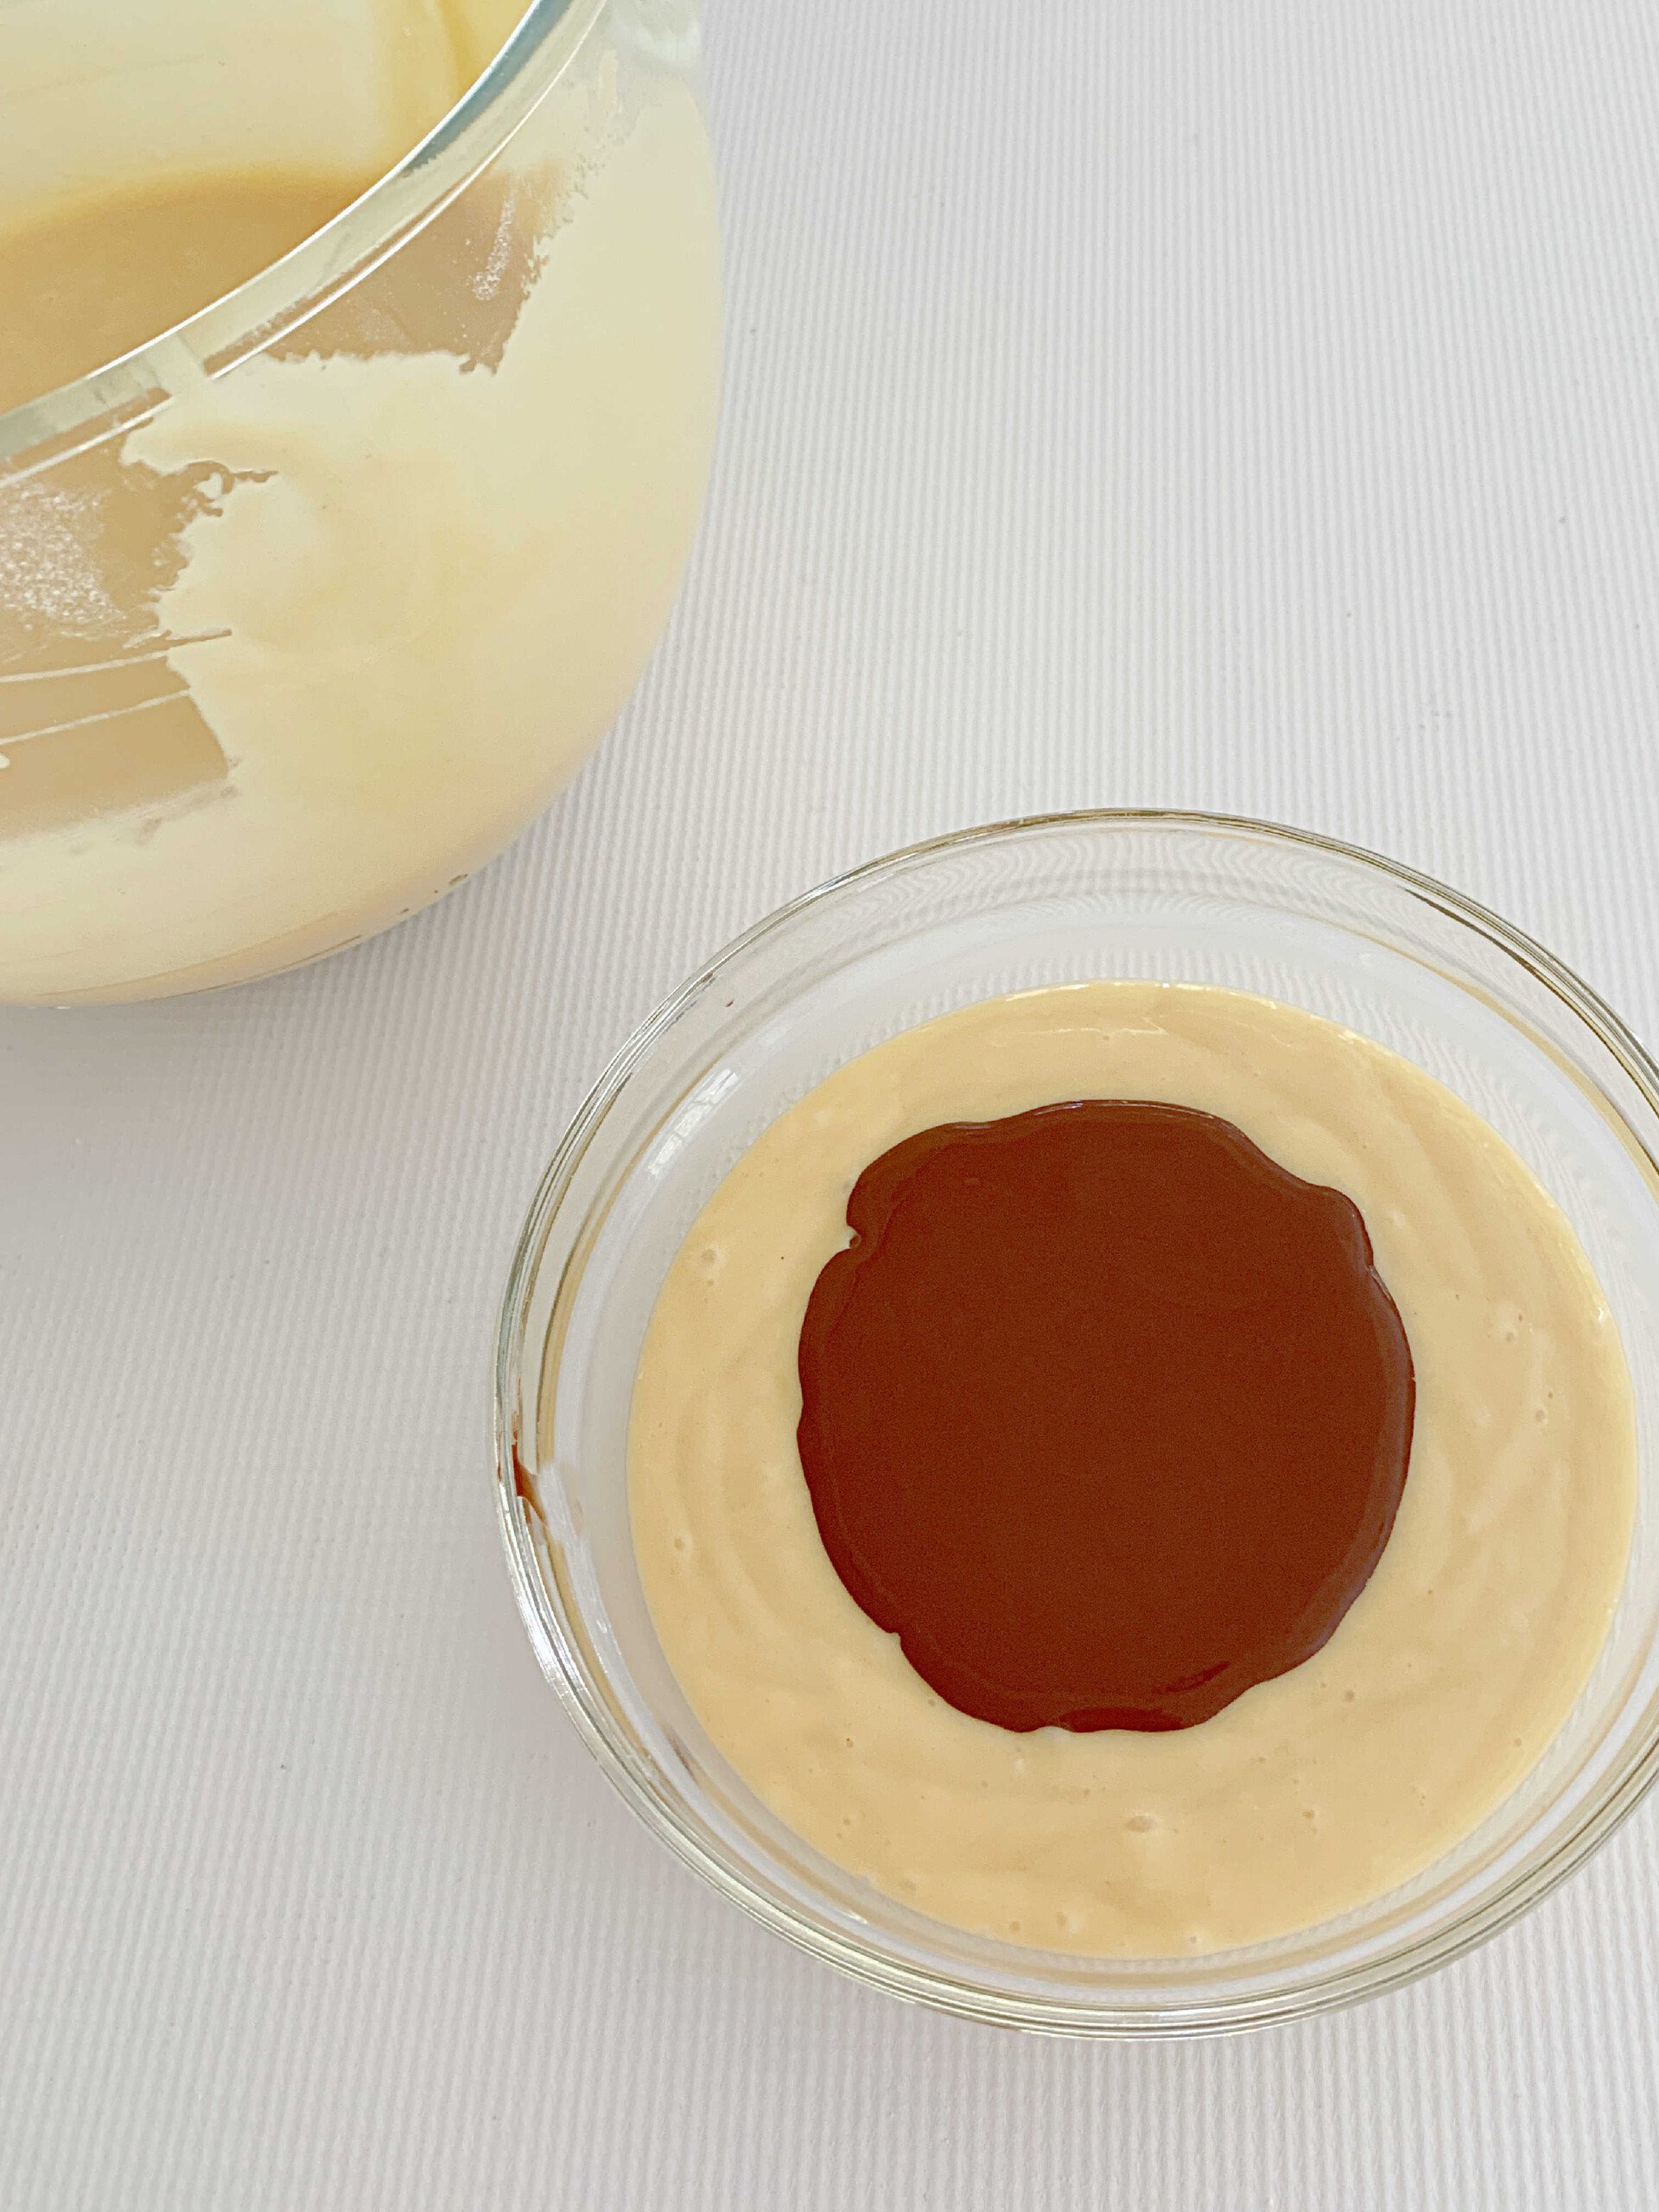
- In a small bowl, dissolve the 4 tablespoons of cocoa powder with 4 tablespoons of very hot water and allow to sit for 3 minutes.
- Scoop two cups of yellow cake batter into a small bowl. Add the cocoa mixture and stir until well combined and uniform in color.
FILLING THE PANS AND MARBLING
You can marble however you like. As long as is an approximately equal amount of chocolate and yellow batter from pan to pan, you will be in good shape. Here's what we did:
- To marble the batter, we divided about half of the yellow cake batter between the three prepared cake pans. Then, we divided half of the chocolate batter between the three cake pans on top of the yellow batter (scoop/drizzle approximately ⅓ cup chocolate batter into each pan).
- Repeat with the second half of the yellow cake batter and the remaining chocolate batter.
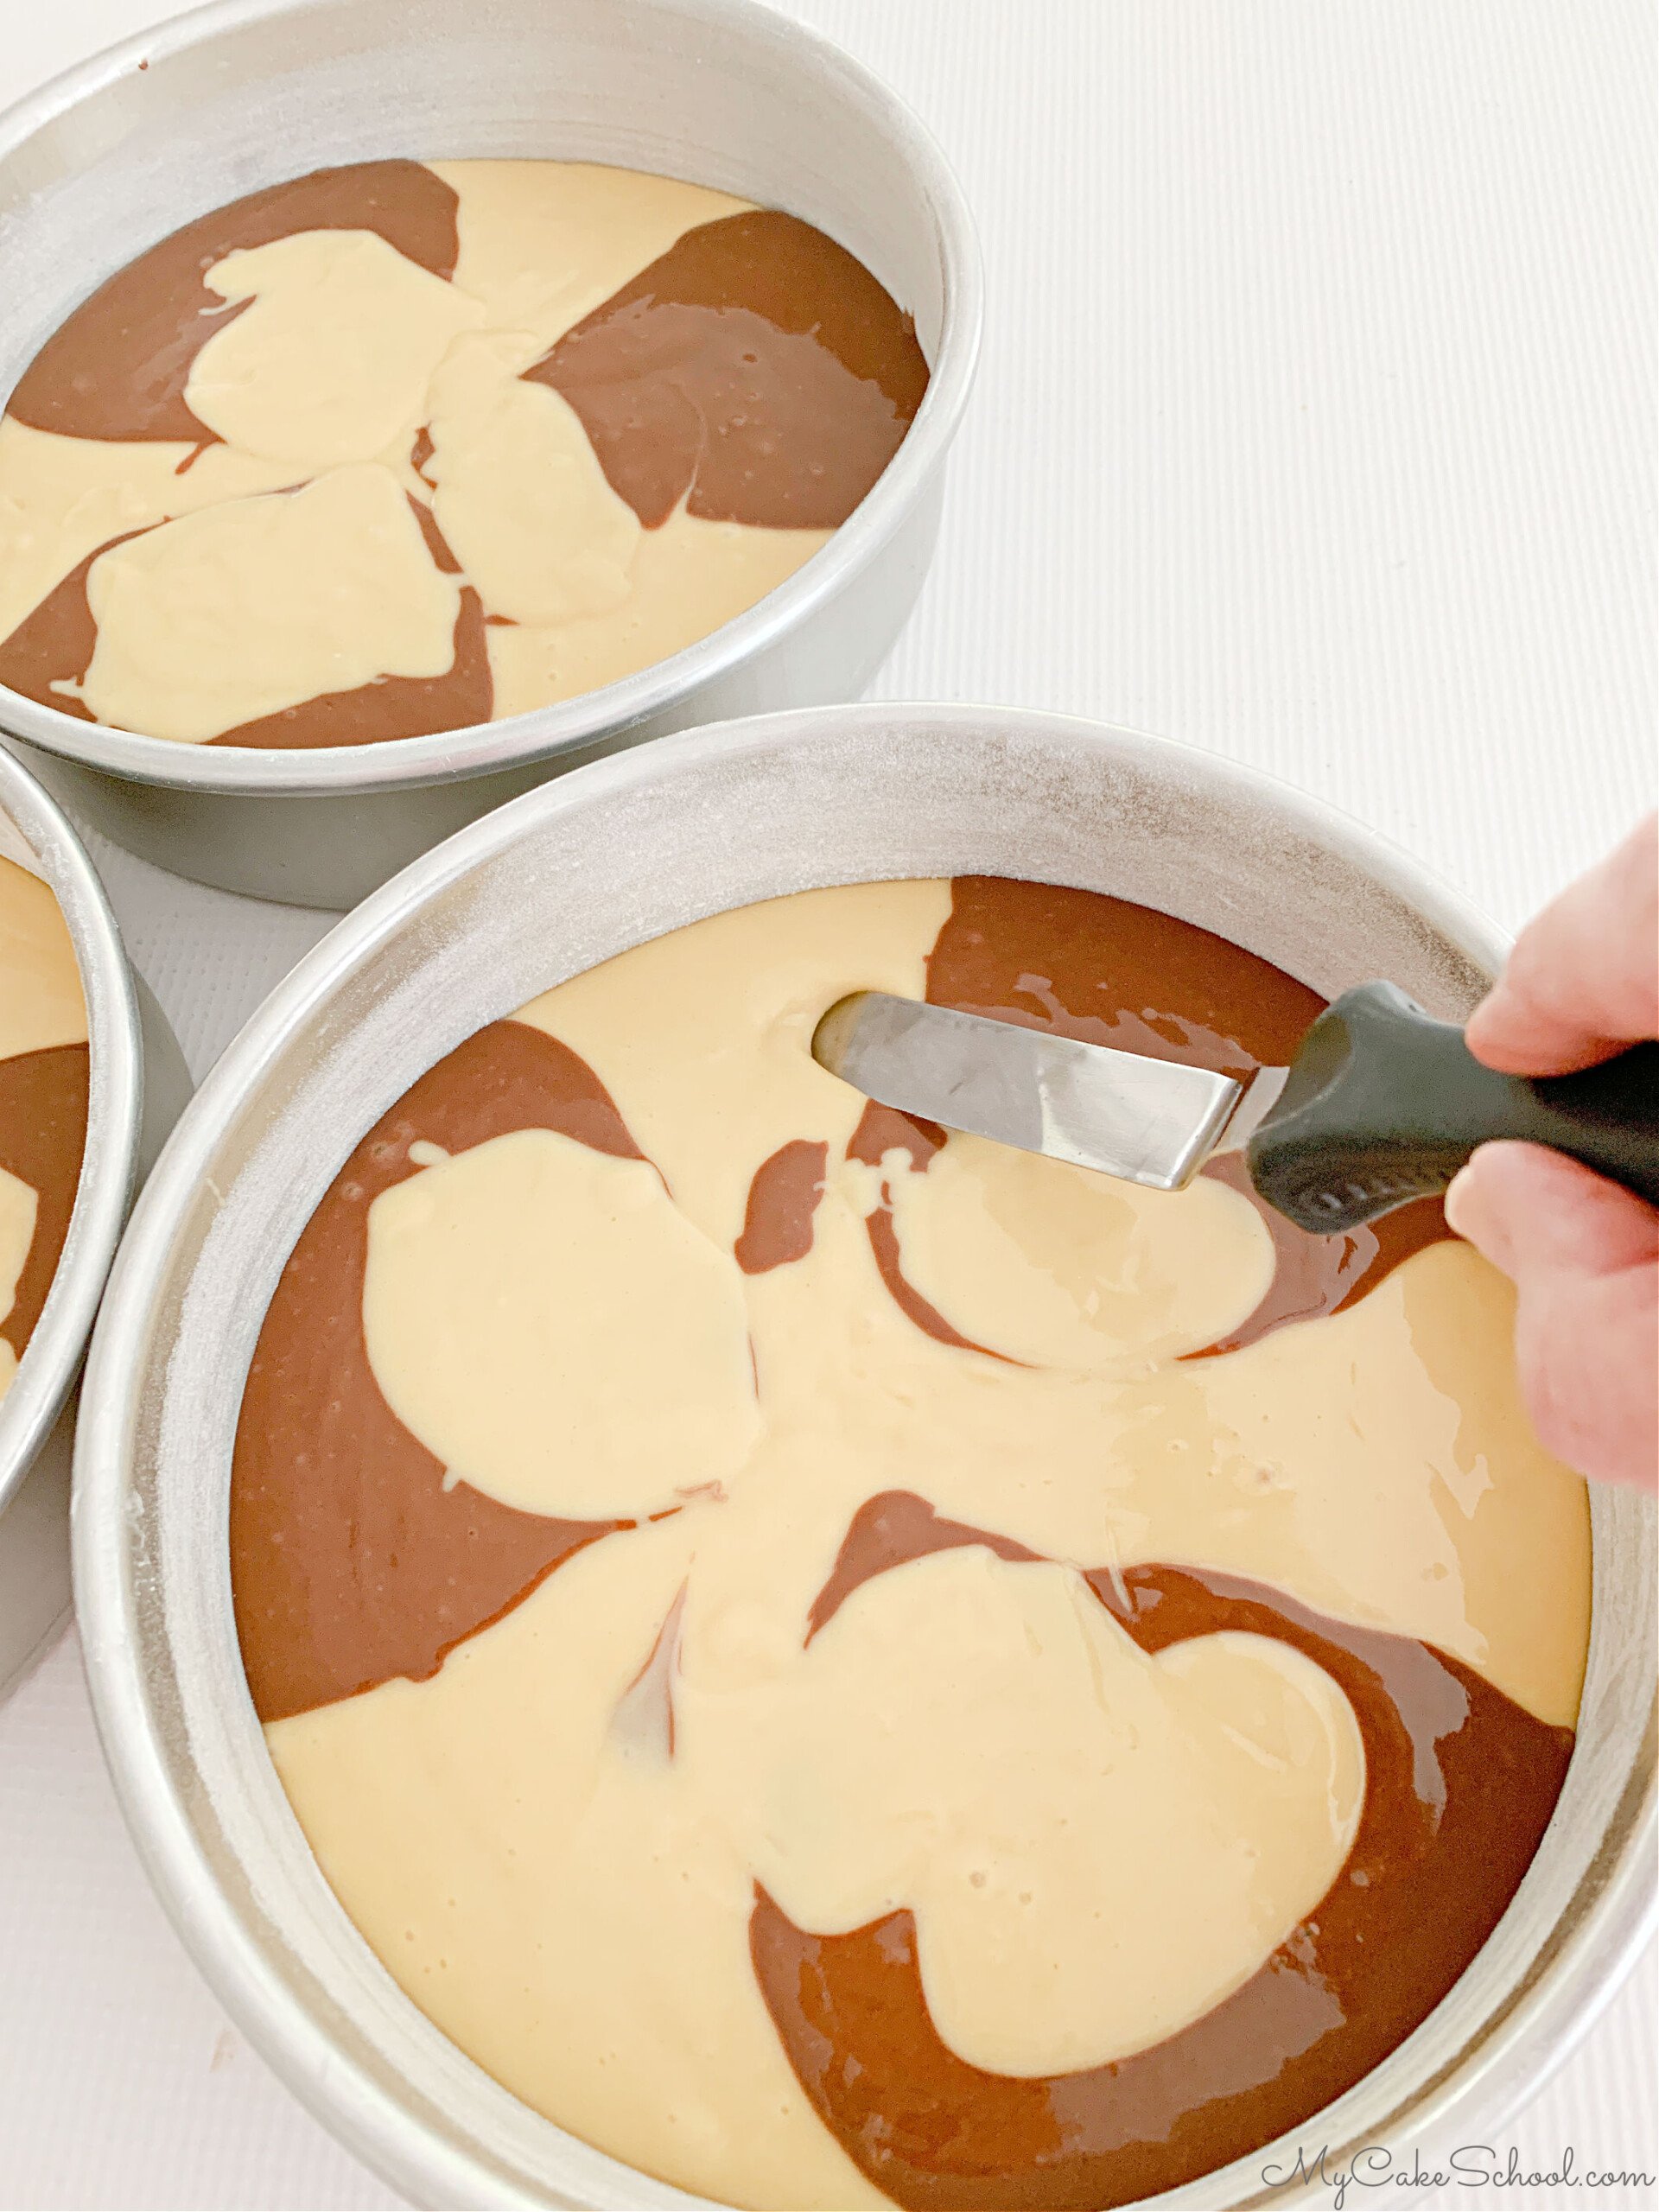
- Run knife through the pans a few times to marble the batter. Tap pans on countertop if needed so that the batter will spread out evenly.
- Bake at 325 for approximately 20-25 minutes or until the layers spring back when lightly touched, or a toothpick can be inserted and removed with just a few moist crumbs attached. Baking times may vary depending on your oven, type of pan, etc. It is best to peek in after 20 minutes.
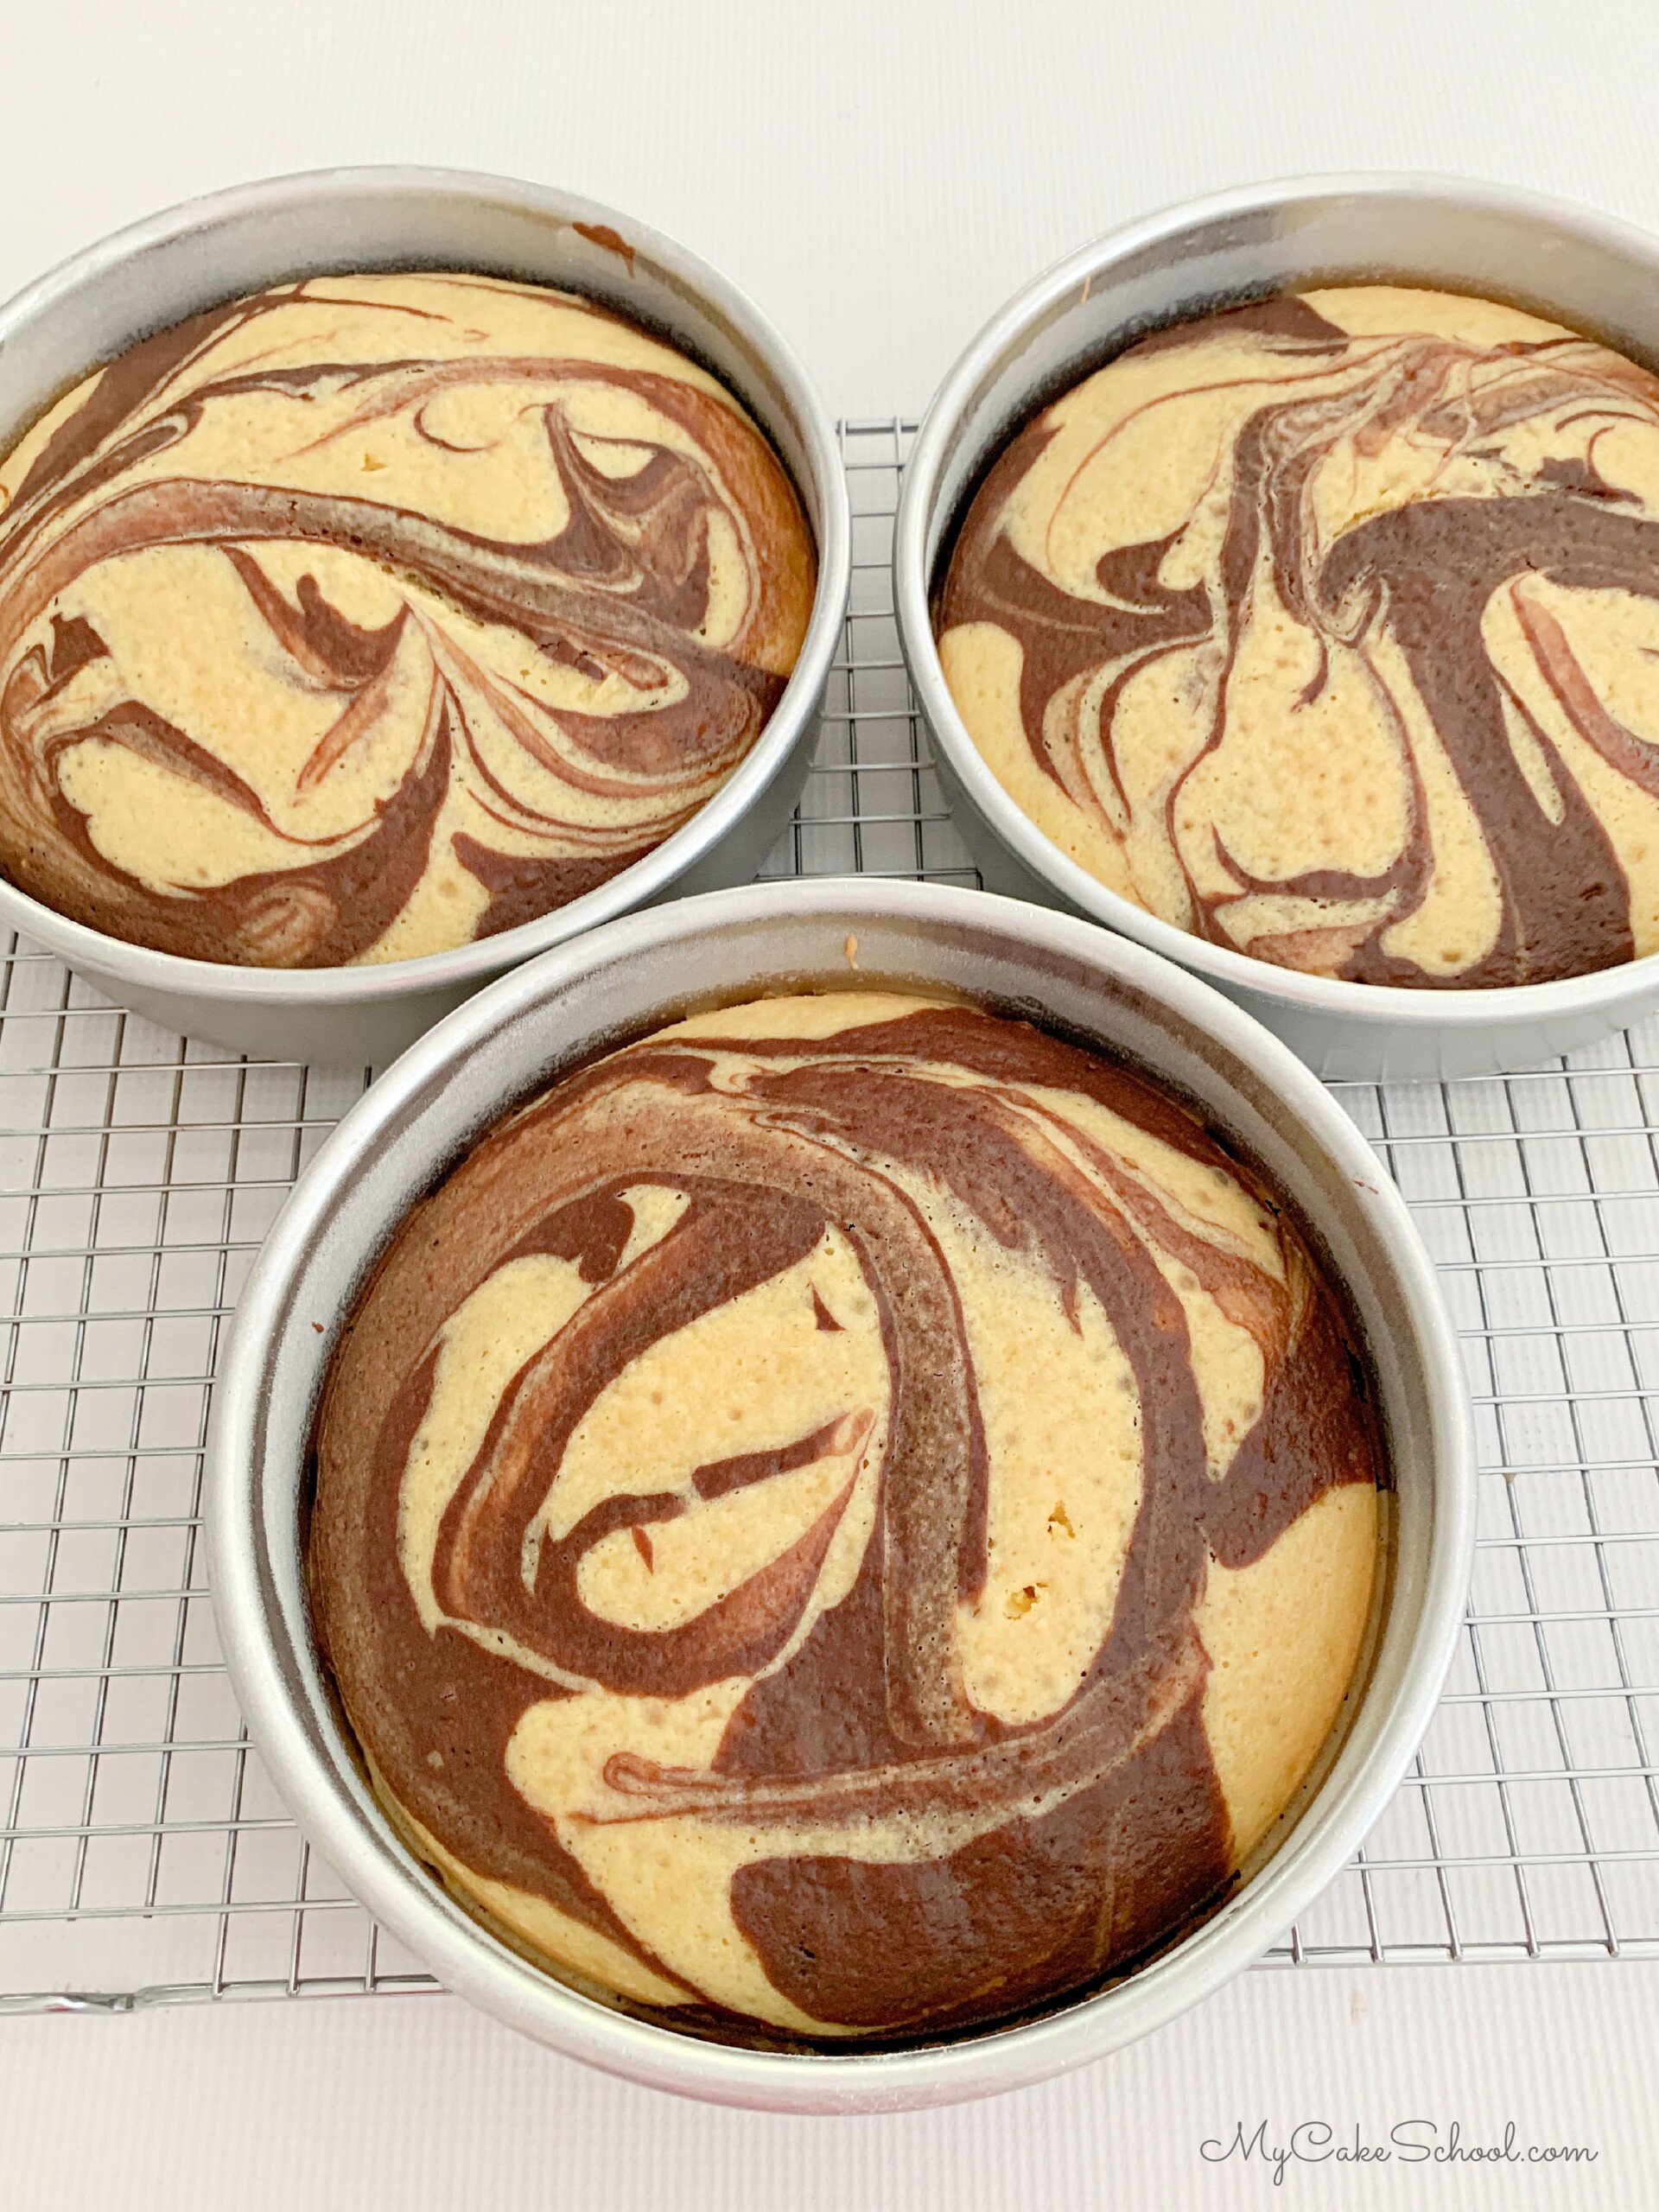
- Allow the baked marble cake layers to cool in their pans on a wire rack for 10 minutes before turning out. Make sure that they are completely cool before frosting!
Recipe FAQs
For the Chocolate Buttercream
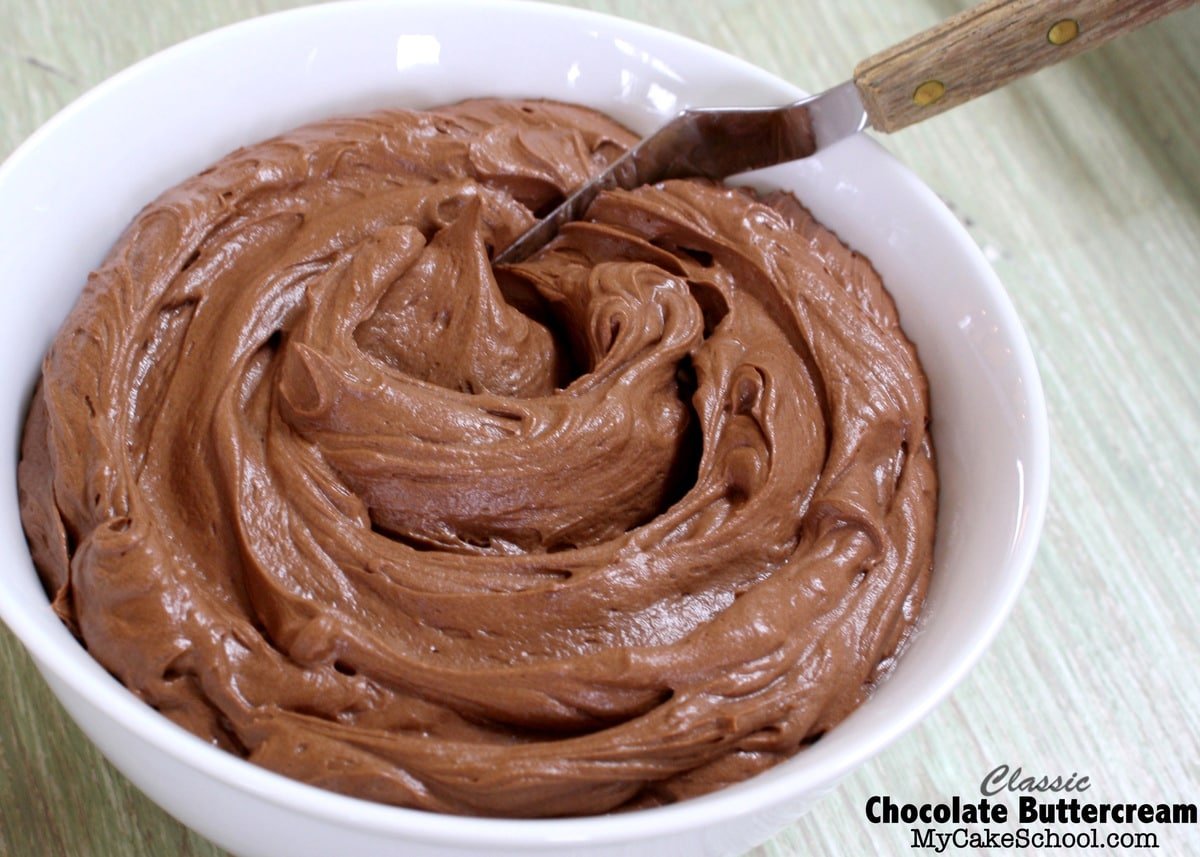
Our Chocolate Buttercream Recipe is creamy, super easy to make, and pipes beautifully. We are using it as both a filling and frosting for this marble cake mix recipe!
It is a combination of softened unsalted butter, unsweetened cocoa powder, confectioners' sugar, a splash of milk or cream, and a pinch of salt. This recipe makes plenty of frosting for filling, frosting, and decorative piping.
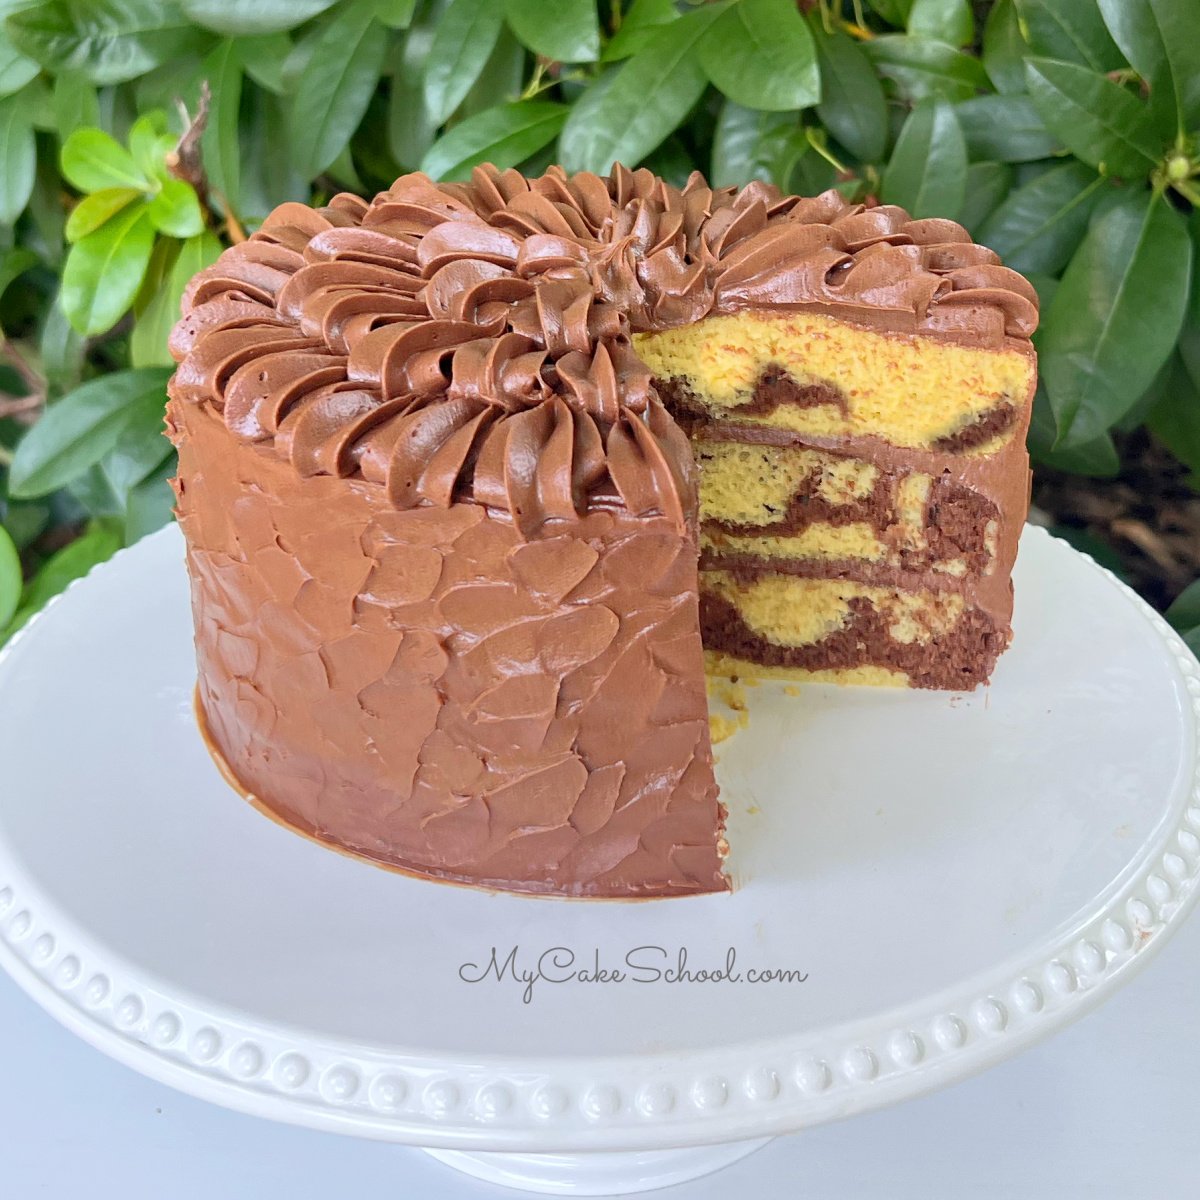
Assembling the Cake
To assemble and decorate the cake, we placed the first marble cake layer on the cake pedestal. Then, we spread it with a layer of chocolate buttercream. Repeat for the next two layers.
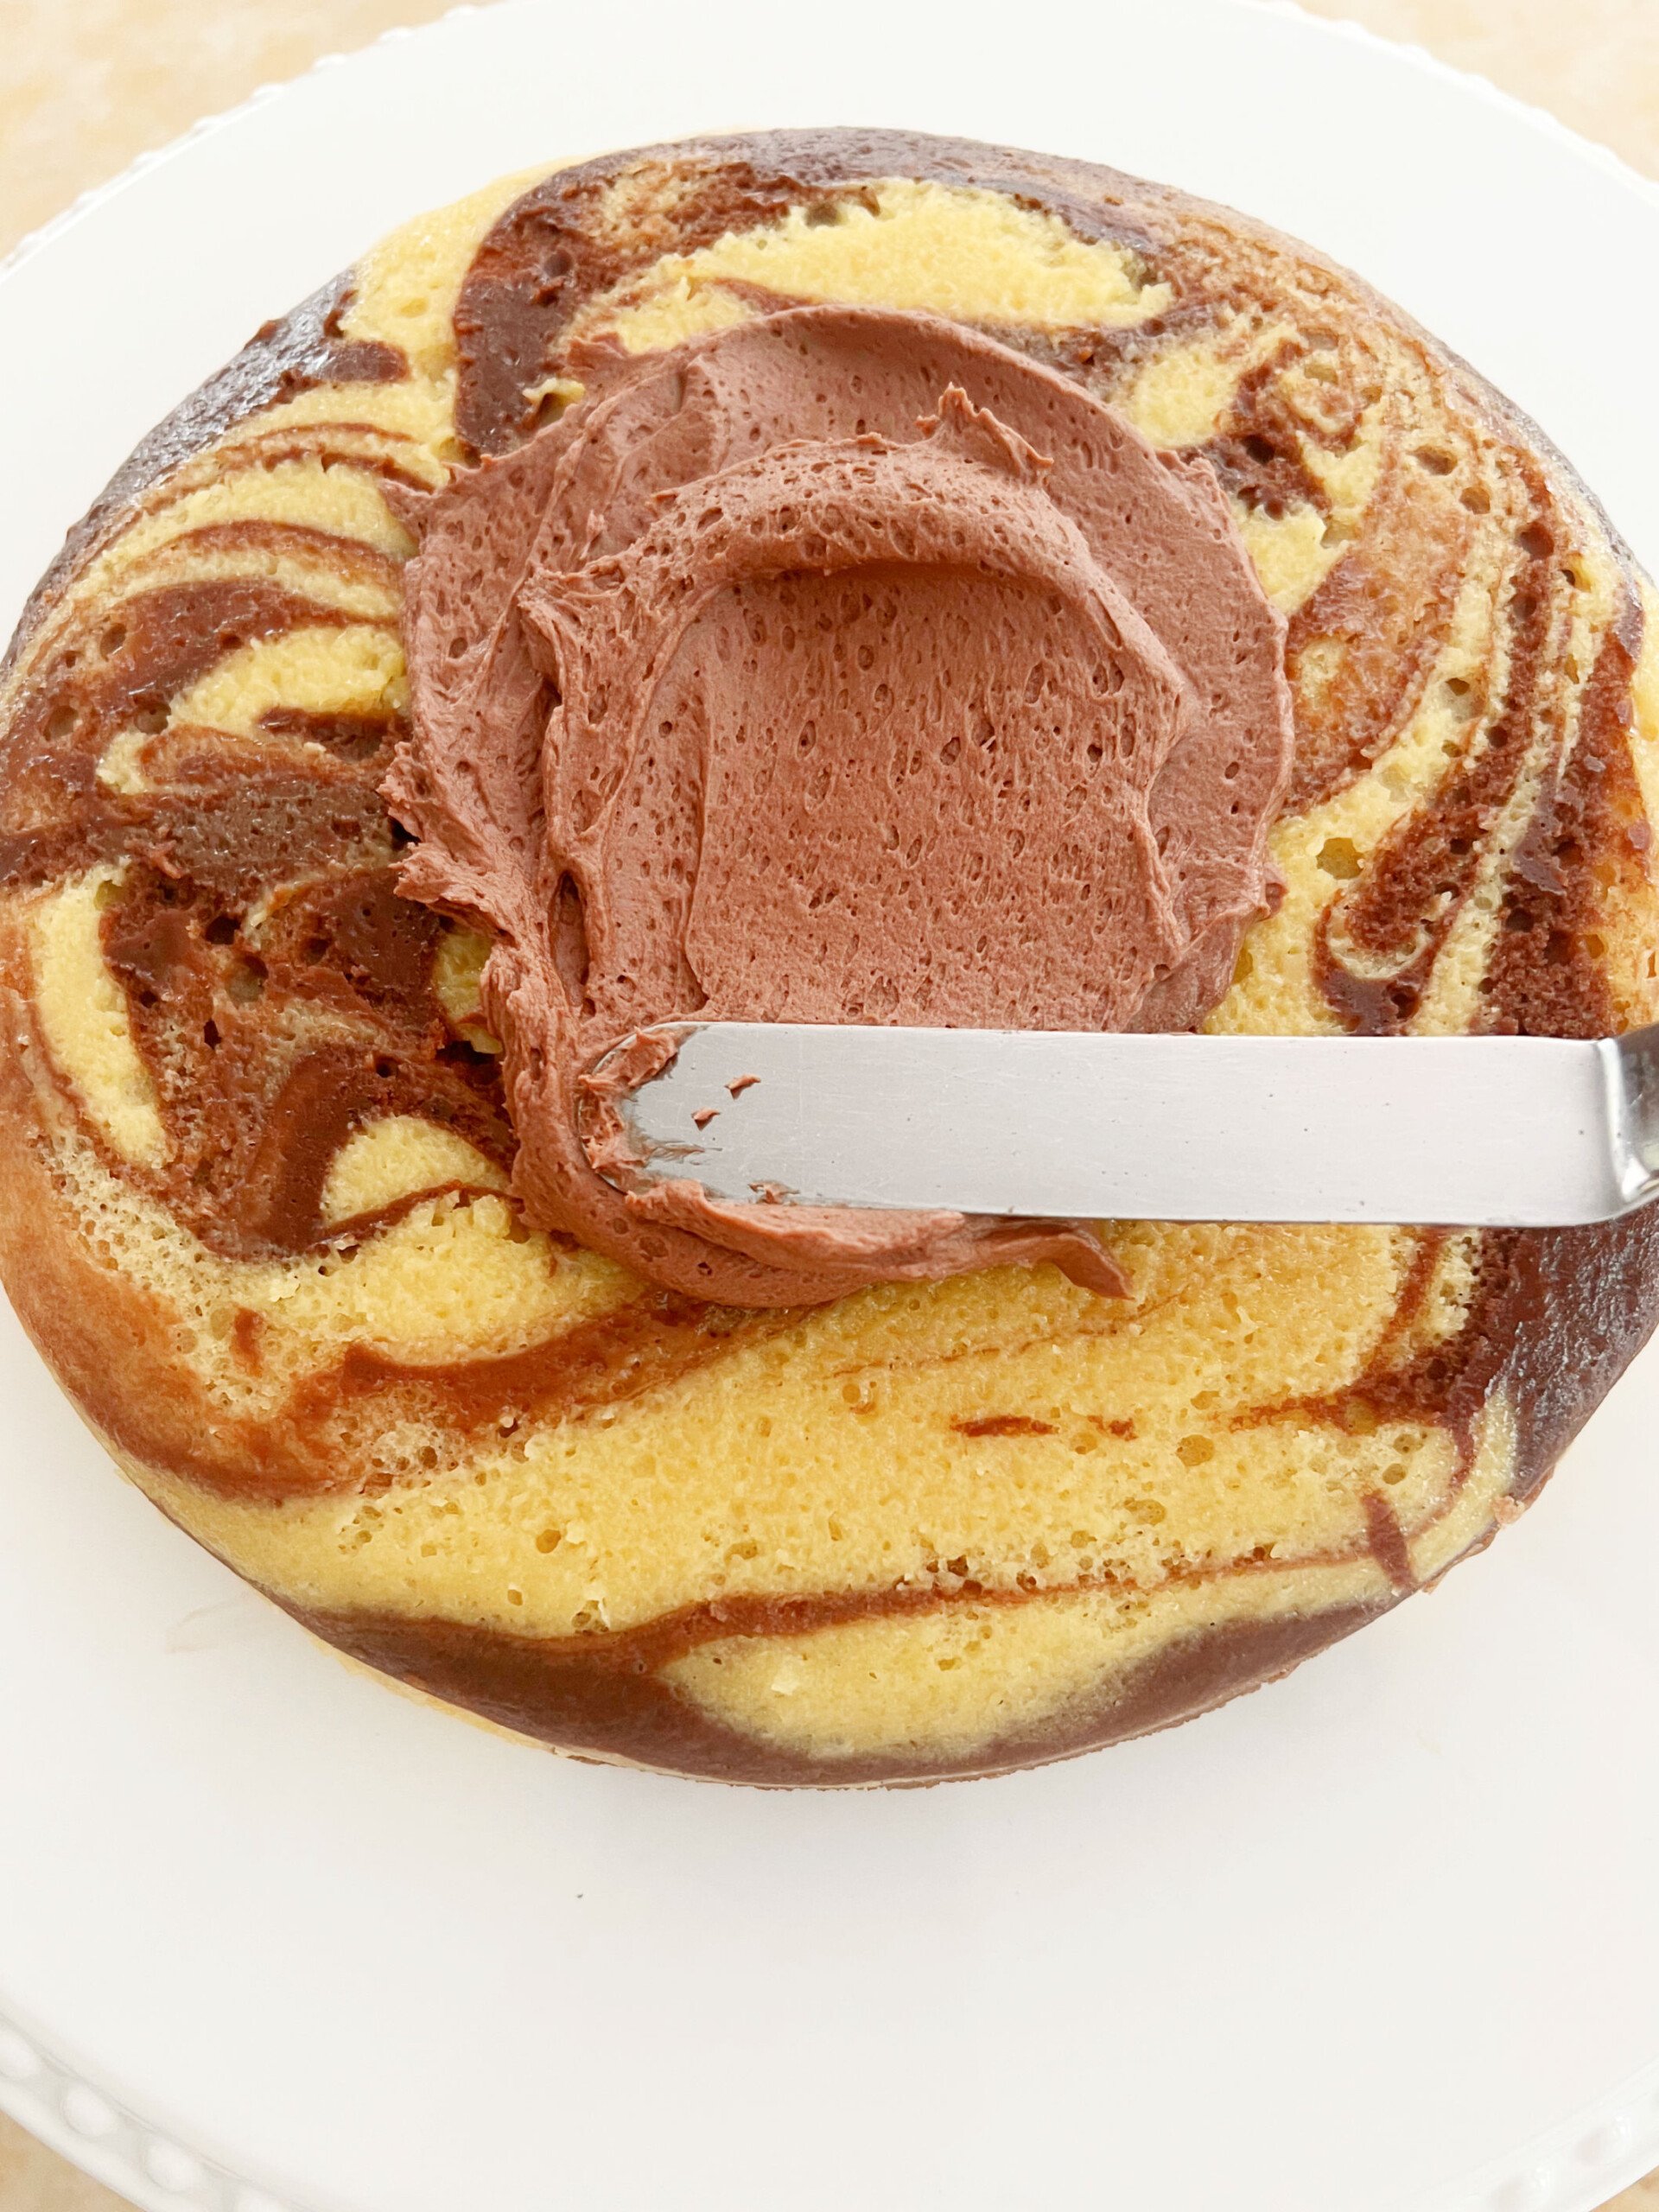
Fill in any gaps between the cake layers with additional frosting. Then, spread a thin layer of frosting on top and around the sides of the cake. This thin layer of frosting is the "crumb coat".
At this point, we like to chill the crumb coated cake in the freezer for 15 minutes (or longer in the refrigerator) to firm everything up. This makes applying the final layer of frosting easier.
Decorating the Cake
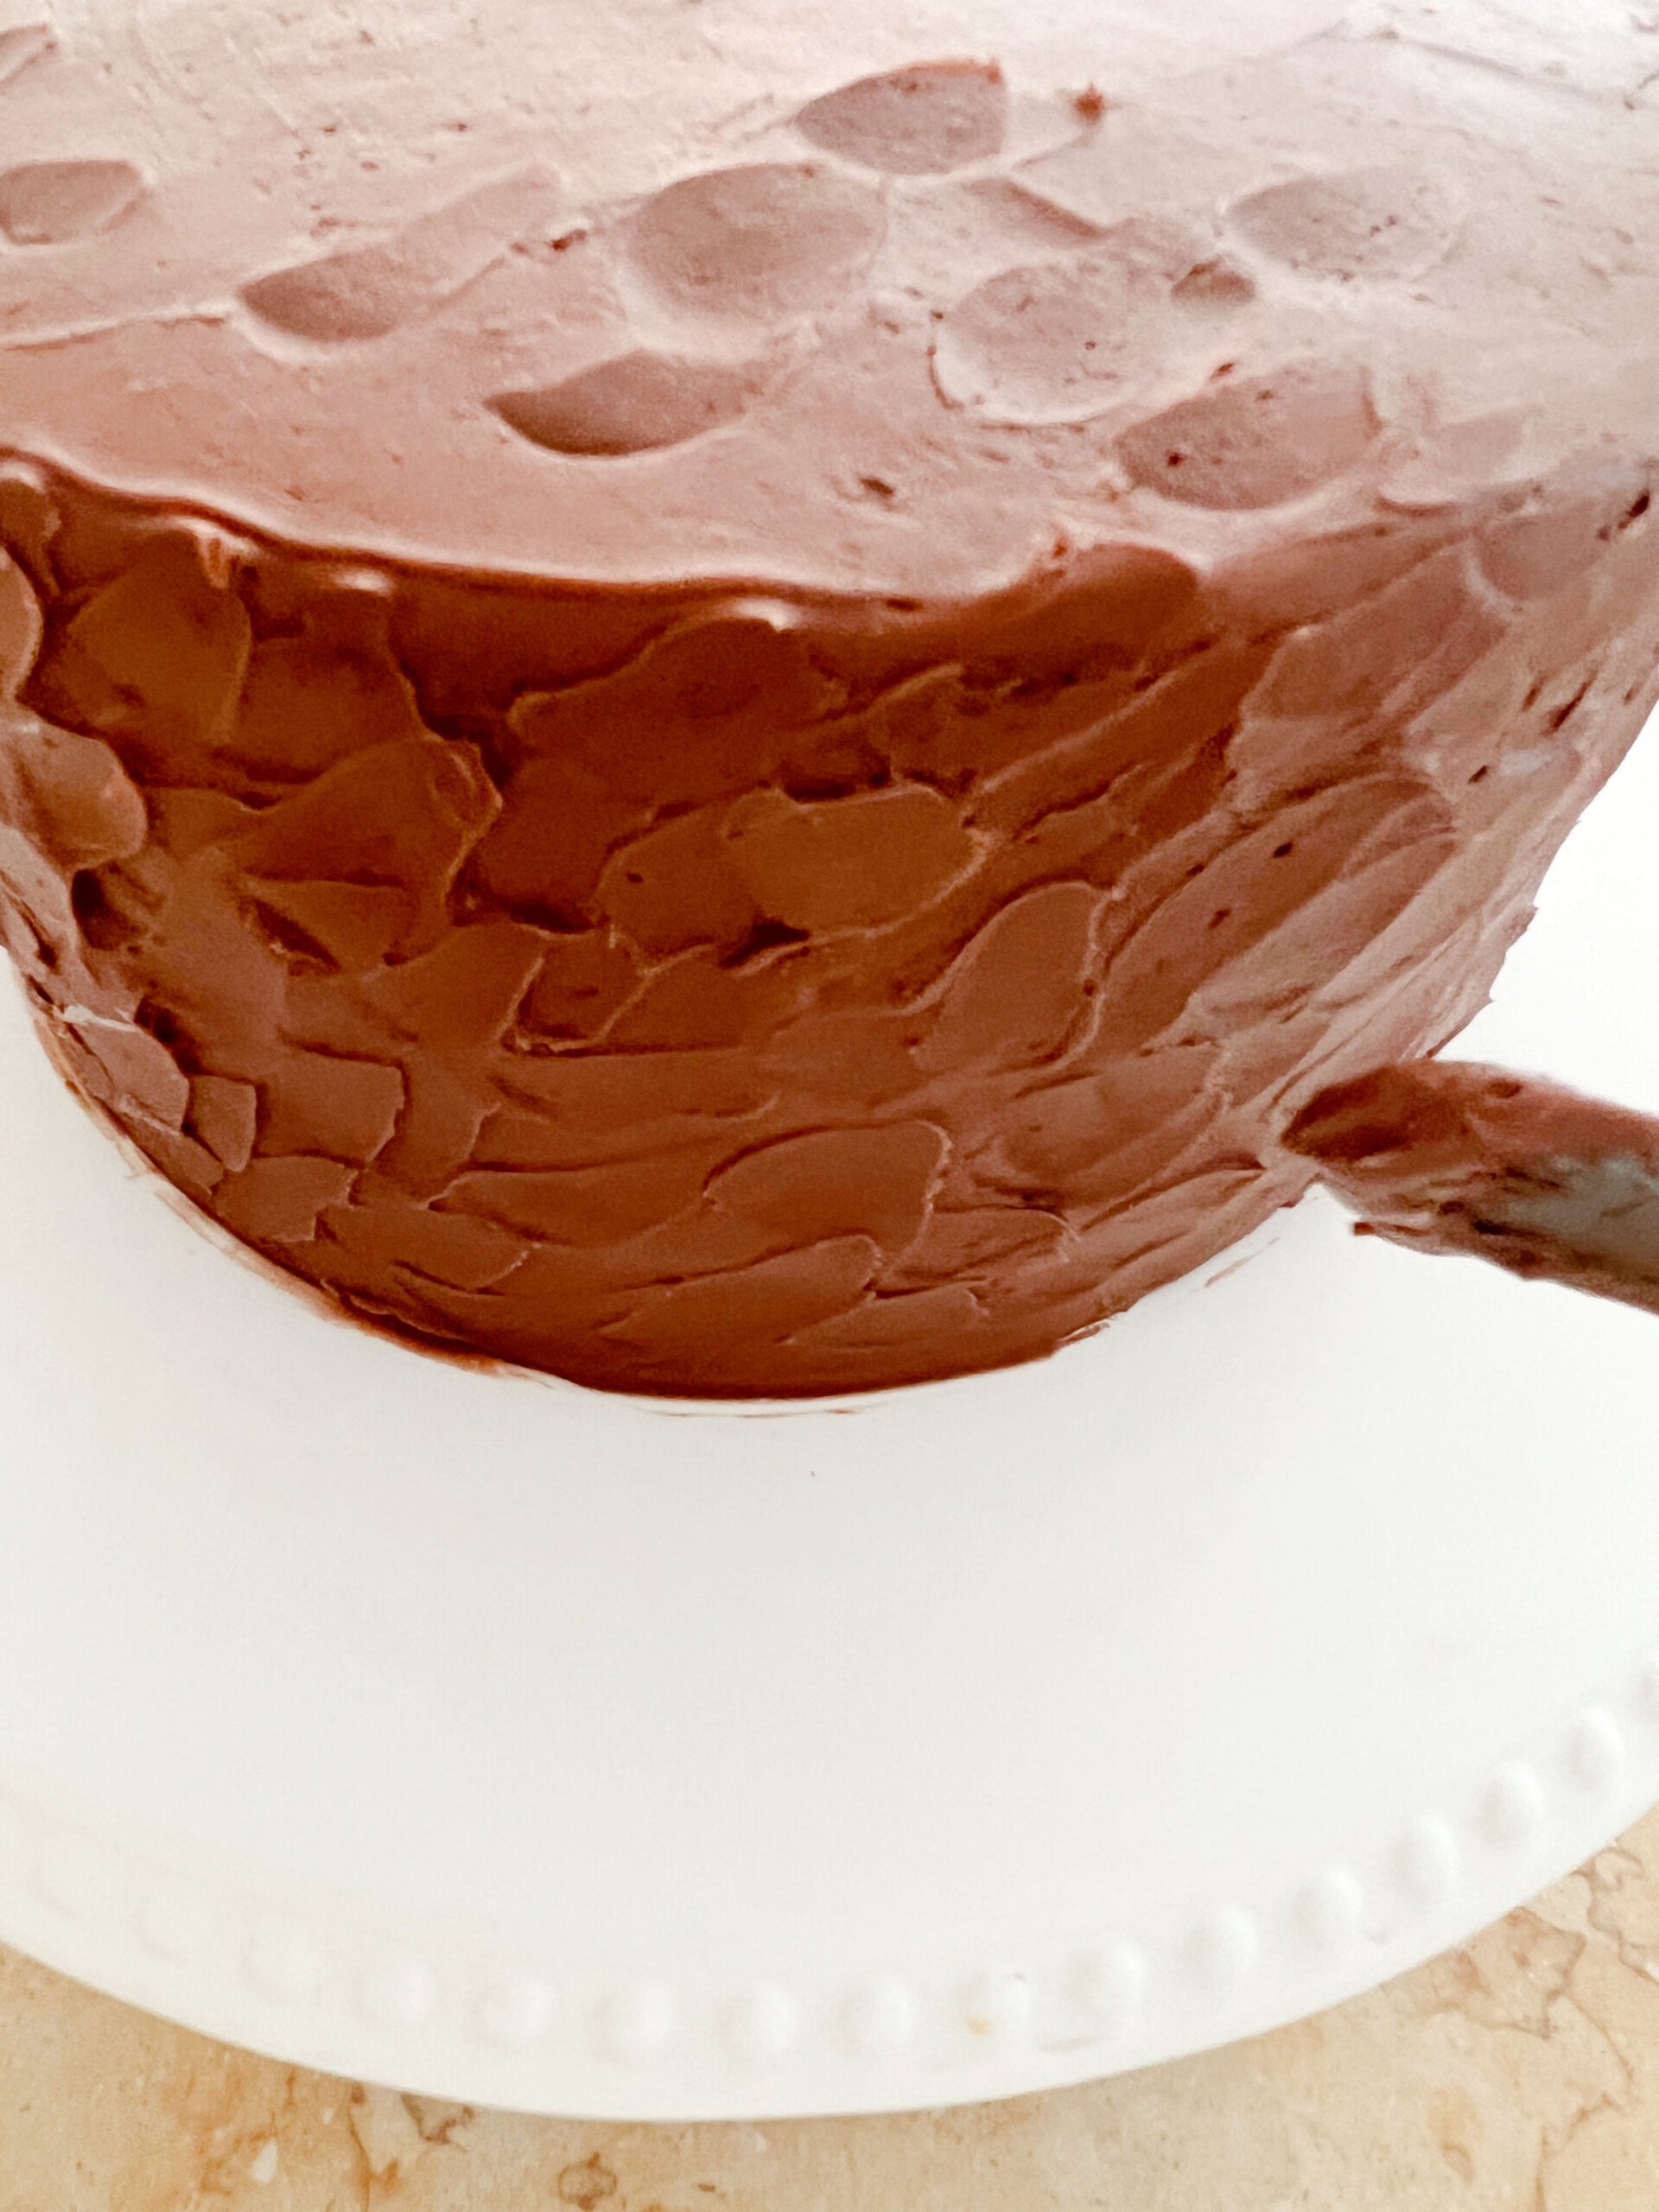
- Decorate the cake however you like, whether with a smooth or textured finish! We are going with a textured design around the sides, and piping on top.
- After adding the second layer of chocolate buttercream to the cake, we used a bench scraper to smooth and even out the frosting. We then used a small offset spatula to texture the buttercream around the sides of the cake.
- Our chocolate buttercream recipe makes a good amount of frosting. So, we had plenty of buttercream for decorative piping on top as well.
- For this design, we used a large star (1M) piping tip to pipe shells over the top of the cake. I started with the outer edge of the cake, piping shells that pointed inward, and then repeated row by row until the cake was covered.
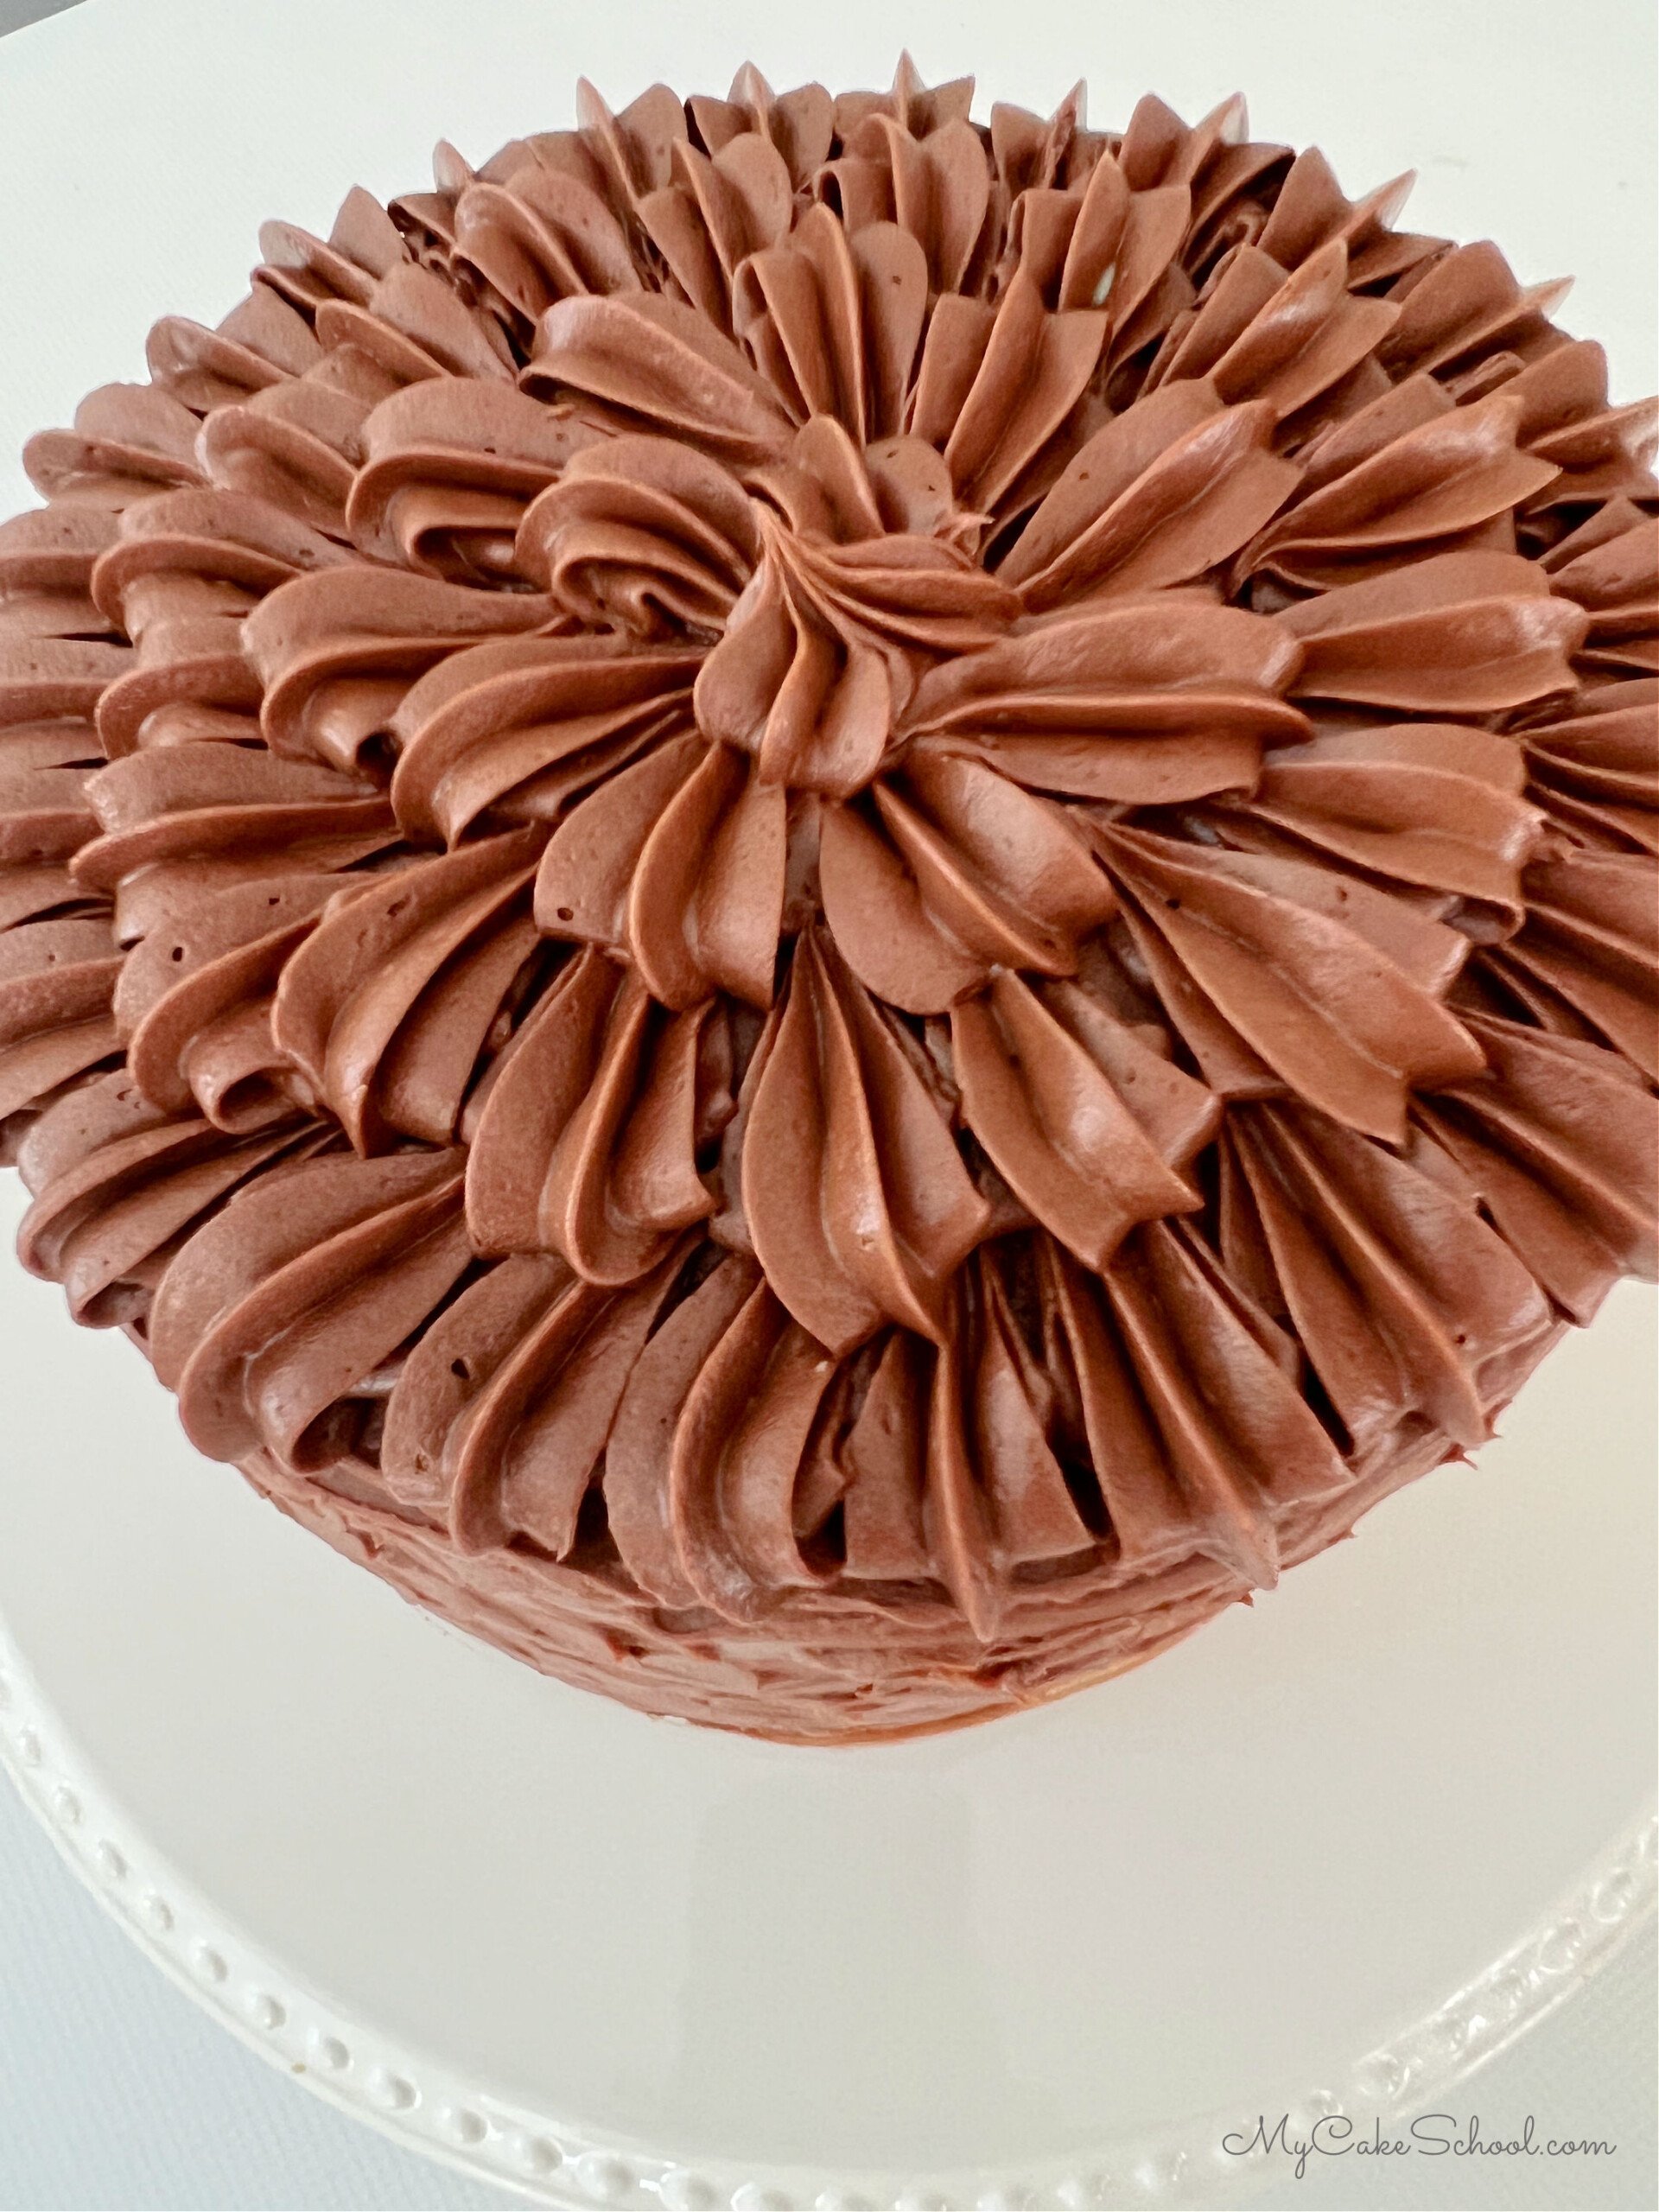
- (If you are new to piping with star tips, you may enjoy our video on the Basics of Star Tip Piping!)
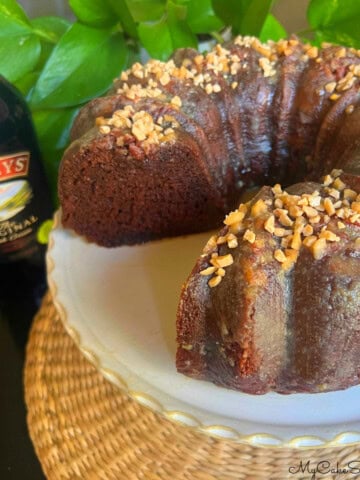
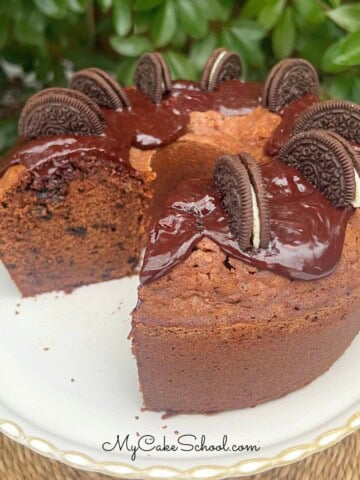
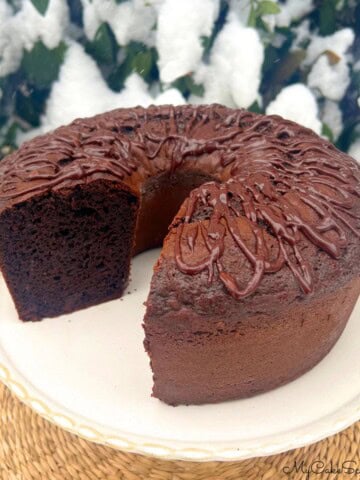
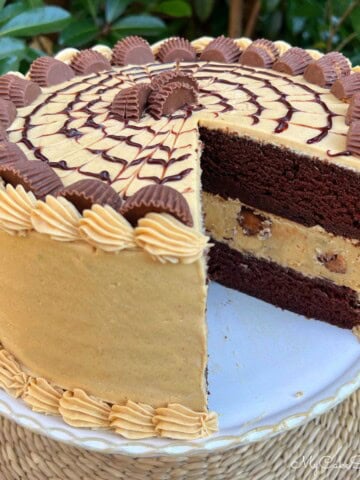
More Chocolate Cakes
If you love chocolate cakes, we have so many favorite chocolate cake recipes that we've made over the years!
Some of our most popular are our German Chocolate Cake, Black Forest Cake, Chocolate Bundt Cake, and Chocolate Truffle Cake. We also have a great Easy Boston Cream Pie from cake mix if you want just a bit of chocolate.
Thanks so much for stopping by! We hope that you enjoy this Marble Cake Mix recipe.
Don't miss our other cake mix recipes, and favorite cake recipes from scratch as well! Also, we'd love for you to scroll through our collection of free cake decorating videos!
Have you made this? We would LOVE for you to leave a ⭐️ rating as well as a comment and photo below! We really appreciate your feedback!

Marble Cake Mix Recipe
Ingredients
- 1 (15.25 oz) Box Yellow Cake Mix (We used Duncan Hines Moist Yellow Cake)
- ½ cup (60g) All Purpose Flour
- ½ cup (100g) sugar
- 1 (3.9 oz) small box Vanilla Instant Pudding Mix. (We use Jello Brand-Do not make pudding, just add the dry powder.)
- 1 cup (227g) Sour Cream
- ½ cup (108g) Vegetable Oil (we use canola)
- 1 ¼ cup (302g) water
- 3 large eggs, room temperature
- 2 ½ teaspoons (10g) vanilla extract
For the Marbling
- 2 cups of the yellow cake batter
- 4 Tablespoons Unsweetened Cocoa Powder
- 4 Tablespoons Hot Water
For the Chocolate Buttercream
- 3 sticks (339g) Unsalted butter, softened (do not soften butter in the microwave)
- 8 cups (920g) powdered sugar
- 1 cup (82g) unsweetened cocoa (not Dutch processed, measure then sift)
- ¾ cup (180g) milk plus 2 Tablespoons or more if needed to reach the spreading consistency you like
- 2 teaspoons (12g)vanilla extract
- 1 teaspoon (6g) salt
Instructions
- Preheat the oven to 325 degrees F. Grease and Flour three 8 inch round pans. As an optional step, we also like to line the bottom of our pans with parchment paper.
- In the bowl of your mixer, add the yellow cake mix, all purpose flour, sugar, and pudding mix. Whisk to blend.
- Add the remaining ingredients to the bowl. Mix on low speed for about 30 seconds.
- Scrape down the sides and bottom of the bowl as needed and mix on medium speed for two minutes. The batter should look well blended.
For the Chocolate Batter
- In a small bowl, dissolve the 4 tablespoons of cocoa powder with 4 tablespoons of very hot water and allow to sit for 3 minutes.
- Scoop two cups of yellow cake batter into a small bowl. Add the cocoa mixture and stir until well combined.
Filling the Pans and Marbling
- To marble, we divided about half of the yellow cake batter between the three cake pans. Then, we divided half of the chocolate batter between the three cake pans on top of the yellow cake batter (scoop/drizzle approximately ⅓ cup chocolate batter into each pan). Repeat with the second half of the yellow cake batter and the remaining chocolate batter. Run knife through the pans a few times to marble the batter. Be careful not to do too much marbling as the batter may lose the effect. Tap pans on countertop if needed so that the batter will spread out evenly.
- Bake at 325 for approximately 20-25 minutes or until the layers spring back when lightly touched, or a toothpick can be inserted and removed with just a few moist crumbs attached. Baking times may vary depending on your oven and the type of pans used. Dark pans may bake slightly more quickly.
- Allow the baked marble cake layers to cool in their pans on a wire rack for 10 minutes before turning out. Make sure that they are completely cool before frosting!
For the Chocolate Buttercream
- Add butter and mix on low to medium speed until smooth. Add vanilla and blend into the butter. Add powdered sugar, salt, and cocoa powder.
- Add most of the milk. Begin mixing at low speed so you won't have a cloud of powdered sugar in your kitchen.
- Continue to mix adding remaining milk as needed. It may take 5 to 6 minutes to reach the smoothness and consistency you like. It will take longer if using a hand mixer. As you mix the frosting will become very smooth. You can add additional milk (1 Tablespoon at a time) if the frosting is too thick or additional powdered sugar if too soft.
Assembling and Decorating
- Place the first cake layer on the cake base or pedestal. Spread with chocolate buttercream. Repeat for the next two cake layers. Fill in any gaps between the layers with frosting.
- Next, apply a thin layer of buttercream on top and around the sides of the cake. At this point, we like to chill the cake for 15 minutes in the freezer or longer in the refrigerator.
- Apply the next layer of frosting. Decorate however you like! We smoothed around the sides with a bench scraper and added texture with a small offset spatula. We then piped large buttercream shells on top with a 1M piping tip. We began on the outer edge of the cake and worked our way to the center.
Storing and Serving
- The cake is fine for two days at room temperature in an airtight container (and then move to the refrigerator). If your house is very warm, it is best to refrigerate.
- If refrigerating the cake, remove from the refrigerator two hours before serving for best taste and texture, so that the cake and frosting have time to warm and soften.
will this recipe work in a 9x13 pan instead of making layers?
Hi Brenda, yes that should be fine!
How long should I bake in a 13 x 9 pan?
Hi Sheryl, I would use the back of the cake mix box as a guide, knowing that it'll be a bit longer because of the added ingredients. My guess would be at least 35 min-40 min.
Awesome!! I’m so happy for finding this recipe!! I’m making it tomorrow for my grandson’s 6th birthday.🎉
Excellent cake!
Thanks Cynthia!
I have only 9 inch pans? Should I use only 2? or can I use all 3 and change temp and or time?
Hi Iris, either way should be fine! It would just be slightly less time in the oven for three 9 inch layers, or slightly longer for two 9 inch cake layers. I hope that you enjoy the recipe!
How many cups of batter does this produce? How much per pan?
Hi Julia, this recipe will have about 6-6.5 cups of cake batter total. About two cups of that will become the chocolate batter, leaving about 4-4.5 cups of the yellow batter. You'll just divide the batter between the number of pans you are using, layering them as we describe in the recipe card.
Easy, moist and delicious. I made it for someone’s birthday and now people request it!
I haven’t made this but want you to bake in a Bundt pan…..will that work.