Hi everyone! We are excited to share a new Christmas cake decorating tutorial with you!
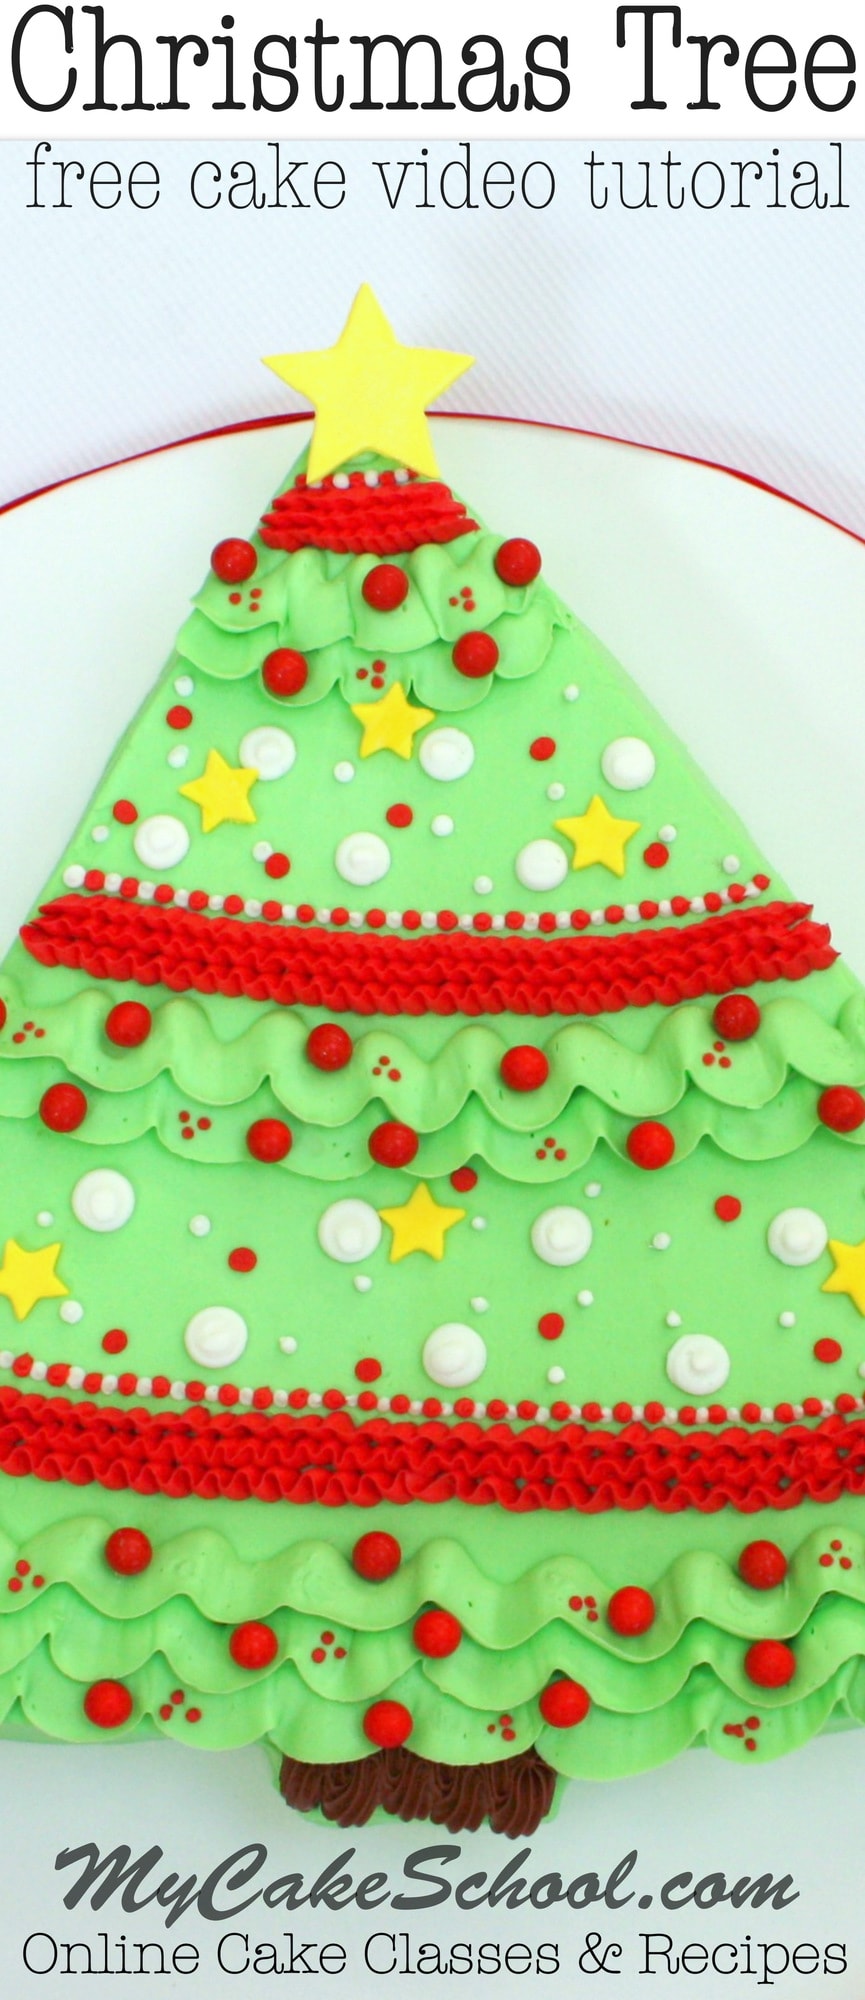
This buttercream Christmas Tree Sheet Cake could not be easier to create, and I love the simple, sweet design!
This Christmas Tree cake design is perfect for holiday parties, and kids would love to help decorate the tree with candies and sprinkles! There are so many fun decorating options!
Since the steps are so simple, I've made a short & quick cake video tutorial set to music. Make sure to check out my materials and notes beneath the video. Enjoy!!
How to Make an Easy Christmas Tree Cake
You can find the full, printable how-to card as well as our Christmas Tree Cake Video Tutorial further down in this post. Here is a quick rundown of our steps!
- We started with a 9x13 sheet cake. The great thing about this design is that it will work with any size sheet cake!
- Slice Sheet Cake diagonally with one slice from corner to corner. It is easiest to do this when the cake is partially frozen so that you can easily handle the sliced sections of cake.
- Piece the two sections together to form a large, wide triangle shape as demonstrated in the video. Our tree was placed on a 16 inch cake base. Use your cake base of choice!
- Trim away the very bottom of the Christmas tree, with the exception of a little tree "trunk". (This step is optional but I liked the rounded shape that it gave to the tree at the bottom.)
- Frost the cake with green buttercream frosting. We used our crusting Classic Vanilla Buttercream which we smoothed with a Viva paper towel after it had crusted. The options are endless here. If you'd rather not have a smooth look, add texture with your spatula instead, or pipe on buttercream stars and ruffles!
- We piped on ruffles here and there, added various sprinkles, and topped the tree with a fondant star.
More Favorite Christmas Cake Tutorials!
This easy Christmas Tree Cake is just one of many cake tutorials that we've created over the years! We've made countless step by step blog tutorials, free cake video tutorials, as well as Christmas cakes for our Member Section over the years.
You can find a roundup of our FAVORITE Christmas Cake designs in our Christmas Cake Roundup! You are sure to find even more fun designs that would be perfect for any skill level of cake decorating! Have fun scrolling through!
Favorite Christmas Cake Recipes
Don't forget to visit our Recipes Section for our favorite tried and true cake recipes!
For our best Christmas Cakes (lots of traditional go-to recipes, spiced cakes, eggnog, and more) we have a great roundup of favorites! You can find them here: Christmas Cake Tutorial
LEARN CAKE DECORATING WITH MY CAKE SCHOOL
Thanks so much for stopping by! If you give our Christmas Tree Cake a try, we would love for you to leave your comments and photos below!
Make sure to check out full collection of Free Cake Tutorials as well as our Favorite Cake & Frosting Recipes! Happy baking!
Easy Christmas Tree Cake Tutorial

Learn how to make this cute and EASY Christmas Tree Cake from a simple sheet cake! This is such a fun cake to create. Recreate our design or have fun creating your own Christmas tree decorations with sprinkles, candy, piped buttercream, and more!
Materials
- 9x13 sheet cake (although this can be easily adapted for any sheet cake)
- Buttercream Frosting- We used our Classic Vanilla Buttercream Recipe
- Coloring Gels - We used Americolor Mint Green, Super Red, Yellow, Chocolate brown
- Candy/Sprinkles of Choice- We used Red Sixlets and Christmas Confetti sprinkles
- Piping Tips- Wilton 125 for large ruffles, Wilton 102 for red ruffles, Wilton 3 for small red & white dots, Wilton 21 for trunk
- Fondant- Optional. Used along with a small & medium sized star cutter to make small stars & larger star on top.
- Food coloring pen- optional, but helpful when marking my cake for carving
- Waxed paper- Optional, but helpful for keeping the platter clean if the cake is not resting on it's own cake board. See details in Notes.
- Cake Base- I used three 16 inch cake cardboards glued together and wrapped with a white plastic table cloth (stapled on the underside to secure)
- Viva Paper Towels- Optional, but if you are using a crusting buttercream, it's an easy way to smooth your frosting!
Instructions
- Slice Sheet Cake diagonally from corner to corner. It is easiest to do this when the cake is partially frozen so that you can easily handle the sliced cake.
- Piece the two sections together to form a large, wide triangle shape as demonstrated in the video. Our tree was placed on a 16 inch cake base (see Materials above for details). Use your cake base of choice!
- Trim away the very bottom of the Christmas tree, with the exception of a little tree "trunk". (This step is optional but I liked the added shape it gave the tree.
- Frost the cake with green buttercream frosting. We used a crusting buttercream which we smoothed with a Viva paper towel after it had crusted. The options are endless here. If you'd rather not have a smooth look, add texture with your spatula instead!
- We piped on ruffles, added various sprinkles, and topped the tree with a fondant star.
Notes
My cake was partially frozen when I carved it. This makes it much easier to carve and handle.
When marking off my tree for carving, my trunk was centered & marked 2 inches wide and about 1 inch long. From the bottom two corners of the big triangle, I marked each side at approx. 2.5 inches. This gave a slightly curved bottom edge once carved.
When using a petal tip for the ruffled leaves, the small end of the teardrop shape is pointed towards you. For the red ruffles, the small end of the tip is pointing straight up.
I did not use a cake cardboard beneath my sheet cake but sometimes I do. It's up to you. If you decide to, you can carve your cake, place on a cake board, and trim away the excess board before decorating. Then, lift the decorated cake onto the cake base.
Since I decorated the cake directly on it's final cake base, I used sheets of waxed paper to keep the board clean. Be sure to just barely slide the waxed paper beneath the cake on all sides before frosting so that it can be easily removed later. I like to chill the cake to firm things up before removing the waxed paper.
I used the Viva paper towel method of smoothing. When using a crusting buttercream, frost final coat of frosting onto your room temperature cake. Allow to crust (approx 10 mintues). Then smooth over with a Viva paper towel. Viva brand has no impressions or quilting and so it makes the frosting nice and smooth. The hot knife/spatula method is another good option for smooth frosting.
*This is a very forgiving design. Don't worry too much about perfectly smooth frosting as you'll have lots of ruffles and decorations to fill the cake! You may even decide to fill the cake from bottom to top with ruffles which would be a great look too! ;0)
Thank you for stopping by! I hope that you enjoyed the video!
Super cute! Love it! Quick and easy! Very creative and clever and always! :)
Thanks MsGF!! xoxo
SO pretty Melissa the perfect holiday cake!
Thanks Melissa!! xoxo
Love to see a sheet cake now and then. It is delightful, colourful and perfect for a holiday crowd. Love it.
Super cute!!!
Thanks Baba & Pamela! ;0)
I love it perfect for my Christmas