Sweet Santa Claus Cupcake Cake
Today, I'm going to demonstrate an adorable Santa Cupcake Cake! I noticed recently that we don't have nearly enough Santa themed cakes! That just won't do!
So today, you'll learn to make a Santa that is sure to bring smiles (and deliciousness) to your Christmas dessert tables! We hope that you enjoy the tutorial!
Table of Contents
How to Make a Santa Cupcake Cake


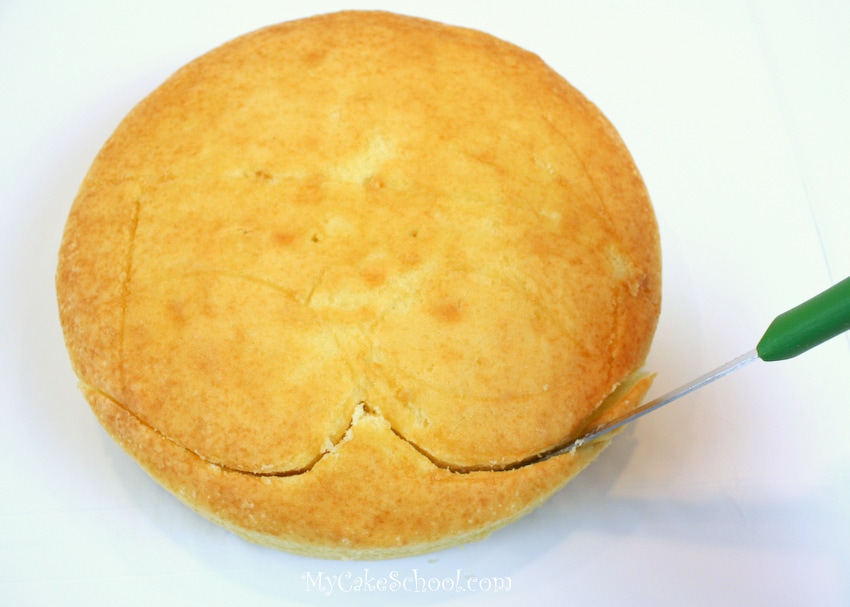
Carving the Shape for the Santa Face and Hat
- First, I began with an 8" layer of white cake, approximately 2 inches thick.
- You may notice a very faint outline of Santa's face--I drew this with a toothpick so that when it comes time for my buttercream, I'll have a basic map to follow.
- I then followed the bottom outline of Santa's mustache with a sharp knife and cut away the excess.
Piping on the Frosting
- Now, time to start frosting! When I need to frost my cakes by section or in a particular shape, I find it easiest to outline the shape first and then fill in.
- So, this is what is happening in the photo below. I outlined & filled in the small section that will become Santa's face using a crusting vanilla buttercream (tinted with Americolor Copper coloring gel).
- Next, I piped with a medium round tip (Wilton 12).

Smoothing the Buttercream
Since I am using a crusting buttercream, I used the Viva (brand paper towel) method of smoothing. Another popular method for smoothing is the hot knife method, or you can simply frost as smoothly as possible using a small spatula.

For the Santa Hat
Once again, outlining and filling in with my Wilton tip 12-- this time, using Americolor Super Red.

Smoothing the Frosting on Santa's Hat
Next, I smoothed the buttercream with my Viva paper towel. (Viva paper towels don't have any impressions, which is why they work so well for smoothing buttercream after it has crusted a bit-it takes about 5-10 minutes to crust.)
From this angle, you can see that I piped my red frosting around the sides of the "hat section" of the cake. You can also see that I brought one side of the hat down lower, since Santa's hat has flopped to the side.

Piping on Additional Details
More outlining and filling in with a Wilton tip 12. The mustache is going to have more texture, so no smoothing this time around.

I added a few extra lines with my sharp knife, but that's completely optional. Just wanted to get some nice texture.

I added some white fur trim to the hat using the Wilton 12 once again. Using an up and down motion as I piped gave it this fluffy look. I also gave Santa some hair on the left side of his head. (The right side will be covered by his hat).

Decorating Santa's Face
Santa's eyes are chocolate chips turned upside down, and dotted with small dots of buttercream to give them a little sparkle. ;0)
His nose is pink buttercream (Americolor Deep Pink with a touch of my red frosting), and piped with a Wilton 10. Now... I spy cupcakes!

Cake Board and Cupcake Placement
I moved my Santa cake to my final cake board, which is three half-sheet cardboards thick and wrapped with a plastic white tablecloth.
I was able to easily move the Santa face to the board because it was already on it's own cardboard circle cut to the size of the cake. If you'd rather, you can decorate your cake on the final board/platter from the start.
As you are planning out the cupcake placement, stagger them so that the spaces in between are a small as possible. You'll also want to put a small dot of buttercream on the bottom of your cupcake liners as you place them on the board. This will help everything to stay in place.
We had several extra cupcakes--I wound up using thirteen, but of course you can use fewer or more depending on how many you have and how many you need.
Our Santa Cupcake Cake is really coming together!

Frosting Santa's Beard of Cupcakes
Next, I outlined my cupcakes with white buttercream using my Wilton tip 12, and then frosted over the cupcakes as one.
The frosting I used today was just a basic medium consistency. If it spreads easily and holds it's shape nicely, it's perfect.

Next, I smoothed his beard with a piece of Viva paper towel. This is an optional step if you prefer texturing everything with a spatula, that would be cute also!

After smoothing, I added a few extra lines with my knife and then some long curls of icing using the Wilton 12.

Final Details
Here's a closeup of Santa's face. I used my toothpick to give him some tiny wrinkles around his eyes (smiling eyes!), and gave him small eyebrows using a small round tip (Wilton 2).
Can you see the large red sprinkle/candy that I pushed beneath his mustache for the mouth? We'll use more of these red sprinkles for holly berries soon.

After staring at Santa's face for a while, I decided that what he really needed was rosy cheeks. ;0) -- I used a dry paintbrush to carefully apply (watermelon) pink petal dust to the crusted buttercream. Of course this is a completely optional step, but I like it!

Chocolate Candy Coating Holly and Candy Berries
For Santa's hat, I decided to add a couple of (green Wilton candy melts) holly leaves! I just piped the melted candy melts into holly leaf shapes with a Wilton tip 3 onto a parchment lined cookie sheet.
I made way more than I needed... ;0) --then, popped into the freezer for five minutes.

Finally, I added a few of our red sprinkle candies and chocolate holly leaves to Santa's hat, and created a couple of "wrinkles" to create folds in the hat using a toothpick.
Another last minute addition that I made was to pipe a little bit of red frosting (using a Wilton tip 12) onto my cake board, close to the base of the cupcake liners just to give the appearance of shoulders. Now, he is ready!
Isn't he the cutest?! I love this sweet Santa cupcake cake!

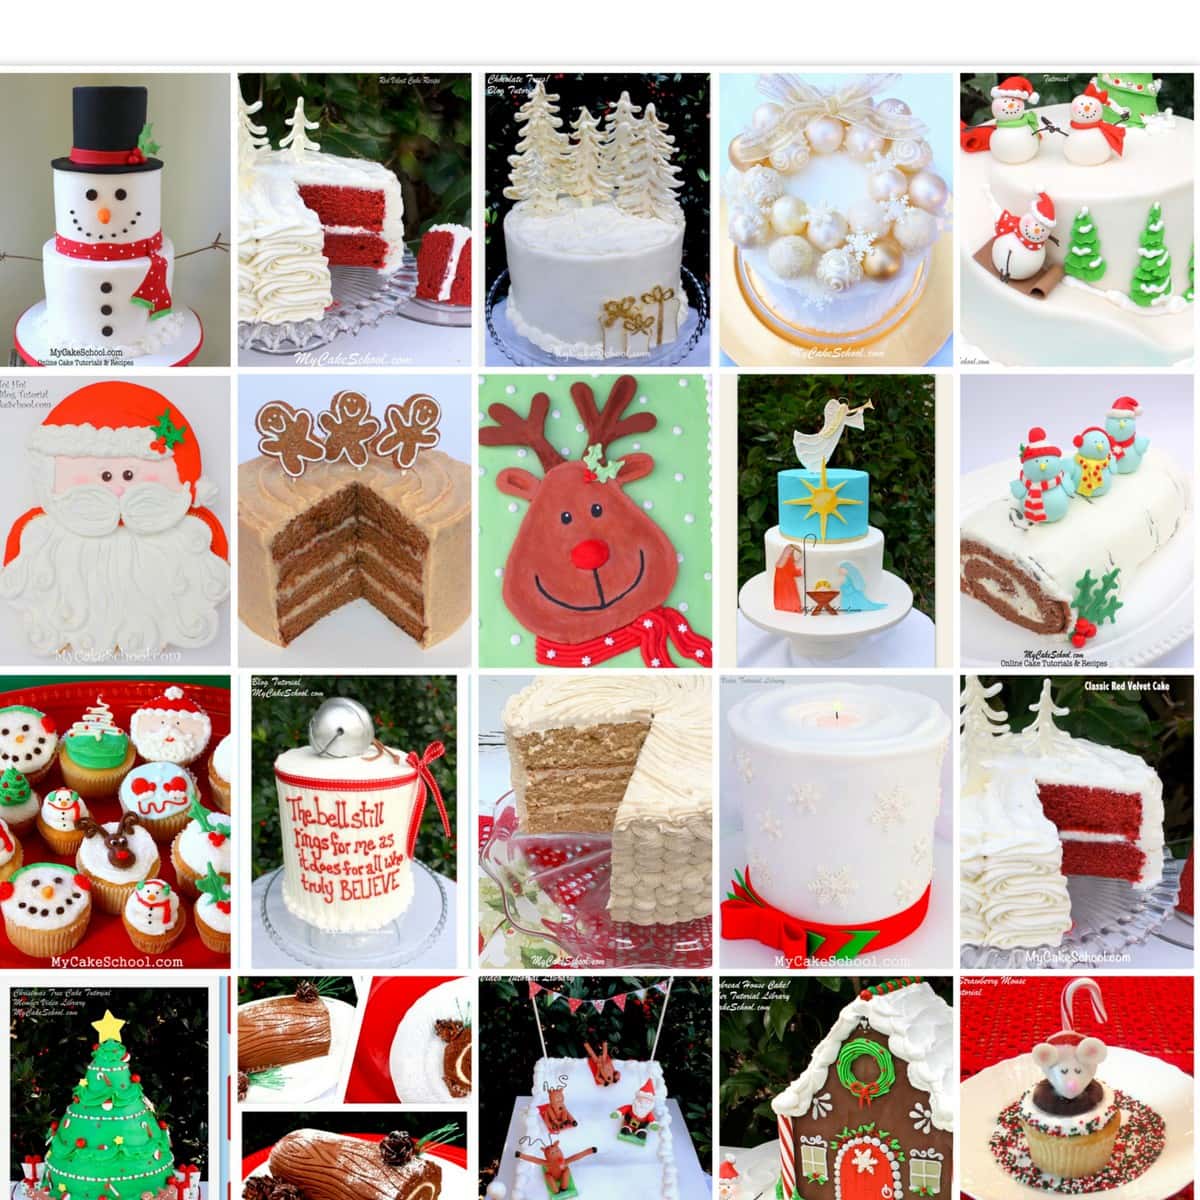
More Christmas Cakes
We have made many Christmas cakes tutorials over the years! I'll link to a few favorites below, but don't miss our full collection of the best Christmas and Winter Cake Tutorials!
Loopy Christmas Bow Cake- Free Video
Christmas Village Cake- Free Video
Sweet Santa Cake- Free Video Tutorial
Easy Christmas Tree Sheet Cake- Free Video
Thanks for stopping by! We hope that you enjoyed the tutorial! Don't forget to check out our Recipes Section for our full collection of FAVORITE cake, frosting, and filling recipes!
Thanks for the cute idea! I made this for my family gathering. My icing was funny because it was dairy free and the margerine I used didn't like the food colouring but he was still cute and a big hit with the kids.
Hi Kristin, I think Santa is really cute, you did a great job on this. We are so happy you used the tutorial. Merry Christmas!!
Hello! Logistics question for a newcomer. In the very first photo of this blog, between the first and second row of the cupcakes, to the far left - there’s a gap. How do you keep the icing from falling through the gap? Is it simply the consistency of the icing you are using?
Regards,
Janie
Hi Janie, we use a medium consistency of frosting and it just seems to hold it's shape as it's frosted or piped across gaps. However, normally the gaps are not quite as large as the one that you pointed out. In most cases, you can stagger the cupcakes in a way that there is very little gap. ;0)
Okay! I used a very soft buttercream for the chocolate frosting and a stiff cream cheese buttercream for the laces but the laces just fell. through. the gaps. I had to peel it off carefully and patch things up. It worked out but I knew I had to figure something better out before next time.
Thank you for your sage advice!