Loopy Christmas Bow -Cake Video Tutorial
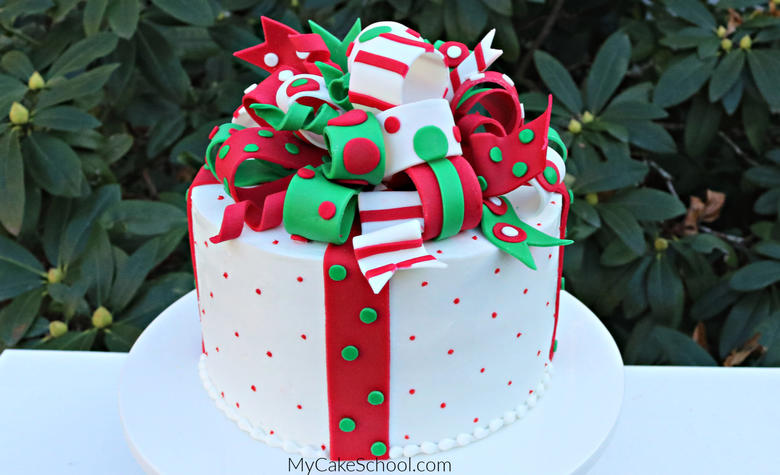
Nothing dresses up a cake quite like a loopy bow, and as far as I'm concerned, the bigger, the better!
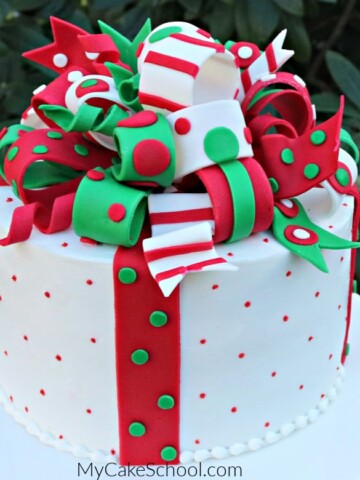
For today's Christmas cake design, I'll show you how to make a gum paste bow with fun and festive patterns and colors!
I've never made a loopy bow with several different patterns of loops before but I really love the look!
We loved making this cake. I hope you enjoy the tutorial, and keep this design in mind no matter what time of year-- with a color change or two, loopy bows will fit all sorts of themes and occasions!

Table of Contents
Materials:
Gum Paste- White, Red, Green (For the red and green, we used pre-colored fondant and added tylose powder to it until the consistency was more elastic and gum-paste-like.) I don't recommend straight fondant for the loops. They will take much longer to dry and will be more fragile.
Tylose Powder- (I used it for making a quick edible glue as well as for kneading into my green & red fondant)
Piping Tips- Tip 6 or similar round tip for border, Piping tip 3 for small dots, Tip 12 for cutting out polka dots.
FMM Multi Ribbon Cutter for cutting gum paste strips. Optional. My loops were approx 7 inches long and 1 inch wide. I made a couple for the top that were slightly shorter but that is optional. I needed about 15 loops. (Make a couple of extra in case of breakage.
Make a few tails and curls as well
Buttercream- We used classic vanilla but our fluffy vanilla buttercream is a good optional also.
Coloring Gels- We used Americolor Super Red for the small dots.
Cake base or pedestal of choice.
Miscellaneous- I like to use a cake turntable when frosting the cake. I applied the frosting with a small tapered spatula, and smoothed around the sides with my bench scraper.
Notes
**As you'll see in the video, I recommend using gum paste for loopy bows rather than fondant.
Gum paste bows dry much firmer and so they are less fragile. However, for our red and green loops, we used pre-colored fondant for convenience (I do this when possible when I need deep shades).
When using fondant for loopy bows, you must knead in tylose powder to give it more gum-paste-like characteristics.
Allow your gum paste pieces to dry 2-3 days to be on the safe side. In the video, I mention that mine had dried for about 1 ½ days.
They were firm but depending on your brand of gum paste or fondant as well as weather/humidity conditions, etc, dry times can really vary! Play it safe and give your pieces plenty of time to dry firm!
More Christmas Cakes
We've made so many fun cake designs over the years that we would love to share with you. Make sure to check out our collection of Favorite Christmas and Winter Cake Designs!
nbsp;

Such a fun and festive cake! Love it! Would look awesome on any Holiday Table :-)
Such a beautiful cake! Would you recommend using a doctored cake mix or a scratch recipe for this cake?
Hi Lea, Either recipe would be fine for the Bow.
Thank you!
Hello!
If i wanted to make a ruffle piece to then place around the border of a cake, would it be best to use regular fondant to afford me the flexibility of placing in a circle around the cake? It would seem to me that adding the tylose creates a firm ending that is then inflexible. Is that correct?
Regards,
JanieSweetCakes
Hi Janie,
You can try using straight fondant if you'd like, I usually will add just a little bit of tylose to the fondant when making ruffles (not as much as I would add when making loops or stand-up figures, etc.)- I do this so that I can roll it thin more easily.
However, if you'd like to try just straight fondant first and see how it goes, I would roll it thin and just let it set up for a little while (check on it every few minutes or so), until it is still flexible but easier to handle and ruffle, etc. ;0)
Perfect! Thank you so much!
I want to make this for Christmas but no one has Tylose powder, is there something else I can add to the fondant in place of the tylose? Thank you in advance.
Hi Marsha, CMC powder is similar- and then there is always the option of using straight gum paste instead (or a combination of the two).