Candy Pour Cake~ A Gravity Defying Cake Video Tutorial
In this free gravity defying cake video tutorial, I'm going to show you how to make an impressive and EASY gravity defying candy pour cake for Valentine's Day!
The techniques that we will demonstrate in this video can be used for endless design options. Gravity defying cakes are always going to bring the WOW factor. They are so much fun, and unexpected!

Table of Contents
Easy Gravity Defying Cake
Gravity defying cakes can sometimes be tricky and involve a trip to the hardware store. We are always looking for the easiest possible option that still looks amazing when it comes to cake decorating. So, today's cake construction couldn't be simpler.
I'm going to show you the easy way to build a gravity defying support system for cakes that features something suspended that is lightweight. Lightweight it the key word for this type of cake construction. ;0)
For today's cake, we're suspending a gift bag with candy spilling from it, but there are endless options: candy wrappers, empty soda or beer cans, plastic bottles, cartons, etc.
With Valentine's Day just around the corner, we thought that it would be fun to use a gift bag so that we could incorporate all sorts of candy rather than just one kind. I hope that you enjoy the video! We had so much fun making it!
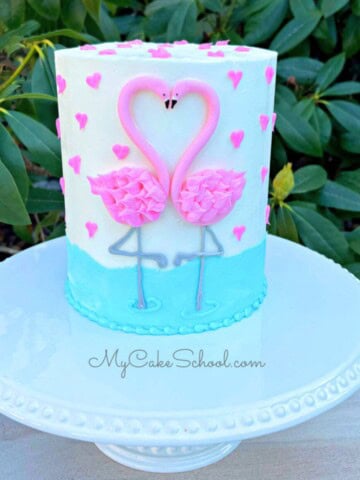
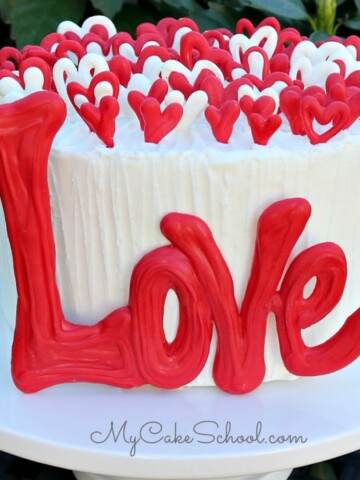
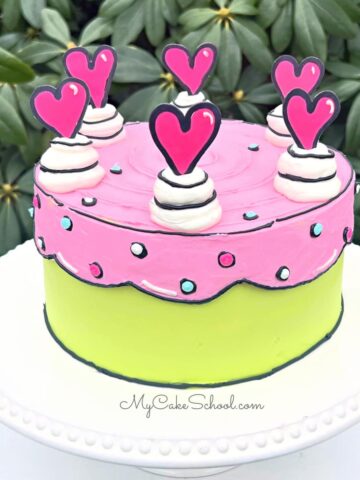
Don't miss our other Valentine's Day Cake Ideas and Recipes! We have so many fun cakes to share with you!
Materials for Easy Gravity Defying Cake
(*Our cake is a 3 layer White Almond Sour Cream cake, frosted with our Fluffy Buttercream Frosting recipe.)
3 Ten inch Cake Cardboards or Foam Core circles for the cake base
1 eight inch cake cardboard (I always have one board which is the same size of the cake.)
Hot Glue/glue (We hot glue our 3 boards together to create base.)
Something to wrap cake base as usual (We used a white plastic tablecloth)
Wooden Dowel, ¼ inch thick (ours was also 17 inches long.)
Pencil sharpener for sharpening the dowel (Keep an inexpensive one on hand for kitchen use only) ;0)
Gift Bag
Piping Gel and Small Paint Brushes
Assorted Candy of your choice
Fondant for building out the candy (Optional, but a big time saver and less candy will be needed.)
Miscellaneous: Spatula, Tape, Paper Towel or other "filler" for bag,

Cake Recipes for this Design
There are so many cake recipes that would be perfect for this easy gravity defying cake design! Some of our favorites are Chocolate Cake from Scratch, Red Velvet Cake, Milk Chocolate Cake, and Strawberry Cake.
If you like working with cake mix recipes, we have a great brownie cake, easy chocolate mousse cake, and marble cake mix recipe as well!
Enjoy the Video
Thanks so much for stopping by. We hope that you give this fun candy pour cake a try. Don't miss our full collection of favorite cake decorating tutorials as well as our favorite Valentine's Day Cake ideas!

Hello Melissa, I am Dolly Nandu from Maine State USA..... i am totally a beginner in cake decorating series....really loved the way of your tutorials...as they are very easy to follow...i have a question to you ... from where did you get the wooden dowel of 1/4" Diameter x 17" Long ... I am not able to find it specially 17" Long...can you help me in this....
Hi Melissa,
Can i expect a Reply..??? to my above question of dt. 17 Feb-16 @ 11:36 pm....
Hi Dolly, I'm so sorry your question was overlooked. We usually buy our dowels from Michael's but any craft store should have them. Ours originally was longer than 17 inches, we cut it down to that length. I'm sorry we didn't make that clear in the video.
Yes, sorry Dolly! That is so strange, I totally remember typing up a response to this... I must have never hit "post" before closing out the page- As Mom said in the comment above, our dowels came from Michaels. Just go with a length that you think looks good..it's okay if it isn't exactly 17 inches (although the 1/4 inch thickness is good...something thinner could snap). Have fun making the cake & thanks for following up ;0)
Thank you so much for replying me....& its completely fine don't have to say sorry Melissa & Bebe...
Well will try to look for it @ Michael's as its near to my house...
I made it!!! The tutorial was excellent, I am a beginner and was able to follow along and make it. Thank you for the tutorial.
Wonderful, Joanetta, we are so happy you made this cake. Thanks so much for your review!!
Hi Melissa, Renuka here. I am totally new to baking and your tutorials are of great help to me. But was wondering if you have any eggless cake recipe to share with.
Thank you.
Hi Renuka, I'm sorry- we do not have any eggless recipes. I would like to experiment with this!