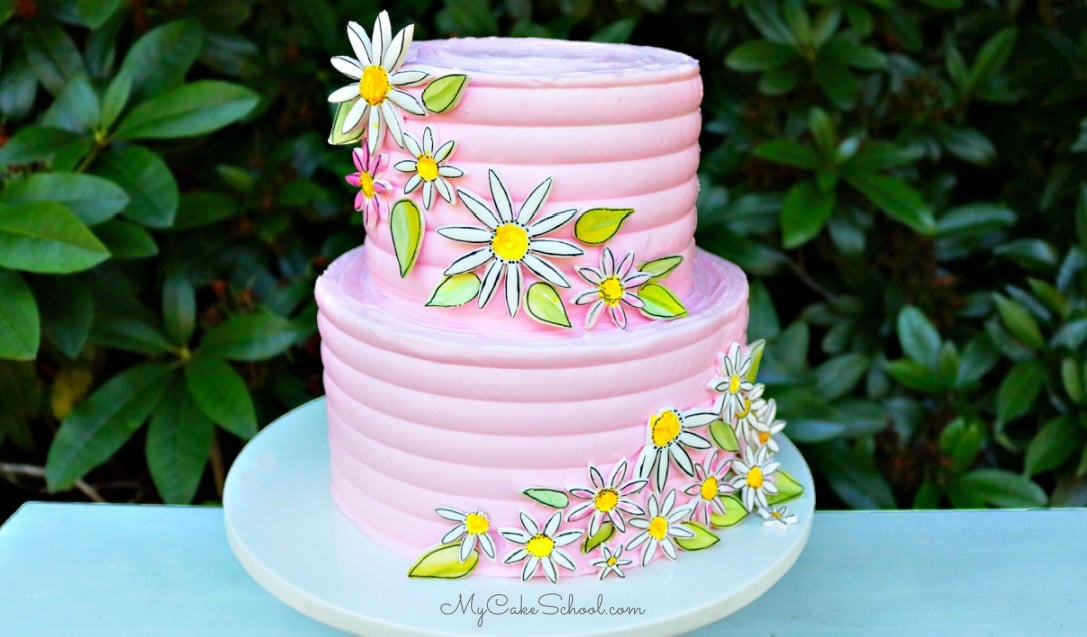
Painted Fondant Daisy Cake Tutorial
If you love cute cakes, today's simple Daisy Cake tutorial is sure to be a new favorite. It features a beautifully unique (and easy!) technique of decorating cakes with painted fondant cut-outs.
We love the dimension of this cake design, the painted look of the fondant, and the pretty contrast against our combed pink buttercream tiers!
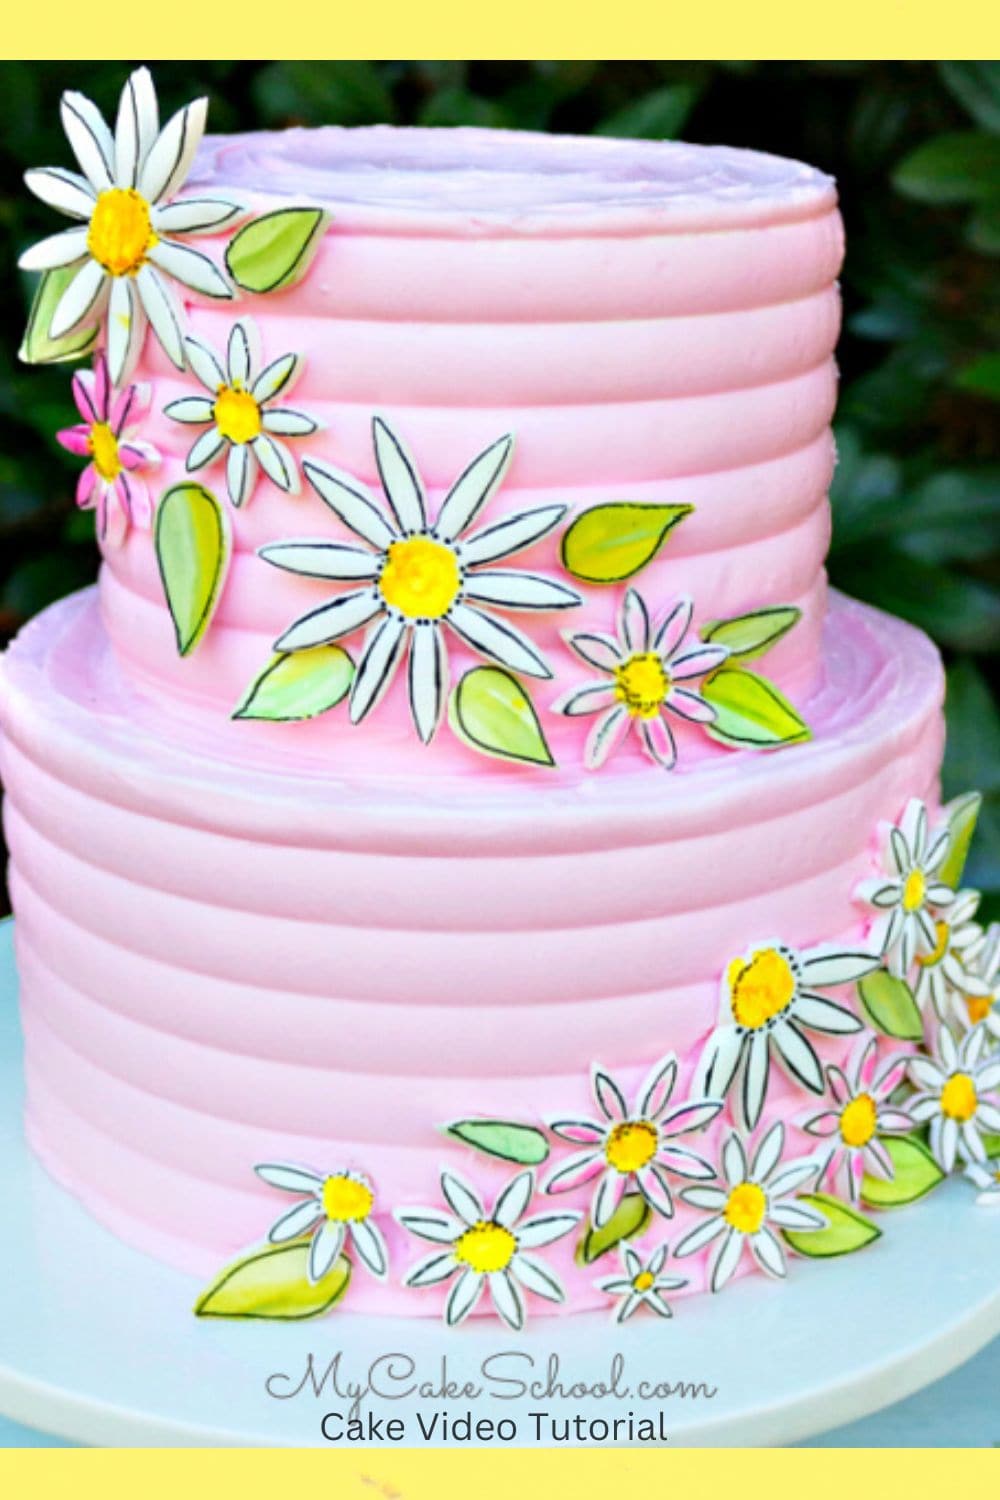
Table of Contents
Why we Love It
There are so many reasons to love this painted daisy cake. Here are a few!
- The design can be applied to any size of cake, sheet cakes, single tier cakes, etc.
- Beautiful and unique, yet very easy for any skill level!
- The fondant daisies add great dimension to the cake design.
- Can be easily changed up with assorted flowers, etc.
- Perfect birthday cake design, bridal shower cake, baby shower cake, and more!
How to Make a Painted Fondant Daisy Cake
You can find the full, printable instructions further down in this post, but here is a quick rundown of our steps!
In this video, we decorated an 8 inch/6 inch stacked tiered cake frosted with vanilla buttercream.
- First, I used my daisy cutters in various sizes to cut out daisies. My fondant was rolled to about ⅛ inch thickness (I also like to knead a little bit of tylose powder into the fondant before rolling it out so that it will set up more quickly.)
- I cut out teardrop-shaped leaves freehand- you can do this with a sharp knife or xacto knife.
- I created edible paint with coloring gels mixed with a little vodka or everclear. I painted the yellow centers. And I painted a few of the flowers pink. Allow to dry completely- because of the vodka, the "paint" will dry quickly.
- Paint the leaves.
- Once everything is dry, go in with a skinny food writer/food coloring pen to outline the petals and leaves.
- I stacked my tiers (on a pedestal) after freezing them for about 15 minutes or so-- you need to have supports beneath the 6 inch tier. I used 4 bubble tier straw supports in the 8 inch tier cut to the height of the cake and stacked the 6 inch on top. You can use a smear of buttercream to glue the 6 inch tier to the 8 inch.
- Add the daisies to the tiered cake by adding fat dots of buttercream to the back of the flowers and leaves.
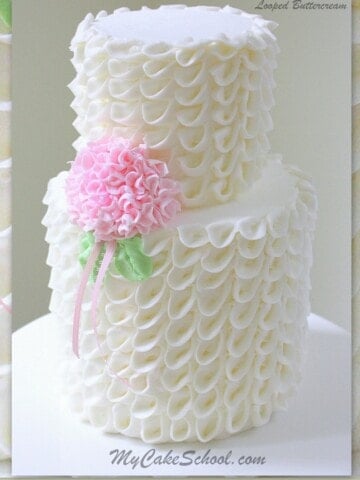
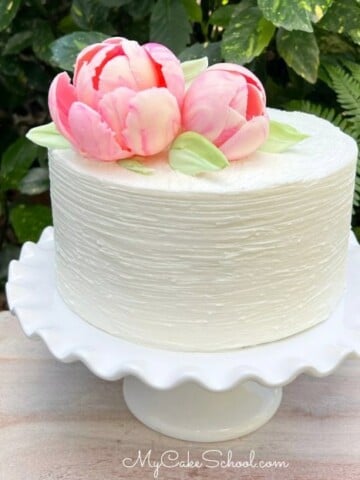
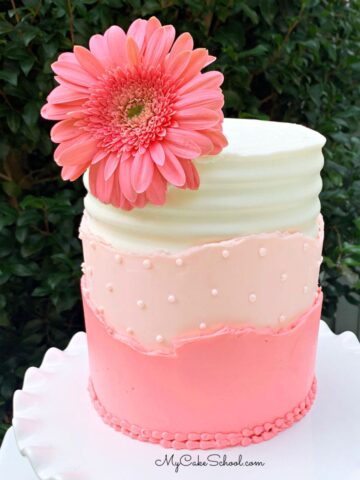
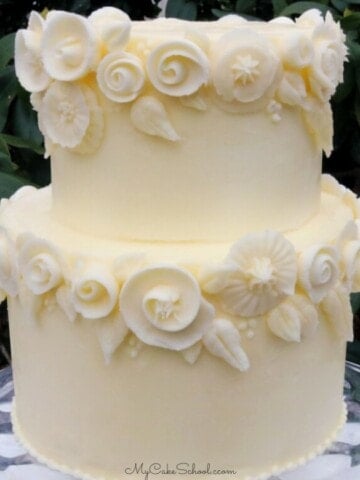
More Floral Cakes
We have so many more cake designs to share with you! Here are just a few more floral favorites.
Enjoy the Video
We hope that you enjoy this cute and simple painted daisy cake! Make sure to check out our full collection of cake decorating video tutorials!
We also have hundreds of cake recipes that would be perfect for this cake, including almond cake, white velvet cake, marble cake, strawberry cake, and so many more.
Have you made this? We would LOVE for you to leave a ⭐️ rating as well as a comment and photo below! We really appreciate your feedback!
OMGosh I just love that! :-) I have a cake for next week and I will definitely try this! Quick, simple and fantastic as always :-)
So pretty! I really, really like it!
@MsGF- Yay! So glad that you're going to give it a try!
@Professorcupcake- Thank you!! ;0)