Buttercream Irises- A Video Tutorial
Today, I'm going to show you how to make buttercream irises for your cakes!
After lots of experimenting, we're happy to share a favorite technique for these lovely flowers which is quick, simple & gives great results. Let the piping begin!
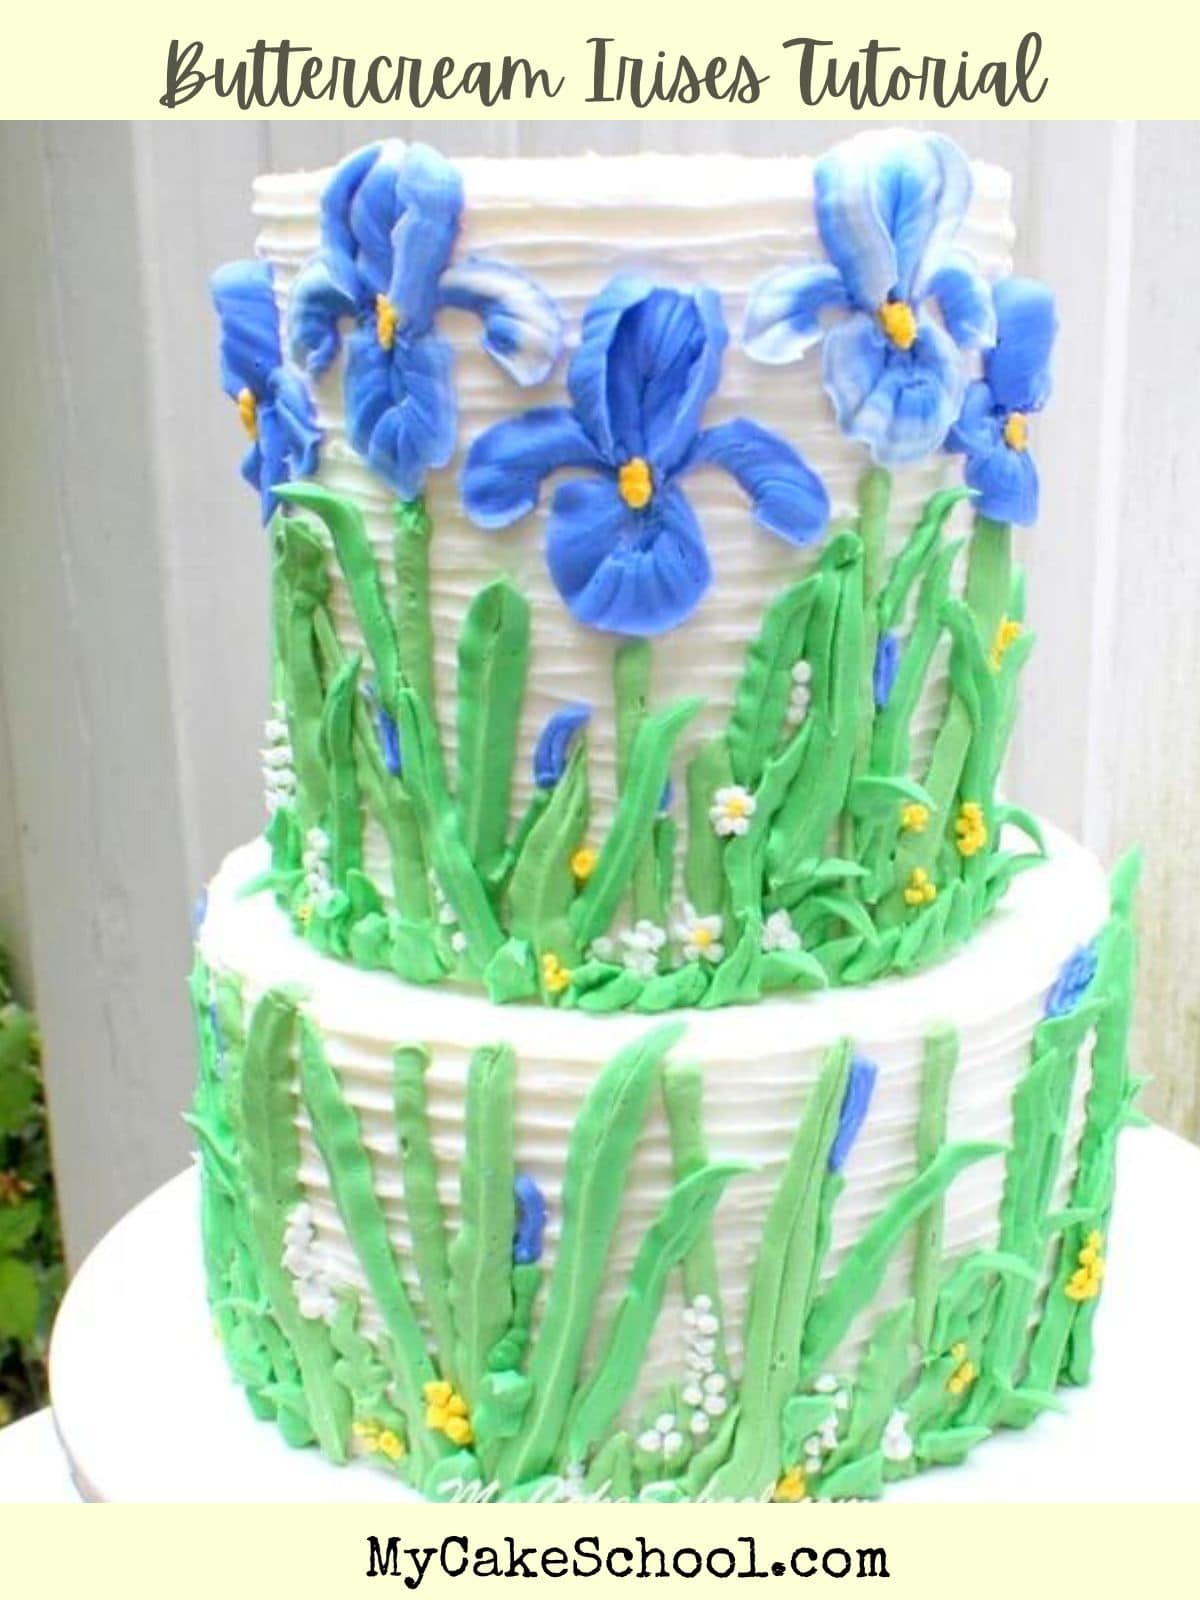
Table of Contents
Materials for Buttercream Irises
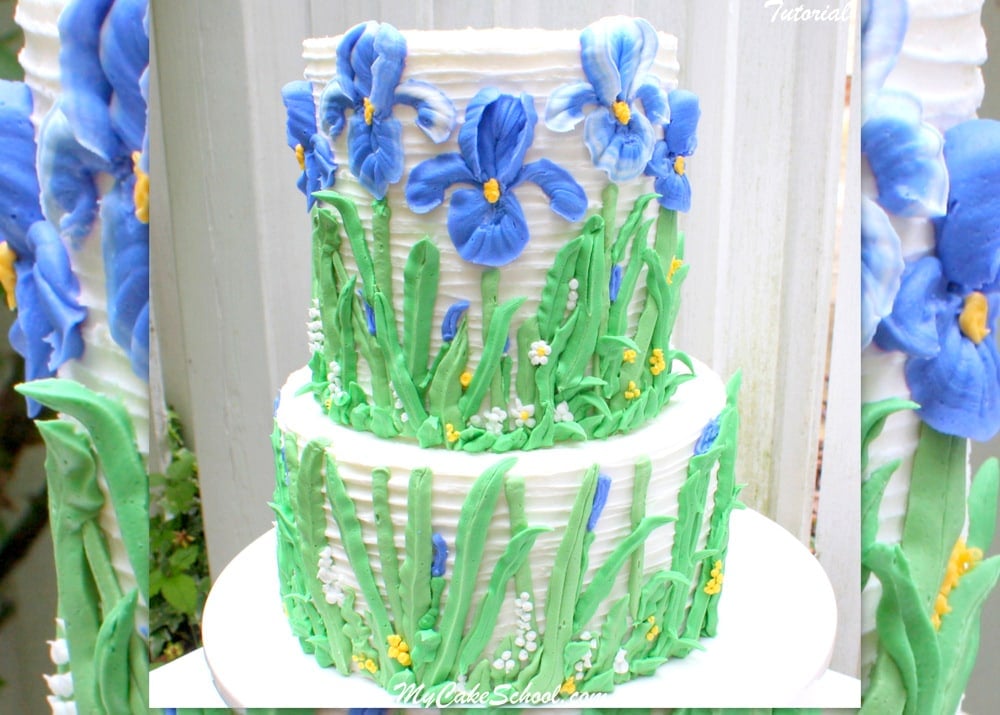
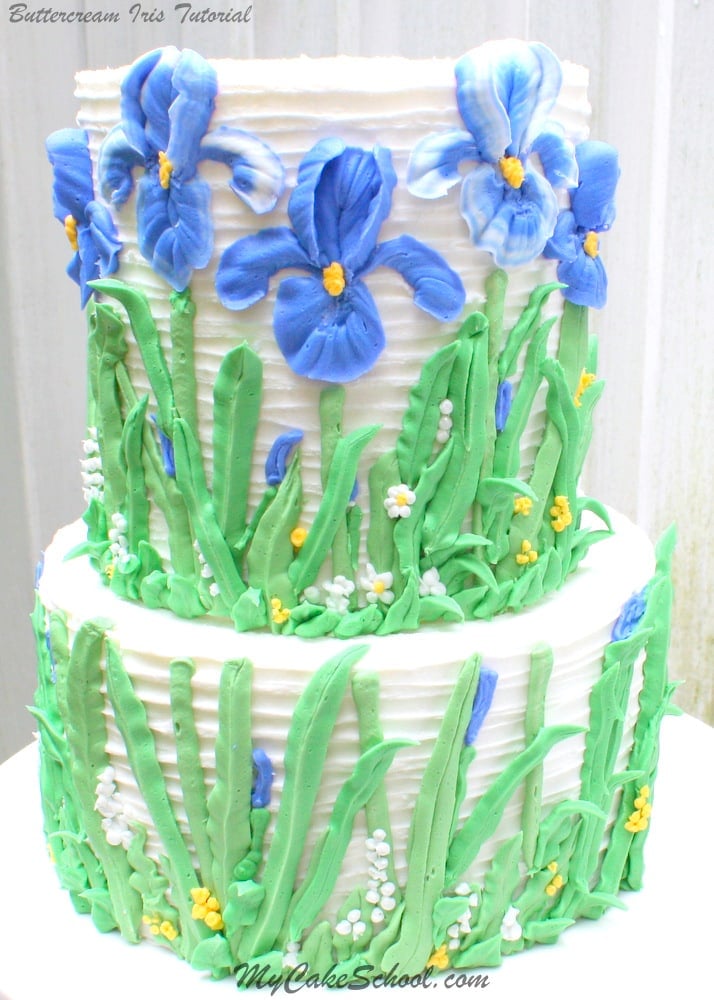
The tiers that we are decorating in this video are a 6" double barrel tier and an 8" tier. They are frosted with our Fluffy Vanilla Buttercream frosting recipe. Our Classic Vanilla Buttercream is a great choice also.
Fluffy Vanilla Buttercream (or any frosting of your choice that holds up nicely to piping)
Piping Tips: Wilton 104, & leaf tips 352 & 366
Coloring Gel: Americolor Violet, Royal Blue, Avocado Green, Leaf Green, Egg Yellow
Miscellaneous: Small paint brush, small tapered spatula (ridged buttercream technique), bubble tea straws (or your supports of choice) for stacking tiers), cake cardboards, etc.

More Buttercream flowers
In addition to today's buttercream irises cake, we've made several other floral cake designs! Here are just a few of our favorite buttercream flower tutorials:
Buttercream Roses (Shabby Chic Cake)
Buttercream Floral Wreath Cake
Buttercream Cactus and Succulents
Enjoy the Video!
Thanks so much for stopping by! We hope that you give these buttercream irises a try on your spring and summer cakes.
If you do, we would love for you to post a comment and photo below! Keep this design in mind for birthdays, bridal showers, Easter cakes, and more!
Very nice Melissa! Thanks!
Thank you Melissa and BeBe for another fabulous tutorial! I especially like the sparkle at the end of the video - made me giggle!
~Jennifer
Thank you Melissa and BeBe for this video. My mother's name was Iris, and she passed away in 2006. Her birthday is actually next week, June 1, and I wanted to do a cake to honor her. This couldn't be more perfect. Each time she would send someone flowers, it would have a purple/blue Iris in the arrangement as her signature. This time of year when all the Irises are blooming, she seems so near. You just don't know how much this video means. Thank you so much for this!!
~Donna
Thank you all so much for your nice comments! @Jennifer~ funny, when I remember, I put the sparkle at the end ;0) -
@Donna, your message was so touching. I love the story you shared of your mother always including an Iris in the bouquets she sent, I know she must have been a very special lady. Happy to have posted this in time for the cake you will be making. Sending hugs! xoxo
It is so pretty! I love it and the colors are so vibrant and different. Thanks again for a woderful tutorial!
Beautiful! Love Irises!
Very pretty
LOVE these flowers ! I haven't practiced because I'm in the middle of a cross country over. But now I think I'm going to make some practice buttercream and try this!!!
Love iris flowers. Thank you!!!
Thank you so much for this tutorial on the Iris flower. I am looking to try them as soon as possible, it is my daughter's favorite. Rose is my favorite with Iris a close second. I thought I would make an Iris cake for my daughter's birthday but I had already planned on decorating with chocolate leaves and chocolate roses on top. So can't wait till the next cake. Thanks again.
Thank you all for your comments!! So happy that you like the irises! xo
Loved the Iris flowers that you piped! So pretty and I hope to try to make them soon. Thanks. Oh yes, the audio of Melissa, was great on this video.
Thanks so much for your feedback, Carolyn! xo