Sweet Teddy Bear Cake- Free Video Tutorial
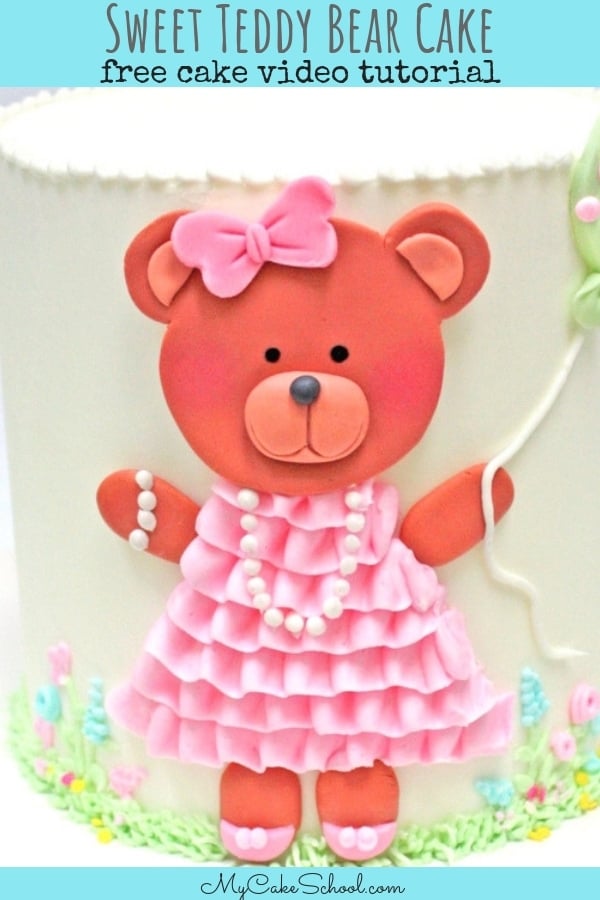
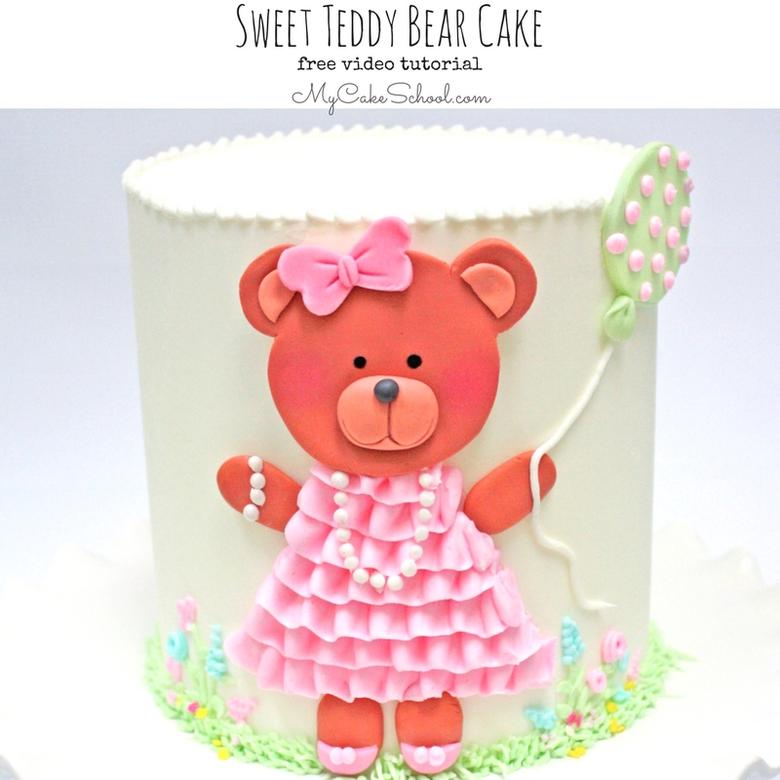
Today, I'm sharing a Sweet Teddy Bear Cake that would be PERFECT for baby showers and young birthdays!
We just love her sweet little face and ruffled buttercream dress! If you are looking for a cute and easy baby shower cake, this is a great one!

The cake in this tutorial is a 4 layer double barrel 6 inch cake, frosted in our Fluffy Vanilla Buttercream Frosting recipe. However, this cake design could be transferred to cakes of all shapes and sizes, and would even be adorable for a sheet cake!
This sweet teddy bear cake design is created by applying a fondant template to our buttercream frosted cake, however you could easily recreate the design using all fondant (and either crusting buttercream or royal icing for the piped accents.)
Be sure to check out our materials list & additional notes below. We hope that you enjoy the tutorial!

Sweet Teddy Bear Cake- Free Video Tutorial
This sweet Teddy Bear Cake design is SO cute and easy! Perfect for young birthdays and baby showers!
Materials
- Teddy Bear Template
- Fluffy Vanilla Buttercream
- Coloring Gels: Americolor Chocolate Brown and Warm Brown, Americolor Mint Green, Lemon Yellow, Deep Pink, Sky Blue
- Fondant (I kneaded a bit of tylose powder into the fondant)
- Piping Tips: 12 (Bead Border), 233 (grass), tip 104 for ruffles
- Americolor Coloring Pen for eyes
- Sharp Knife or Xacto
- Piping Gel (or your edible "glue" of choice)
- Pink Petal Dust for rosy cheeks
- Miscellaneous: Small paintbrushes for applying piping gel, petal dust, Bench Scraper (optional), Turntable (optional)
Tools
Instructions
- Frost the cake as usual (we used a double barrel cake for extra height)
- Use the template to cut out the bear parts in brown fondant (I added a little tylose powder to the fondant but that is optional.)
- Add details to the bear's face.
- Mark off on the cake where dress will be.
- Add buttercream ruffles with the 104 petal tip.
- Add the bear head, arms, & legs.
- Add fondant balloon with buttercream string.
Notes
You can adjust this design to fit any size cake. The cake in this video tutorial is a six inch 4 layer cake (double barrel), frosted in Fluffy Vanilla Buttercream. (The cake is sitting on it's own cardboard cake circle cut down to size. The bottom two layers have 4 bubble tea straws within them to support the top two layers. The top 2 layers are sitting on their own cardboard cake circle cut to size. I smoothed the buttercream using the Viva Paper Towel Method. Use your method of choice for smoothing.
Table of Contents
Materials:
You can adjust this design to fit any size cake. The cake in this video tutorial is a six inch 4 layer cake (double barrel), frosted in Fluffy Vanilla Buttercream. Our Classic Vanilla Buttercream is a great option also, which is butter based (no shortening).
The cake is sitting on its own cardboard cake circle cut down to size. The bottom two layers have 4 bubble tea straws within them to support the top two layers.
The top 2 layers are sitting on their own cardboard cake circle cut to size. I smoothed the buttercream using the Viva Paper Towel Method. Use your method of choice for smoothing. This design would be cute against textured buttercream also!
Fluffy Vanilla Buttercream
Coloring Gels: Americolor Chocolate Brown and Warm Brown, Americolor Mint Green, Lemon Yellow, Deep Pink, Sky Blue
Fondant (I kneaded a bit of tylose powder into the fondant)
Piping Tips: 12 (Bead Border), 233 (grass), tip 104 for ruffles
Americolor Coloring Pen for eyes
Sharp Knife or Xacto
Piping Gel (or your edible "glue" of choice)
Pink Petal Dust for rosy cheeks
Miscellaneous: Small paintbrushes for applying piping gel, petal dust, Bench Scraper (optional), Turntable (optional)
More Baby Shower Cakes
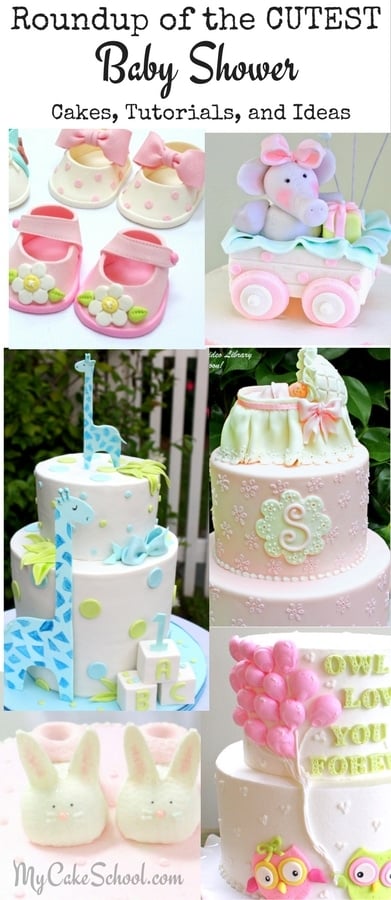
Interested in more Baby Shower cake designs? We've made so many over the years! Don't miss our collection of baby shower cakes, tutorials, and ideas! Here are just a few of our favorites:
Easy Buttercream Bassinet Cake


Hi Melissa and Bebe, Thank you for helping to achieve this cake. My buttercream didn’t come as white as yours.
Hi Hazel, Your cake is just perfect!! Great work!! Thanks so much for posting your picture, I loved seeing this.
Recently discovered your tutorials. Beautiful simplicity! Wonderful. A question about the cake height. You say double barrel, 4 layers, but everyone's layers are different heights. So would this cake be a total of 6 inches high or closer to 8 inches high. While it could be done with any size cake as you say, I think that the proportions are important. Awaiting your response. Thank you.
Hi Francine, the completed double barrel cake would be closer to 8 inches high. There would be 2 layers on a cake board (for easier transporting) dowels put in place and a cake board placed over the dowels. Then 2 more cake layers added -- each layer being filled with frosting. To serve the cake, cutting down to the first cake board would give you a serving. After the first two layers are served, remove the cake board to cut the final two layers of cake. Depending on the size of the serving you could serve 20 to 24 with this cake.
I just found you, I've watch a couple of your videos and you take your time and explain everything. You have shown us how easy it can be to make the cakes. Thank you so much. I absolutely love your videos.
Hi Carolyn! Thank you so much for your kind words, so happy that you found us ;0)
Hi i loved your blog you have shared information beautifully its very useful thank you for sharing the information