Easy Buttercream Wedding Dress Cake
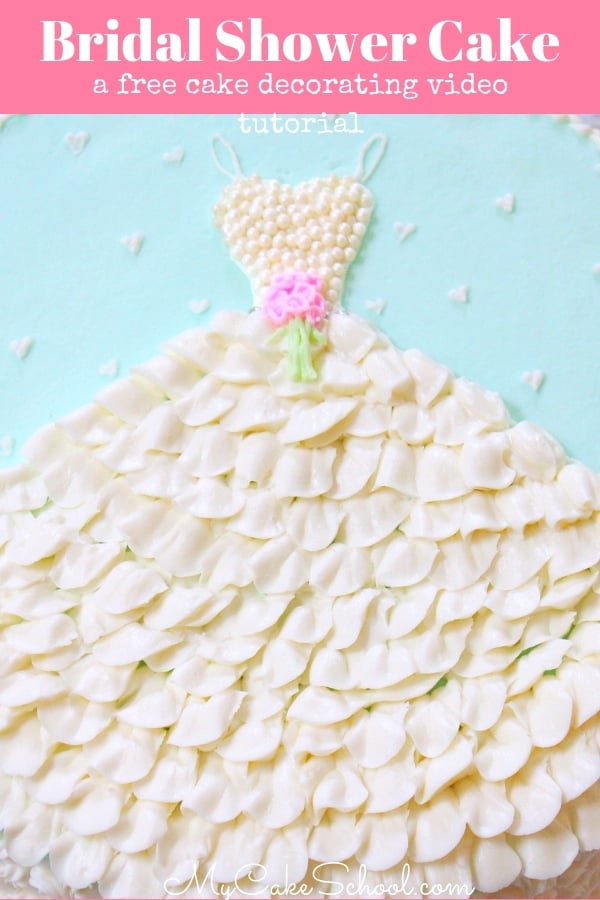
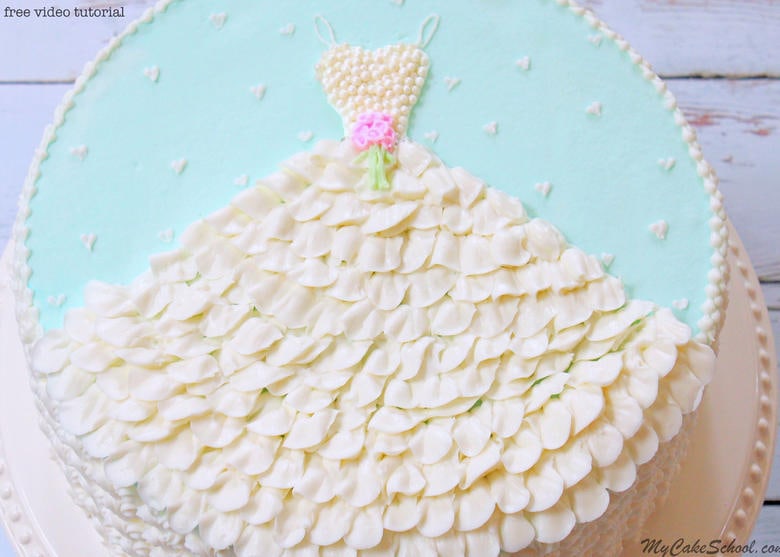
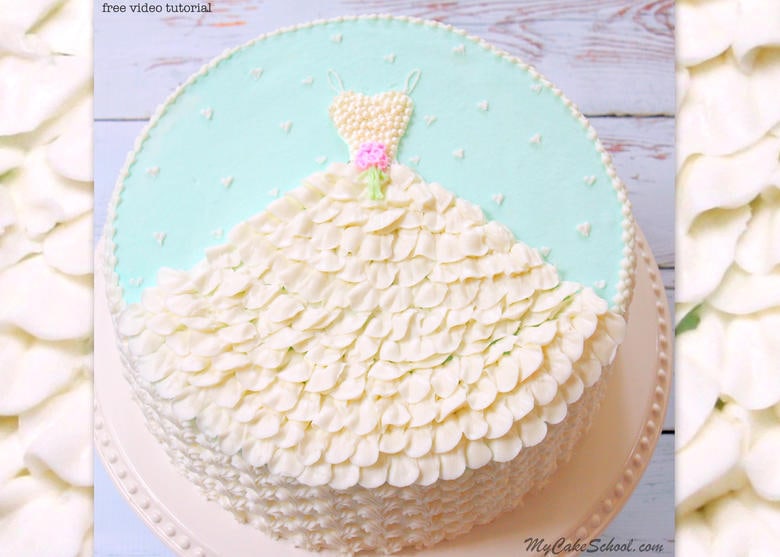
In today's free video tutorial, we are sharing a simple Buttercream Wedding Dress Cake design that would be perfect for bridal showers!
This sweet bridal gown cake design features a sugar pearl bodice and lots of buttercream ruffles!

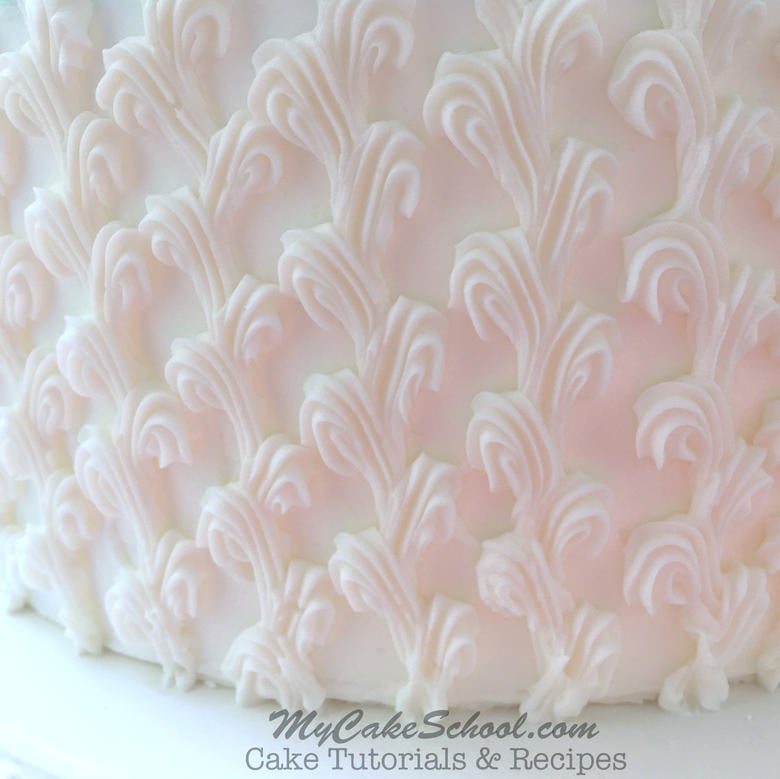
We are also demonstrating a beautiful piped buttercream design around the sides of the cake. This piping looks much more difficult than it actually is, and can be applied to cakes for any special occasion!

Table of Contents
Why We Love It
There are so many reasons to love this easy ruffled wedding dress cake design! Here are just a few:
- Perfect for Bridal Showers
- The ruffled buttercream design for the dress is simple yet beautiful
- The buttercream wedding dress design works on cakes of any size. It can be piped onto the front of a double barrel cake, a sheet cake, or even a tiered cake (similar to our tiered wedding dress cake tutorial).
- Even if you are new to cake decorating, this is a very doable cake design!

Variations to Buttercream Wedding Dress Design:
*This simple technique can be easily altered to suit your piping style. For instance, if you'd prefer rosettes piped with a star tip instead of ruffles, that would be beautiful too!
I almost piped a hanger for the dress which I still think is a cute look, or you could even add the bride to the design instead of just the dress (I would choose fondant for the head, arms, etc. if you go this route!)
Finally, keep this tutorial in your decorating bag of tricks for a princess theme. With a different shade of buttercream, this frilly gown would be perfect for a princess!
Materials for Easy Wedding Dress Cake:
In this tutorial we decorated a two layer 10 inch cake, frosted with our Fluffy Vanilla Buttercream Recipe. Our Classic Vanilla Buttercream is a great choice as well (which is different in that it contains no shortening).
Coloring Gels: Green: We used a combination of Americolor Avocado Green & Wilton Leaf Green, Americolor Teal (for the blue shade on top), Wilton Rose
Piping Tips: Round tips 1 & 4, Star tip 15, Petal Tip 104
Viva Paper Towel: We used for smoothing our crusted buttercream.
Sugar Pearls & Silver Dragees- We used Wilton Sugar Pearls for the top of the dress. We used a few silver dragees for the waist, although I didn't mention this in the video. You actually can barely see them because of the bouquet and so it's definitely an optional detail ;0)
Miscellaneous: As usual, I used a cardboard cake circle beneath my cake so that I could move it to the pedestal. (Before moving to the pedestal, I like to chill my tier when possible for 5 minutes in the freezer. This firms things up and makes moving to the pedestal or cake base much easier.)
*As I noted in the video, the next time that I make this design I'm going to pipe a thin layer of white frosting on the skirt of the dress before adding my ruffles. This hides any blue that might peek out from behind the ruffles, and if you'd like, it will give you the option to pipe your ruffles at more of an upright angle for more movement and fluffiness ;0)
We hope that you enjoy the video!
Bridal Shower Cake Recipes
If you're looking for more Bridal Shower Cake Recipes, don't miss this collection of favorite Bridal Shower Cakes! Here are just a few favorites:


test
Nice and educative
Take a look at the came I made on Monday January 30th,2017
Thanks alot
Thanks for a lot I will try this
can't access d video..help!
Hi Esther, I'm sorry that you are having trouble viewing the video--it is playing for me. It could be that your device or browser needs an update? But this video is also available on our YouTube Channel-- You can find it here!:
Thanks so much for this video. I’m just beginning but this was very straightforward!!
Hi Carolyn, Thanks so much for posting, I'm glad you found it helpful.
Thanks so much for this amazing tutorial! It was so easy to follow and my cake looks great! I’ve received so many compliments on it!
Hi Heather! You did such a beautiful job on the cake!! Thanks so much for your feedback and for sharing your photo. ;0) xo