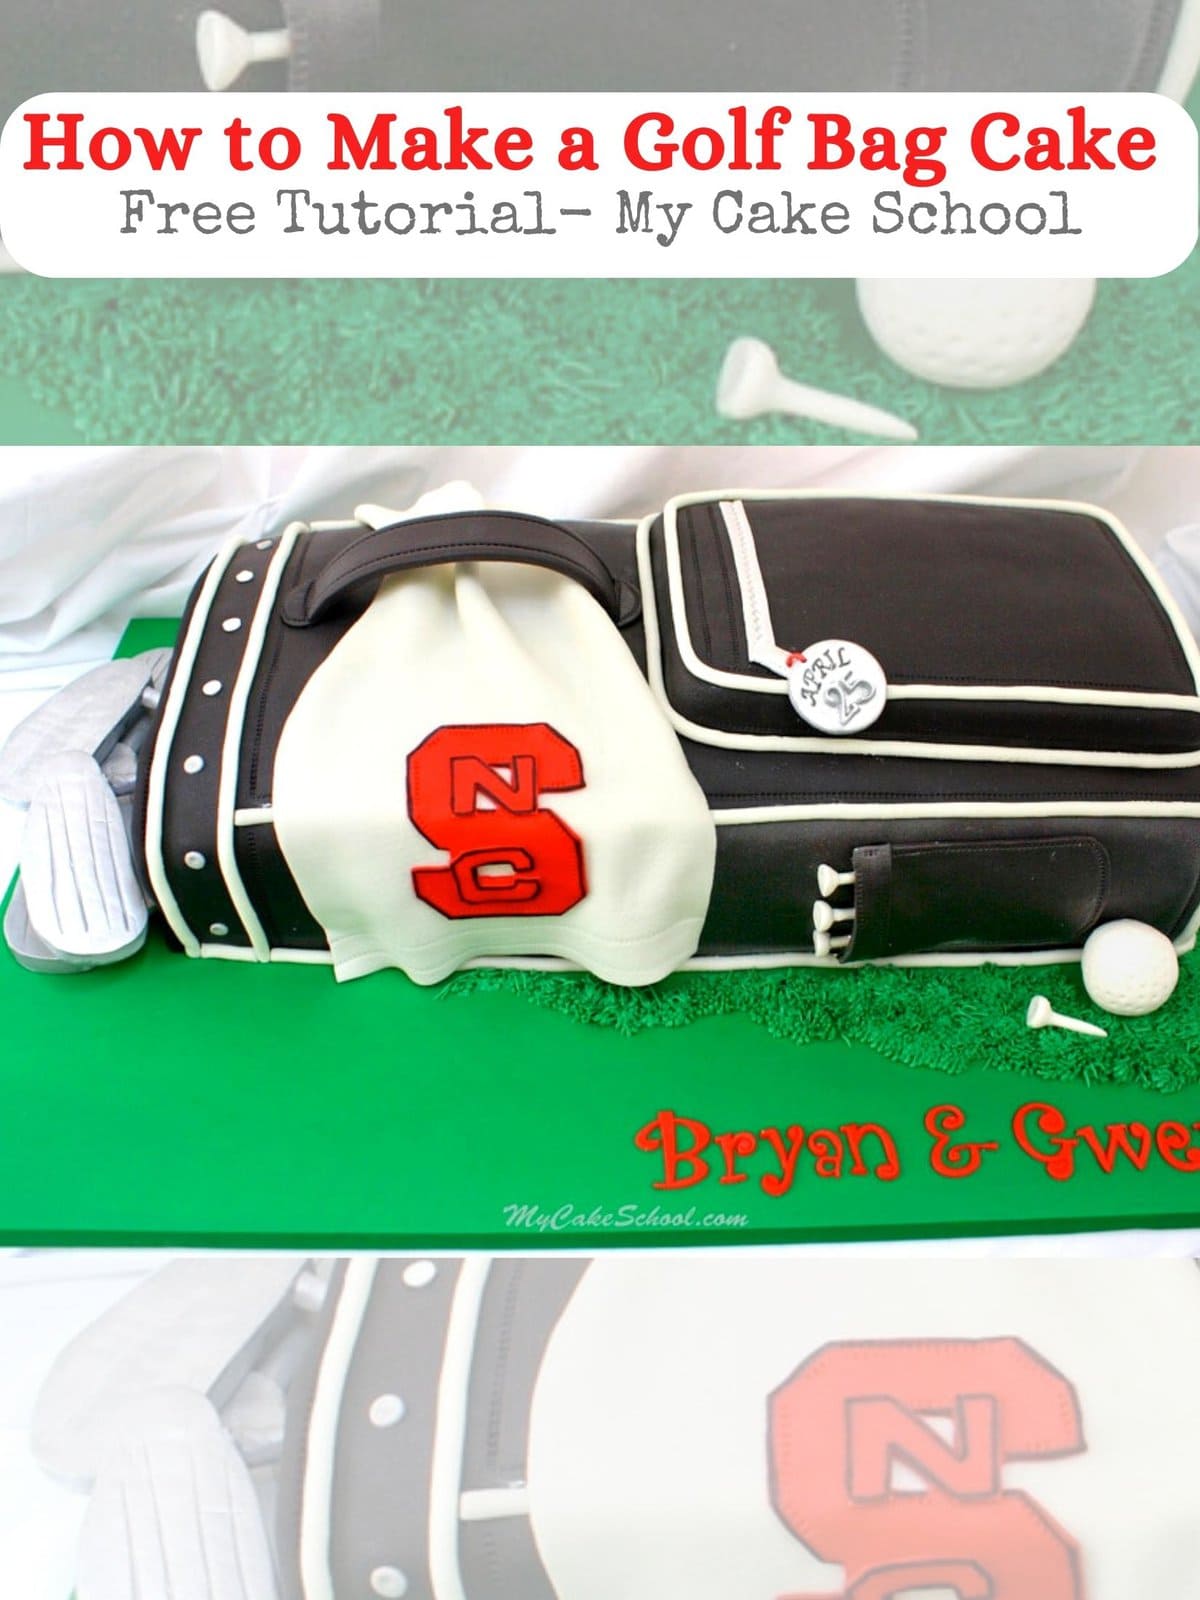
Golf Bag Cake- A Video Tutorial
In today's video tutorial, I'm going to show you how to make a golf bag cake!
If you are a golfer, or have golf-loving friends and family, this fun cake is for you! I love it because it gives the look of a 3D golf bag cake, but there isn't a lot of carving involved. It is the simplified version of a golf bag cake for sure. You can dress it up or down as much as you like.
Our golf cake is covered in fondant, but you could create a buttercream-frosted version as well (with fondant accents here and there).
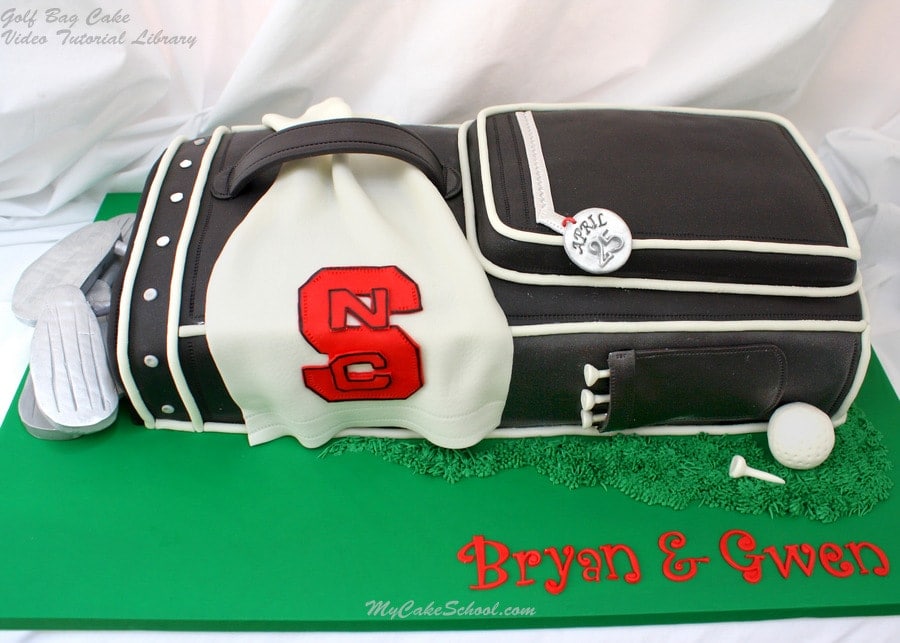
Last weekend was my cousin Bryan's wedding, and this was the groom's cake! He loves to golf, and so we decided to go with a Golf Bag cake design (and filmed the process for you!).
In this video, you will learn how to transform two sheet cake layers into a golf bag with the help of ganache, fondant, and lots of fun little details!
Table of Contents
Materials for Golf Bag Cake:
The cake layers used in this tutorial are two 12x18 sheet cakes. Of course, you can use the same method with smaller sheet cake pans if you need fewer servings! We used our {Scratch} Classic Chocolate Cake recipe. We used our Classic Chocolate Buttercream frosting as the filling between the layers.
*Reminder: Dry handle & clubs in advance...2-3 days in advance to be on the safe side. Here is a link to the Templates that I used!
Ganache - We frosted our cake with simple spreadable ganache (a 2:1 ratio of chocolate to cream)
Fondant - We used Liz Marek fondant (tinted with Americolor Super Black coloring gel)
Cake Cardboards or Foamcore- We stacked the cake on two stacked cake cardboards cut to the size of the cake.
Gum Paste (or tylose powder which an be kneaded into your fondant)
Silver dust- I used non-toxic luster dust & also silver highlighter dust for the pieces that would not be consumed
Piping Gel or your "glue" of choice
Extruder (I use Makins Ultimate Clay Extruder (aff))- Used for the white fondant piping on the golf bag
Misc Letter cutters or stamps- I used Tappit cutters (Funky Alphabet) for the bride & groom's name
Rice cereal treat (22g.) - We used this for the golf ball.
Piping Tips: Piping tip 12 was used for small circles used as accents on the bag.
Wilton Stitching Wheel (which also includes zig zag wheel attachment). You can improvise with a toothpick or gum paste tools.
Lollipop Sticks- I used extra long sticks for the clubs, although eventually shortened portion to be anchored.
Templates: We have templates for the handle, pocket, and club
Optional: A textured dish towel or rubber shelf liner gives nice detail to the golf towel. Sports logo was made with red fondant & outline with Americolor black coloring pen.
Cake Base- This is a heavy cake and so you'll need a sturdy base. Ours was a wooden base, approx. ½ inch thick. We covered our board with a green plastic table cloth as usual and secured on the underside of the base with a heavy duty (upholstery) staple gun.
Then we used 4 small felt surface protector pads so that the base would be slightly elevated & staples would not scratch the table. *We like this method, but you could also cover your wooden board with a layer of fondant and glue ribbon around the sides!
Enjoy the Video!
We hope that you enjoy the golf bag cake tutorial! You can easily change up the colors or details on the bag or golf towel to personalize it for the person of honor. This would make a great birthday cake for the golfers in your life as well!
Part One:
We carve the cake, cover with ganache, cover with fondant, and also begin to create the clubs.
Part Two:
The bag comes to life with extruded fondant piping, zippers, a small handle, clubs, & more!
Enjoy the Video!
Thanks so much for stopping by! If you give this golf bag cake a try, we would love for you to leave a comment and photo below.
We hope that you enjoyed this video. If you're a sports fan, don't miss our Football Stadium Cake and Soccer Ball Cake as well!
Melissa, you outdid yourself. This is fantastic with lots of exquisite details.
Your cousin and his bride must have been very happy.
Love your website. Keep them coming!!!!
Happy baking, creating and decorating!
Ann from Atlanta
Where can we find mini food stamps for embossing the details (April)? Love the finished product & I'm not even a golf follower. Thanks
@Ann, thank you so much! xo
@Cindy, thanks! I found the little embossing set at Michael's, I'm linking below. I bought mine at couple of years ago but noticed that they still carry them the other day when I was there. I don't use the little placement slots that come with it (I don't even think we have that anymore, lol) -- I just stamp each letter individually by hand. Nice to have for small little personalized details!
Excellent video! The cake is awesome!!!
Thanks MsGF!! xoxo
That is way cute!
How hard would it be to make the
Bag on a smaller scale? I'd love to
make it for some friends of mine
who are big golfers but wouldn't
need a cake that large....
@Gracie- Yes, I'm sure that you could make this work on a smaller scale. Instead of the 12x18 pans that we used, smaller sheet cake layers (9x13) or small square pans could be used in the same way. The amount of cake that is cut away to create the golf bag shape would be different than in the video, but the basic idea would be the same.
my goodness i love your designs of cakes and i learn so much. Thank you both, I have tried many of your cakes and loved them . with your very easy instruction your cakes and cupcakes are wonderful. Thank you pat
Thank you so much, Patricia!! We really appreciate your kind words! xo
Can this fondant be refrigerated? Will get hard.
Wondering if you have had an opportunity to view my question above thanks.
Hi Sylvia, thanks for following up. Fondant can be refrigerated, it does stiffen a bit but it is not difficult to cut and is still edible. I hope this helps!