

Gluten Free Chocolate Cake
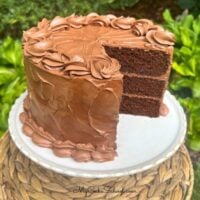
Today we are sharing a rich and delicious Gluten Free Chocolate Cake. If someone handed you a slice of this decadent dessert, you would never know that it was gluten free. It is so moist and soft, with amazing chocolate flavor.
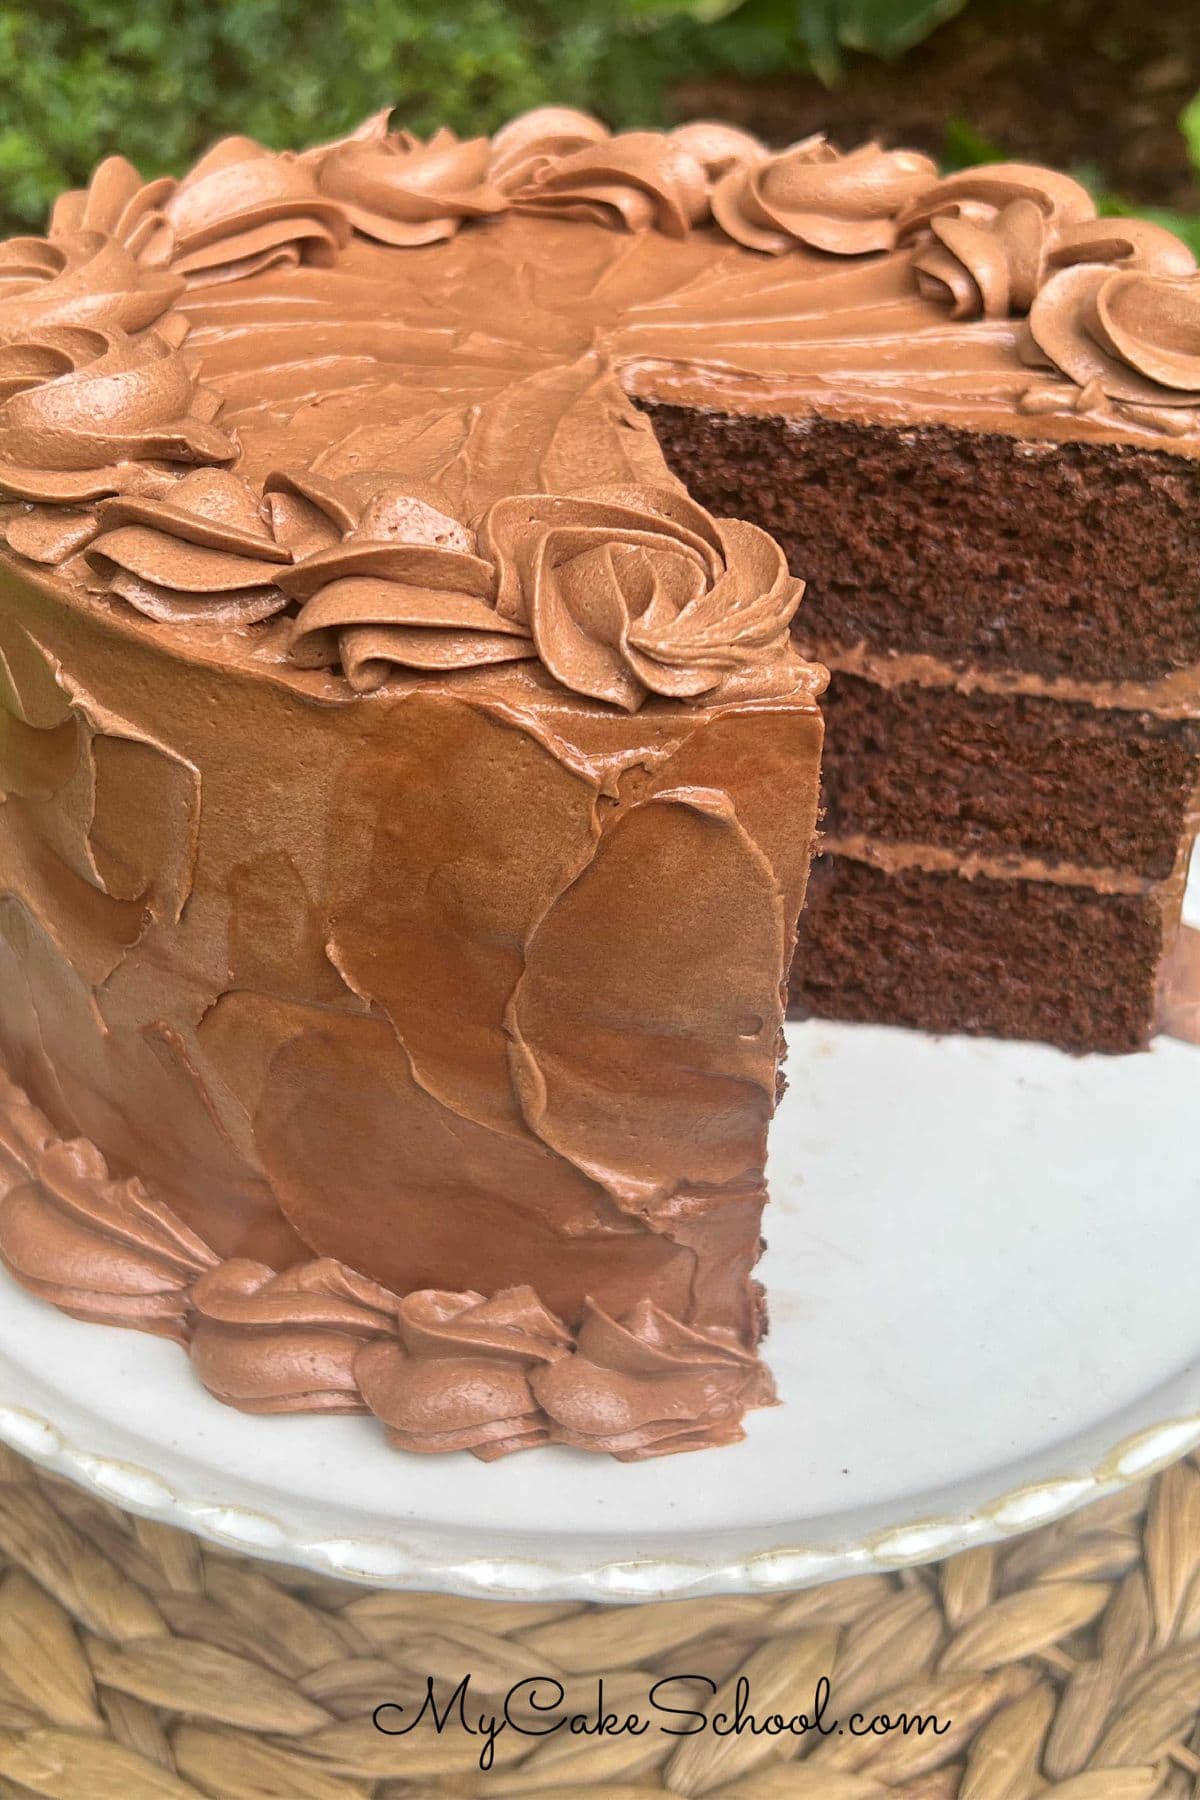
We've filled and frosted the chocolate layers with our go-to chocolate buttercream, but it would be fantastic will all sorts of fillings and frostings. You must give this cake a try, you will love it!
Table of Contents
Key Ingredients
- Gluten Free Flour- We used King Arthur Flour Measure for Measure. This is the only brand that we have tried this recipe with- different brands may give different results. If you try this recipe with another brand of GF flour, let us know in the comments!
- Unsweetened Cocoa Powder (We used Hershey)
- Sugar
- Eggs
- Vegetable Oil- We used Canola Oil.
- Buttermilk creates an extra tender crumb because of its acidity.
- Vanilla Extract
How to Make Gluten Free Chocolate Cake
You can find the full, printable recipe at the bottom of this post. Here is a quick look at our steps!
Since this is an oil-based cake recipe rather than butter based, the process is pretty simple! We first combined the dry ingredients of gluten free flour, cocoa powder, sugar, baking soda and baking powder.
Next, we added in the wet ingredients and mixed with an electric mixer, first starting on low speed and then increasing to medium for two minutes. We then allowed the batter to sit for about 15 minutes. This "rest period" for gluten free batter will improve the texture of the cake.
We then divided the chocolate gluten free cake batter between the three prepared cake pans, and placed into the preheated oven for about 30-35 minutes.
*Remember that baking times can vary, and so peek in as the end time approaches. The layers are done once an inserted toothpick comes out clean or with just a few crumbs attached. Lightly touching the tops to check for doneness doesn't work as well with gluten-free cakes-- I found that doing this can cause slight sinking where the layers were touched.
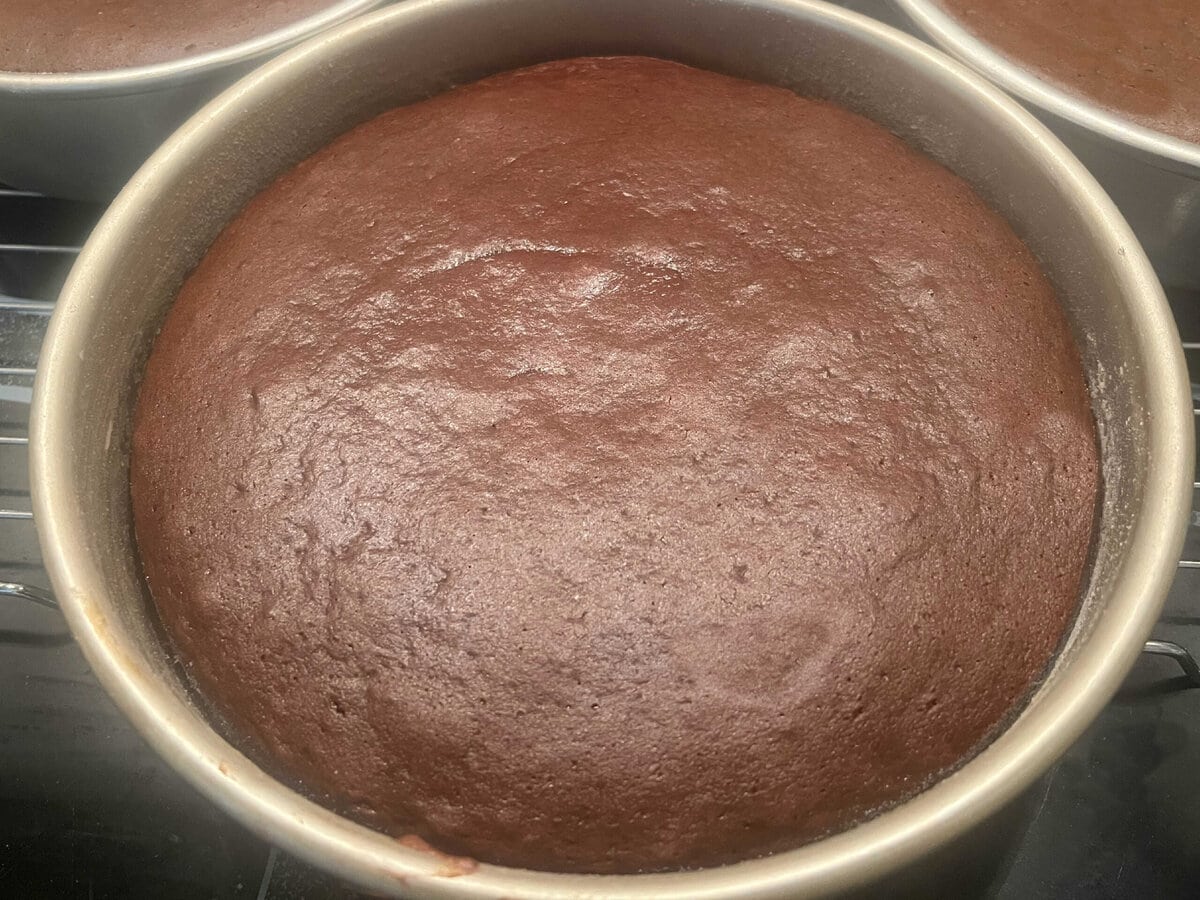
Place the freshly baked cake layers on a wire rack to cool for 5-10 minutes before turning out. Cool completely before frosting.
Frosting the Cake
There are so many fillings and frostings that would be perfect with chocolate cake. Today, we kept things simple with a classic Chocolate Buttercream. We love this recipe, and it is so easy to make!
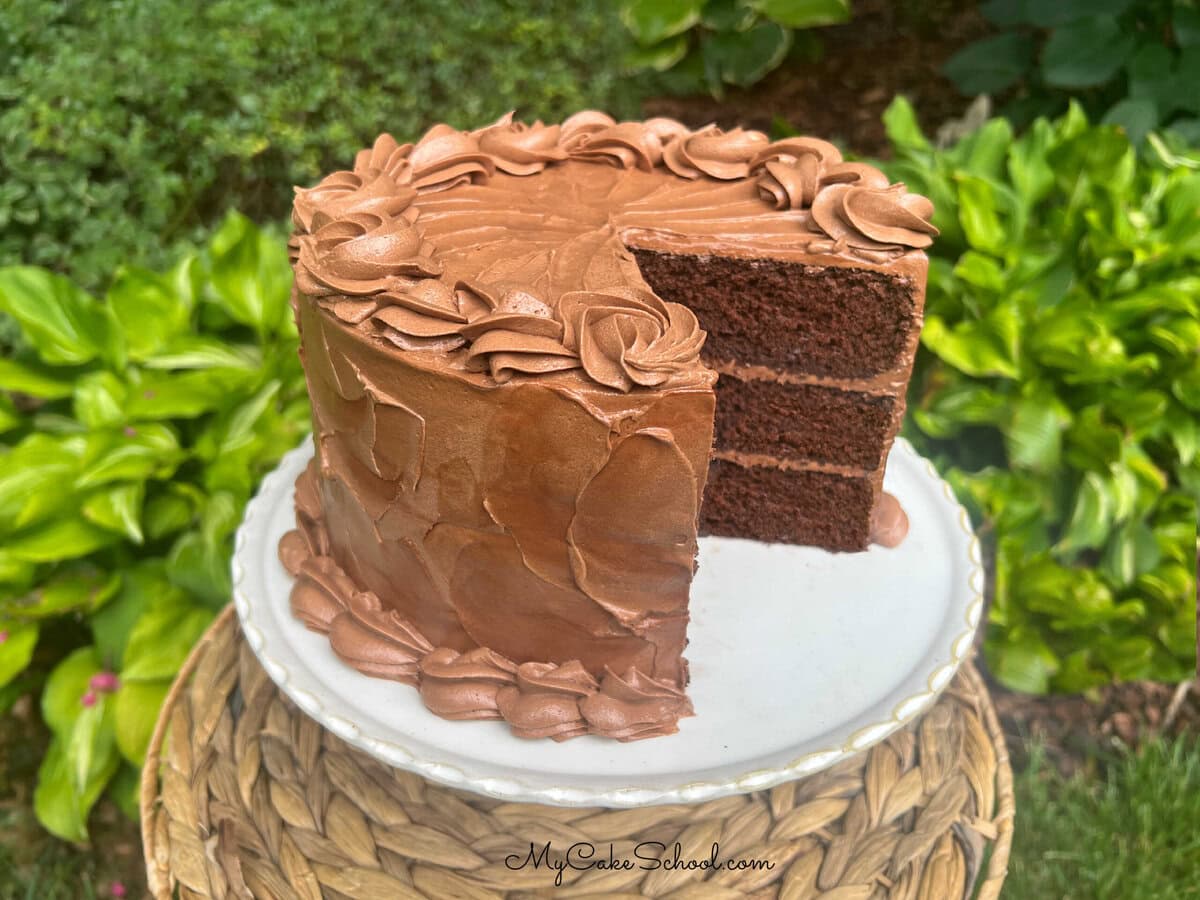
After filling the layers with buttercream and applying two layers of frosting, we added texture around the sides using a small offset spatula. Then, we piped borders of chunky shells and rosettes using a 2D piping tip.
More Fillings and Frostings
You may also like to pair other fillings and frostings with this recipe like chocolate mousse filling, sweetened whipped cream filling, chocolate cream cheese frosting, coconut cream cheese frosting, peanut butter buttercream, and vanilla buttercream frosting. There are so many flavors that are perfect with chocolate cake! Scroll through our recipe listing of chocolate cakes for more ideas!
We hope that you enjoy this recipe! It is a crowd pleasing dessert, and perfect for birthdays, holidays, and other gatherings. If you give it a try, we would love to hear from you. Thanks so much for stopping by!
Have you made this? We would LOVE for you to leave a ⭐️ rating as well as a comment and photo below! We really appreciate your feedback!
Gluten Free Chocolate Cake
Ingredients
- 3 cups Measure for Measure Gluten free flour (We used King Arthur Measure for Measure) (360g) See Notes
- 1 cup unsweetened cocoa powder, sifted (We used Hershey's). If not using a scale, lightly spoon into measuring cup and level. (82g)
- 2 cups sugar (400g)
- 1½ teaspoons baking soda (9g)
- 1 teaspoon baking powder (6g)
- ½ teaspoon salt
- 1½ cups Buttermilk (We prefer "whole buttermilk" rather than reduced fat.) (352g)
- ¾ cup Vegetable Oil (We used Canola Oil) (160g)
- 4 large eggs, room temperature (If in a hurry, you can warm them in a bowl of warm water for 5 mintues to bring closer to room temperature.)
Chocolate Buttercream
- 1½ cups Unsalted Butter, softened to room temperature (339g) This is the equivalent of 3 sticks of butter.
- 7 cups confectioners sugar (Adjust slightly up or down to your liking) (805g)
- 1 cup unsweeteded cocoa. Measure, then sift. (82g)
- ½ cup milk (we use whole or 2 percent) Add additional as needed for desired consistency.
- 2 teaspoons vanilla extract (8g)
- 1 teaspoon salt (6g)
Instructions
- Preheat the oven to 325 degrees F. Grease and flour three 8 inch pans. We also line the bottom of our pans with circles of parchment paper.
- In a mixing bowl, combine the first 6 ingredients (the dry ingredients), whisking for about 20 seconds to combine.
- Next, add in the remaining ingredients (the wet ingredients and eggs), and mix with an electric mixer or stand mixer. Mix on low speed for about 10-15 seconds to combine, then increase to medium speed and mix for 2 minutes.
- Allow the batter to sit for 15-20 minutes. (Gluten free cake batter often benefits from resting- it makes for a nicer texture).
- Divide the cake batter between the three prepared cake pans. Place in the oven on a center rack. Bake for 30-35 minutes or until an inserted toothpick comes out clean or with just a few crumbs attached.
- Gluten free batter takes a bit longer to bake and has less structure, I've found that lightly touching the centers for doneness can sometimes cause slight sinking in those spots. Checking doneness with a toothpick is best if possible.
- Once baked, cool the layers in the cake pan for 5-10 minutes before turning out. If you used parchment to line your pans, peel away from the cake layers. Allow the layers to cool completely before frosting.
Chocolate Buttercream
- Add butter and mix on low to medium speed until smooth. Add vanilla and blend into the butter. Add powdered sugar, salt, and cocoa powder.
- Add most of the milk. Begin mixing at low speed so you won't have a cloud of powdered sugar in your kitchen.
- Continue to mix, adding remaining milk as needed. It may take 5 to 6 minutes to reach the smoothness and consistency you like. It will take longer if using a hand mixer. As you mix, the frosting will become very smooth.
Assembling and Decorating
- Place the first cool or room temperature cake layer on the cake plate or pedestal. Spread with frosting. Top with the second cake layer and repeat. Top with the third cake layer. Frost the cake with a thin layer of frosting. This is the "crumb coat". At this point, we like to chill the cake to firm up the buttercream (10 minutes in the freezer or a bit longer in the refrigerator.)
- Next, apply the second layer of frosting. Decorate however you'd like. We used a bench scraper to smooth the frosting around the sides as we rotated it on a turntable. Then, we added a bit of texture with a small offset spatula, and added chunky rosettes and shells for borders using a 2D tip.
Storage
- This cake can be stored at room temperature under a cake dome or in an airtight container for 2 days. Beyond that, we like to move to the refrigerator. The texture of this cake is best at room temperature. If the cake has been chilled, allow it to sit out or an hour or two before serving so that it has time to soften up a bit.
Can this recipe be used for cupcakes?
Hi Denise, we haven't tried them as cupcakes yet but I would think they should work okay. Let us know if you give it a try! (350F, start checking after about 18 minutes.)
Looks delicious! :-) Fantastic as always! Thanks ladies.
Thanks Teri!! :0)
would love to have instructions for cupcakes.
Hi Laurel, we haven't tried this as cupcakes yet. Cupcakes would be about 1/4 cup of cake batter per cupcake. I would start testing for doneness with a toothpick after about 18 minutes at 350F. They likely won't dome very much. Let us know if you give it a try!
Can this be reduced to make a two layer cake? If so give me the measurements for that.
Hi Vickie, you could bake this in two 9 inch cake layers. Its should work as two thick 8 inch cake layers also (as a general rule, don't fill pans beyond about 2/3 full).
Can this recipe be made dairy free by substituting almond or coconut milk with vinegar to make a non dairy buttermilk?
Hi Mary Lou, I'm sorry, we haven't done enough gluten free cake recipes to know the variations that could work. If you try it, let us know how it goes!