Bee Mine Cake- Tutorial
Today we're sharing a CUTE Bee Mine Cake, with beehive cake topper and chocolate honeycomb wrap!
This Bee Mine Cake is sure to bring smiles, and the techniques that you learn can applied to cakes for other occasions as well!
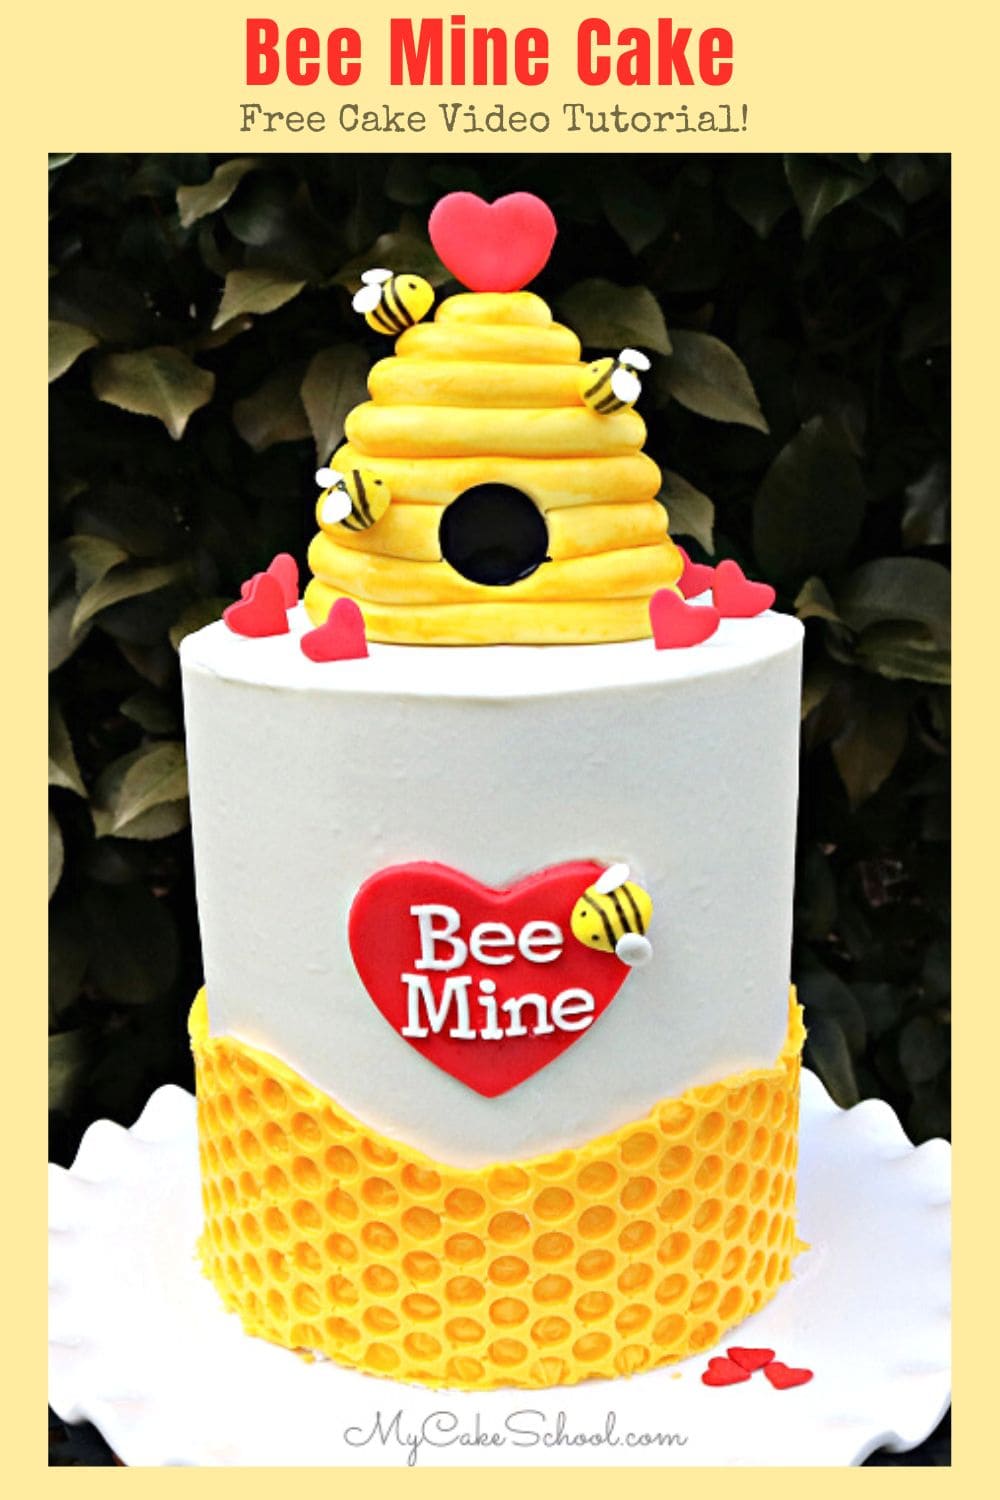
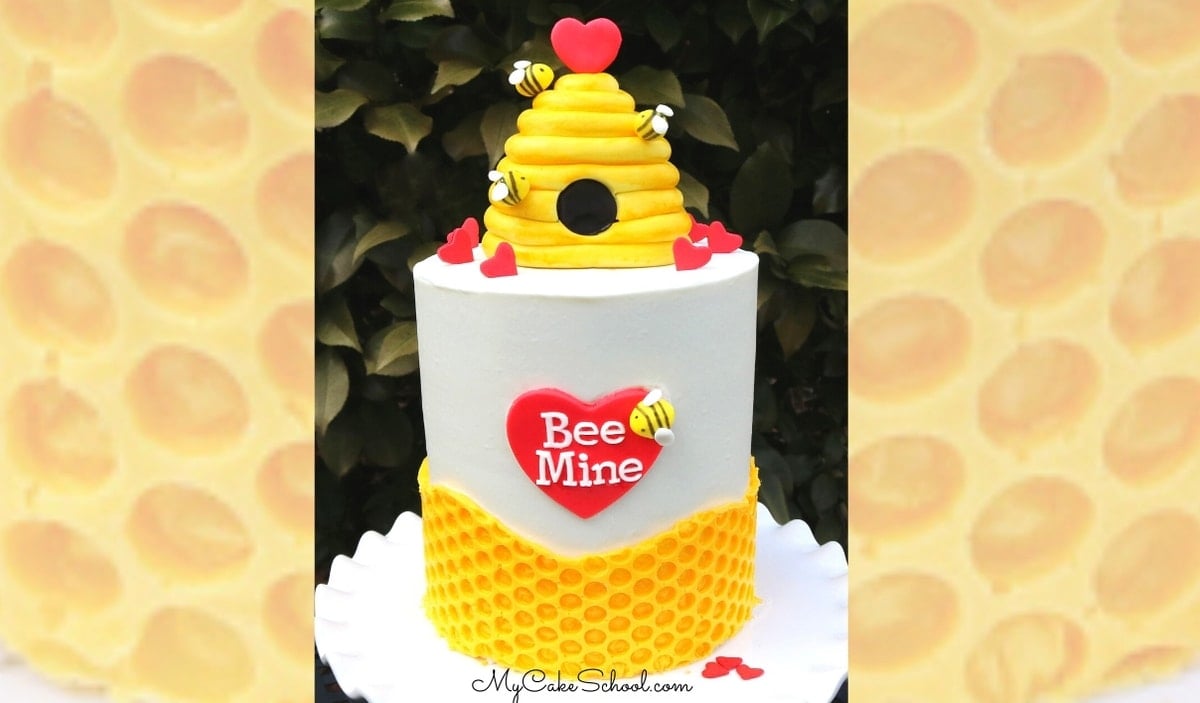
This is a six inch double barrel cake, frosted with our Classic Vanilla Buttercream, wrapped with a chocolate candy coating "honeycomb" and topped with an adorable yet simple beehive cake topper!
We hope that you enjoy the video!
Table of Contents
How to Make a Bee Mine Cake with Honeycomb Wrap
*My cake is a four layer, double barrel cake with a cake cardboard on the bottom, and a cake cardboard halfway up.

Beneath the middle cardboard circle are four bubble tea straw supports cut to the height of the first two stacked cake layers. The cake is frosted in Classic Vanilla Buttercream.
FOR THE BEEHIVE CAKE TOPPER
You can find the full, printable how-to below but here is a quick rundown of how we made our decorations!
- Shaping the Beehive: Press cereal treats together tightly to create beehive shape. We used pre-made cereal treats for convenience.
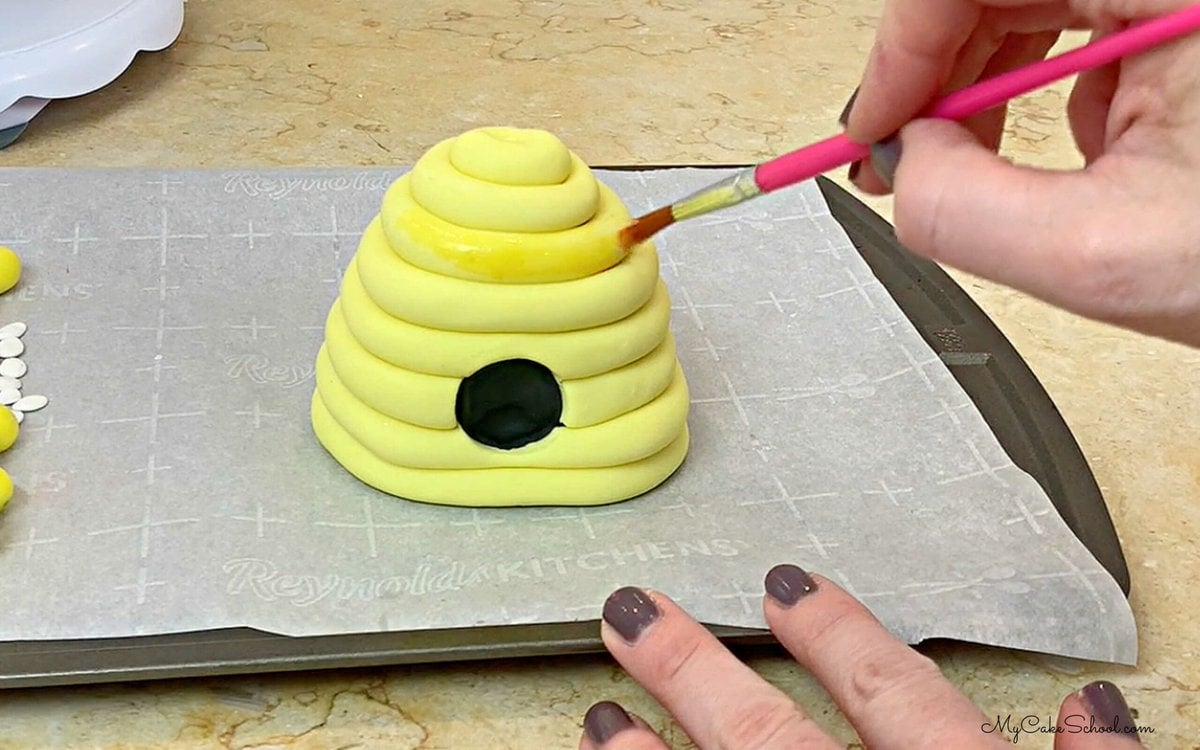
- Door: Create a round impression for the door- we used the handle of a paintbrush.
- Shortening: Coat beehive with light coating of vegetable shortening. Add black fondant circle to door.
- Fondant: Roll "snakes" or ropes of yellow fondant. (I used fondant with a bit tylose kneaded
into it to firm it up more quickly.) Wind the snakes of fondant around the beehive shape.
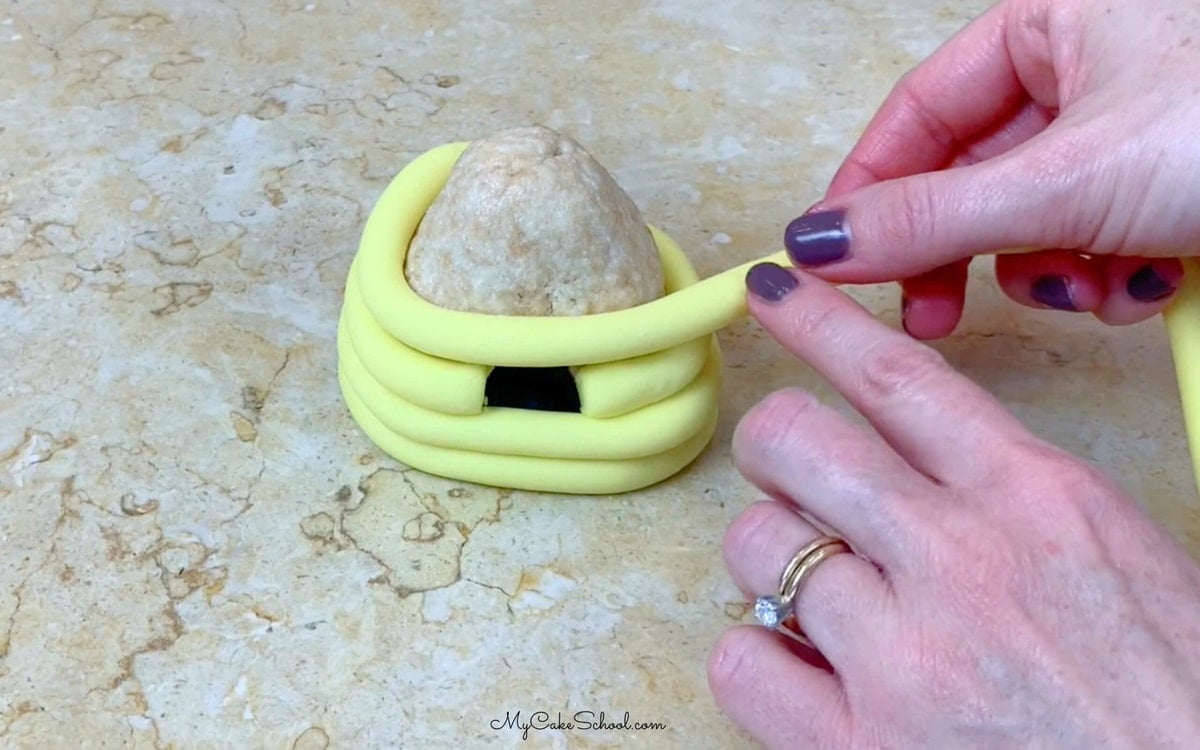
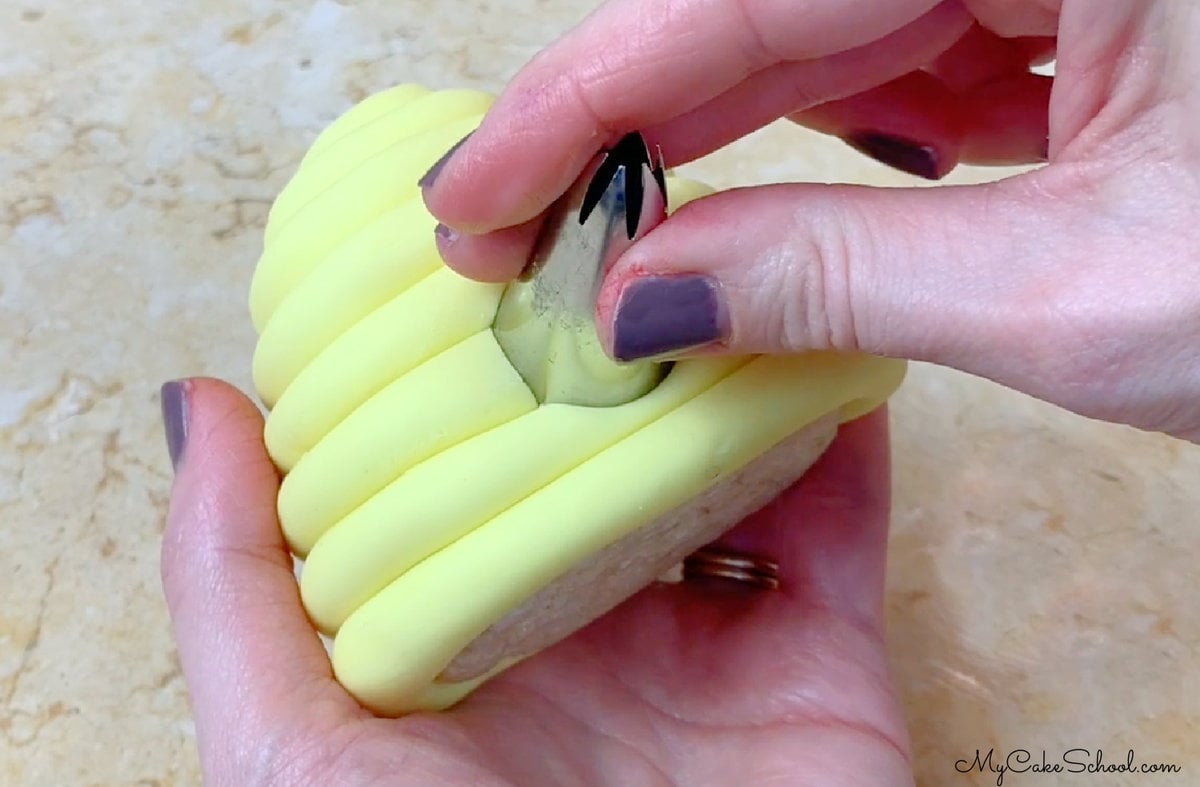
- Covering the beehive: Trim the fondant as needed. Also, add a bit of piping gel here and there as you stack the ropes of fondant so that everything holds together.
- Once wrapped, I used 1M piping tip to make a clean, round cut for the door.
- Bees: For the bees, roll balls of yellow fondant with a bit of tylose powder kneaded into it. Use a toothpick to poke small holes where the bees will later connect with the beehive.
- The wings are small, flattened balls of white fondant.
- Cut out a fairly thick (approx ¼ inch) heart for the top, create a hole in the bottom with a toothpick.
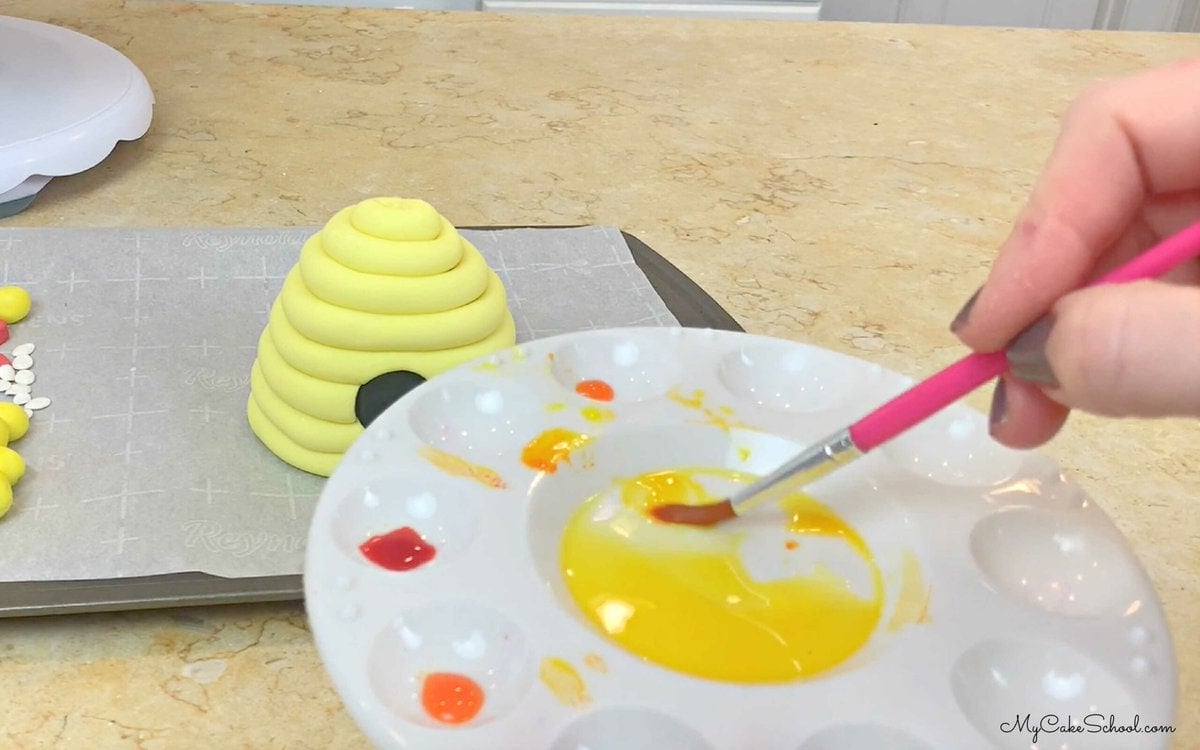
- Yellow "Paint" Optional: I “painted” additional yellow coloring (Americolor Egg Yellow + vodka)- It was a better match for our honeycomb wrap.
- Attach heart to the top of the beehive with a piece of a toothpick. (You can substitute dry pasta if you don't want to use a toothpick).
- Decorate the bees, adding stripes. Use toothpicks to attach to the beehive.
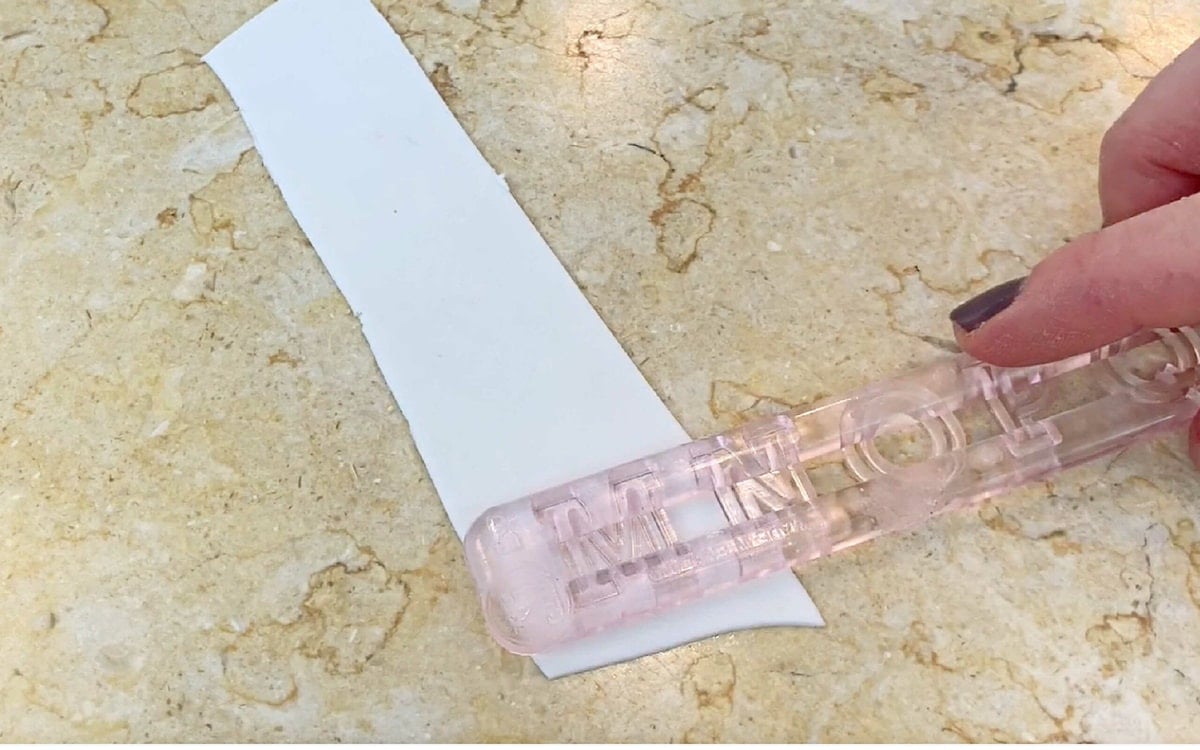
Wings are attached with piping gel or tylose. - Bee Mine: Cut out the “Bee Mine” letters from very thinly rolled
fondant (with a bit of tylose kneaded into it).  Attach bee with a small ball of fondant with a very small amount of water kneaded into it to make it tacky.
 Attach bee with a small ball of fondant with a very small amount of water kneaded into it to make it tacky.
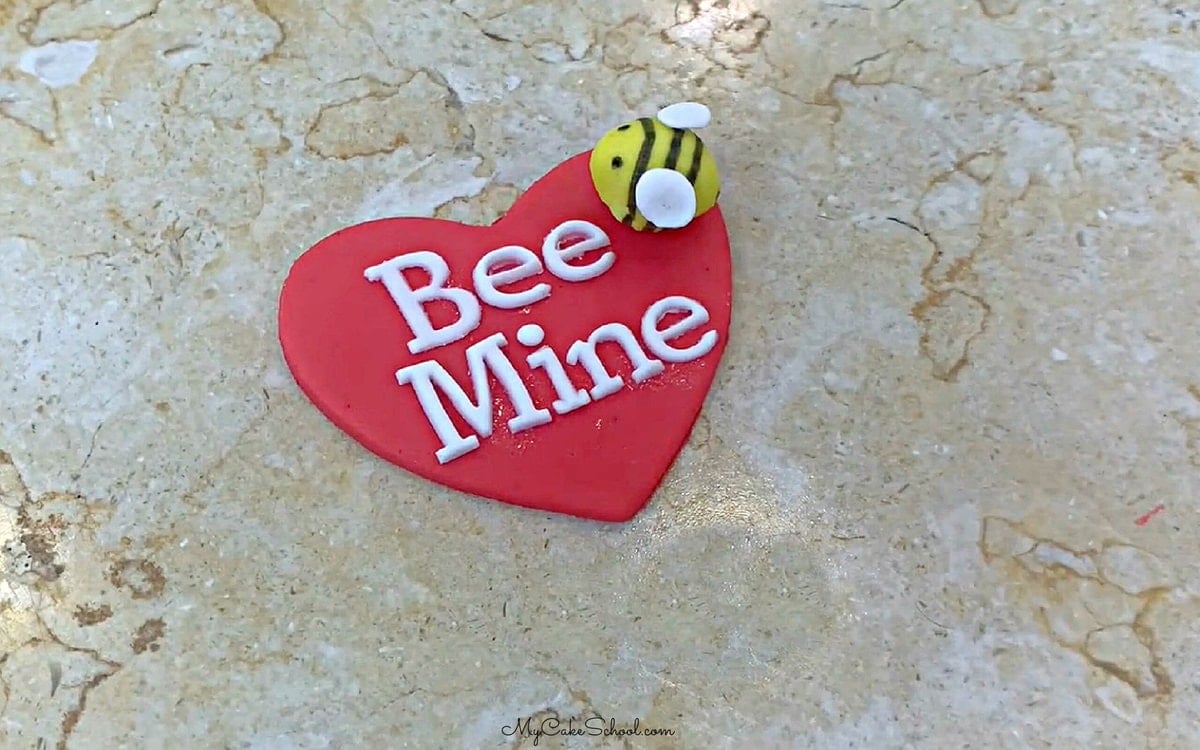
For the Chocolate Honeycomb Wrap
I love the fun honeycomb pattern that can be created with melted candy coating and bubble wrap! It is perfect for this theme.
You could even use a wider strip of bubble wrap if you'd like and wrap the entire cake as a honeycomb.
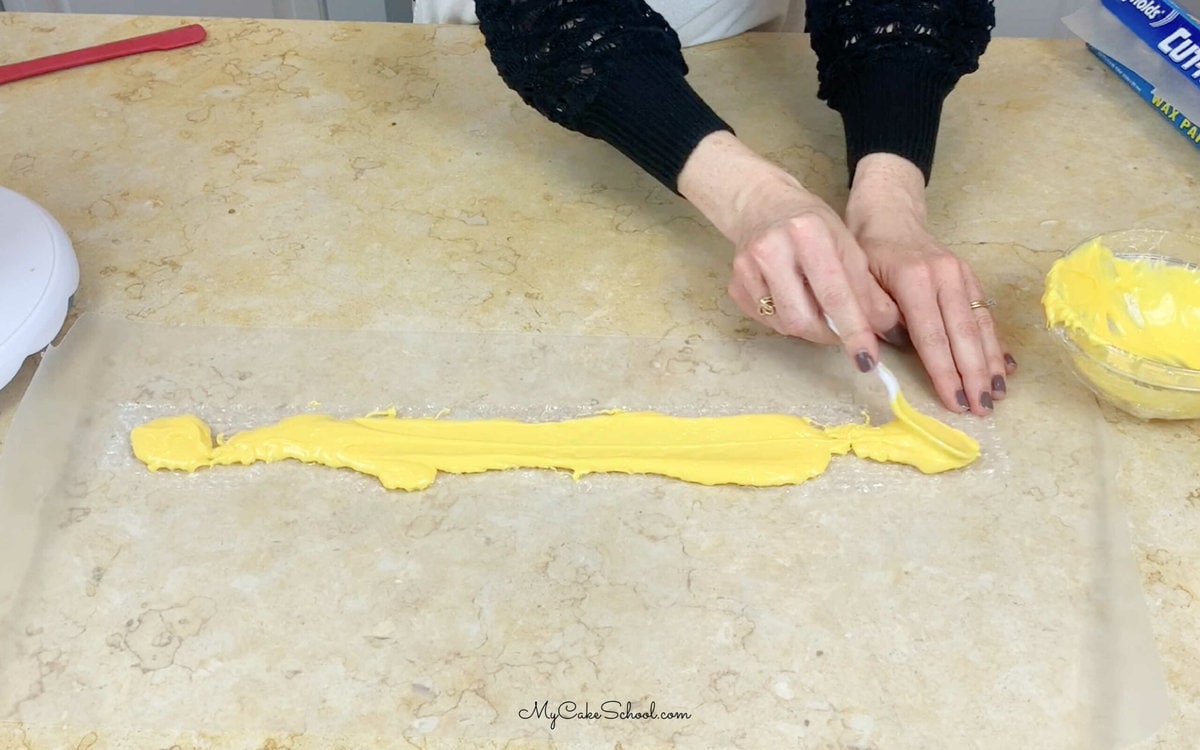
- First, melt the candy coating in small increments in a bowl in the microwave until almost melted. Then, stir until smooth.
- Then, cut a strip of bubble wrap long enough to wrap around the chilled
cake.
- Place the bubble wrap bumpy-side-up on a strip of wax paper.
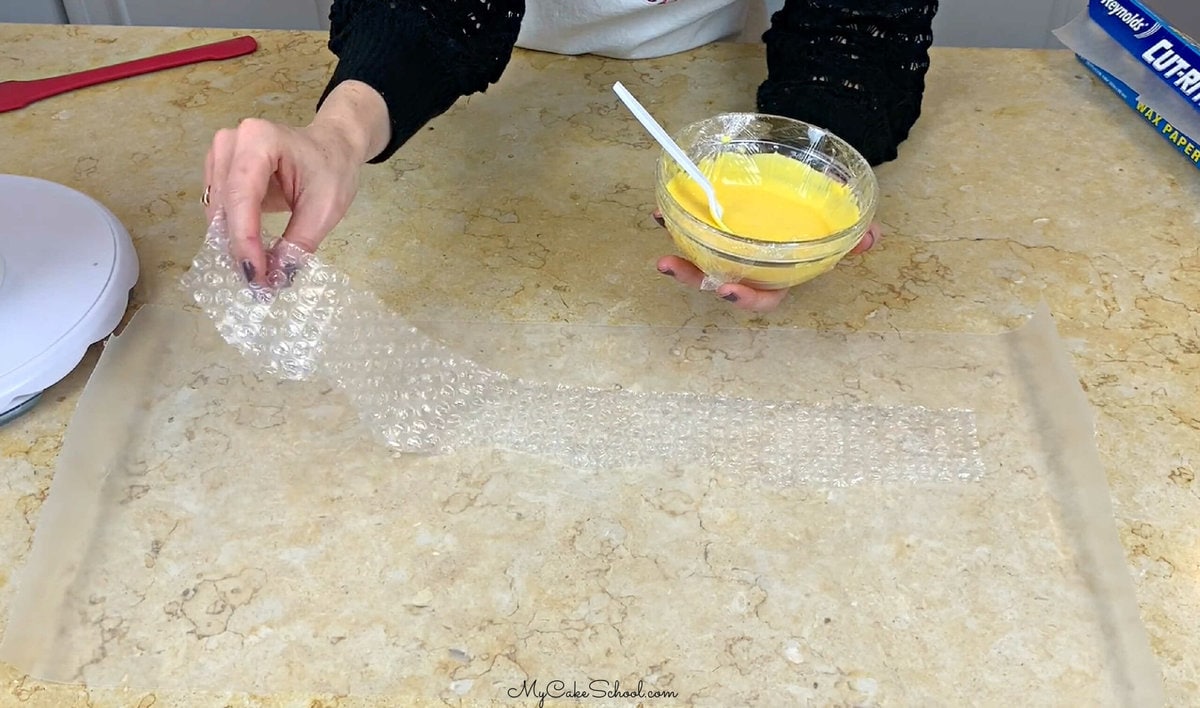
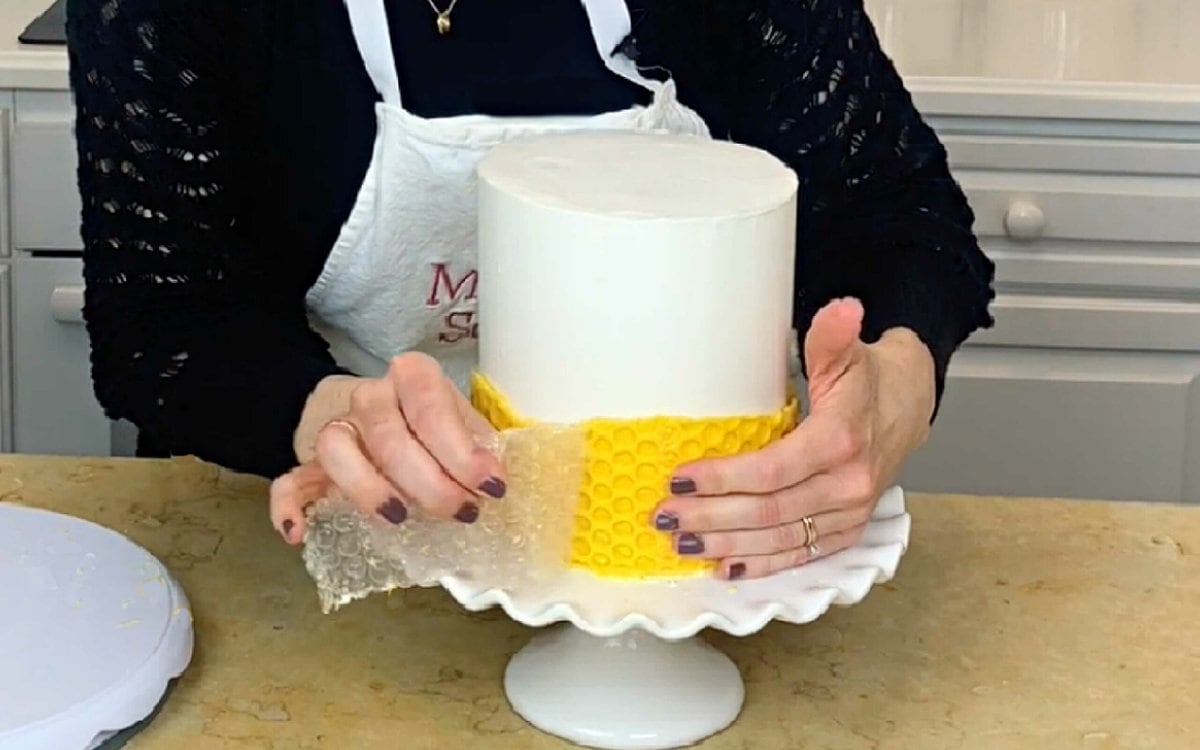
- Spread with melted candy coating and wrap around chilled cake.
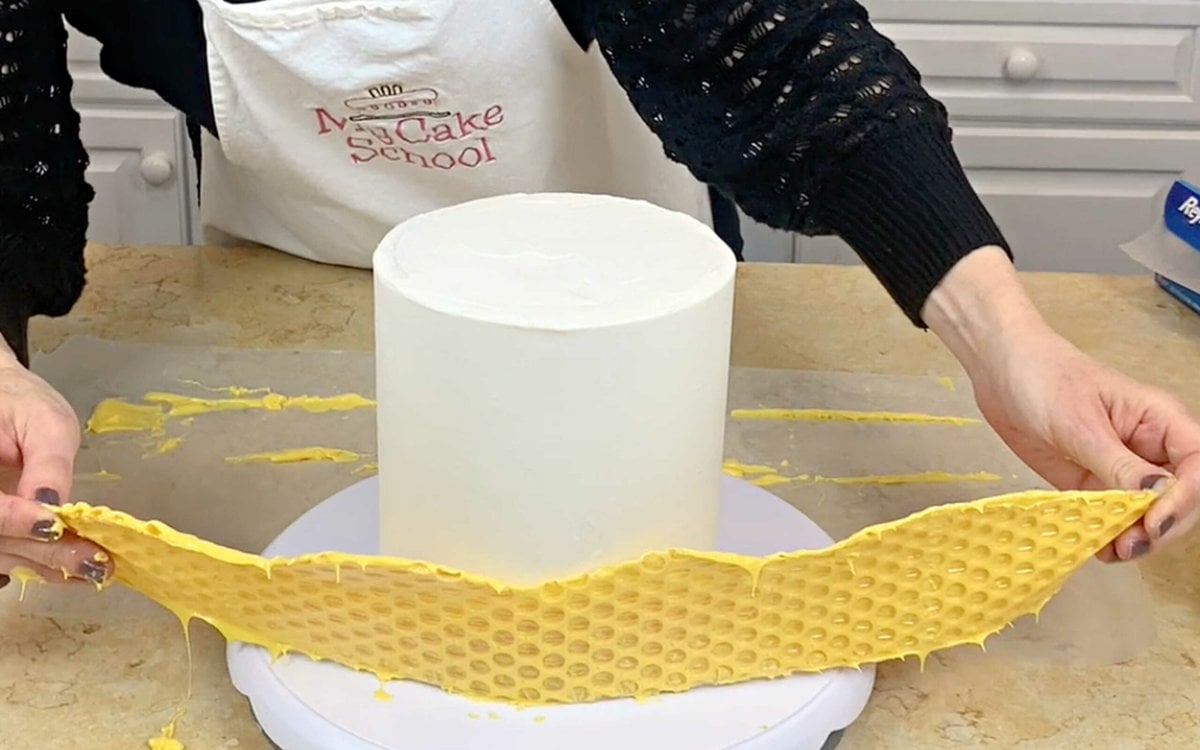
- Chill in the freezer for 5-10 minutes or longer in the refrigerator. Peel away the bubble wrap, making sure that no plastic remains.
- Next, add the “bee mine” fondant heart to the front with a little buttercream.
- Place the beehive on top. (I first placed two bubble tea
straws to the top center of the cake to support the weight of the topper).
That's it! Our sweet Valentine's Day cake is finished.
Enjoy the Video!
Thanks so much for stopping by!
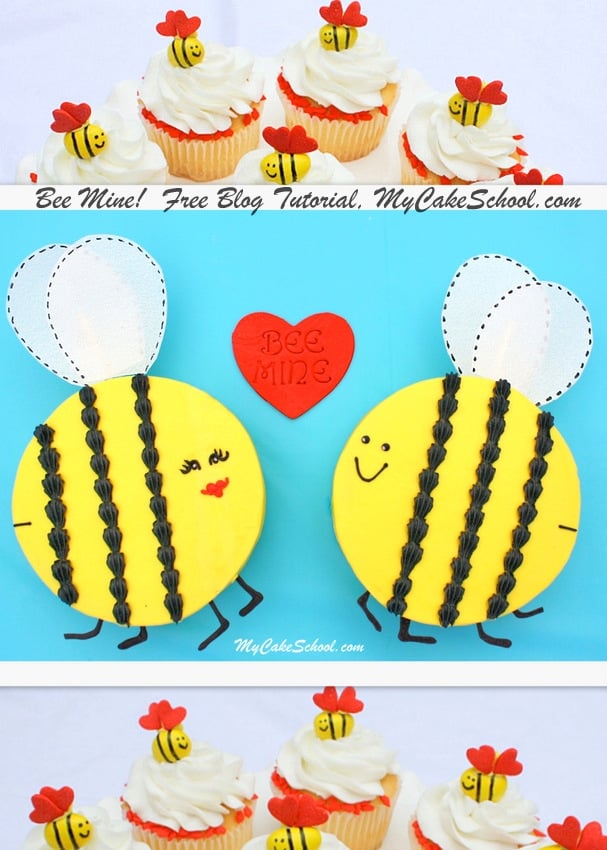
If you'd like to see more Bee-Themed cakes and cupcakes, check out our free step by step blog tutorial for "Bee Mine" cakes and cupcakes!
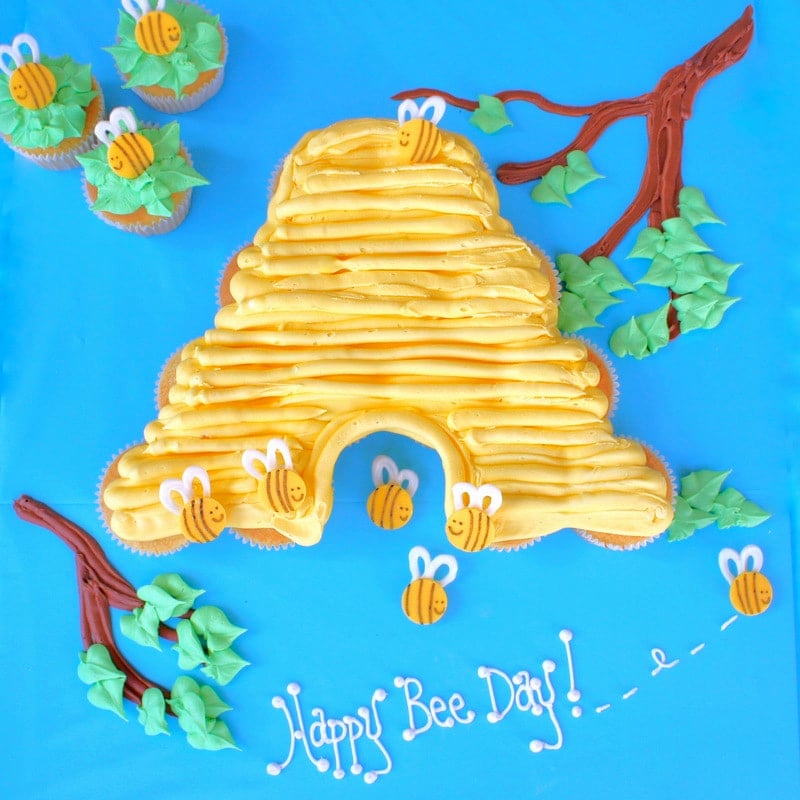
We also made a cute & easy Beehive Cupcake Cake Tutorial years ago for Better Homes & Gardens- You can find it here!: Happy Bee Day- Cupcake Cake
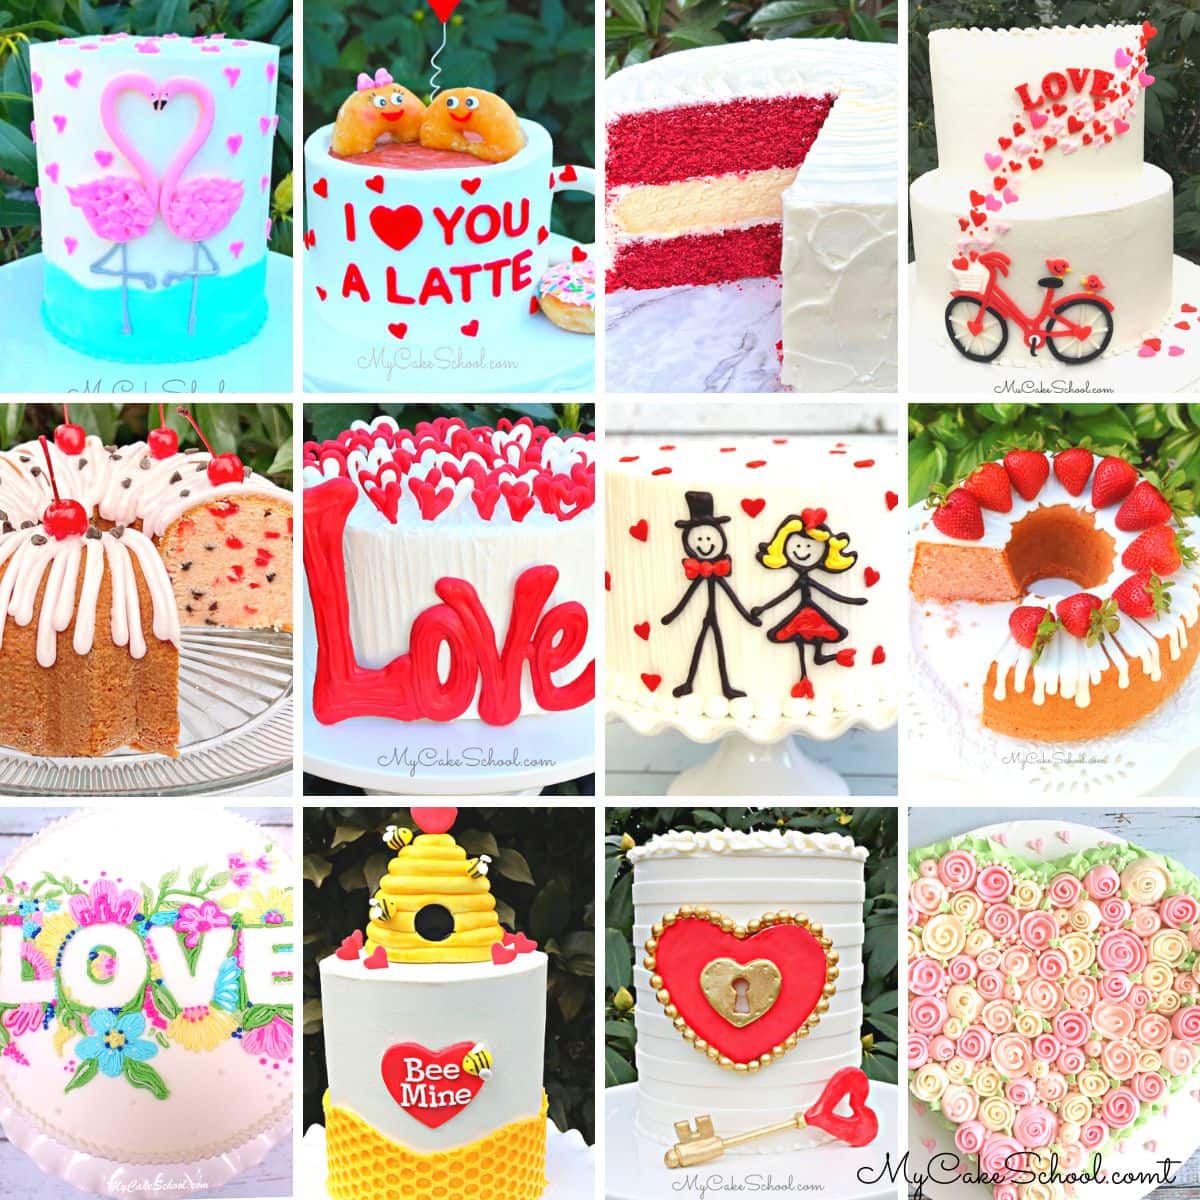
Finally, we have our full roundup of Valentine's Day Cake Tutorials here!: Favorite Valentine's Day Cake and Cupcake Designs!
Bee Mine- A Beehive Cake Tutorial for Valentine's Day
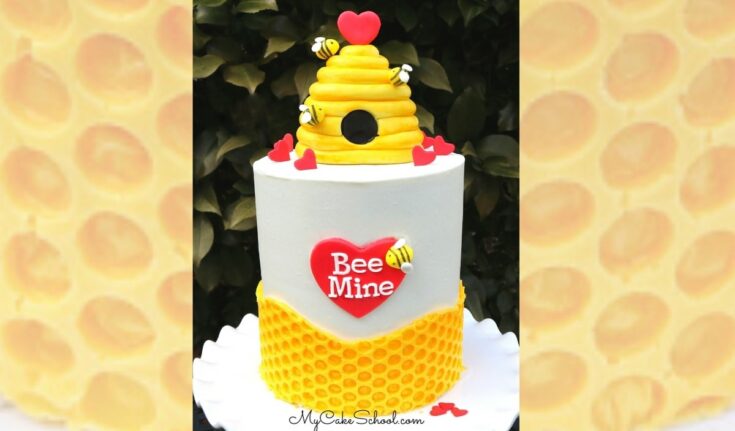
This adorable Beehive themed cake features a chocolate honeycomb wrap and a beehive cake topper! This is such a fun cake for Valentine's Day, but can easily be changed up for birthdays and more!
Ingredients
- We used four (22g) pre-made Rice Krispies Treats
- Fondant: Yellow fondant with tylose kneaded into it (We tinted ours with Americolor Lemon Yellow, but later painted it as well with Vodka+ a touch of Americolor Egg Yellow). Also, plain white fondant for wings, and red fondant for hearts.
- Tylose Powder- Helpful for kneading into fondant. You can also use gum paste for the topper.
- Coloring gels: We used Americolor Lemon Yellow & Egg Yellow (for fondant on beehive), Super Red
- Vegetable Shorting- Rub over shaped rice cereal treat so that fondant will adhere better
- Black food coloring pen- Helpful for accents on Bees
- Heart Cookie Cutters- We made various sizes but wound up using 6 small ones for the hearts on top of the cake, one small-medium heart for top of beehive, and larger one for the front of the cake --needs to be large enough to fit the "bee mine" message
- Letter cutters for the "bee mine" message- we used Tappit Cutters
For the Honeycomb Wrap
- 200g yellow candy coating, melted (we used Sweet Tooth Fairy brand). You can also tint white coating yellow but only with oil-based candy coloring gel.
- Bubble Wrap- Enough length to wrap around cake (We used a little over 20 inches length). You can wash it to be on the safe side- you'll just want to make sure that it is completely dry before adding the chocolate so that it will not seize.
Instructions
For the Beehive Cake Topper
- Press cereal treats together tightly to create beehive
shape. - Use paintbrush handle to create door impression.
- Coat beehive with light coating of vegetable shortening. Add black fondant circle to door.
- Roll "snakes: of yellow fondant. (I used fondant with a bit tylose kneaded
into it to firm it up more quickly.) - Wind the snakes of fondant around the beehive shape.
- Trim the fondant as kneaded. Also, add a bit of piping gel
here and there as you stack the ropes of fondant so that everything holds
together. - I used 1M piping tip to make a clean, round cut for the door.
- For the bees, roll balls of yellow fondant with a bit of tylose powder kneaded into it. Use a toothpick to poke small holes where the bees will later connect with the beehive.
- The wings are small, flattened balls of white fondant.
- Cut out a fairly thick (approx ¼ inch) heart for the top, create a hole in the bottom with a toothpick.
- Optional: I “painted” additional yellow coloring (Americolor Egg Yellow + vodka)- It was a better match for our honeycomb wrap.
- Attach heart to the top of the beehive with a piece of a toothpick. (You can substitute dry pasta if you don't want to use a toothpick)
- Decorate the bees, adding stripes. Use toothpicks to attach to the beehive.
Wings are attached with piping gel or tylose. - Cut out the “Bee Mine” letters from very thinly rolled
fondant (with a bit of tylose kneaded into it). Attach bee with a small ball of fondant with a very small amount of water kneaded into it to make it tacky.
For the Cake
- Bake preferred cake recipe in four 6 inch cake pans. Cool completely before decorating. For example, our Yellow Cake from Scratch or Vanilla Buttermilk Cake.
- For this double barrel cake design, add 4 bubble tea straws into the
bottom two filled cake layers, to height of stacked layers. Top with a cake board cut down to size, and add the next two cake layers. I settled my tier and frosted with a smooth finish. - Frost the cake with your vanilla frosting of choice. We used our Fluffy Vanilla Buttercream recipe from the Recipes section. Our Classic Vanilla Buttercream is a good choice also!
For the Honeycomb Chocolate Wrap
- Melt the candy coating in a bowl in the microwave in small increments until almost melted. Then stir untll smooth.
- Cut a strip of bubble wrap long enough to wrap around the chilled
cake. - Place the bubble wrap bumpy-side-up on a strip of wax paper.
- Spread with candy coating and wrap around chilled cake. Chill
in the freezer for 5-10 minutes or longer in the refrigerator. Peel away the bubble wrap, making sure that no plastic remains. - Add the “bee mine” fondant heart to the front with a little
buttercream. - Place the beehive on top. (I first placed two bubble tea
straws to the top center of the cake to support the weight of the topper).
Miscellaneous:
Piping gel ("glue"), small paintbrushes, cake cardboards, cake pedestal/base of choice, bench scraper/straight edge for smoothing frosting, spatula for apply frosting, turntable (optional but helpful), piping bags. etc., vodka (optional) if making "paint" for beehive, 2D or other large piping tip for cutting the circular "door" for the beehive.
Notes
I find it easiest to apply to a chilled cake, and to apply the middle of the wrap first, and the wrap each side around the base so that the long chocolate-covered wrap is easier to manage.
OMGosh! That is just adorable! I love it! Simple and awesome as always! :-)
Adorable!
Super cute! I love that your ideas are easily achieved and don't require buying lots of extra supplies or equipment. Thanks for another great cake tutorial.
Pretty new at baking cakes. Thanks for this design. I struggled with the bees.
Hi Lynn, Your cake looks fabulous!! It looks like it was done by an experienced baker. Great work! Thanks so much for posting.
Yay! I'm so glad that you made it- you did an awesome job! xoxo