Castle Cake Video Tutorial
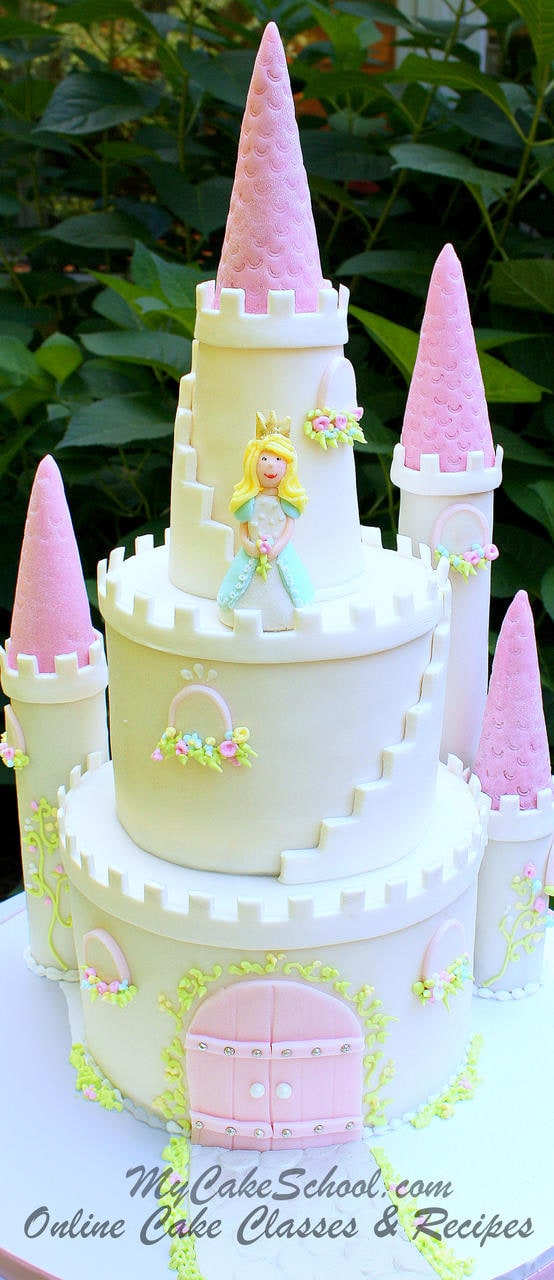
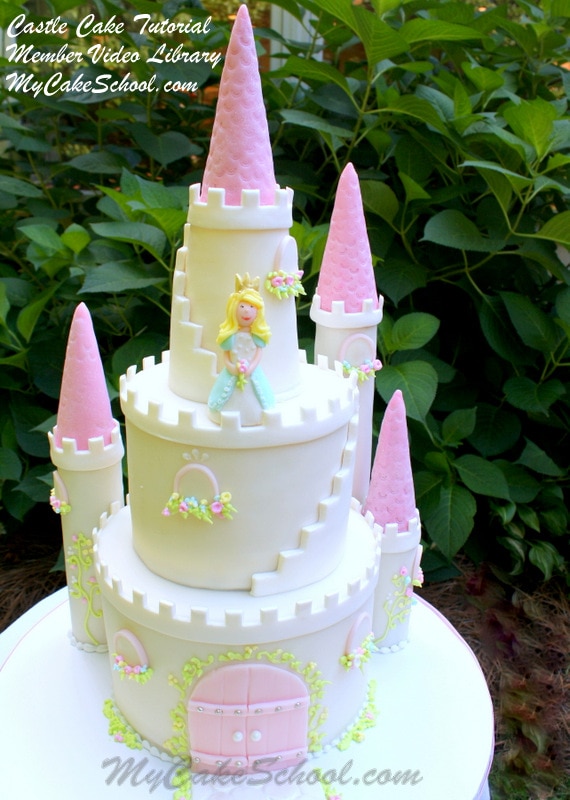
We are excited to share a beautiful castle cake tutorial with you!
Our castle cake has a fairytale feel, complete with a little princess. However, you can take what you learn today and apply it to a dramatically different castle of your own.
Just by making a few color and even texture changes, you will have the tools to make a castle cake that would be perfect for both boys and girls (and maybe even some adults too ;0) !
Table of Contents
Materials (This is a comprehensive list for both Part 1 & Part 2 of the video)
In this video, we are using a basic two tiered, stacked cake construction. We have one 8" tier and one 6", baked with our White Almond Sour Cream Recipe, filled with our Fluffy Vanilla Buttercream Recipe, ganached with white chocolate ganache, and covered with Elizabeth Marek's Fondant.
Ganache Amounts (chocolate/cream): 44 ounces white chocolate ( I used Ghirardelli white baking chips) to 14 ounces heavy cream
We used 38 ounces white fondant for the 8" tier, and 26 oz. white fondant for the 6" tier.
Americolor Coloring Gels Used: Deep Pink, Sky Blue, Lemon Yellow, Electric Green, Copper (princess' skin tone)
Cake Boards: 8"/6" rounds for beneath each tier, and four 16" rounds for the base.
Supports: I used 5 bubble tea straws total. (4 beneath the top tier, and 1 to support the topper.)
Turret Supplies: 3 Paper Towel Rolls, 1 plastic cup
Sugar Cones
Disco/Pixie Dust- I used on the turrets for sparkle.
Sharpened Dowels for supporting turrets
Rice Cereal Treats- for pushing into the paper towel rolls (I used one square per turret)
Chocolate Candy Coating- Makes a nice glue for the turrets.
Fondant Smoother- For smoothing fondant, but I also used as a template for the front door
Royal Icing- As seen in our Recipes section, thickened to a good piping consistency
Piping Tips: Misc. small round tips. I used a Tip 5 to pipe our royal icing border on the bottom tier. 2 & 3 tips for piping flowers. Use what you have on hand.
FMM Multi Ribbon Cutter (aff.)- Helpful, not essential
FMM Straight Frill Cutter Set- (Used in creating the castle-like top border)
Gum Paste (or tylose/fondant) - I used with the frill cutter and my princess
Toothpick/pasta- Helps to support our princess's head
Pink Petal Dust- Optional--Rosy Cheeks for Princess
Cobblestone Impression Mat- Optional-- I used at the end for a small pathway

Carriage Cake
In keeping with today's fairytale theme, you may also like to watch our Cinderella's Carriage Cake tutorial! Either of these cakes would be perfect for fairytale themed or princess themed birthday parties!
Enjoy the Video!
We hope that you enjoy the tutorial! If you give this castle cake a try, we would love for you to leave a comment and photo below.
You can find even more fun birthday cake tutorials for all sorts of themes in our collection of 100+Birthday Cake Ideas!
Part One of this video tutorial touches on ganaching your tiers, covering in fondant, creating the turrets, and a few extra details.
Part Two: Watch as I join the turrets to the castle, create the princess, and add details (windows, door, flowers, etc.) to the exterior.


Hi Melissa!
I noticed that you use piping gel as your glue for the castle. In other videos that I've watched, you use gumpaste/water. Is there a particular reason that you chose piping gel this time? Perhaps I've just never seen the videos that you use piping gel, but was just wondering if piping gel is a better choice moreso than the gumpaste mixture. Thanks!
By the way, you have outdone yourself (again) with this. We tell you often, only because we are just so amazed creation after creation!
Hi again Melissa,
In addition to my question above, I just get so confused about when to use candy melts, water, gumpaste solution, etc. for glue. I just wouldn't want to use the wrong thing on fondant or buttercream or ganache....I just want to use the best glue on the right type of cake. Thanks!
@Lori-- three 8" layers & three 6" layers.
Hi Terri-- Thanks for the glue question. Sometimes it's just a matter of what I have on hand ;0)
I've used a variety of glues in my videos over the years...but I'll tell you my favorites:
For lightweight decorations or even decorations where the "glue" isn't the only means of support (for instance, the stairs on my castle cake were kind of large, but were also supported by the cake board or tier beneath), I use piping gel or sugar glue. Both work just fine. This is for attaching fondant or gum paste pieces to a fondant covered cake. Royal works well too but I wouldn't mix up a batch just for this purpose. When attaching lightweight pieces to a buttercream frosted cake, I just use a dot or smear of buttercream.
For modeling people, animals, flowers, and other misc figures, I prefer sugar glue (1/4 tsp tylose dissolved in 2 T warm water).
For heavier decorative pieces, or for jobs like gluing cake boards to cake bases, or assembling tilted cakes, etc., I use royal icing or melted candy melts. Another good option is to dampen a ball of gum paste or fondant and knead it, making it sticky. It dries to form a strong bond also. All of these examples work well with a fondant covered cake.
If you want to attach heavier decorations to a buttercream frosted cake or if you have a large decoration to attach to a fondant covered cake, and are worried about the weight, an anchor of some sort is the best way to go. For instance, in my shabby chic cake video, you see that I anchor the flower with a lollipop stick that comes from the center of the flower and is pushed deep into the cake for extra support.
Here's a link to my shabby chic cake if you're curious~
There's definitely some room for personal preference but this is what works for me ;0) Let me know if you have more questions!
Could this also castle be done in just ganache/buttercream?
I've noticed the paper towel towers look like different sizes. Did you end up cutting them to different sizes after you put on fondant or did you decide this before. Almost looks like 3 different sizes? I am trying to figure out what size I should do. Thanks,
Hi Donna-- It's best to go ahead and trim your turrets in advance, and then cover with fondant. Although, it isn't impossible to adjust the height later (after fondant) if you need to change up your design. We changed up our plan a bit as we worked though the castle cake and wound up with the top turret being the plastic cup covered with fondant, and then the three "paper towel" turrets. Our three paper towel turrets are tall (full size) , medium, and short. You could probably get the "medium" and "short" turrets from a single paper towel roll. I wish that I had measured my turrets but you can guesstimate by just looking at my finished cake, when you consider that each tier is approx. 4" height.
Hi I was hoping to watch the video for the first part, but it's not even showing up to watch. Can you tell me what to do to to be able to watch?
Hi Cheryl, I have re-embedded the video, can you see it now. Thanks for letting us know.
Hi how much would these sell for ?
Hi Anu, The Castle Cake would be an expensive cake because it is a 2 tier cake with lots of time consuming extras on the cake. Prices can vary for different areas of the country, but you do not want to be known as the cheap cake lady. If you are doing this as a business, you must make sure you are making a profit. Below is a link to an article from Rose bakes that I think you will find helpful, and I am sure there are others if you do a "search". Best wishes
https://rosebakes.com/how-to-charge-for-cakes/