Cascading Rosettes of Buttercream- Video Tutorial
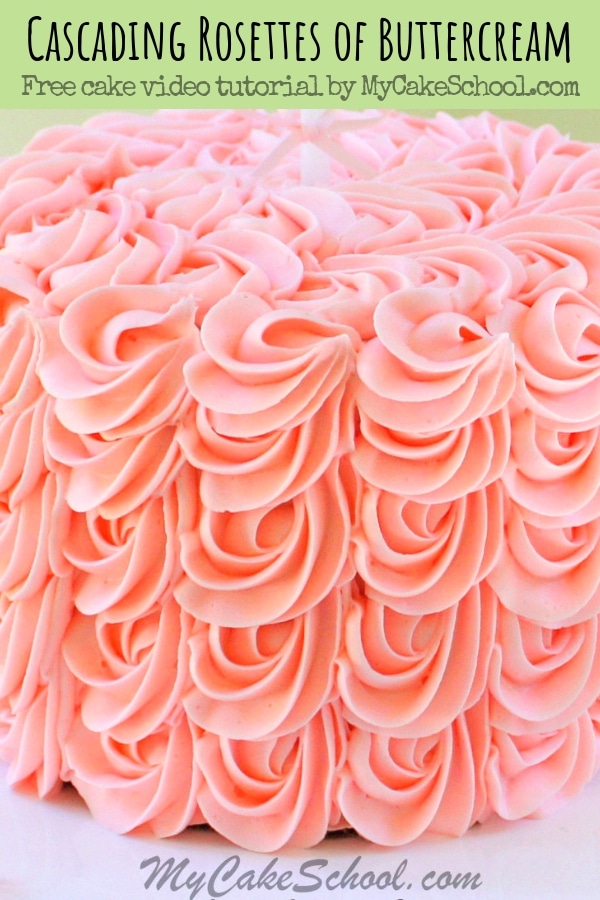
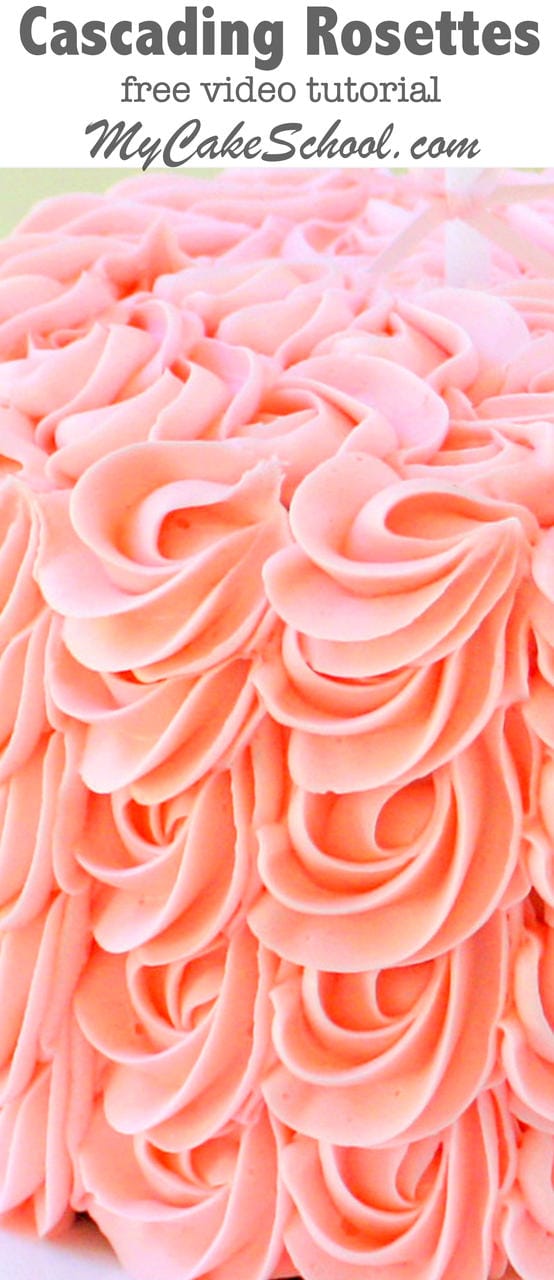
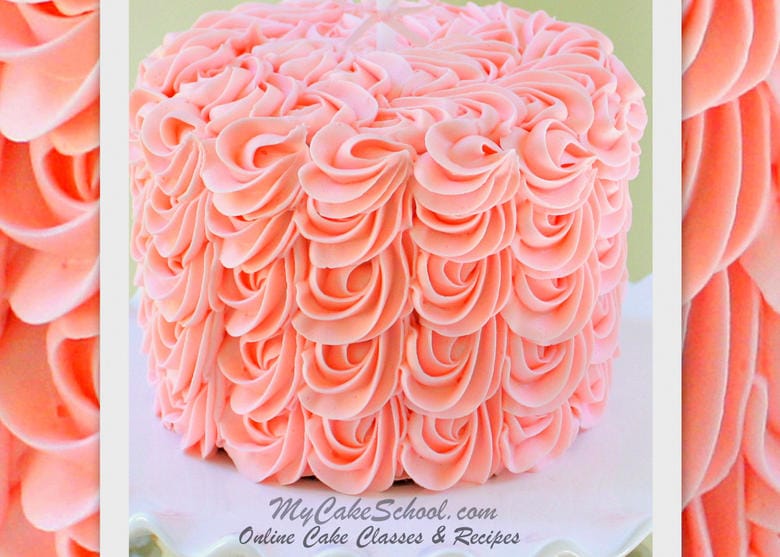
In this free cake decorating video tutorial, you will learn an elegant technique for creating cascading rosettes of buttercream. I absolutely love to cover cakes in buttercream piping!

This is one of those great piping techniques that looks SO impressive that nobody would ever believe how simple it actually is.
In fact, it has the appearance of rosettes that are piped individually in an overlapping pattern.
This cascading rosettes technique is every bit as beautiful as if we had piped the rosettes individually, but can be done with more consistency and in a fraction of the time.

No matter what your cake decorating skill level, you will be able to master the technique in no time.
Once you get the basic motion down, I think that you'll find that this style of decorating goes much more quickly than trying to create a perfectly smooth buttercream finish to your cakes!
It's nice to change things up now and then, isn't it? In the cake video, we are using a Wilton 2D star tip.
A large 1M star tip will give you a very similar look. Whether you use a large star tip or experiment with various piping tips, I hope that you enjoy the technique! It's one of our favorites.
Materials for Cascading Rosettes of Buttercream:
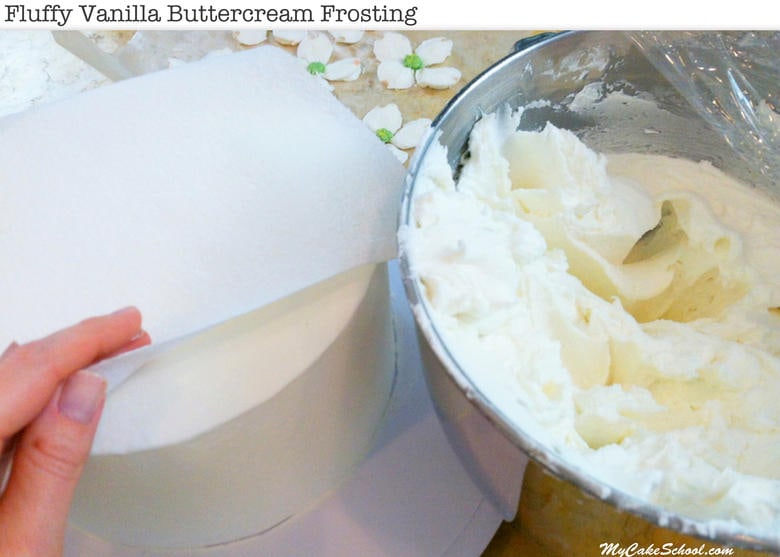
In this video, I'm piping onto a freshly crumb coated 6" cake with our Fluffy Vanilla Buttercream. Our Classic Vanilla Buttercream is a great choice as well.
The tier is on it's own cake board, cut down to the size of the cake.
Wilton 2D piping tip
Americolor Christmas Red Coloring Gel (for the pinky/peach color of our buttercream)
*This piping technique will work with any buttercream recipe that holds up well to piping. We used our Fluffy Vanilla Buttercream frosting recipe but you can find other frosting choices in our https://www.mycakeschool.com/category/recipes/frostings-and-glazes/!

Thanks for stopping by!


Thank you, I really like your elegant and simple ideas. from where can I get this color???
This is beautiful, and a nice alternative to individual rosettes!! Thank you for the wonderful video!!
I have a question. How do you deliver your buttercream cakes on a pedastool? I am having trouble delivering my cakes the getting them on the appropriate stand without losing the design.
Hi Adrienne- I actually never deliver cakes on the pedestal. If the cake needs to travel, I decorate the cake (as always) on it's own cake board trimmed down to the size of the cake, chill the decorated tier until firm, then move it and glue it with frosting to a cake base. The cake base could be something along the lines of a cake drum, or a few round cake cardboards glued together and covered with your covering of choice (decorative foil, plastic tablecloth & ribbon, fondant, etc.). Then, the cake on it's cake base would simply be placed on the pedestal.
Hi Melissa,
I made this cake and I had a little trouble with it. I got it completely iced and then a section of the roses started sliding off. I waited a few minutes and then iced again, well the next day another section fell down. :( Any thoughts as to why this might have happened? I was really sad because it looked really pretty when it was finished.
Oh no, I'm sorry to hear that cjrod! How frustrating!! -
I'll go over a few possible reasons in case one of these stands out to you:
As you work your way up the cake with your piping, you want most of the rosette to be in contact with the crumb coated cake beneath. There is some overlap with the rosette beneath as you work your way up, but as long as most of the rosette is in contact with the cake, it should be fine. Too much overlapping with your rosettes could weigh things down and cause sliding.
I also think that it's a good idea to pipe soon after crumb coating the cake. Piping onto the cake before the crumb coat has a chance to develop a crust may help it to adhere even better.
Another idea is to keep the crumb coat on the thin side. If by chance you had a thick layer of frosting beneath the rosettes, it may slide (especially if the crumb coated layer was soft.)
If the crumb coat was very cold (just removed from the fridge) it may have developed condensation as you did your piping which may have interfered.
Finally, the next time that you try this design, (and if you have the fridge space) I would chill the cake until it's closer to the time of serving. This is especially true if you will be transporting the cake. I like to travel with chilled cakes. This firms up the frosting and helps everything to stay in place.
I hope that this helps and I'm so sorry that you had an issue! xo
I love this technique, but I'm wondering how it will work is only 4 inches tall.... I'm doing a cake for my in laws 50th anniversary, a 12 inch, 10 inch, 8 inch (possibly a 6 inch on top)... Any thoughts? Would you do this on each tier, on leave one tier plain frosting? Piped top, or smooth? I want it to look really professional, but I'm not sure exactly how to put it all together.
Hi Melissa, would this design work with SMBC frosting?
WHERE can I find the large unusual tips? No super JoAnn or Michael's.
Hi Barbara, the tip that I used in this video (2D) should be available at JoAnn, Michael's, etc. The more unusual tips like Russian tips or larger french tips, etc. can be found online. (Amazon is a good place to look for unusual piping tips!)
I can't wait to try out this technique! So pretty. I'll be making a 2 tiered cake for my mom's birthday and can't think of another buttercream piping technique that will pair well with the cascading rosettes. I was thinking the top 6" will have the cascading rosettes and stuck on the bottom tier. Any thoughts?
Thanks ?
Can I do it with whipped cream instead of buttercream? Thank you