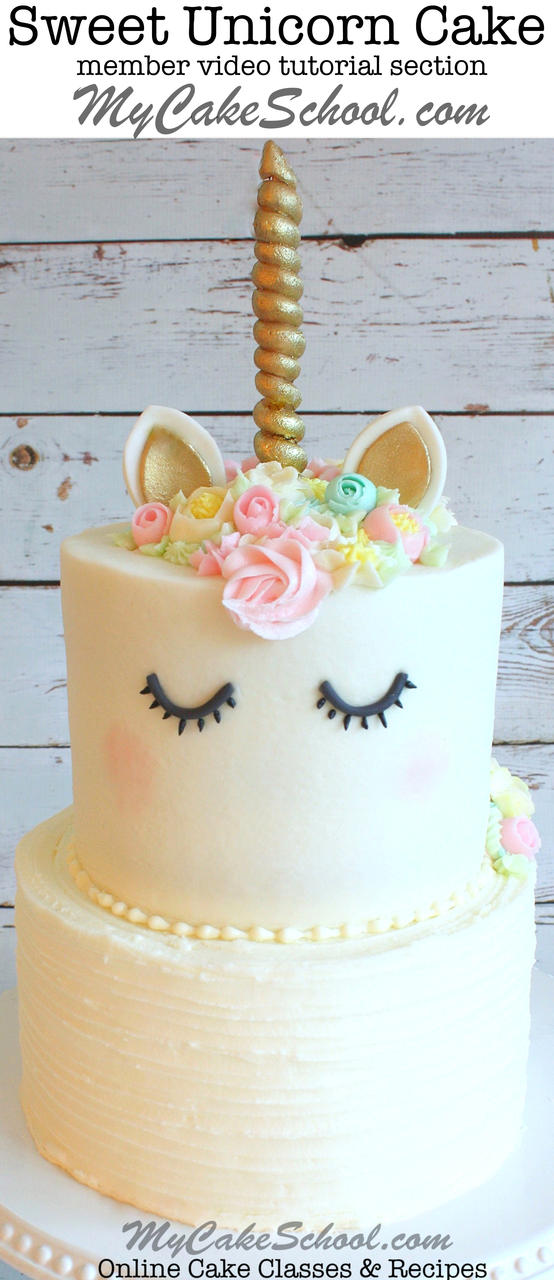
Unicorn Cake Topper- Free Video Tutorial
Today I'm going to show you how to make a super cute and easy Unicorn Cake Topper!

This sweet unicorn will add instant cuteness & magic to your cakes and you will LOVE how easy it is to make.
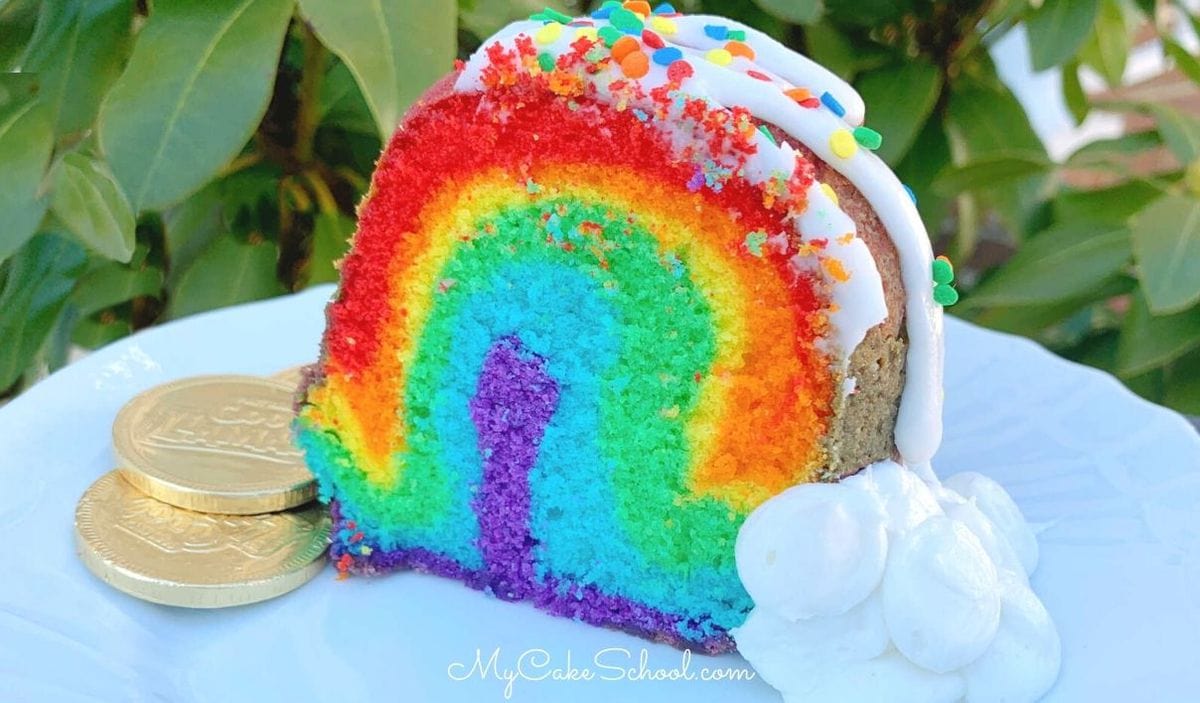
Unicorn and rainbow designs go hand in hand and so today we've baked up some delicious and colorful funfetti cake layers! (Click over for our favorite Funfetti Cake Recipe from scratch!)

Another option would be to use rainbow cake layers, or frost your cake with rainbow buttercream. There are SO many fun options.
We kept the outer frosting of our cake nice and simple, with some textured blue and white buttercream and puffy clouds on top.
(If you'd like some rainbow cake inspiration, checkout our Roundup of Rainbow Cakes, Tutorials, and Ideas!)

We hope that you enjoy the tutorial! Don't miss our unicorn cake topper template beneath the video, as well as a listing of the supplies used. Have fun!
Table of Contents
Materials for Unicorn Cake Topper:
Todays cake is three 8 inch funfetti cake layers, Frosted in our Classic Vanilla Buttercream Frosting.
Gum Paste (or fondant with tylose kneaded into it)
Coloring Gels for red, orange, yellow, mint green, sky blue, violet (we used Americolor brand)
Sharp knife or xacto
Black Food Writer Pen
Piping Gel (or your glue of choice)
Lollipop sticks for anchors
Parchment/waxed paper for lining cookie sheet
Piping Tip: I used a Wilton 10 for the clouds. (You could also just snip the tip off of your piping bag.)
Fondant rolling pin
Pink petal dust (optional) for rosy cheeks
Rainbow Jimmies
Gold Luster Dust (optional- you can also use yellow). We used Rolkem super gold + vodka to create a paint for the horn. Then we dry dusted it with more gold dust for added sparkle).
Notes:
Allow at least 24 hours for your gum paste cut-outs to dry firm.
You should always make two cut-outs when making cake toppers like this one just in case of them breaks.
Spatulas: I used small rounded spatulas for applying my buttercream
We have another free cake decorating tutorial to share with you! This cake from our Unicorn Cake video tutorial is sure to please! ;0)

Enjoy the Tutorial!
If you give this easy Unicorn Cake Topper a try, we would love for you to leave a photo and comment below! Thanks so much for stopping by, we hope that you will come back again soon!
Hi Alexas, yes. I just tint my fondant or gum paste with coloring gels (the same that I use for tinting buttercream). You'll just pinch off a little fondant/gum paste and knead in your color until you reach the shade that you like.
(If you needed a large amount of red or black, pre-made is the best way to go...but for a cake like this, where only small amounts are needed, I would just knead the color in.)
Here is my unicorn horse I love her!