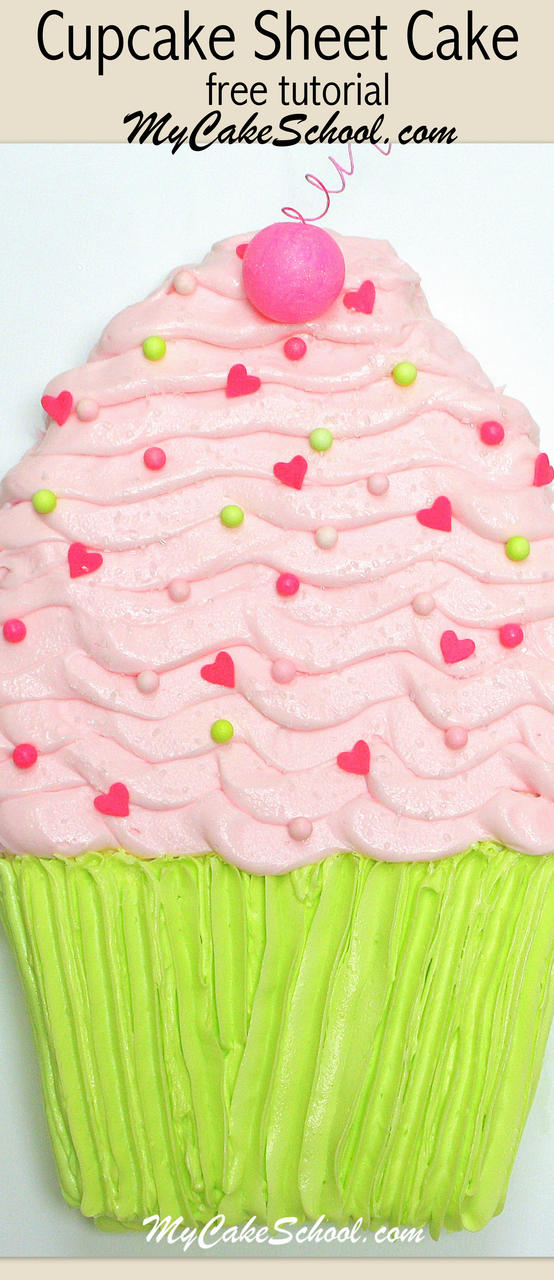
Cupcake Sheet Cake Tutorial
Today I'm going to share an easy Cupcake Sheet Cake tutorial with you!
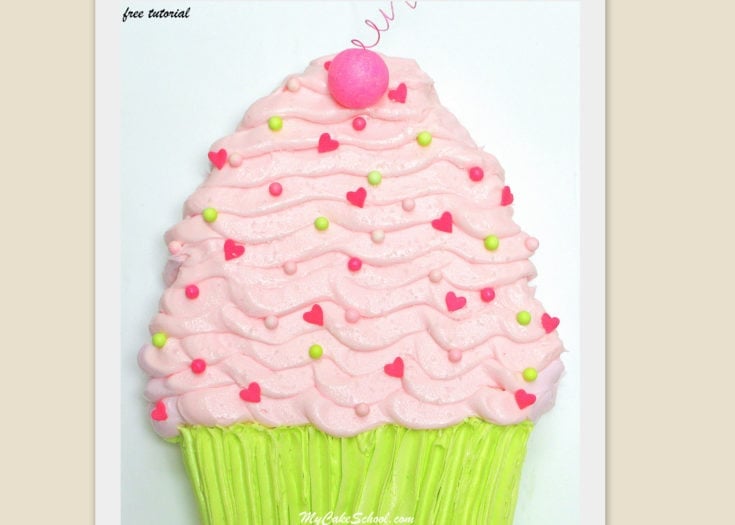
This CUTE buttercream cake design would be great for children's birthday parties, it's perfect for all skill levels of cake decorating, and the end result is SO much cuter than an ordinary sheet cake!

Table of Contents
How to Make a Cupcake Sheet Cake
Let's get started... it's time for some cuteness!
First, I used a simple template to map out my plan of action for carving.
This is an optional step since the cupcake shape is easy enough to wing it as you go! Here are our links to our templates if you need them! Keep in mind that these were used on a 9x13 sheet cake:
Cupcake Frosting Template for My Cake School's Cupcake Sheet Cake
Cupcake Liner Template for My Cake School's Cupcake Sheet Cake Tutorial
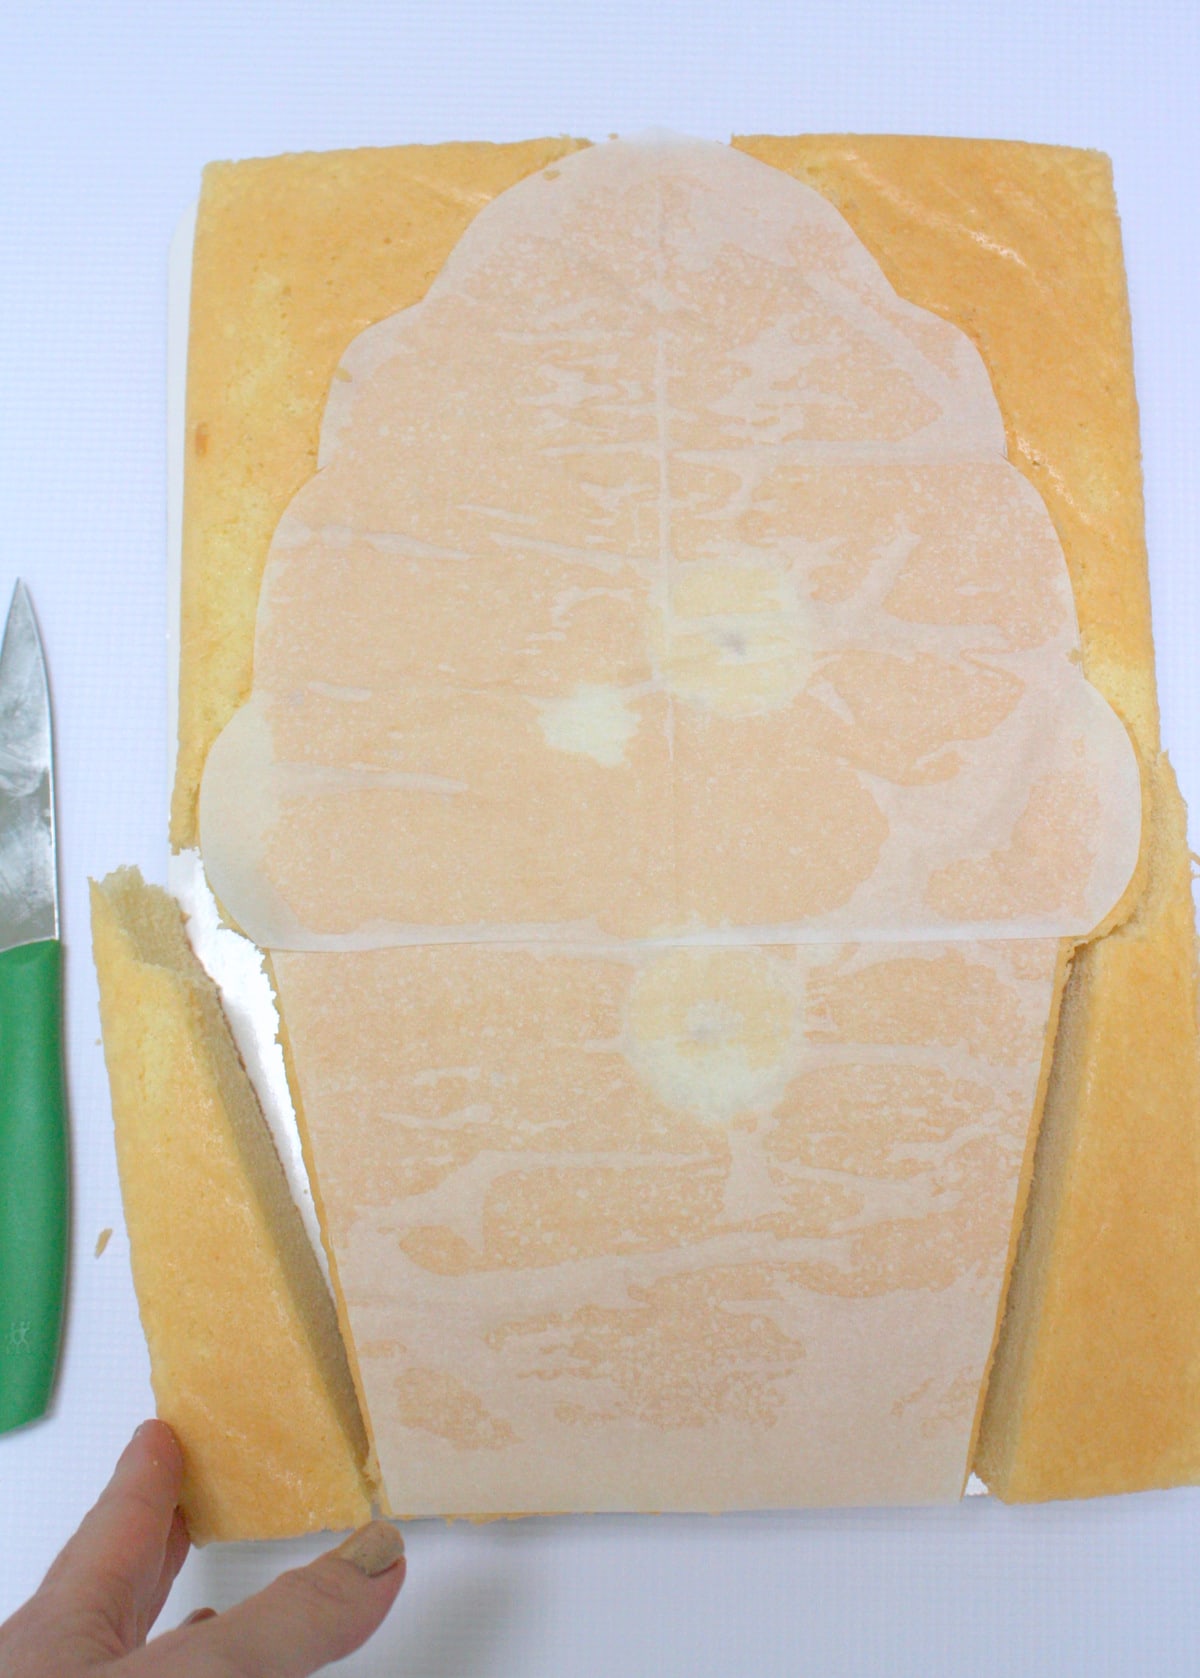
Here is our 9x13" cake (on it's own cake cardboard) and a basic template that I cut from parchment paper.

Carving our Sheet Cake using a Template
Next, I used the template to cut away excess cake, leaving our basic cupcake shape!
You may find it easier to do your carving on a cake that is partially frozen as it will be less fragile.
We used a fairly dense cake and so it was very simple to cut neatly, even at room temperature. (White Almond Sour Cream Cake-Doctored Cake Mix Recipe)

Crumb Coating
I crumb coated the cake with our Classic Vanilla Buttercream Frosting! Next, I trimmed away the excess cake board to fit the shape of the cake. You can do this step with an xacto knife.

Decorating the Cake
I then moved the cake to the final cake base, which was three sheet cake cardboards taped together and covered with a plastic tablecloth. (When I do this, I secure the tightly pulled tablecloth on the underside of the cake base with staples.) You'll want to glue the cake to the cake base with a bit of buttercream.
Use your cake base of choice, but if you are using cake cardboards, I would recommend using three so that it is sturdy enough to prevent the board from bending or buckling.
Creating the Cupcake Liner in Buttercream
Now for the cupcake liner! I used a 2D large star piping tip to create the ridged cupcake liner! This is such an easy process and a fun way to add a bit of texture to our buttercream cake!
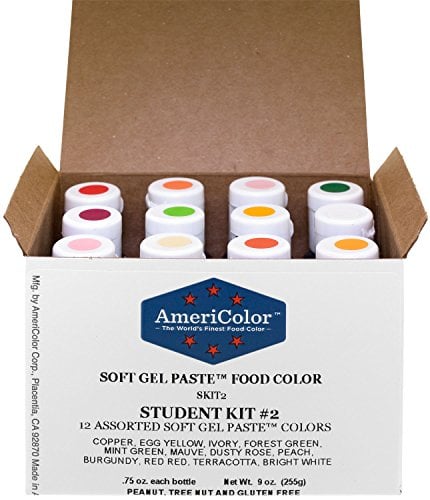
Simply pipe vertical lines from bottom to top. (We tinted our buttercream for this step with Americolor Electric Green.)

No Piping Tip Required for the Pink Frosting!
Next, I snipped the end from a disposable piping bag to create a medium sized opening and then piped several wavy rows of delicious pink buttercream (tinted with Americolor Deep Pink Coloring Gel)!

Almost finished... I love how quickly this cake design begins to take shape! Let your pink frosting overlap the top of the green cupcake liner.

Creating the Fondant Cherry on Top!
As an optional (but super cute) step, I created an oversized cherry cupcake topper! To make this, I made a ball of hot pink fondant tinted Wilton Rose, and then inserted a coiled stem made from 22 gauge paper covered floral wire. (Any gauge that can hold is fine!)
To create the coiled effect, simply wrap the wire around a paintbrush handle or pen. Then, I painted the stem with mix of pink and white coloring gel & a bit of vodka.
(The vodka makes it dry more quickly but water is fine if you don't have any on hand!)

As a final touch, I added sprinkles in shades of pink and green!

More Easy Cakes
We've created so many fun Birthday Cake Ideas over the years, including a few more easy sheet cakes (and cupcake cakes) featured below!
Elephant Sheet Cake (This sweet "Elephant with a Cupcake" design is a shaped sheet cake)
Cupcake Sheet Cake Tutorial
Learn to make this cute and simple cupcake sheet cake in our step by step tutorial!
Materials
- 9×13″ cake (on it's own cake cardboard)
- cupcake template
- Buttercream frosting
- Piping Tip: 2D piping tip
- Coloring Gel: Americolor Deep Pink, Electric Greenn
- Fondant (for cherry)
- white floral wire (22g or similar) for cherry
- Sprinkles
- Disposable piping bags
- vodka (optional) for painting fondant cherry stem
Instructions
- Carve 9x13 sheet cake layer on a cake board into shape of cupcake. (You can use our template if you don't want to cut it freehand). It's easier when the cake is partially frozen (less fragile)
- Crumb coat the cake with vanilla buttercream, trim away the excess cake board.
- Move the cake (still on board) to it's final cake base. (My cake base was three cake cardboards taped together and wrapped with a plastic tablecloth. I secured the tablecloth to the bottom of the cake boards underneath with staples.)
- Using a 2D piping tip, pipe vertical rows of the electric green buttercream to create the look of the cupcake liner.
- For the pink buttercream, snip the tip off of a disposable piping bag to create a medium sized opening and then pipe wavy lines of buttercream for the look of a cupcake swirl of frosting. Start from the bottom, slightly overlapping the top of the cupcake liner, and work your way up row by row.
- Add fondant cherry on top, coil floral wire around a pen or paintbrush handle to create the coiled stem and insert into the pink fondant cherry.
- Add sprinkles!
Recommended Products
As an Amazon Associate and member of other affiliate programs, I earn from qualifying purchases.


How cute is that! :) Definitely more fabulous then a slab cake! Love it! :)
Thanks MsGF!! xoxo
Pretty Cupcake!
was this a single batter or a double batter for this size cake?