Kit Kat Checkerboard Cake
In this quick tutorial, I'm going to so you how to make an EASY and impressive Kit Kat Checkerboard Cake design.

I've always loved the Kit Kat Cakes that have been so popular in the past, with standard sized Kit Kats pressed vertically into buttercream frosted cakes (and often topped with M&Ms or other chocolate candies).
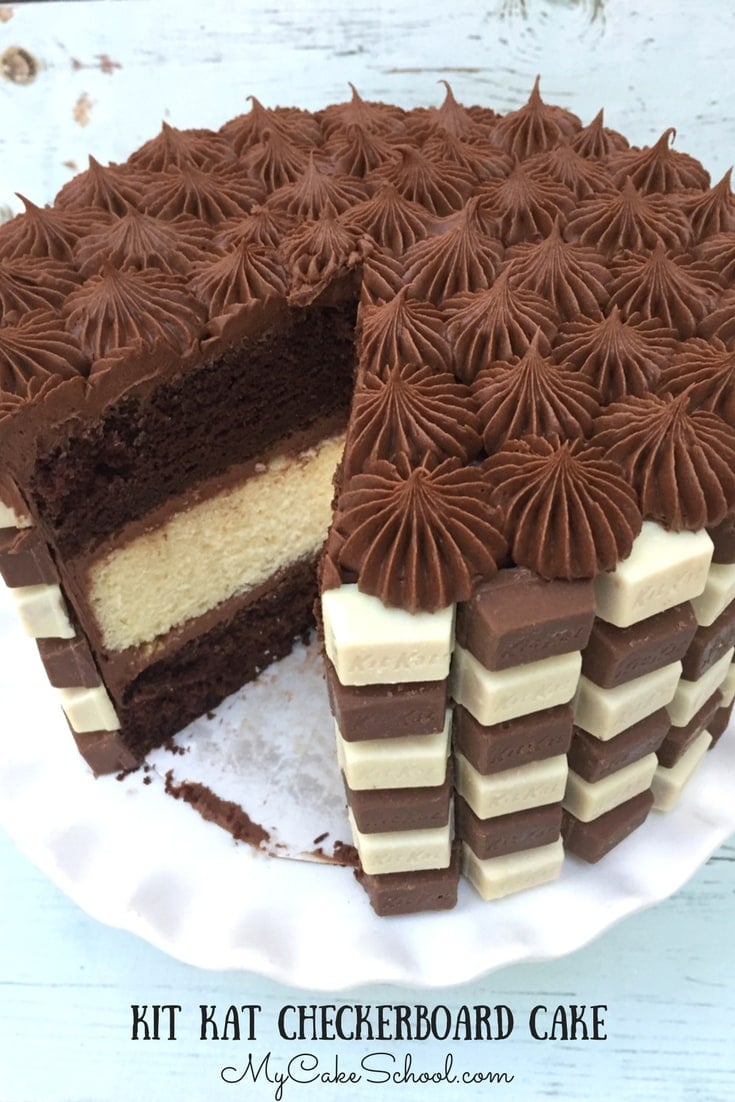
Today's Kit Kat cake is a fun new twist on this idea. Not only are we using mini Kit Kats, but the contrast of chocolate and white chocolate gives us a checkerboard cake design that is truly unique!

The cake that we decorated today consists of two classic chocolate cake layers and one classic white cake layer (8 inch). We have a stash of wrapped cake layers in the freezer that we grab when we need a quick cake, and we decided to go with a chocolate and white theme today.
If you want to carry the checkerboard theme to the inside of the cake, check out our tutorial on Checkerboard Cakes from our free tutorials section. This is such a fun effect and no special pans are required!
Table of Contents
How to Make a Kit Kat Checkerboard Cake
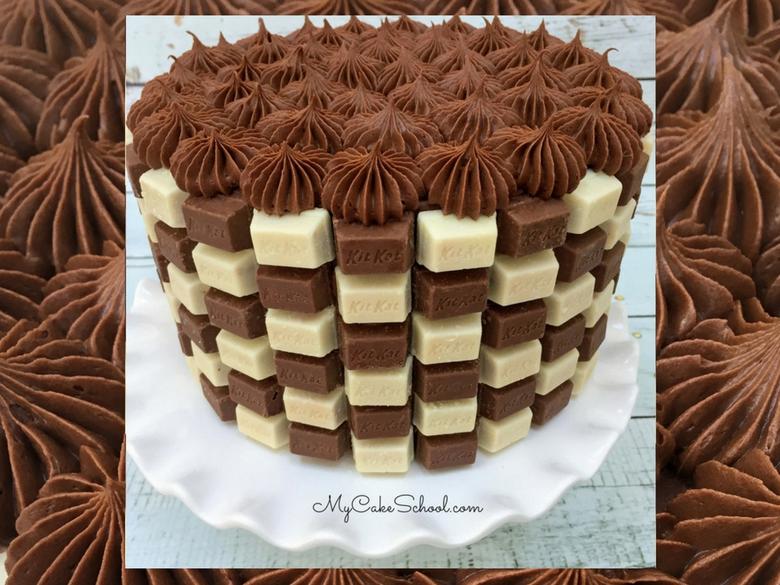
After attaching our Kit Kats to the frosted cake, we covered it in chocolate buttercream stars piped with a french tip 869. (We used our Classic Chocolate Buttercream Recipe)
If you don't have a tip 869, substitute with your star tip of choice (2D, 1M, etc..). Or, you could decorate with rosettes or ruffles!
Topping this cake with strawberries or chocolate shards would be nice options too for additional height and color, but we decided to keep it simple!


*We noticed that sometimes the minis can have little imperfections or look a little dull straight from the bag.
It's not noticeable with the white chocolate mini Kit Kats, but if you experience this with the chocolate ones, simply rub the surface very lightly with shortening to revive the color and smoothness.
We hope that you enjoyed this easy Kit Kat Checkerboard Cake video! If you give this design a try, we'd love for you to share it with us in the comments!
More Chocolate Candy Cakes!
In related cake news, here's a quick peek at our Kit Kat & Reese's Cup cake tutorial which you can find in our blog section! Easy Kit Kat Cake Tutorial
I just love quick and easy designs, especially when they involve chocolate!

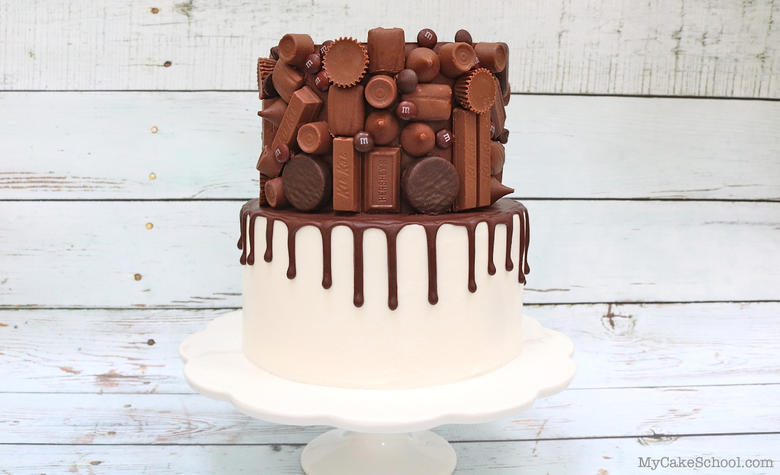
We also have a "fancier" version of a chocolate candy cake which we've called our Candy Bar Drip Cake!
Enjoy the Video!
Thanks so much for stopping by! If you give this fun Kit Kat Checkerboard cake a try, we would love for you to leave a comment and photo below!
")
Kit Kat Checkerboard Cake Design- Free Cake Video

This Kit Kat Checkerboard Cake is sure to be a crowd pleaser! Perfect for the chocolate lovers in your life!
Materials
- 8 inch tier (or your cake size of choice)
- 2 bags Mini Kit Kats
- 2 bags Mini White Chocolate Kit Kats
- 2 batches Classic Chocolate Buttercream Frosting
- Piping Tip 869
- Miscellaneous: Disposable piping bags, turntable, spatula, Cardboard cake circle (optional)
Instructions
- Frost your tier with buttercream
- Press your chocolate and white chocolate Kit Kats into the frosting, alternately. Continue the pattern all the way around, creating a checkerboard pattern.
- If your buttercream crusts, you'll want to pipe squiggles of fresh buttercream to the cake just before attaching your rows.
- Cover the top of the cake with piped stars. (We used a french tip 869, but you could use your french or star tip of choice. Piped rosettes would be pretty too.
Notes
We noticed that sometimes the minis can have little imperfections or look a little dull straight from the bag. It’s not noticeable with the white chocolate mini Kit Kats, but if you experience this with the chocolate ones, simply rub the surface very lightly with shortening to revive the color and smoothness.
I love it! Looks terrific. Very impressive and simple! :-)
Thanks MsGF!!
Looks great! How lucky are you when they all fit perfect?!!
Thank you for including the quantities needed♡?
This cake and design is absolutely gorgeous!!! I often use 2 choc and 1 white layer in my 3 layer cakes, and I adore the French tip!!! I will most definitely be making this. The exterior is really cute. Impressive Melissa!
Thank you for your comments!!
@GupppyLove - yes, I really couldn't believe when I made it to the last row and it was just the right size! I guess Kit Kat minis just belong on 8 inch cakes! ;0)
Hi Melissa, thanks for the idea for my kid birthday will make this . Thanks a lot
this cake is looking so delicious,thank you for sharing your blog
this cake is looking so amazing,thank you for sharing your blog!!
http://www.deesbakestudio.com
Gorgeous cake! I just had to try it and it came out amazing ???? I was kind of intimidated at first with placing of the Kit Kat’s, but once I got them placed, I was very pleased ♥️♥️????????
This cake is amazing! I had to give it a try. I was at first intimidated, but once i started placing the Kit Kat’s, it became easy. Taste delicious too
Here’s a picture of my cake
Hi Romona, Your cake is perfection! I am so happy that you gave it a try, and thank you for posting your picture!