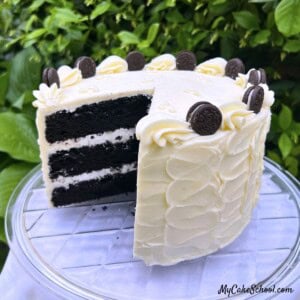
Black Velvet Cake
We love this homemade Black Velvet Cake! It is so moist and delicious with a fine crumb and velvety soft texture.
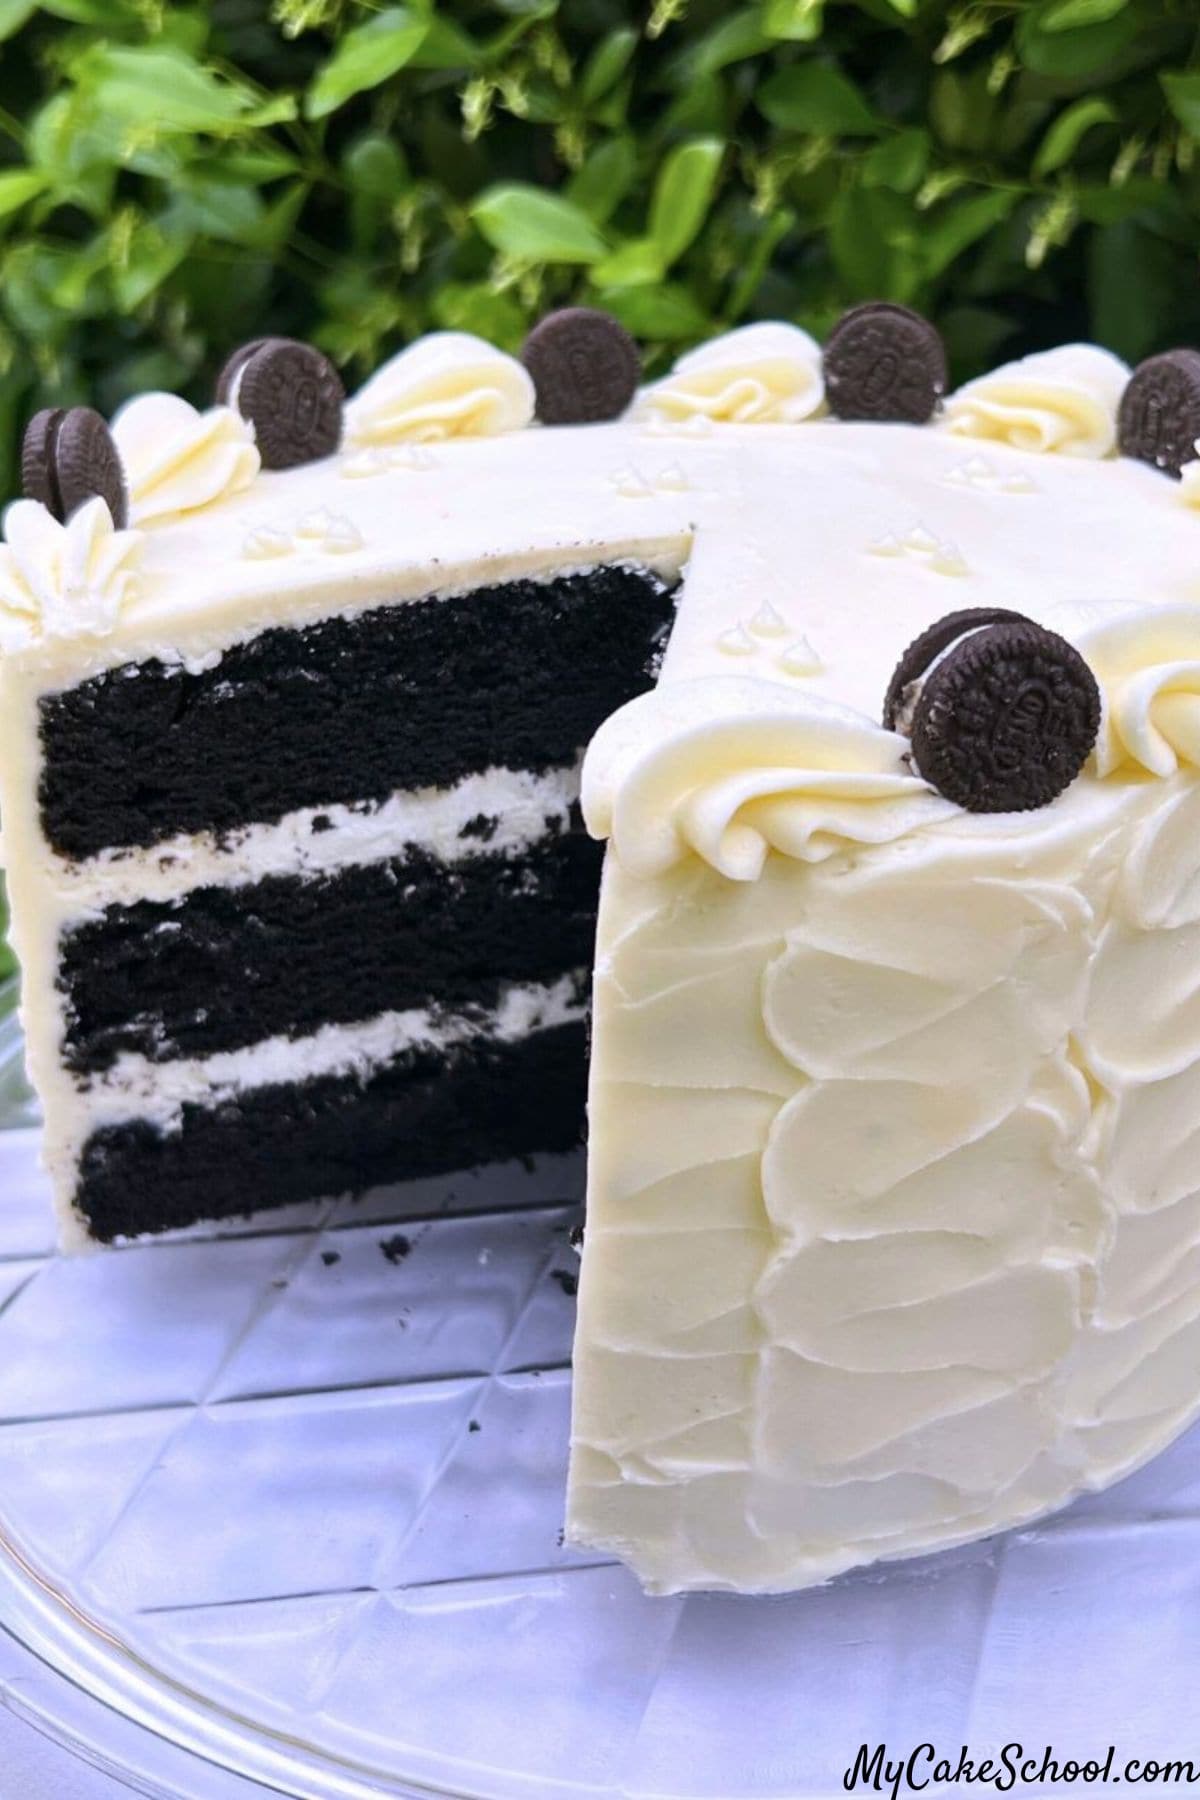
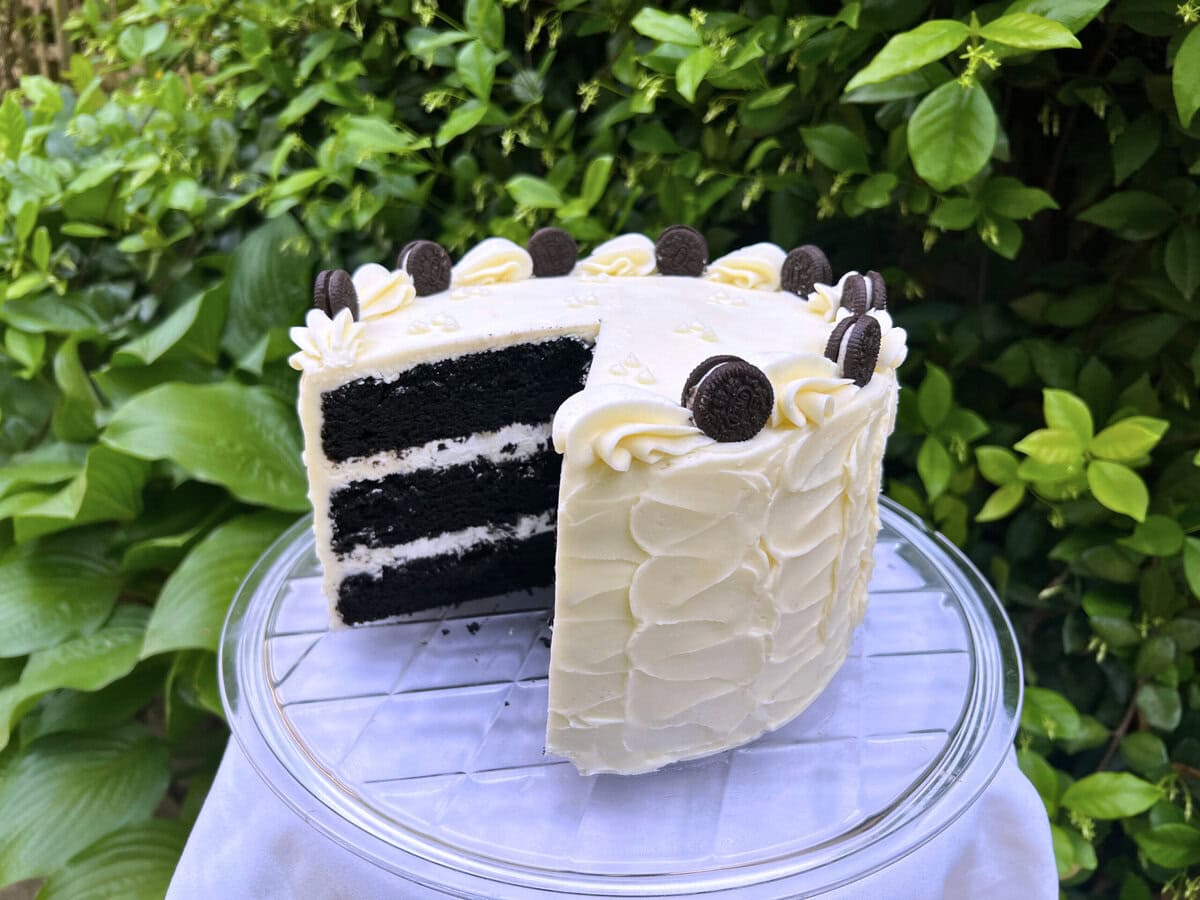
Black Velvet Cake layers are often filled and frosted with black cocoa buttercream (especially for Halloween cakes)- but today, we chose a filling of Oreos and cream, and frosted it with vanilla buttercream. This cake is chocolatey and light, and so pretty when sliced!
Table of Contents
What is Black Cocoa Powder?
Black Velvet Cake gets its dark color from black cocoa powder rather than black coloring.
Black cocoa powder has been ultra-Dutch processed, which reduces its acidity. This results in a darker color and smoother, milder, more mellow flavor.
How to Make Black Velvet Cake
Our version of black velvet cake contains softened cream cheese in the cake batter. This is one of my favorite ingredients for giving a cake that velvety soft quality (as with our white velvet cake and vanilla velvet cake recipes).
Here's a quick look at our steps. You can find the full recipe at the bottom of this post!
- First, Preheat oven to 350 degrees F. Grease and flour three 8 inch round pans. (You can also use two 9 inch pans). We also place circles of parchment on the bottom of our prepared pans (optional).
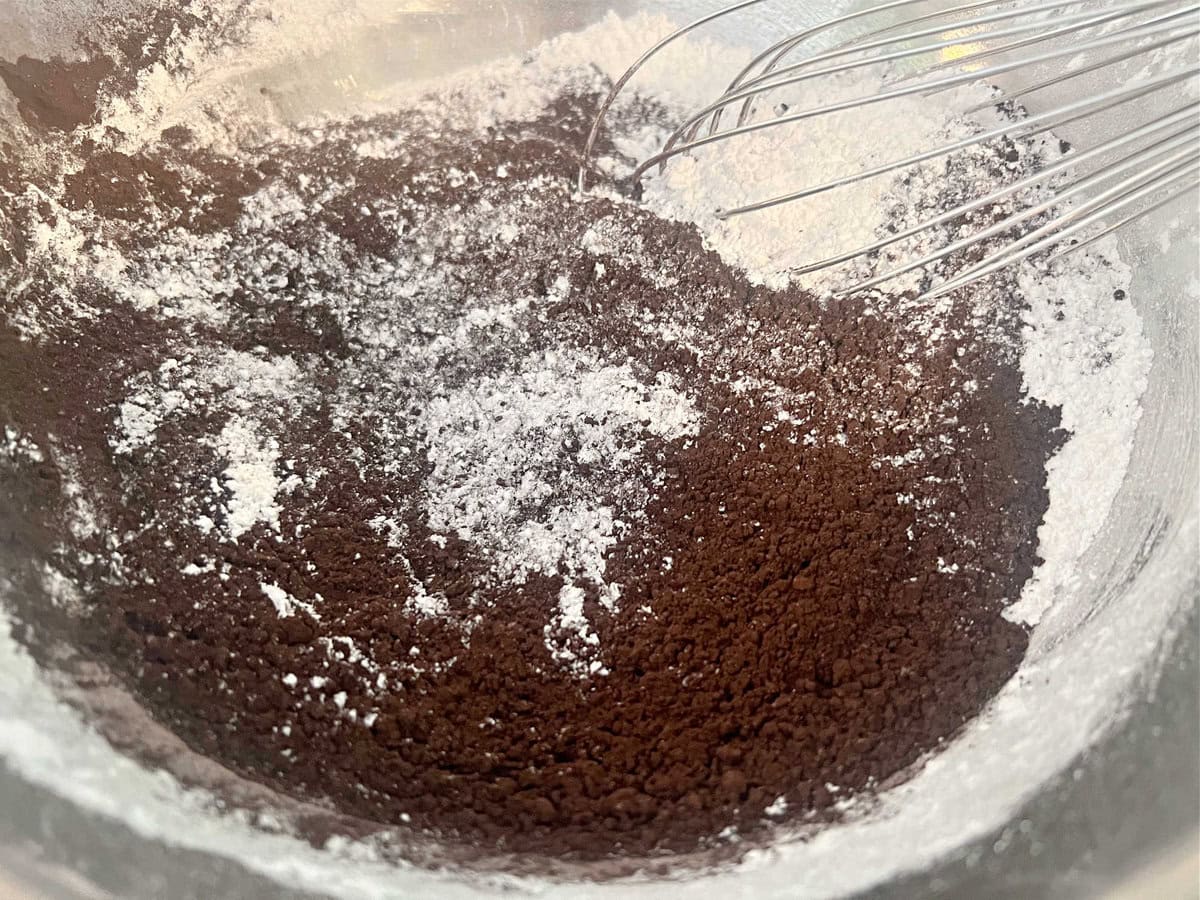
- Flour Mixture: In a medium bowl combine the flour, baking powder, baking soda, salt, and black cocoa powder. Whisk for 20 seconds to blend and set aside.
- Milk Mixture: In a separate bowl, add the milk, vegetable oil, and vanilla extract. Set aside.
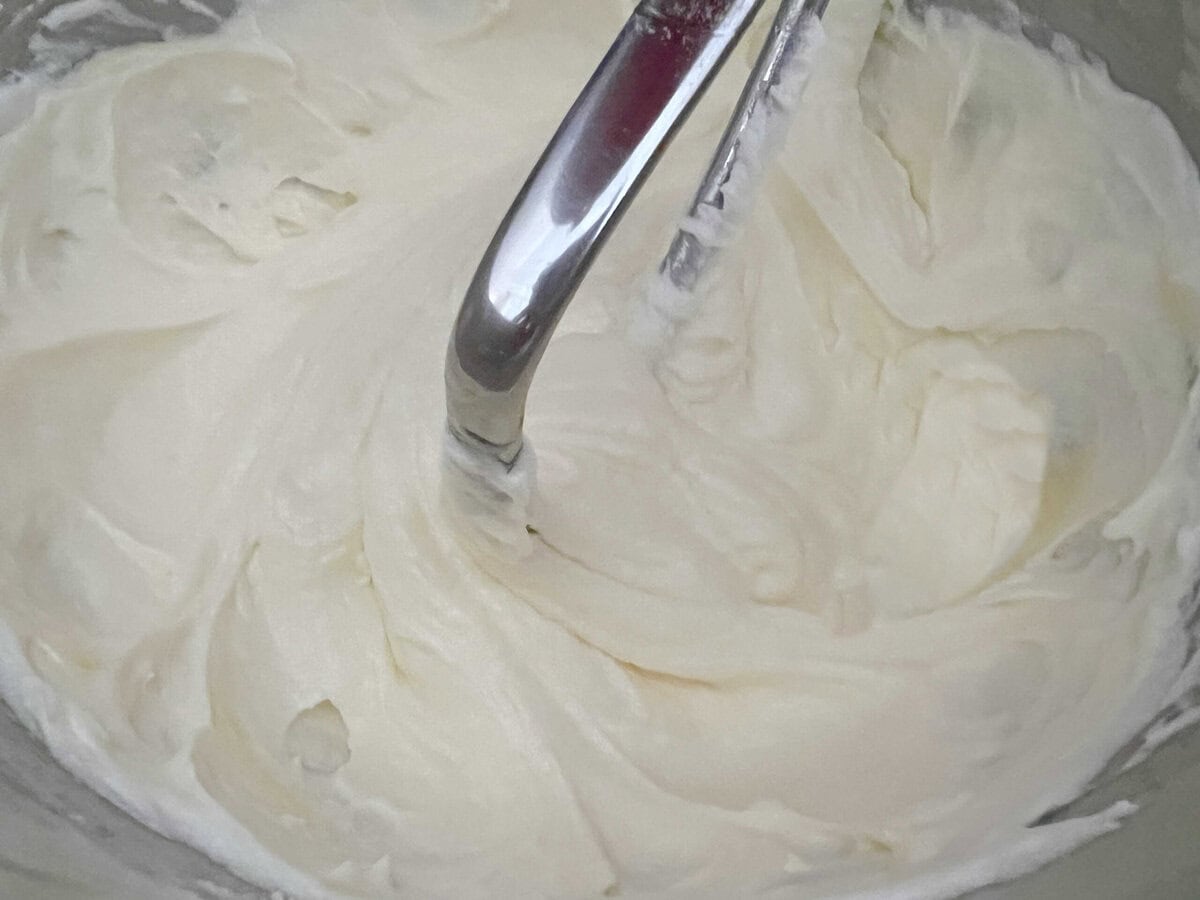
- In the bowl of an electric mixer, (using a paddle attachment if using a stand mixer), add the softened butter and softened cream cheese. Mix until smooth. Gradually add the sugar. Mix on medium speed for 3 minutes until lightened and fluffy. Scrape the sides and bottom of the bowl.
- Add the eggs one at a time, mixing on low to medium speed after each until the yellow of the yolk has blended.
- Prepare the ½ cup of hot coffee. (I used instant espresso dissolved in hot water but you can use any kind of coffee). If you don't want to use coffee, use hot water. Set aside- this will be the last step.
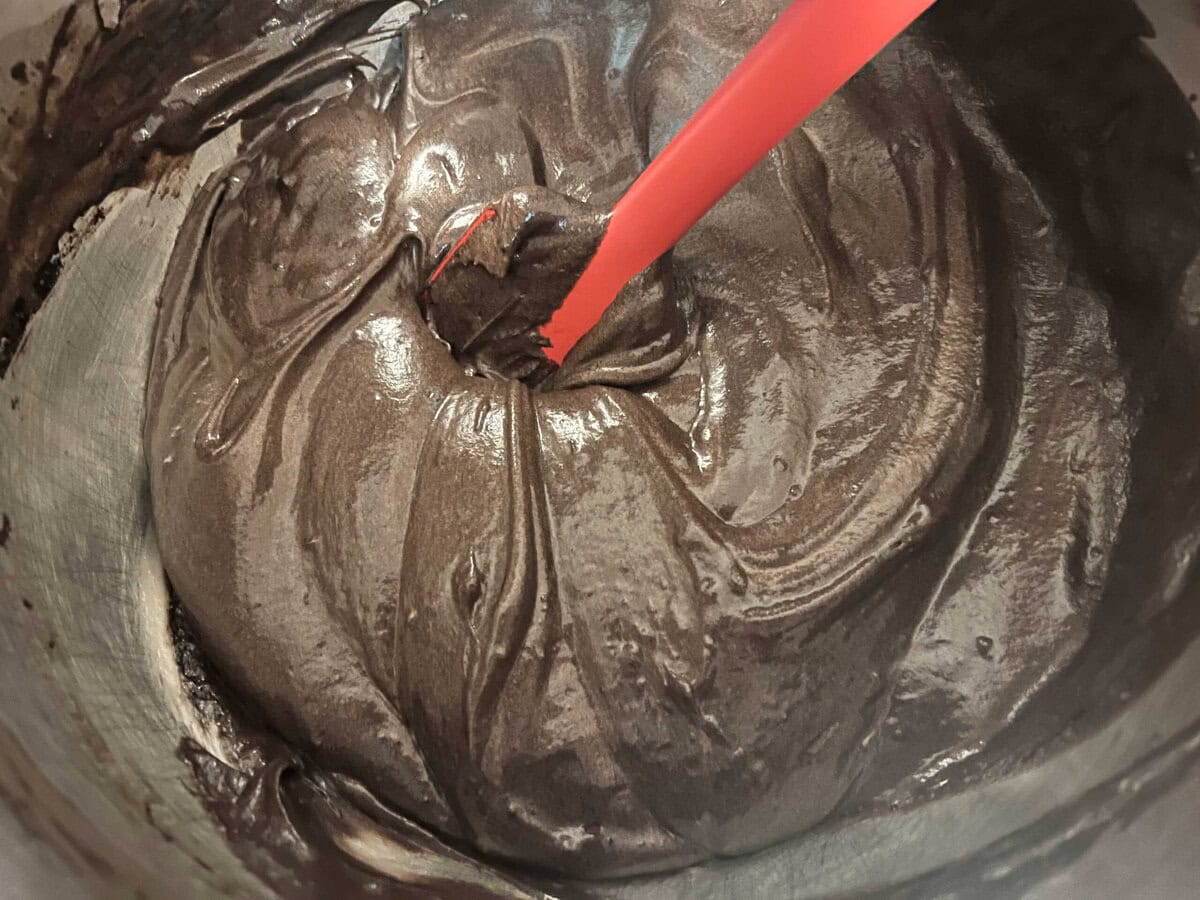
- With the mixer on low speed, ALTERNATELY add the flour mixture and milk mixture, starting and ending with the flour mixture. We did three additions of flour mixture alternating with two additions of milk mixture. After the last addition of flour mixture, mix until *almost* completely blended. Then, slowly pour in the hot coffee. Mix just until incorporated (around 15 seconds).
- Add the batter to the three prepared pans and bake at 350 degrees for 25-30 minutes. (Ours were done in 27 minutes).
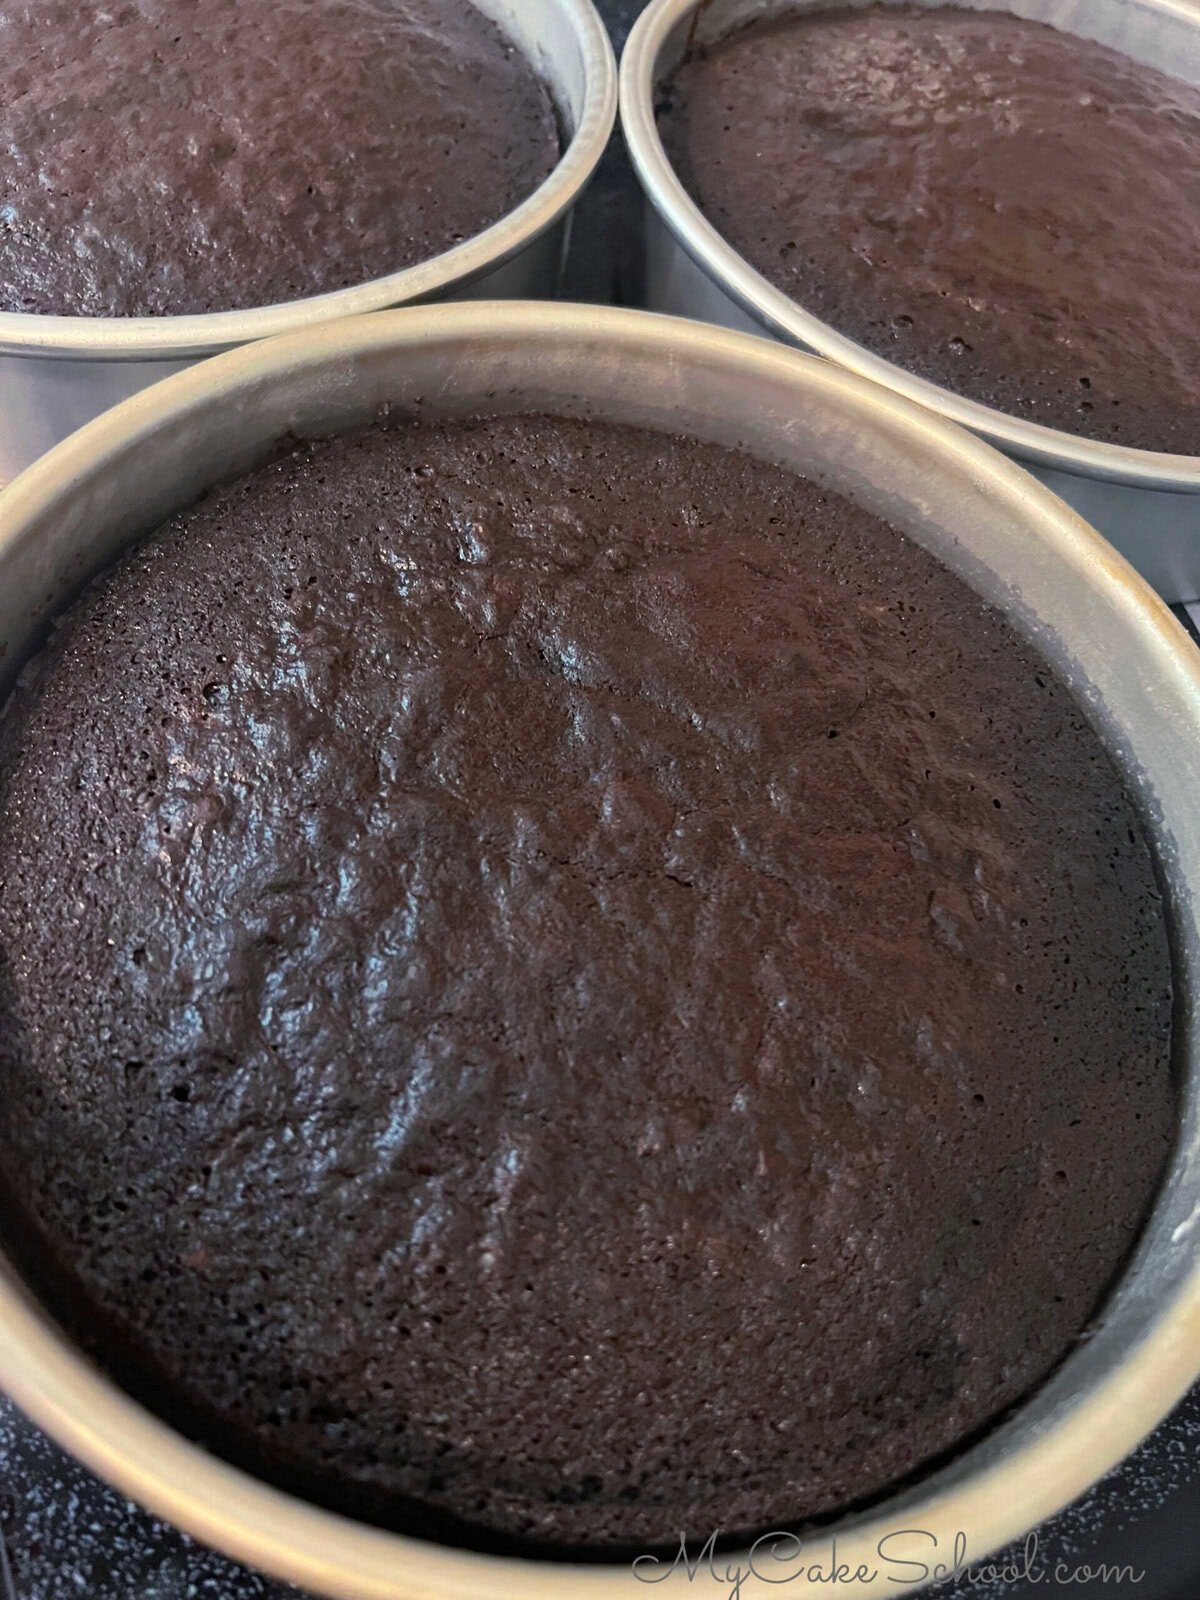
- Cool the pans on cooling rack 5 to 10 minutes then turn out.
Assembling the Cake
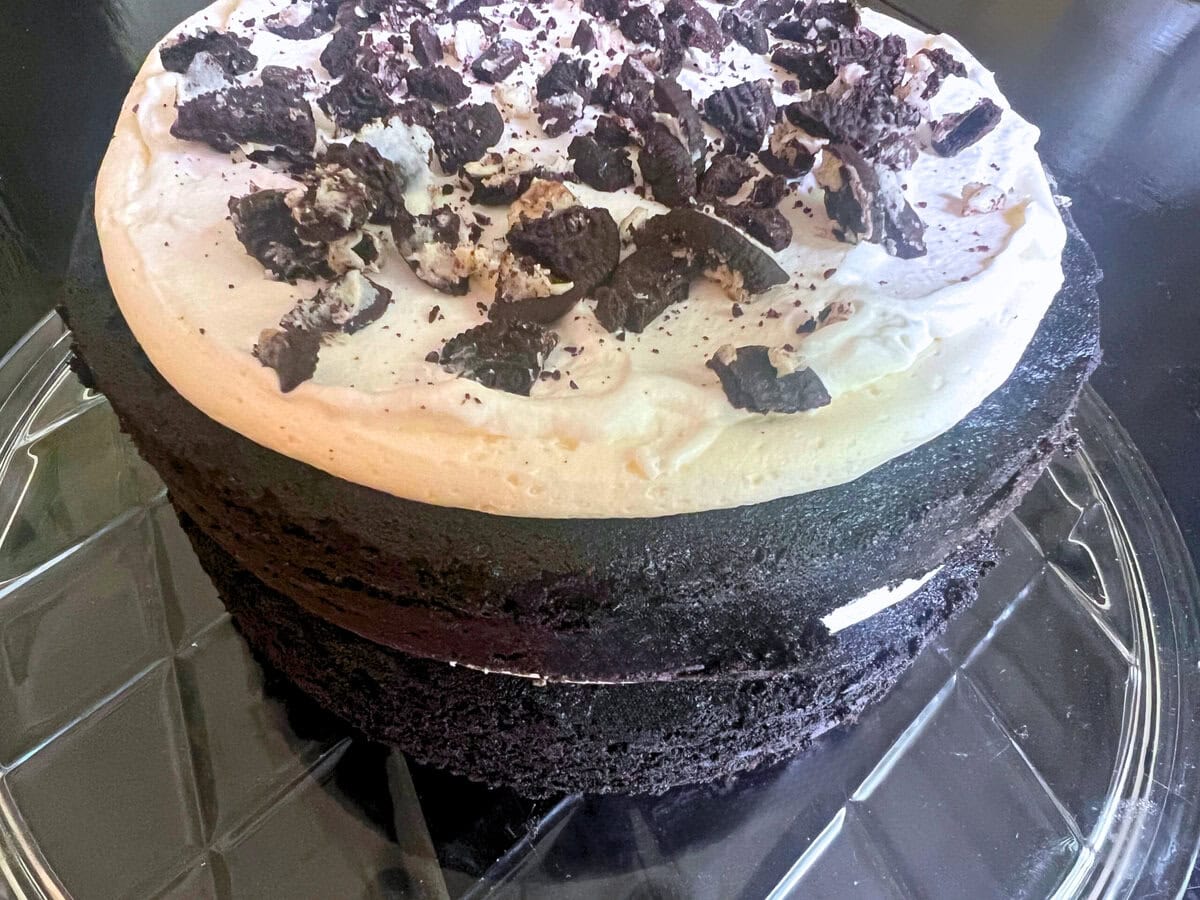
There are many frostings and fillings that would be great with black velvet cake layers. Today, we sandwiched sweetened whipped cream and crushed Oreos between our black velvet layers and frosted the cake in our easy vanilla buttercream.
- Once the cake layers have cooled, place the first layer on the cake plate or pedestal. Pipe a dam of buttercream around the top edge of the cake and fill it with the homemade whipped cream.
- Top with crushed Oreos (optional but recommended!) ;0). Then, top with the second cake layer and repeat.
- Top with the third cake layer, fill in any gaps between layers with buttercream, and apply a thin crumb coat (thin coat) of frosting. At this point, we recommend chilling the cake (either in the freezer for 15 minutes, or longer in the refrigerator) until the frosting is firm.
- Then, apply the second coat of frosting and decorate however you like! We smoothed around the sides with a bench scraper, and applied texture with an offset spatula. For the top border, we alternated between chunky buttercream shells (piped with a 1M tip) and mini Oreos.
More Chocolate Cakes
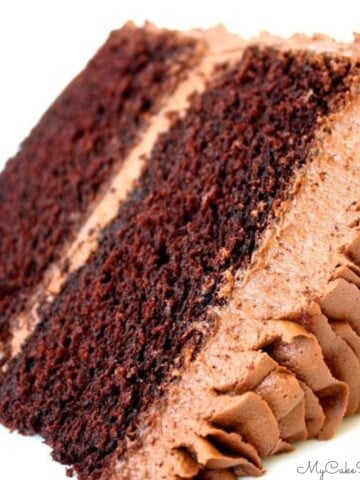
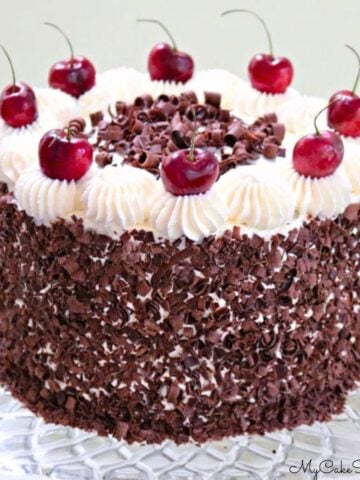
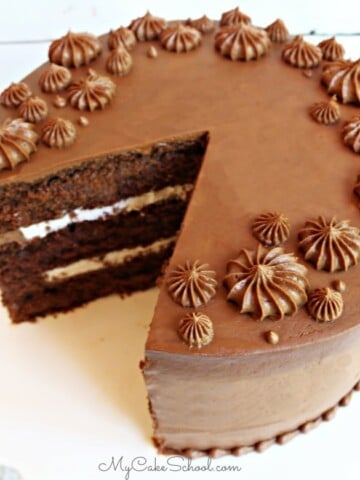
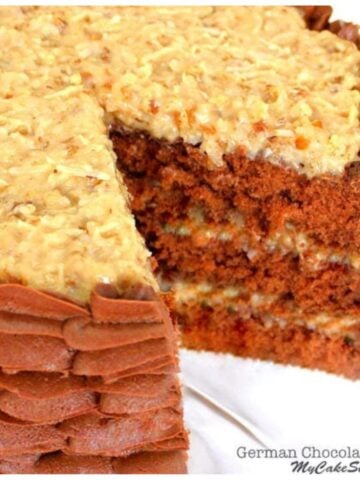
We've made so many chocolate cakes over the years! Some of our favorites are our scratch chocolate cake, easy triple chocolate cake, chocolate sour cream pound cake, and German Chocolate Cake.
Have you made this? We would LOVE for you to leave a ⭐️ rating as well as a comment and photo below! We really appreciate your feedback!
Black Velvet Cake
Ingredients
For the Cake
- 8 oz package cream cheese, softened (226g)
- 1½ sticks unsalted butter, softened (170g)
- 2 cups sugar (400g)
- 4 large eggs, room temperatue (If in a hurry, you can place eggs in a bowl of warm water for 5 minutes to warm them.)
- 2¼ cups cake flour (256g)(we used Swan's Down)
- ¾ cup Black Cocoa Powder (61g)(We used King Arthur Flour)
- 2 teaspoons baking powder (8g)
- ½ teaspoon baking soda (3g)
- 1 teaspoon salt (6g)
- 2 teaspoons vanilla extract (8g)
- ½ cup milk (120g)
- ¼ cup vegetable oil (we used canola oil)
- ½ cup (120g) hot coffee (120g)(We used instant espresso dissolved in the hot water but any coffee is fine). If you don't want to use coffee, just use hot water.
Whipped Cream Filling
- 1 cup heavy cream or heavy whipping cream (240g)
- ¼ cup powdered sugar (29g)
- 1 teaspoon vanilla extract (4g)
- Crushed Oreos (optional) We used mini Oreos, using some in the filling and some for decoration.
Buttercream Frosting
- 3 sticks unsalted butter, softened (339g)
- 6-7 cups confectioners' sugar (Adjust amount based on desired consistency.) (690-805g)
- 2 tsp. Vanilla extract (If you prefer a lighter frosting, you can use clear imitation vanilla.) (8g)
- ⅓ cup whole milk or cream, more if needed (72g)
- ½ teaspoon salt (3g)
Instructions
For the Cake
- Preheat oven to 350 degrees F. Grease and flour three 8 inch round pans. (You can also use two 9 inch pans). We also place circles of parchment on the bottom of our prepared pans (optional).
- Flour Mixture: In a medium bowl combine the flour, baking powder, baking soda, salt, and black cocoa powder. Whisk for 20 seconds to blend and set aside.
- Milk Mixture: In a separate bowl, add the milk, vegetable oil, and vanilla extract. Set aside.
- In the bowl of an electric mixer, (using a paddle attachment if using a stand mixer), add the softened butter and softened cream cheese. Mix until smooth. Gradually add the sugar. Mix on medium speed for 3 minutes until lightened and fluffy. Scrape the sides and bottom of the bowl.
- Add the eggs one at a time, mixing on low to medium speed after each until the yellow of the yolk has blended.
- Prepare the ½ cup of hot coffee. (I used instant espresso dissolved in hot water but you can use any kind of coffee). If you don't want to use coffee, use hot water. Set aside- this will be the last step.
- With the mixer on low speed, ALTERNATELY add the flour mixture and milk mixture, starting and ending with the flour mixture. We did three additions of flour mixture alternating with two additions of milk mixture. After the last addition of flour mixture, mix until *almost* completely blended. Then, slowly pour in the hot coffee. Mix just until incorporated (around 15 seconds).
- Add the batter to the three prepared pans and bake at 350 degrees for 25-30 minutes. (Ours was ready in 27 minutes). The cake layers are done when a toothpick inserted into the center comes out clean or with just a few crumbs attached. *Baking times can vary and so peek in as the end time approaches.
- Cool the pans on cooling rack 5 to 10 minutes then turn out.
For the Whipped Cream Filling
- Chill the mixing bowl and beaters in the freezer for 10 minutes or refrigerator for 20 minutes. You can use a hand mixer or stand mixer with the whisk attachment.
- Pour the heavy cream, powdered sugar and vanilla into the chilled mixing bowl.
- Begin mixing on low speed, gradually increasing to medium high speed. Mix until the whipped cream thickens to stiff peak stage (meaning that when you stop the mixer and lift up the beaters, the cream forms a peak and holds its shape.) This may take approximately 1-1 ½ minutes. Be careful not to over-mix as it will begin to separate (and turn into butter) ;0)
- Set aside.
For the Vanilla Buttercream
- Cream the softened butter until smooth. Blend in the vanilla.
- Add half of the powdered sugar and most of the milk. Mix at low to medium speed until the powdered sugar is incorporated.
- Add remaining powdered sugar and milk and mix at medium speed another 3 to 4 minutes scraping the sides of the bowl occasionally. I slow down the mixer to very low speed for the last 1 to 2 minutes. This will help eliminate air pockets in the buttercream. The texture will become very smooth.
- If your buttercream is too thin, add more sugar. If the consistency is too thick, add a bit more milk
Assembling the Cake
- Once the cake layers have cooled, place the first cake layer on the cake plate or pedestal. Pipe a dam of buttercream around the top edge of the cake (about ¼-1/2 inch from the edge). You can pipe a dam using a disposable piping bag (or ziplock bag) with the tip snipped away.
- If you don't have piping bags, just keep your filling a safe distance from the edge of the cake layer so that it won't creep out when the layers are stacked.
- Next, spread a layer of whipped cream within the dam of buttercream. Sprinkle crushed Oreos on top (optional- use however many you like).
- Top with the next cake layer and repeat steps.
- Top with the final cake layer. Fill in any gaps between layers with buttercream (I do this with the same piping bag that I used for the dam). Frost the top and sides of the cake with a very thin layer of buttercream. ("crumb coat").
- Before adding the final coat of frosting, I like to chill the crumb coated cake in the freezer for 15 minutes or longer in the refrigerator-- just to firm things up. This makes frosting the cake easier and traps the crumbs.
- Apply the final layer of frosting and decorate however you like! I smoothed my frosting with an offset spatula and bench scraper, and then added a little texture with my offset spatula. I used a border of chunky piped shells (1M tip) and mini Oreos.
Storage
- Because of the whipped cream filling, this cake needs to be refrigerated (in an airtight container, under a cake dome, or in a sealed bakery box). However, for the best flavor and especially texture, remove the cake from the refrigerator a couple of hours before serving. This will allow the cake to warm and soften. (Butter gets firm when chilled- and butter is in the cake & frosting). Enjoy! ;0)
Looks rich and delish! Very striking with the white buttercream and filling :-) Fantastic as always! :-) I haven't tried black cocoa powder yet, I think I need to now :-)
Thanks Teri! Yes, this is my first cake with black cocoa! Love the contrast with the filling too- I couldn't bring myself to make black filling & frosting lol ;0)
My daughter and her friend made the cake. For the black cocoa powder, she used Dutch processed cocoa powder, and she added black food coloring to the mixture.
So glad to hear it, Joyce! It looks so pretty!