Cake Recipes & Decorating
Browse hundreds of Cake Recipes and free Cake Decorating Tutorials!
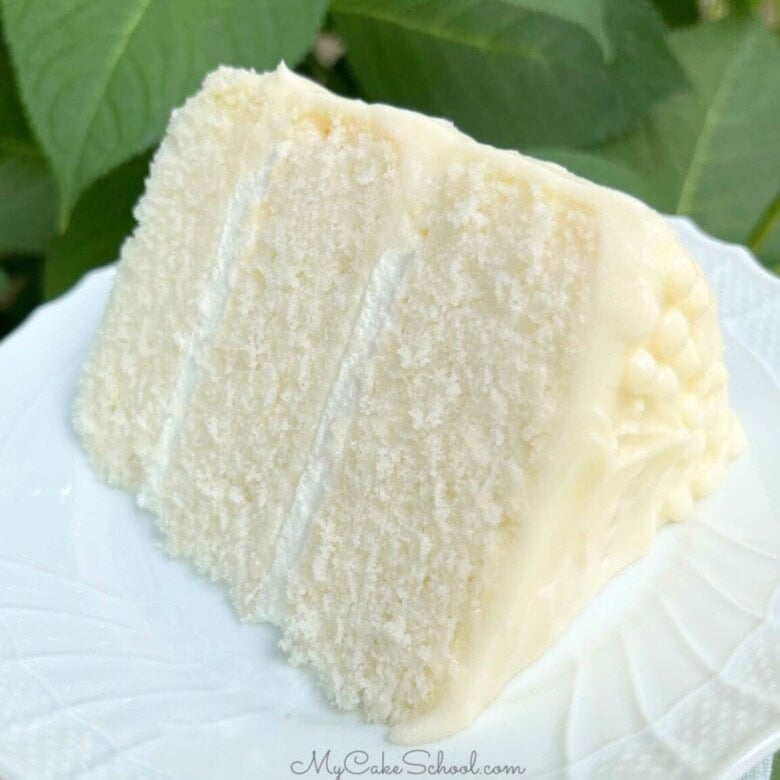
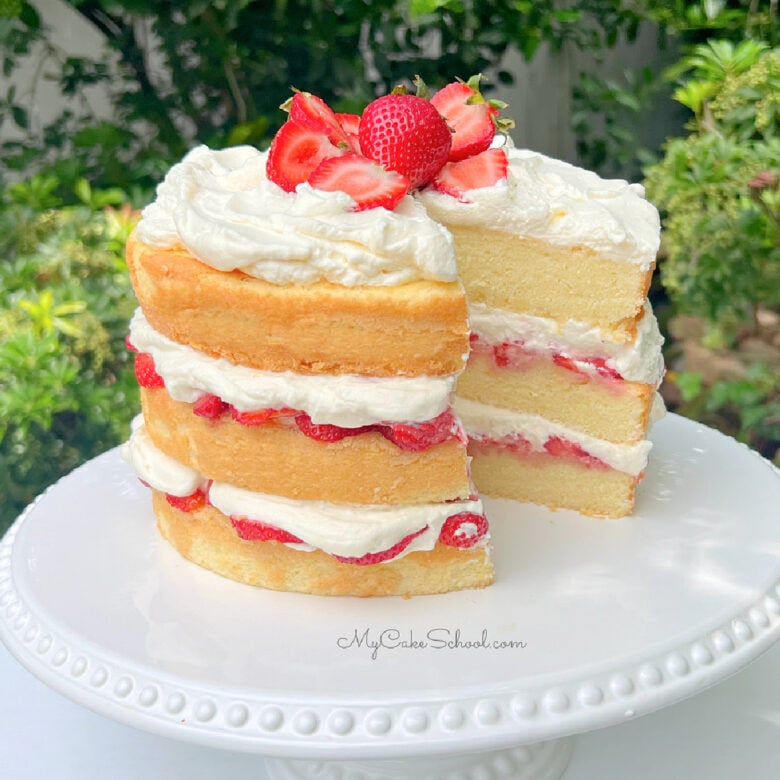
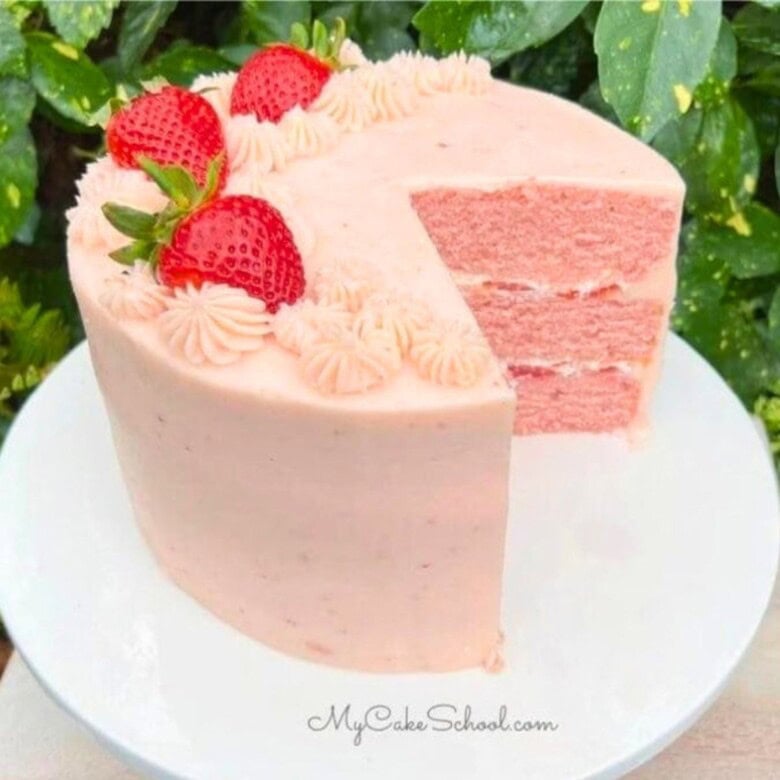
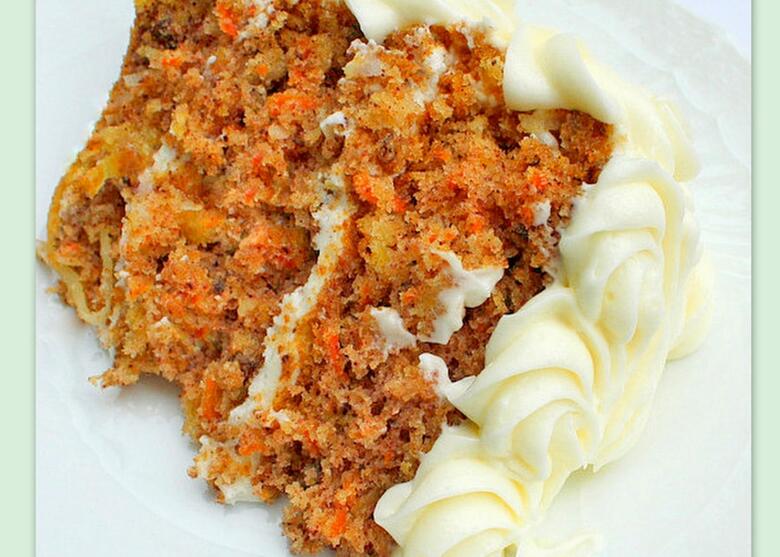
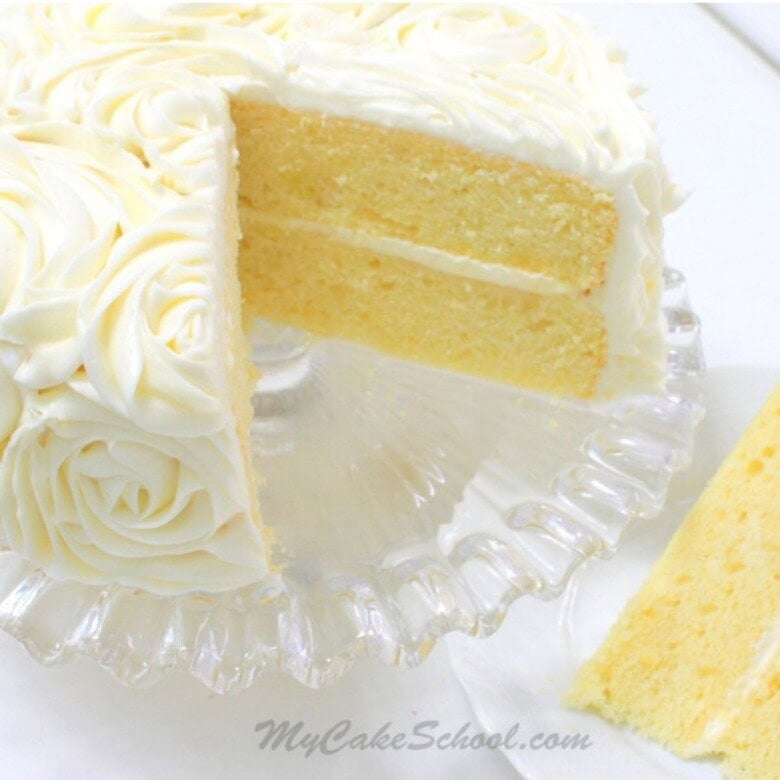
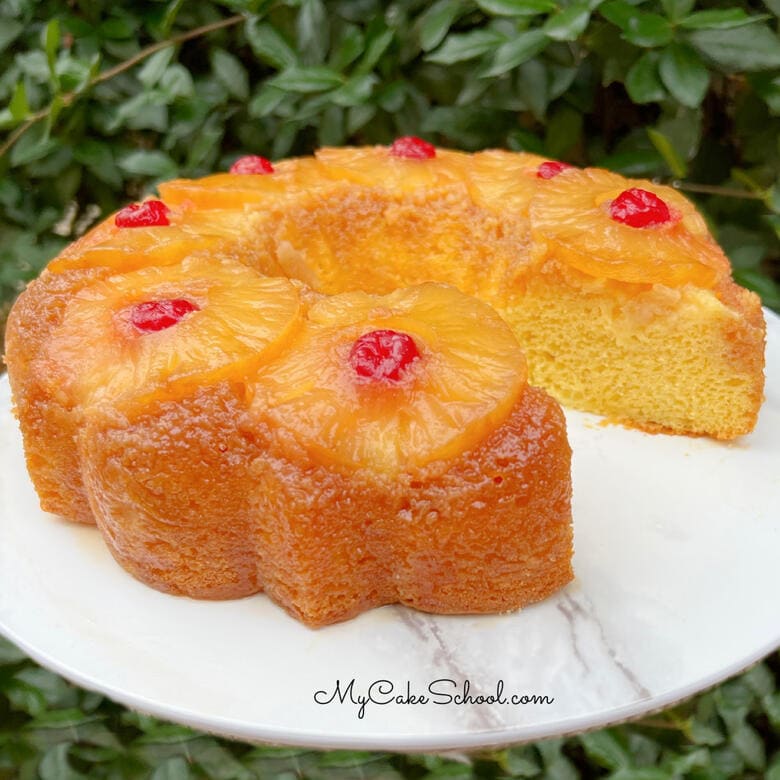
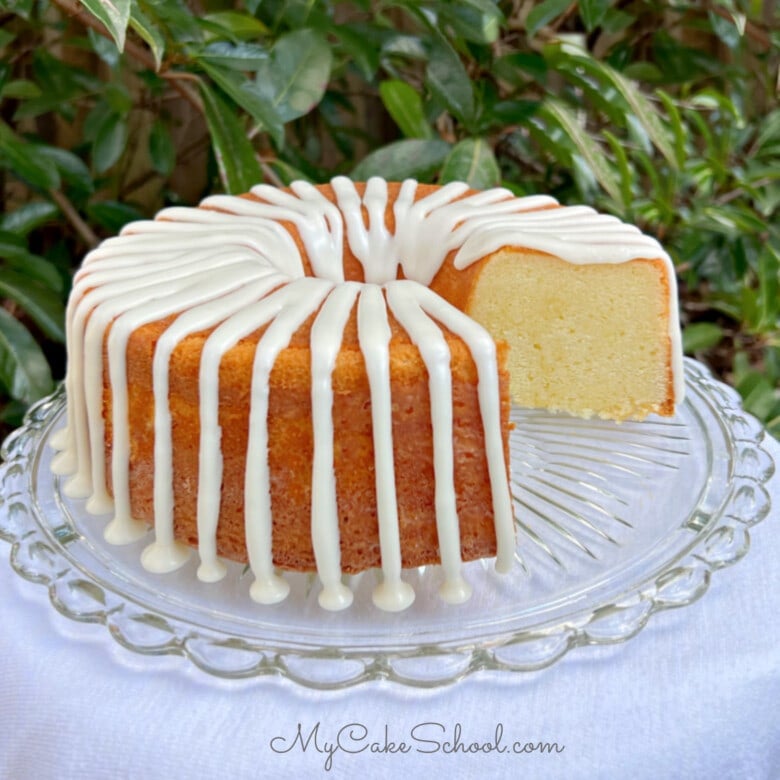
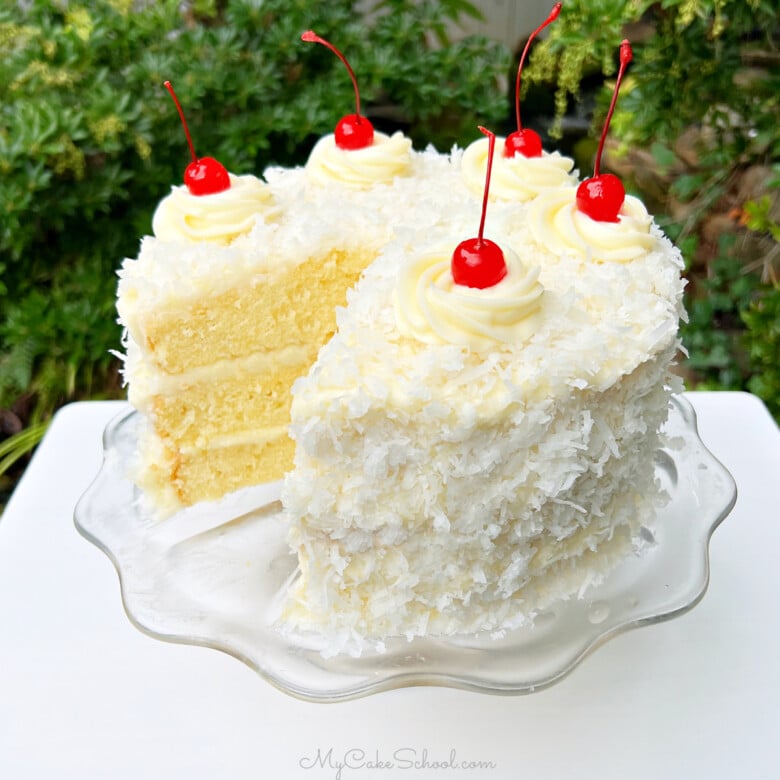
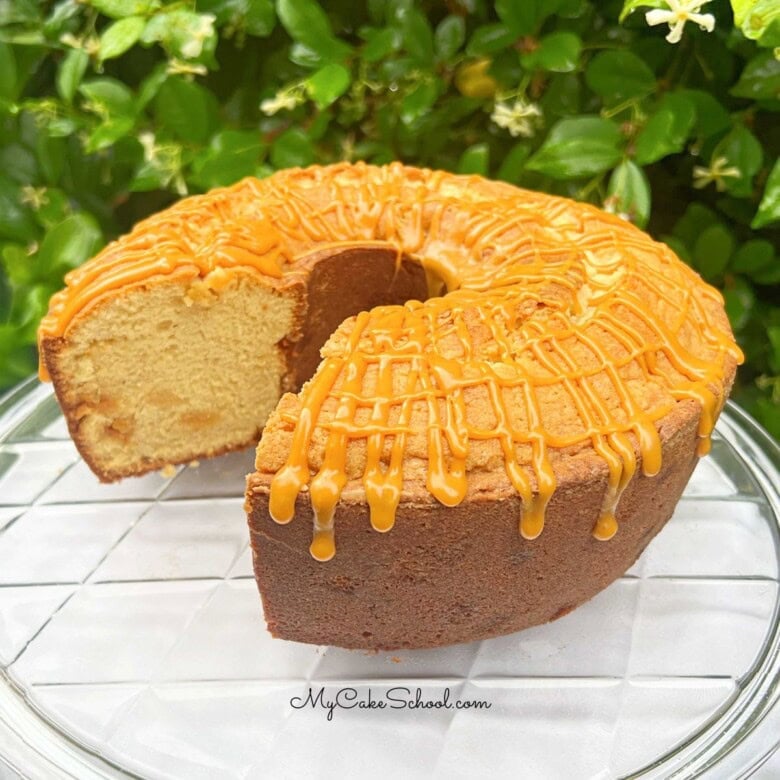
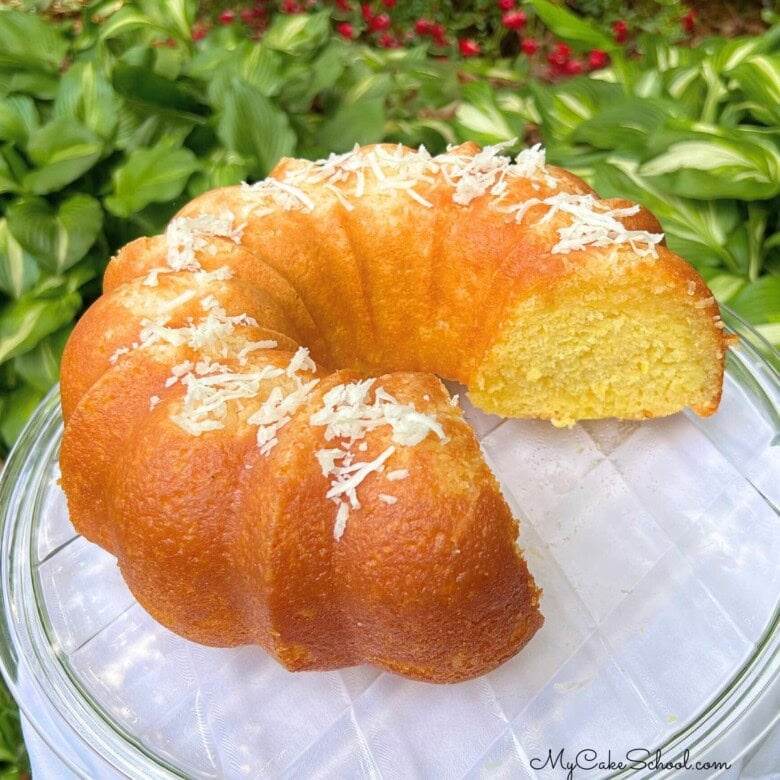
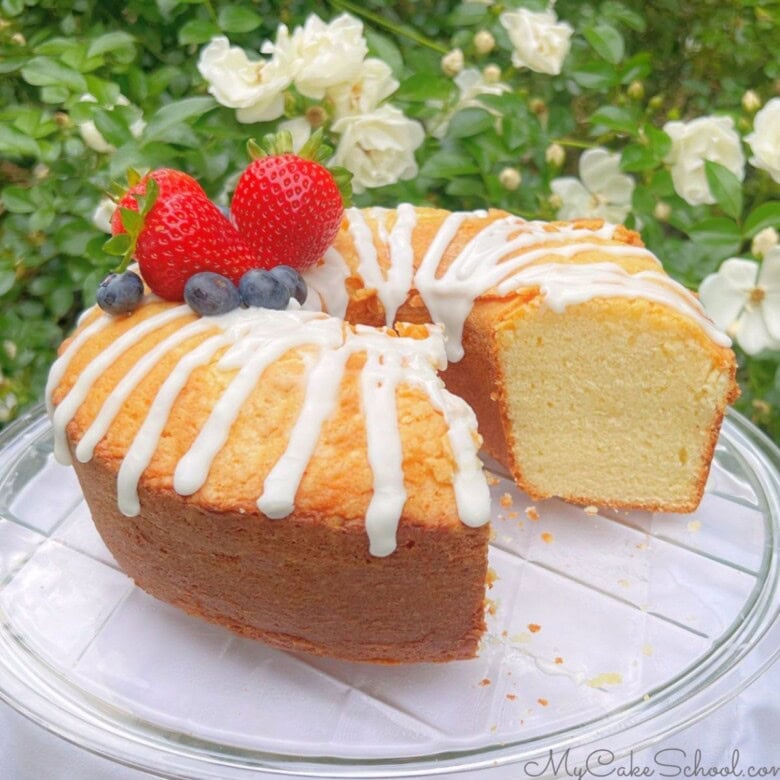
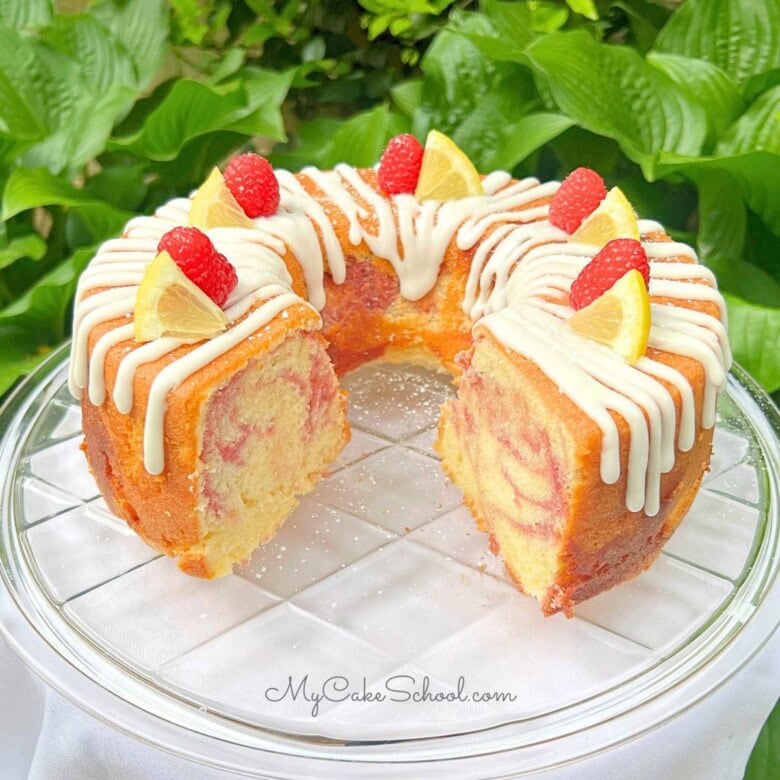
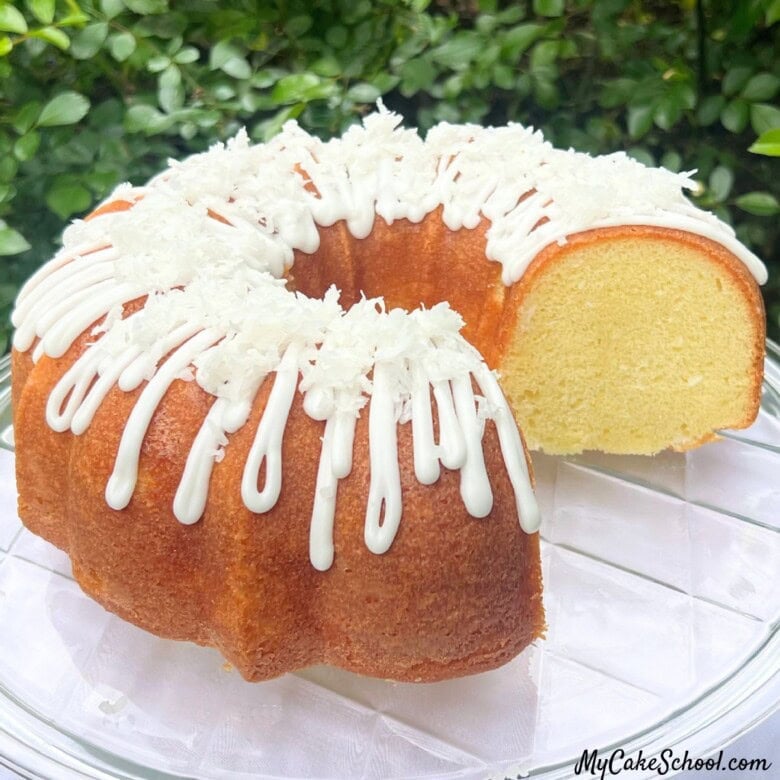
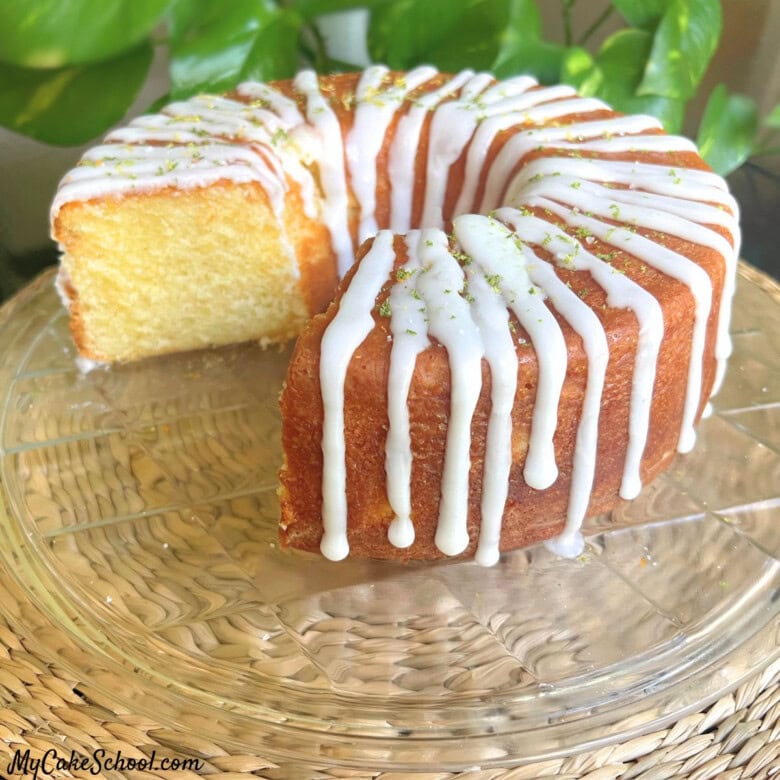
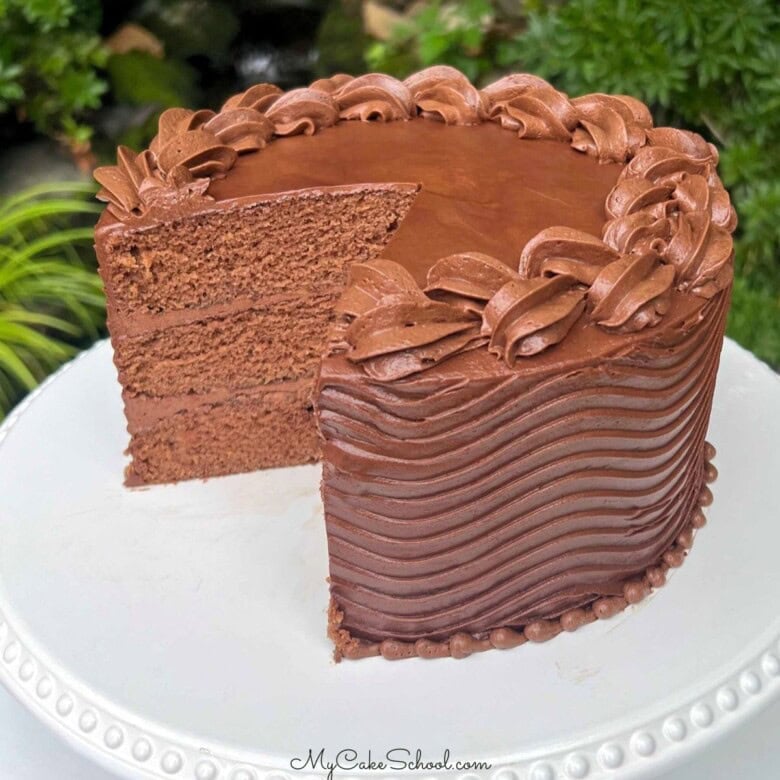
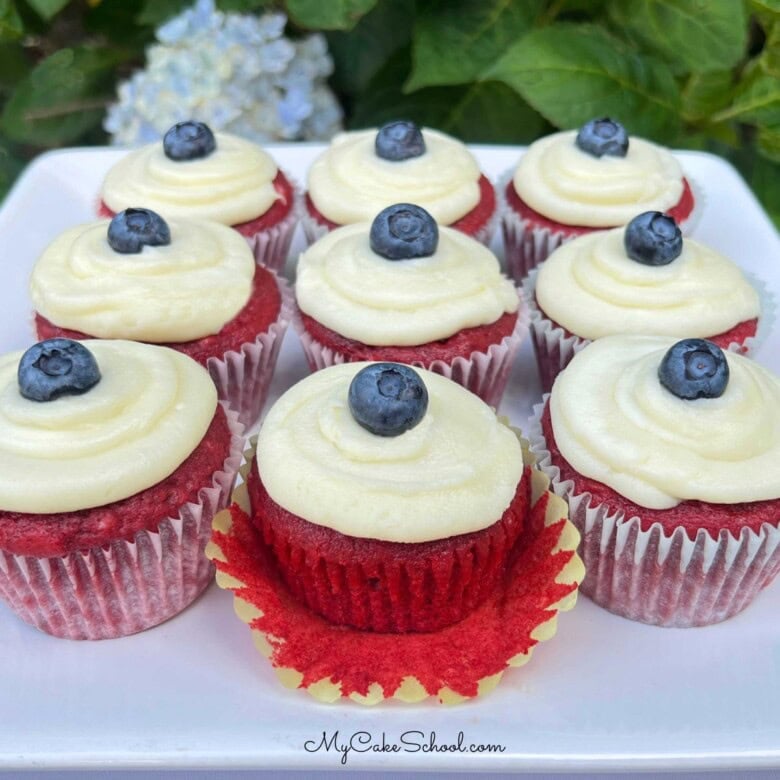
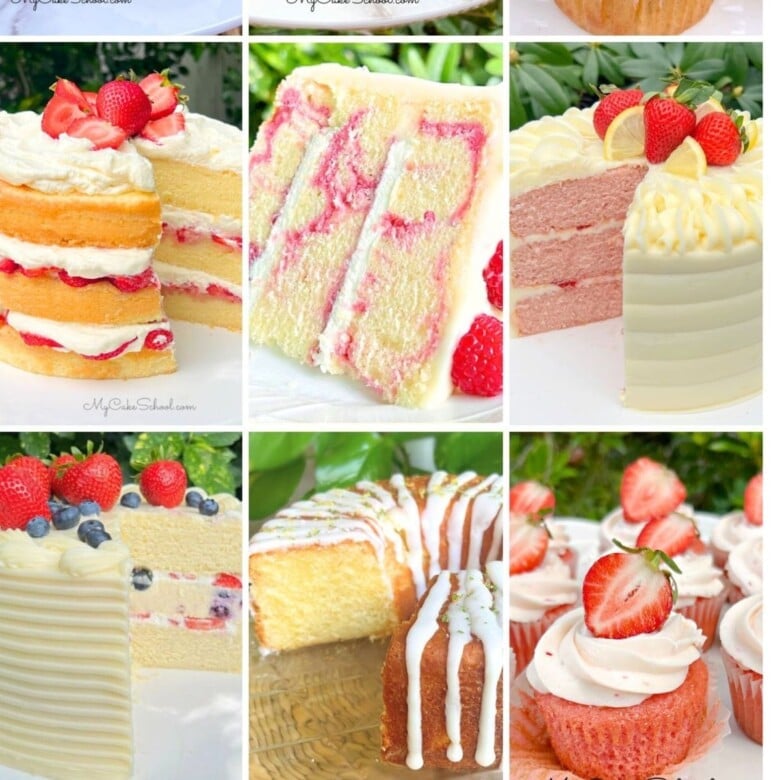
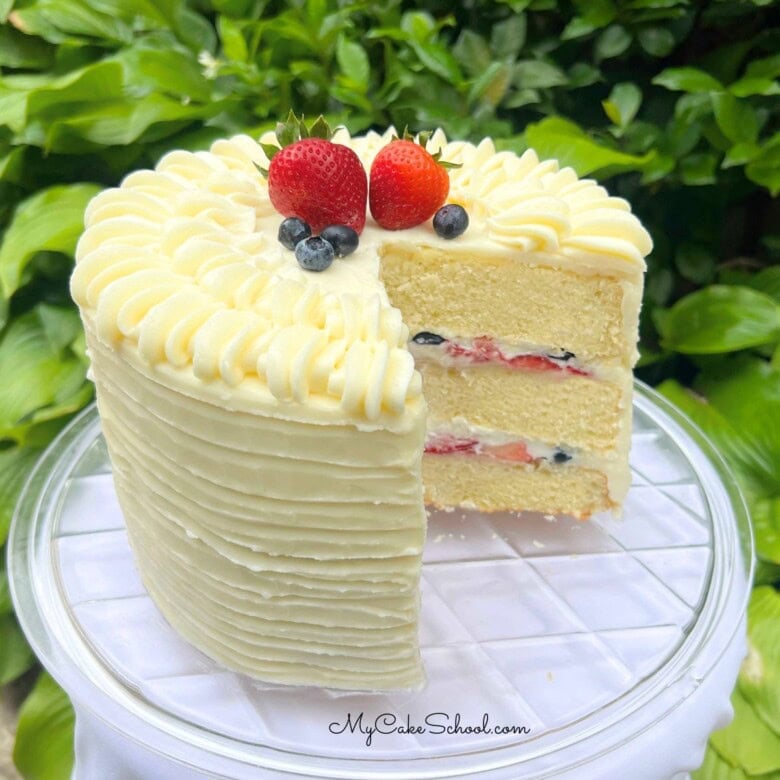
Recent Cake Recipes


Welcome!
We have created hundreds of delicious cake recipes and simple, creative cake decorating tutorials for our readers for the past 15 years! If you love making cakes or are interested in learning more, you have come to the right place!


Newsletter Sign Up
Goodies for your inbox! Stay up to date on our latest cake recipes, decorating tutorials, and featured posts!
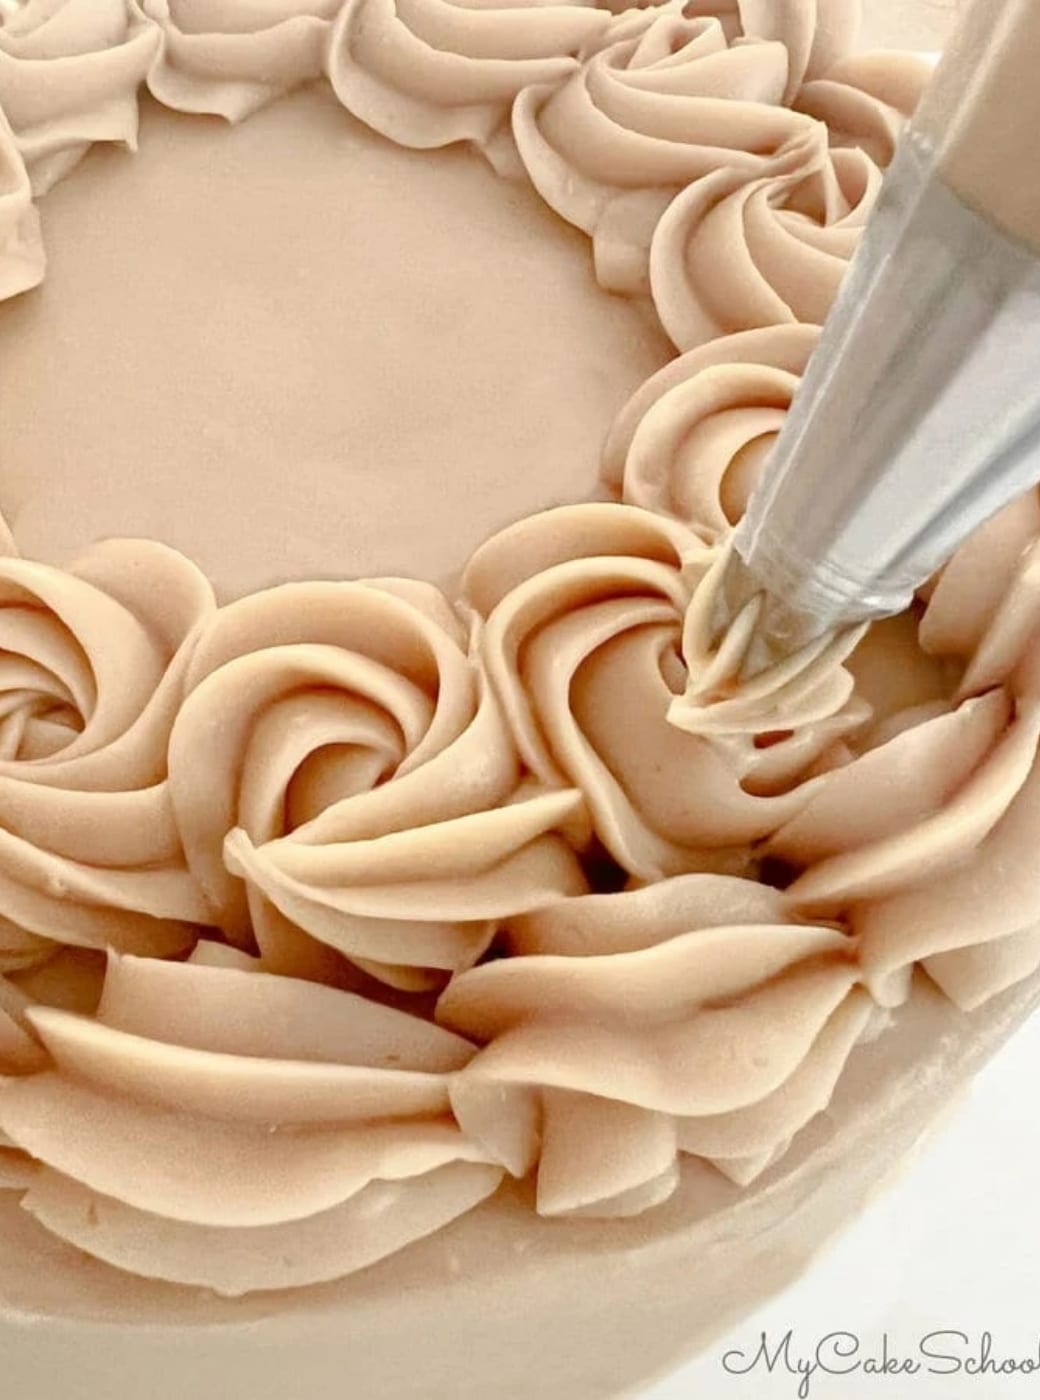
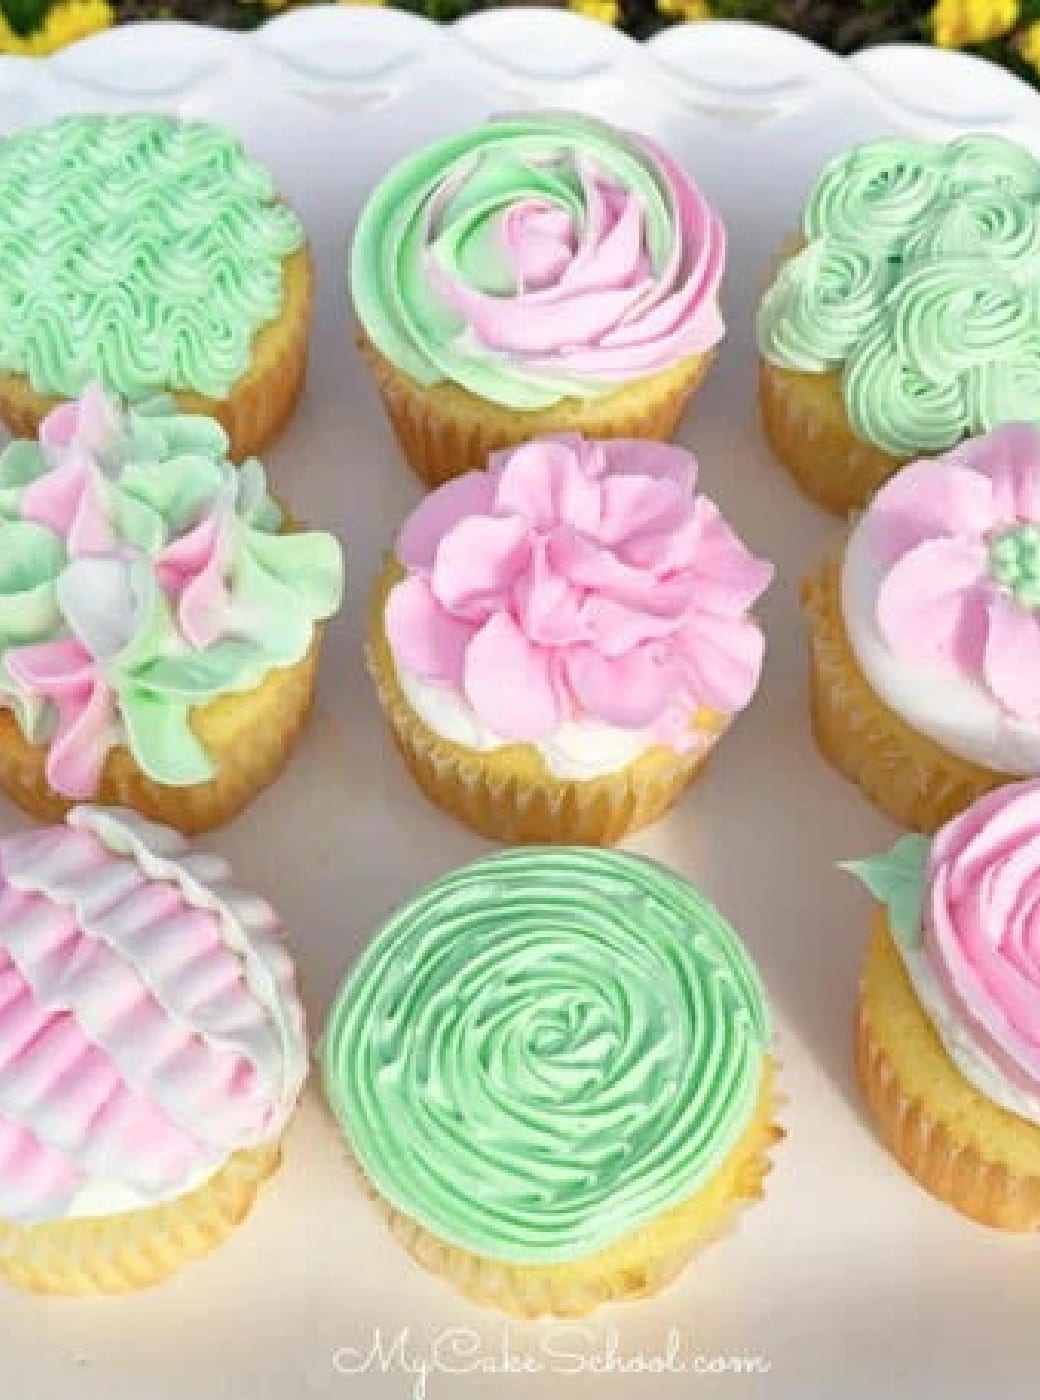
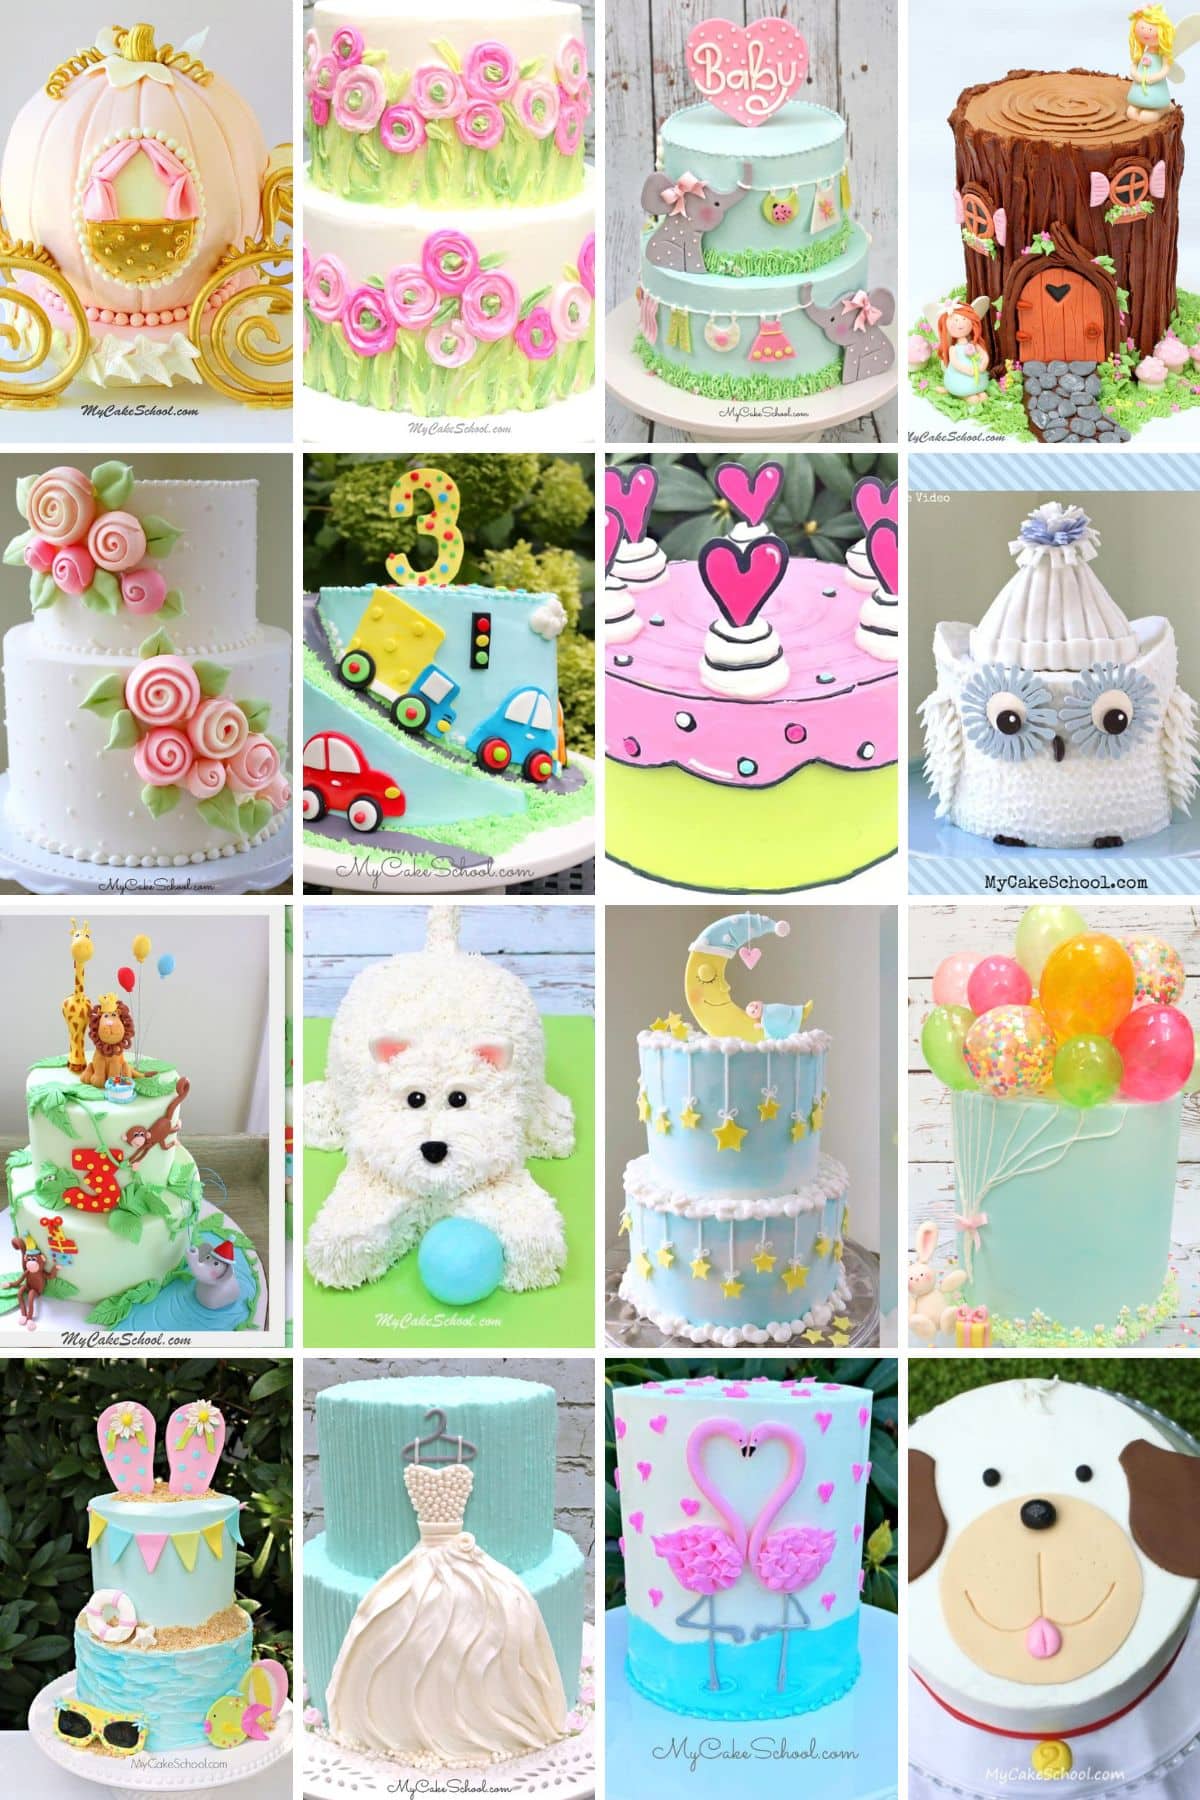
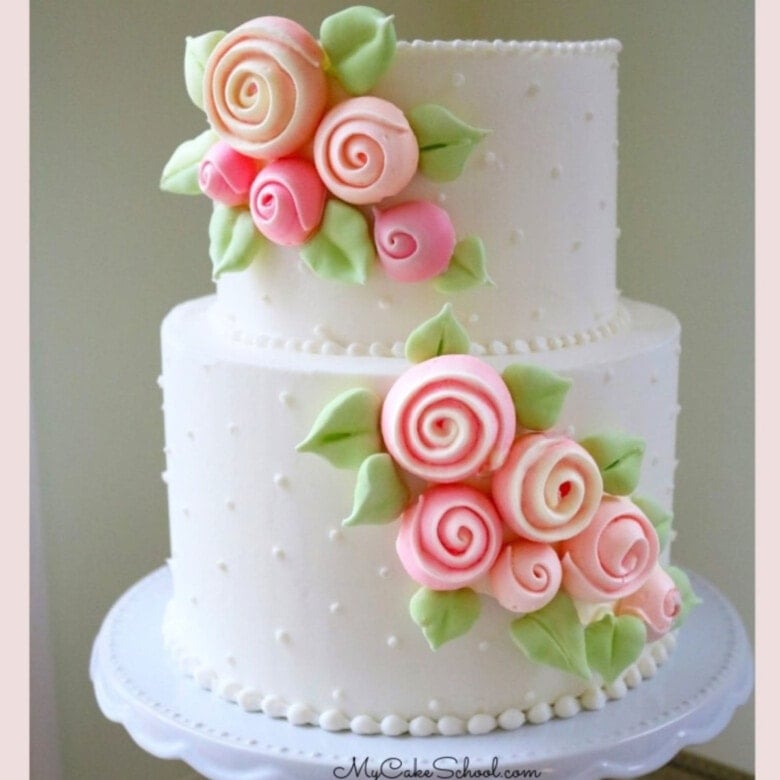
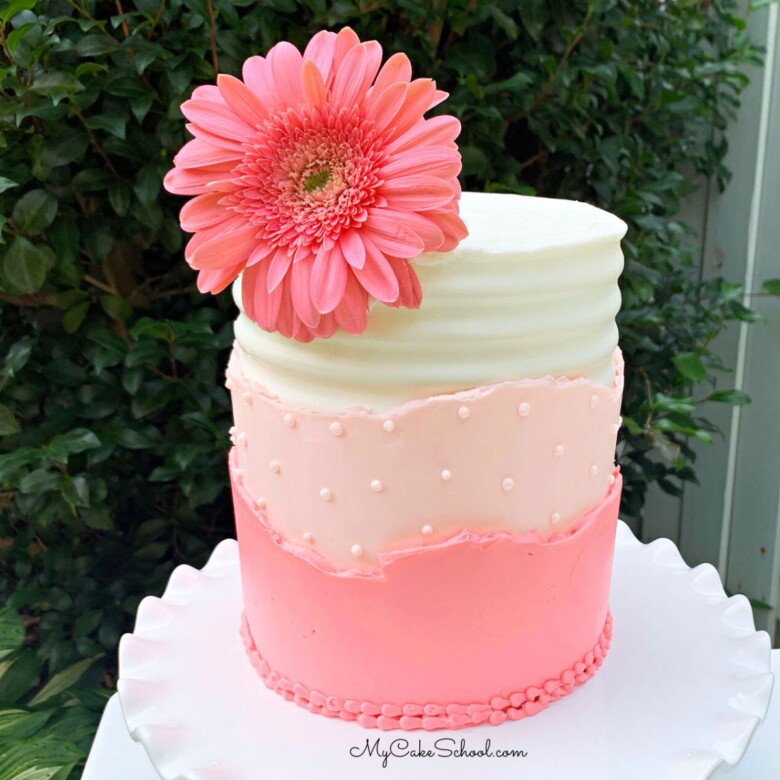
Decorating Tutorials