Noah's Ark Cake Video Tutorial
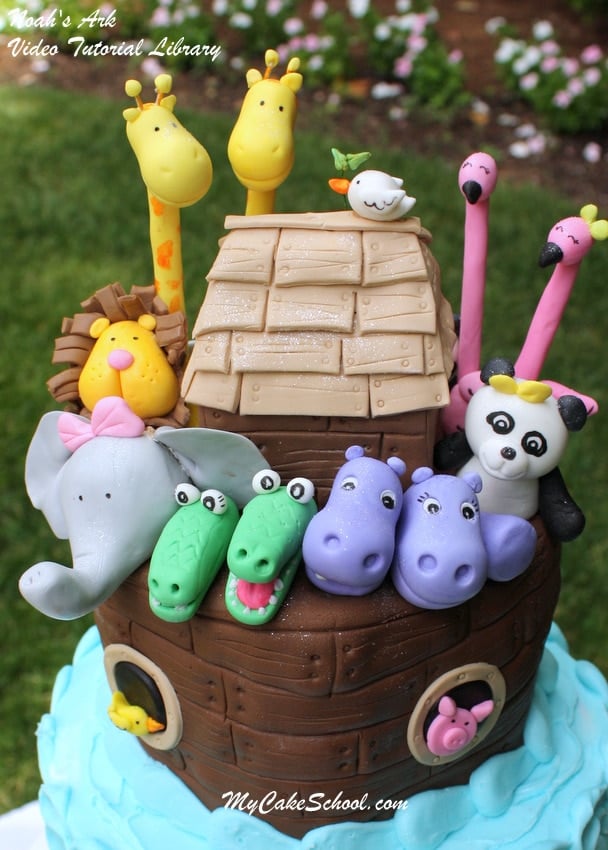
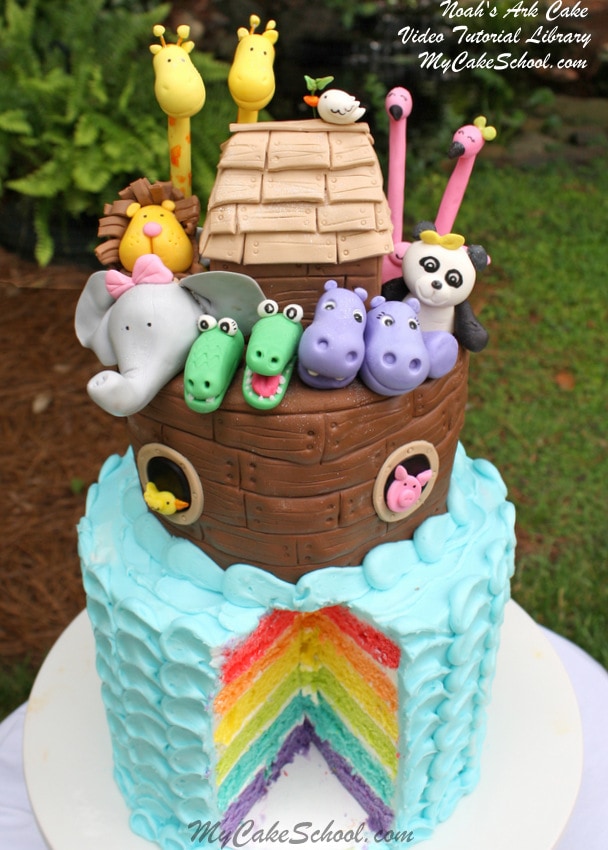
Today I'm going to show you how to make a fantastic Noah's Ark Cake!
This cake design is one of my favorites-- with its sweet animals, ark design, and rainbow inside!
It would make a perfect baby shower cake, young birthday cake, and more.
In Part One of our Video, we demonstrate creating the adorable animals for the cake. In Part Two, we demonstrate creating the rainbow cake,
Table of Contents
Materials for Part One: Noah's Ark Cake
Gum Paste. I used Satin Ice brand gum paste, but any brand or recipe is fine. (Or, you can use fondant with enough tylose kneaded in to make it ideal for modeling).
Black Satin Ice fondant-**Optional. I used for the panda arms and ears, but for such a small amount, kneading black gel into white fondant would work fine.
Coloring Gel (I used Americolor) - Deep Pink (flamingos), Golden Yellow (Lions), Chocolate Brown, Leaf Green (alligators), Super Black (grey for the elephants, black ears for panda), & Lemon Yellow (Giraffes),
Tools for modeling: A scriber needle or toothpick, a sharp knife for creating the open mouths
Lollipop sticks - I used for creating some of the nostrils, and for anchoring the flamingos and giraffes (wooden skewers would work also) -
Americolor Black Pen- for marking on the panda, and creating eyes on the animals, and various accents.
Pastry Wheel-*Optional, I used this for texture on the alligator
Buttercream or royal and a small round piping tip (I used a 4 but 1, 2, or 3 would have been fine). This is for our alligator teeth.
Floral wire: optional-- for giraffe horns. Gum paste would have worked too. I used an 18 or 20 gauge so that it would be firm enough to hold up the little balls on the end. I also used it for my olive branch.
Materials for Part Two: Noah's Ark Cake
Double Batch white almond sour cream cake (doctored mix) . Use your cake recipe of choice that can withstand a small amount of carving. (We used this to make two 6 inch cake layers for the ark, and 6 thin 8 inch layers.)
Fluffy Vanilla Buttercream -Enough to fill and frost a fairly tall 8 inch cake, and to crumb coat the ark.
Chocolate and White Fondant– I used Chocolate Satin Ice kneaded into white Satin Ice to achieve the shade of brown that I wanted for my ark. You do not have to use chocolate fondant at all, but it did make things move a little more quickly.
Scriber Needle, Sharp Knife, Toothpick–Any of these would be helpful in creating the look of the wooden boards that made up the ark.
Rice Cereal Treats–We used 3.5 (pre-packaged) to create the “house” on top of the ark.
Coloring Gels used: We tinted 6 bowls, each filled with 1 ¼cups white cake batter. Colors used (All are Americolor Brand): Americolor Red Red, Americolor Orange, Lemon Yellow, Electric Green, Sky Blue, Regal Purple.
Bubble Tea Straws- I placed four beneath the ark (which was on it’s own cardboard cake circle)Cardboard Cake Circles- I used two…one beneath the 8″ cake and one beneath the 6″ ark.
What we learned in the trial run!
In the video, I noted that I first tried making the base of the ark with a Wilton half ball pan. We had completed the ark and placed the animals when we looked over after a few hours and the ark has SPLIT in half and was ruined. (ARRRGGGH!)
As I explained in the video, I think that there were two main contributing factors. The first is that my giraffes and flamingos had long anchors which would have been fine if not for the fact that the cake was tapered and the animals on the outer edge were a little weighty.
Perhaps using a more durable cake recipe would have made things better, but I didn’t want to take any chances with my second try.
With my second try, I did not taper my cake and I used 6″ layers. The final result to me is every bit as cute as the first try, but without the risk!
Enjoy the Tutorial


I had a go at this style of cake using the tutorial. Thank you so much I had a lot of fun working on the cake and it came out really well.
I made this cake for my friend's little girl's dedication. I made the roof in pink with a bit of sparkle. She loved it. The animals are so cute. Thankyou for your wonderful videos
Kathryn, I LOVE it! You did a fantastic job! xo