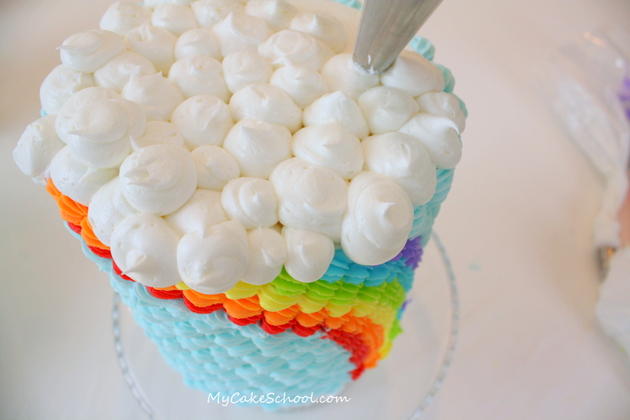
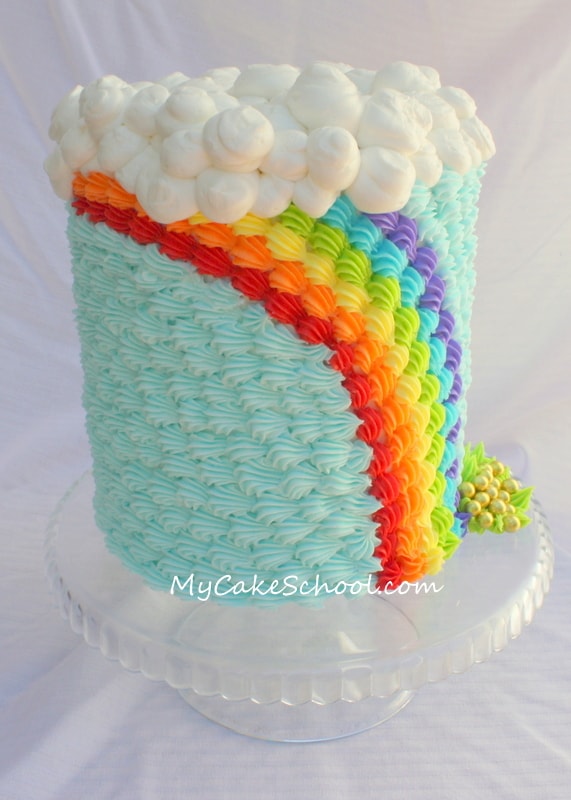
Today I’m sharing a fun St. Patrick’s Day Buttercream Rainbow Cake Tutorial! Of course, this sweet design would work any time of year. Who doesn’t love a rainbow?
If you are familiar with using simple star piping tips, one of the most basic techniques (after the star border) is the shell border. Today’s design incorporates the shell border times 100!
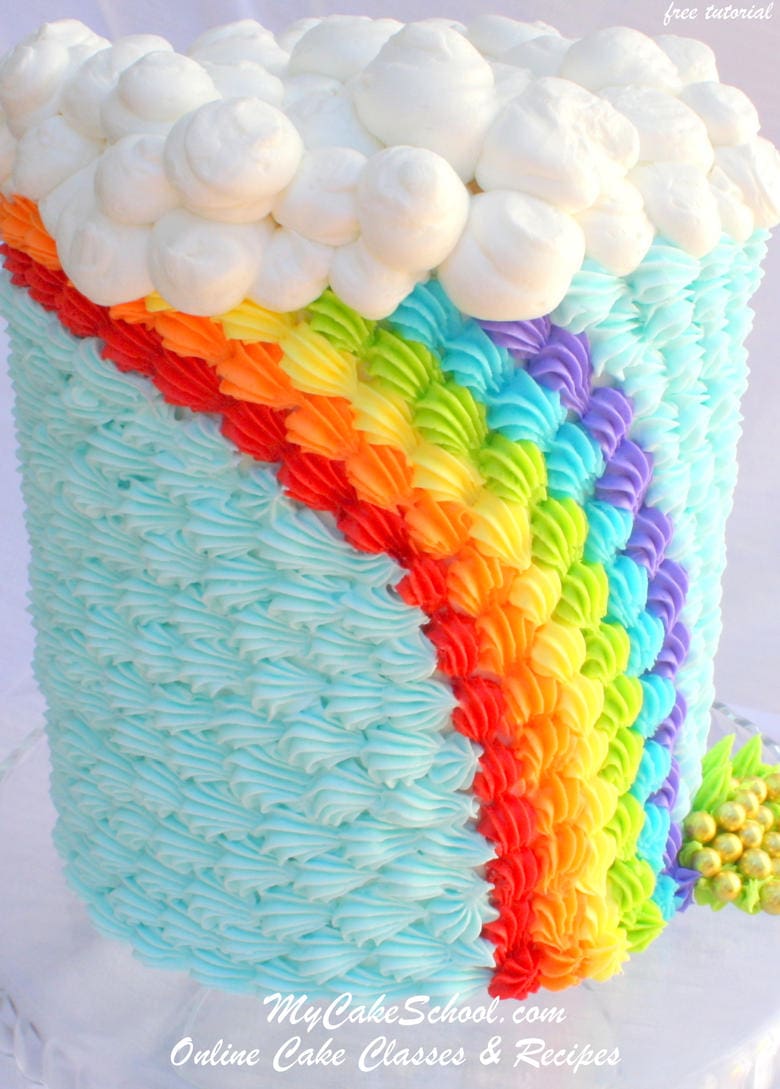
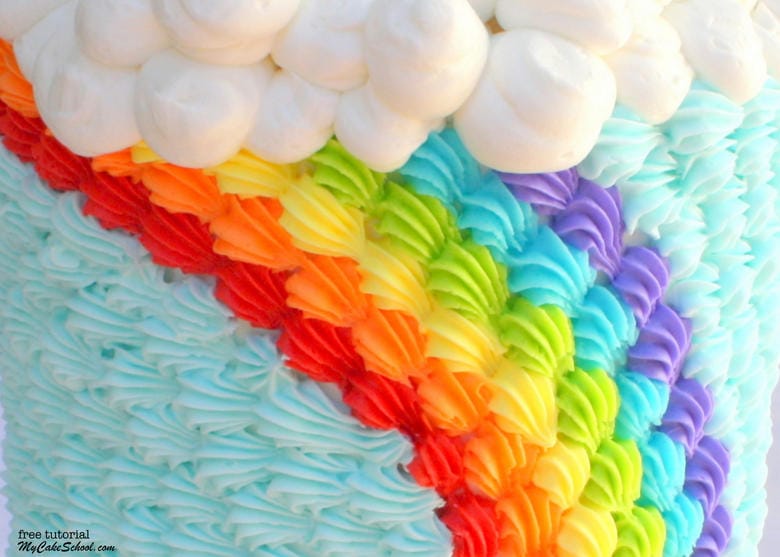
Mainly what I wanted to show you is that you can take a relatively simple technique that you can do well (whether it’s piping dots, stars with the star tip, ruffles, petals, etc.) and cover an entire cake with it. Why reserve the shell border just for the border? It’s time to make a rainbow!
How to Make a Buttercream Rainbow Cake
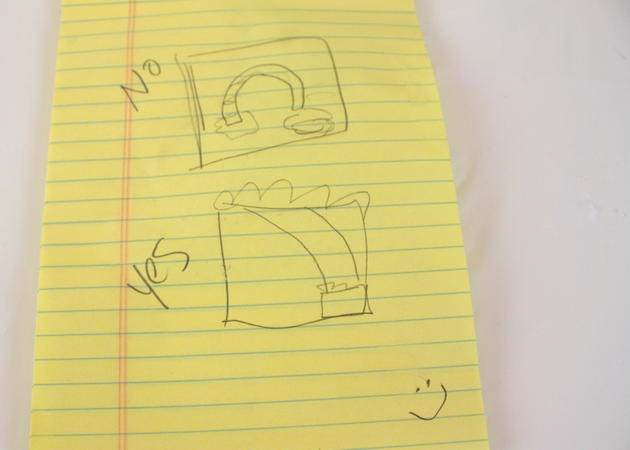
First, my elaborate sketch. I included this just for fun ;0) – I always smile when I see the gorgeous sketches that people post online of their cake plan. I smile because I know that my sketches, when I make one at all, normally look like this— (this is what I drew for Mom when she was asking what I had in mind) ! We decided to go with half a rainbow. As you’ll see in a second, maybe I should have gone all out and used some colored pencils -haha ;0) hmmmm….see Red Alert! below…
Double Barrel Cake
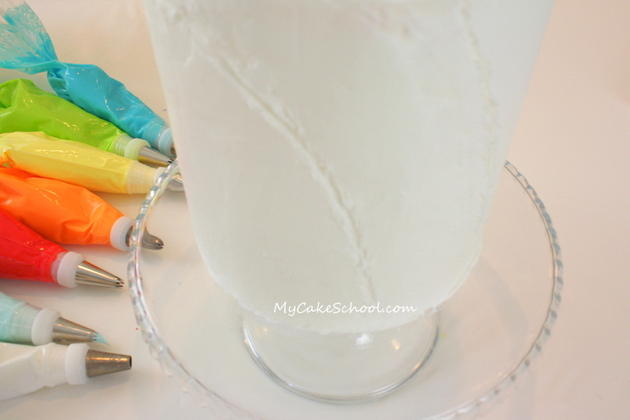
The cake that I’m using today is a tall 6″ tier. I’ve been doing a lot of these lately. Mine is two cake layers, then a small cake board in the center (doweled beneath) with another two layers stacked on top and frosted as one. I frosted my cake with a thin layer of frosting…we will pipe over this in a few minutes.
Mapping Out the Rainbow Design in Buttercream
You can see that I used a paintbrush handle to map out where my rainbow would fall.
The most time consuming part of this or any rainbow cake is tinting the frosting! I used Americolor coloring gels to tint my frosting but go with whatever your favorite may be.
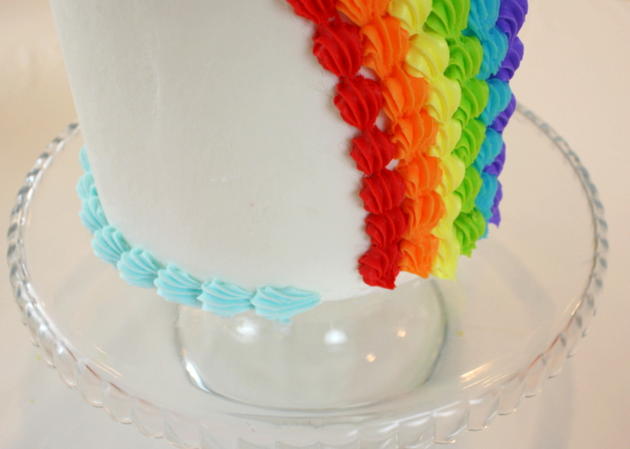
Red Alert, Warning!! I piped my colors backwards.. ;0)
Okay, so here’s the part where I dive into the piping. I’m using a Wilton 21 star tip (use whatever medium sized star tip you’d like).
As I’m thinking to myself, Red- Orange-Yellow-Green-Blue-Violet…., I SHOULD have been thinking…Violet-Blue-Green-Yellow-Orange-Red. I made this cake yesterday, and it wasn’t until TODAY that I realized I’m completely backwards!!
I think the half-rainbow threw me off…and the fact that I was working from left to right, and I may as well assume that what I really needed was another cup of coffee ;0)
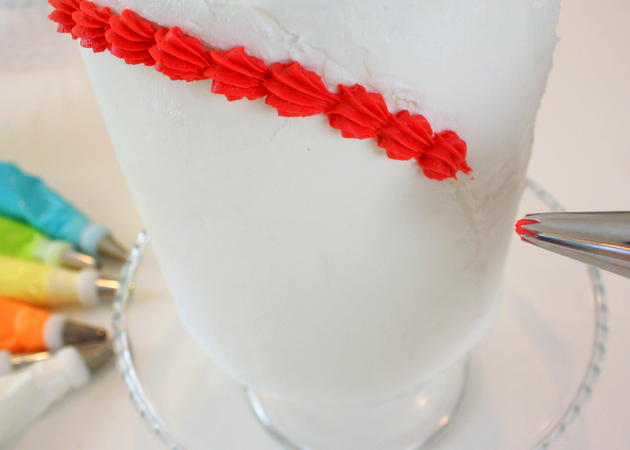
Here we are, three rows in! Yes, a little backwards, but still pretty!
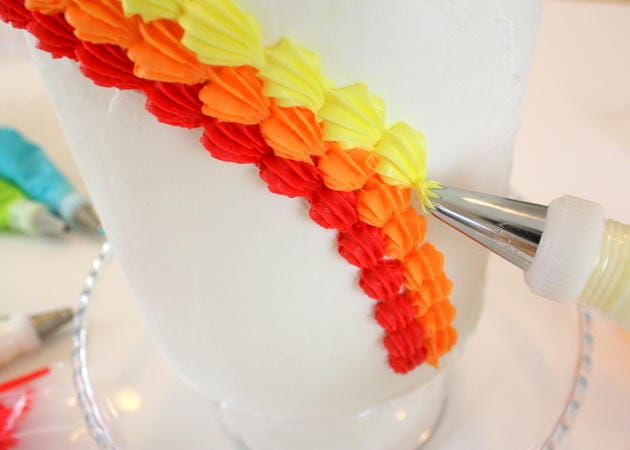
Our half rainbow is now complete! The colors may be a little out of order, but aren’t they pretty?!
Filling in with Piped Blue Shells for the Sky
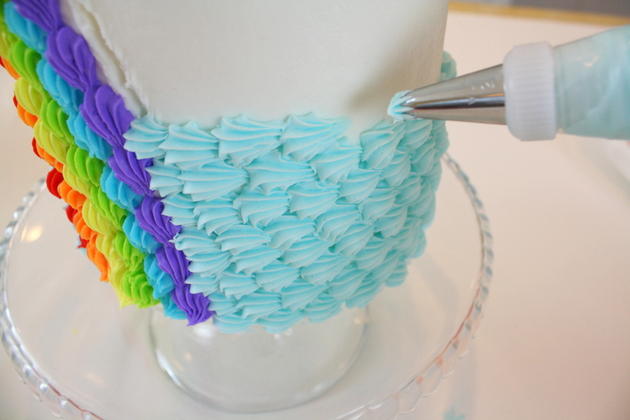
Next, I’m piping my buttercream shells (still with the Tip 21) to fill in our sky. My blue is Americolor Sky Blue.
You can see in the picture that I’m slightly staggering my shells, so that each row can be nestled into the row below it. It’s optional–if you pipe each row exactly as the row before it, you’ll have more openings to your crumb coat beneath.
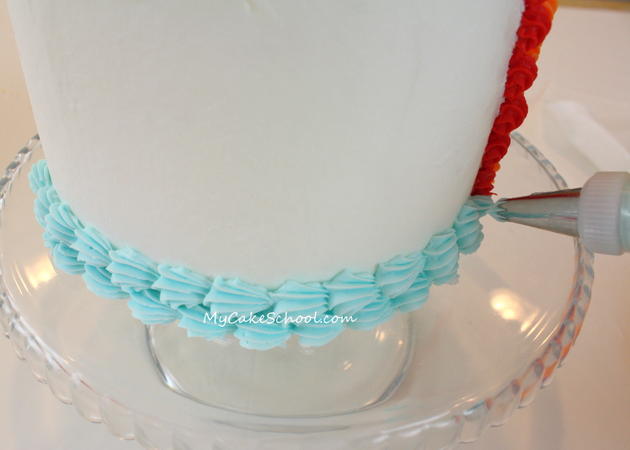
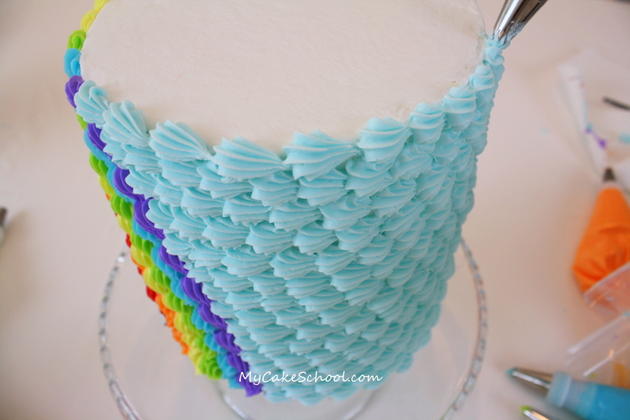
More shells….
More and more and more shells ;0)
Have I mentioned that I love piping shells?
Adding the buttercream clouds on top!
Now…let’s have some clouds! Things are about to get very PUFFY! If you aren’t into puffy, then a nice smooth top, or a “shell top” would be great too.
I’m armed with my Ateco 806 tip, which is a jumbo round tip. I also used my Wilton 12 tip, which is a medium round (and with enough pressure, is almost identical to the 806).
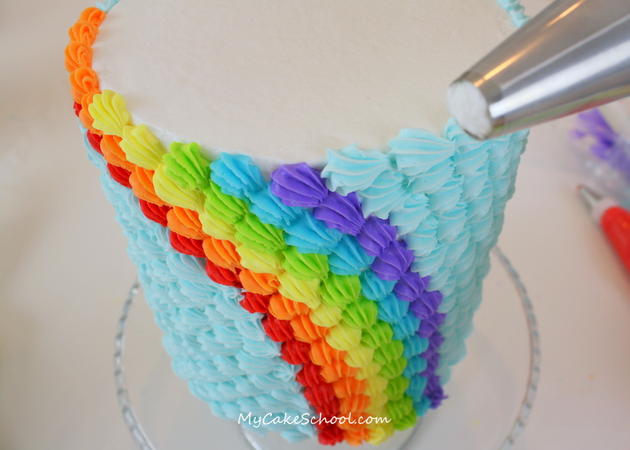
Wahoo! Hooray for clouds ;0) — I tapped down all of those points once my icing had crusted a little.
A little gold for the end of our buttercream rainbow
Now for some gold. Use whatever you’d like for this…I used jumbo gold dragees that I break out for special occasions like these. They aren’t meant to be eaten, but they are pretty! Gold chocolate coins, or fondant painted with gold luster are other ideas ;0)
Also, I opted to throw out the pot of gold (which was in my sketch, did you notice?) — I didn’t want to bring in the color black. Plus, I figured that most people would be just as happy to find a pile of gold at the end of the rainbow. I know I would!
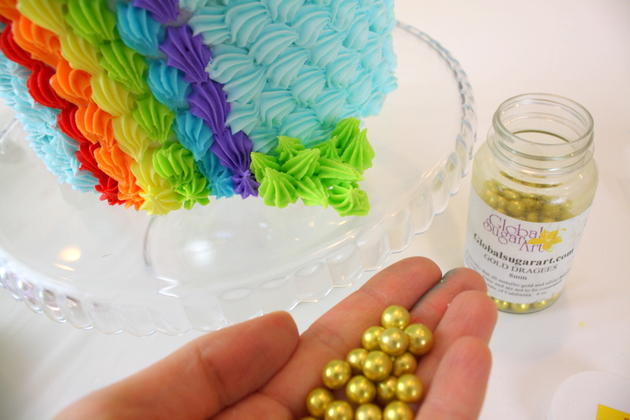
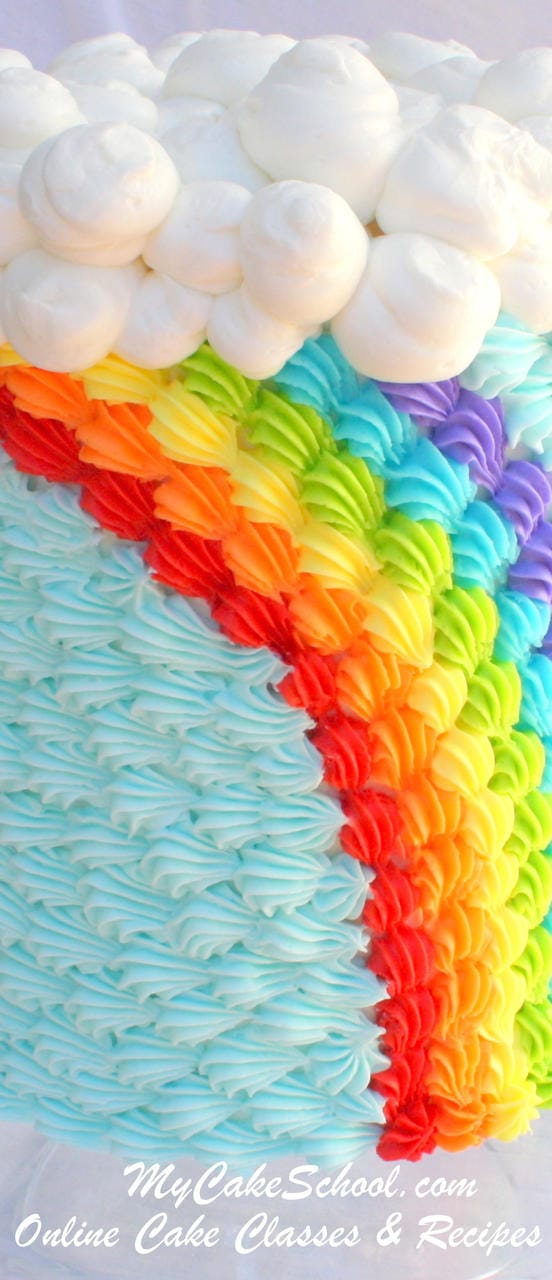
And we are finished–hooray! I hope that you enjoyed this tutorial– Even if for no other reason than to consider the “shells all over” look. If you try out this rainbow cake, I’d love to see! Maybe your colors will be in the right order, but if not, it will still be lovable ;0)
Close up! I could have piped buttercream puffy clouds all day! ;0)
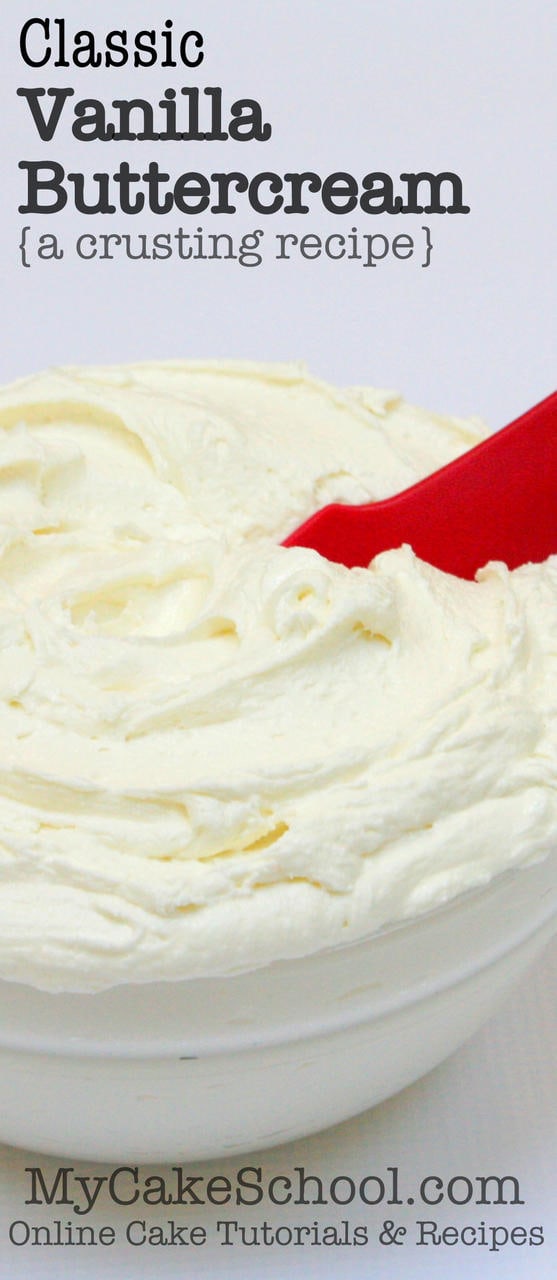
Need a great classic vanilla buttercream recipe? We have just the one!: Classic Vanilla Buttercream
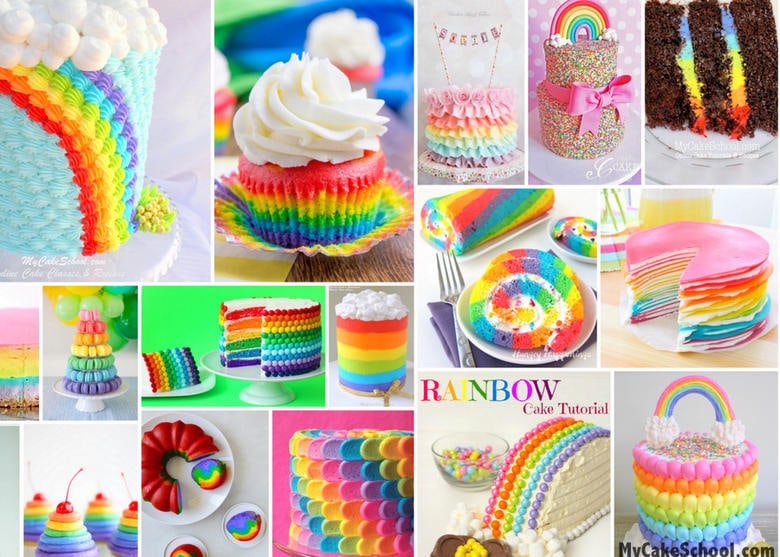
More Beautiful Rainbow Cakes to Share!
If you’re interested in even more cheerful rainbow cake fun, we have a roundup of the BEST rainbow cake recipes, tutorials, and inspiration! Follow the link to check it out!: Roundup of Rainbow Cakes!
You’ll find everything from Rainbow Pound Cake (on the inside!) to rainbow cake filling, rainbow stripes of buttercream, and so many more!
Thanks for stopping by! We hope that you enjoyed this rainbow cake cuteness! If you give it a try, make sure to leave a photo in the comments below. We would love to see your work!
Love it Melissa, love the sketch too. That looks like it could be mine :-) luckily my husband draws very well so he refines them for me.
What red did you use? Very nice!! And are both blues Americolor Sky Blue or is the darker a mix of Sky Blue and royal blue? VERY PRETTY
I love it!! Unlike you I am a better artist that decorator! It’s a masterpiece on paper and a hot mess on the cake board!! LOL!! I do love rainbows. I would love to try this with rainbow cake inside.
So cute, Melissa! Colorful and puffy…what’s not to like! :)
Cute! Cute! Cute!! I love your tall cakes…you must dismantle them prior to cutting/serving? Love your site and all the info and ideas your School offers! :-)
Thanks so much everybody!! @Kathy, don’t normally dismantle, I just start cutting right into it from the top. Once you’ve almost finished the first tier, you can go ahead and take it off. Maybe others do it differently, but this works for me! —
@Mammy0f3~ Ha, so funny! Yes, maybe one day I’ll put more time into my sketches, but I’m usually way too impatient. ;0)
My Colors!~ Americolor: Super Red, Orange, Lemon Yellow, Electric Green, Sky Blue (for both light and dark blues) and Regal Purple.
This is brilliant!! And beautiful : )
This is really a cute cake! I’m not sure how long it would have taken me to realize it was backwards, if you hadn’t said anything. lol Maybe I wouldn’t have! Love the sketches! They look like mine, when I even bother to do one. I love this cake. =)
Thanks, Melissa…I did a visual with your suggestion and it now makes perfect sense!
Its so cute. I love the way it goes down and the puffy clouds!
How clever! Love that you used all buttercream. I should use more buttercream instead of fondant. That way I can get some practice on my piping. I’ll be doing a St Patrick’s theme as well.
Melissa, you have really outdone yourself!!! I love this so much!!!!!!! That brain of yours is a wonderful thing! :)
Love the cake Melissa, I live in southern Ontario, and we just a a big dumping of snow, so when i saw this cake it put a smile on my face , its just what I needed. Its a Happy cake !
So beautiful! I love it! I would’ve never even noticed that the colors are reversed:)
What an amazing cake!!! Absolutely STUNNING!!
The colours just make me smile, I could look at this cake all day as it’s so pretty – I wouldn’t want to cut it up :)
I really love the shell technique.
Can I ask how much buttercream you used for the entire cake?
xoxo
Angela
Hi Melissadid you use a the fluffy vanilla buttercream for this? I do want to try it out on my next cake
Hi I just start in the cake industri and been straggle with butter cream..all the time .what kind of buttercream do you use ,it look so perfect…
Love love love this cake!!! So pretty and happy :-) I will definetly have to make an all shell cake now!
This is so cute, but in order for me to do that I need to practice my piping & that means I have lock the kitchen from my 3yro lol he would want to help & not let me do anything.
Awww…this cake just makes me smile…love it :)
This is so clever, and really, really cute!
Just amazing….. love it!!!
This is brilliant! Just looking at it am thinking of doing one for sunday school but I will pipe the ‘sky’ first so the ends are tucked in under the rainbow :). Many thanks for sharing.
Whimsical, easy and such a feast for the eyes!! LOVE this cake!!
This is so clever and beautiful! I’m so glad folks come up with these buttercream ideas! I love love buttercream! Thank you!
Over-the-top gorgeous!!!
Super cute idea. Thank you for everything you do to make us better decorators
How fun!!
A beautifull and gracefull cake, I just love it! something for St Patrick that dosn’t have to be in green and gold ;) thank you Melissa for this wonderfull idea :)
Love this thank you.x
I absolutely LOVE this cake!! My Mother’s Birthday is on St. Patrick’s day and I was trying to find a design that did not involve shamrock green:-). Thank you so much for sharing! Will definitely try this! So Awesome :-)
What a delightful cake – perfect rainbow for St. Pat’s or any day!
Thank you for this tutorial,it is a lovely cake.
Gracias, por compartir este tutorial, como siempre excelente idea, quedó muy linda la torta.
Melissa,
The cake is just wonderful! I love the rainbow! You have such talent — thank you for sharing with us all. Quick question – the dragees are 8mm; is that correct? Couldn’t quite make out the number on the bottle in the picture. Thanks!
Hi Barbara, yes, the dragees Melissa used were 8mm. Thanks for your nice comments.
Such a beautiful design xx
What a lovely cake!!! How do you get your red to be so red. I use wilton colours.
Excellent work i just enjoyed watching ur tutorial it is very helpful and very well done. Thanks for sharing.
Just beautiful- i can’t wait to do this x
that is such a SWEET cake. beautiful and creative work, i love the colors!!
very cool looking. The partial arc is best in this case
Hermosisimo, solo desearia q la cubierta me quedara asi de firme y consistente :'(
Really cute cake. I was wondering if you needed to double your frosting recipe?
Hi Paula, we did double the frosting recipe because of all the different colors we were making.
I absolutely loooooove this!!
Bee-you-tee-full I love your blog posts & tutorials
Gorgeous!!! It is no wonder that you like piping shells … each one is perfect!
Thank you all SOOO much for your comments!!
Simply beautiful!
Thanks for sharing such a lovely cake!!!
It looks perfect just the way it is. By the way, which way should it be, I can’t figure that out lol.
Thanks Muazza!! Usually moving from top to bottom, a rainbow would be red, orange, yellow, green, blue, violet–my rainbow is curving the wrong way for the color pattern that I did. Most people probably wouldn’t have noticed though ;0)!
This is good practice for piping shells!
Thank you so much for this lesson! I had promised my daughter a my little pony cake and knew I wanted to do a rainbow because rainbow dash is her favourite :) this was perfect!! I was rushed for time so it didn’t come out quite as clean as I had wanted but the kids LOVED it! I also did the cake itself a rainbow tie-dye so that was a fun surprise when we cut it <3
Carly, I’m so happy to hear that you made this! Your design sounds perfect–I love the idea of the rainbow tie dye on the inside too! ;0)
Beautiful cake! I love the bright colors against the sky blue background. Thanks for sharing! : )
Hi Mellisa I want to ask you what is the frosting on the cake- Italian merengue cream or just whipping cream? Thank you!
Hi DiDi, Melissa used her Fluffy Buttercream recipe from the Recipe Section, here is a link,https://www.mycakeschool.com/recipes/fluffy-vanilla-buttercream/
How do you get the red so red? I use Americolor super red and mine is never a true red.
Hi Casie, We use Americolor super red also, we don’t do anything special. Ours is not a true red either, but red enough.
Would you mind sharing the gel color used for the blue sky?
Thank you
Hi Jenny, Melissa used AmeriColor Sky Blue. If you need the other color names, she list them on the 6th comment under the last picture.
I LOVE THIS!!! I may even just put marshmallows on top. My kids love marshmallows :)
Thanks Amy! Love that idea!
How much icing should I make??? Thanks! So cute, I love it!!!!
Hi Elena, I think you should double the buttercream recipe. There are so many colors, plus white for the fluffy clouds, I think you should double the Classic Vanilla Buttercream recipe. If you have any leftover, it can be frozen in an airtight container for 3 months to use on another baking project.
Thanks so much, I eventually saw deep in the comments that it was doubled. It turned out great : ) My new favorite icing recipe for sure!
Hi Elena, Thanks for your follow up, I’m happy it turned out great!