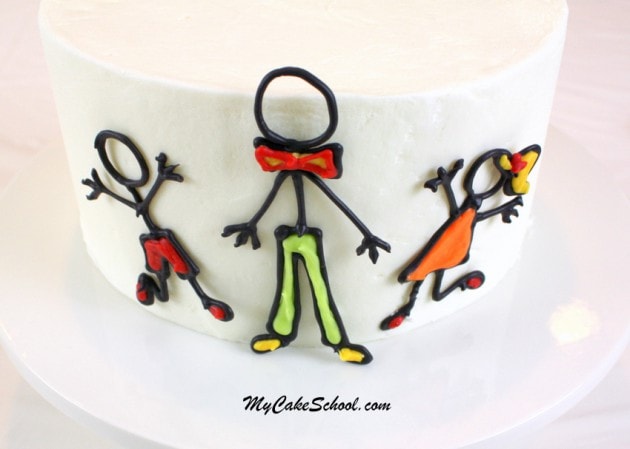
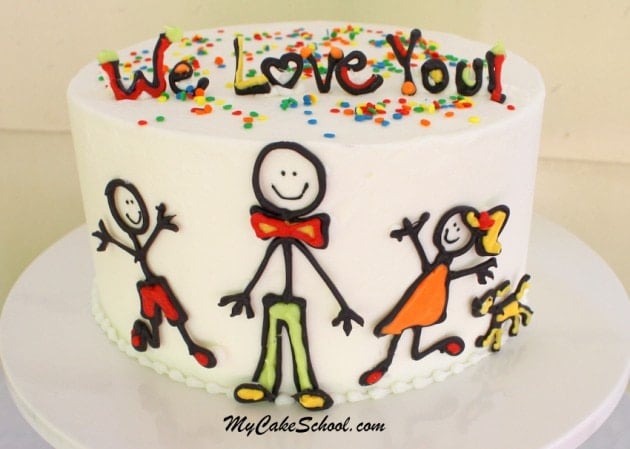
Happy Father's Day- Stick Figure Cake
It's almost Father's Day, and today we are going to show you how to make an adorable Stick Figure Cake design!
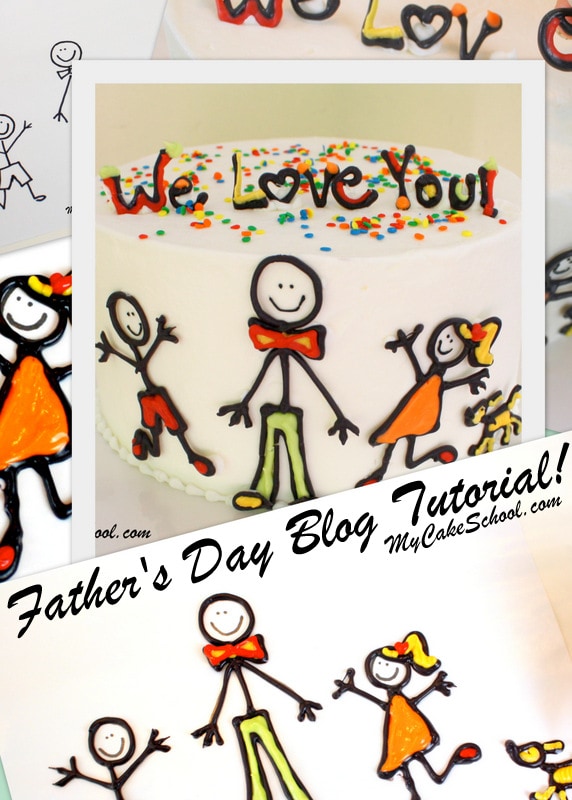
Table of Contents
How to Make a Father's Day Stick Figure Cake
The great thing about stick figures is that they are not only cute, but everyone can draw them! This sweet cake design is especially fitting for Father's Day as it looks like a child's drawing.
What we're starting with is a simple picture-- draw whatever makes sense for your family....or maybe you have some little ones that would like to draw the template for you.
**Make sure that they will easily fit the height of your cake!
Templates
You likely won't need these but here they are just in case!
Here's the picture that I used, but with the dad a little shorter so that he will fit onto a 4" tall cake! You can find it here: Father's Day Stick Figure Template (for 4 inch cake). I'm going to include my original template too, for those with taller cakes: Fathers Day Stick Figure Template (for Taller Cakes)
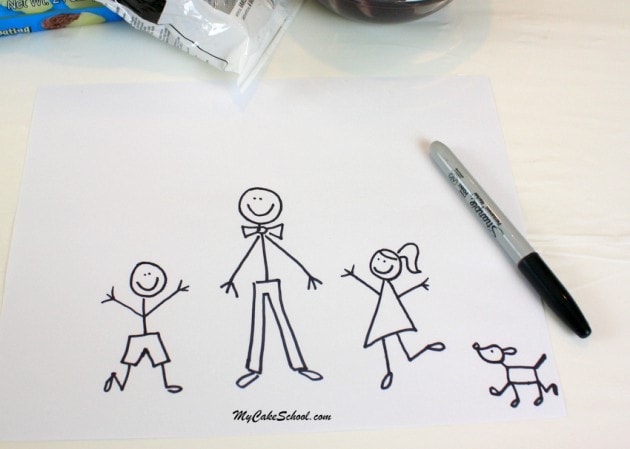
After drawing the template, I placed it on a cake board and then taped a piece of waxed paper on top of it.
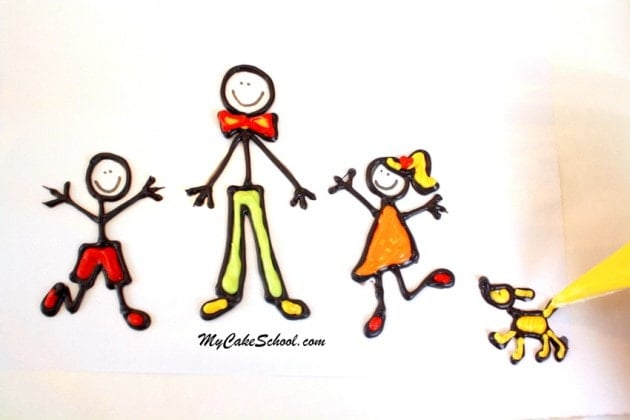
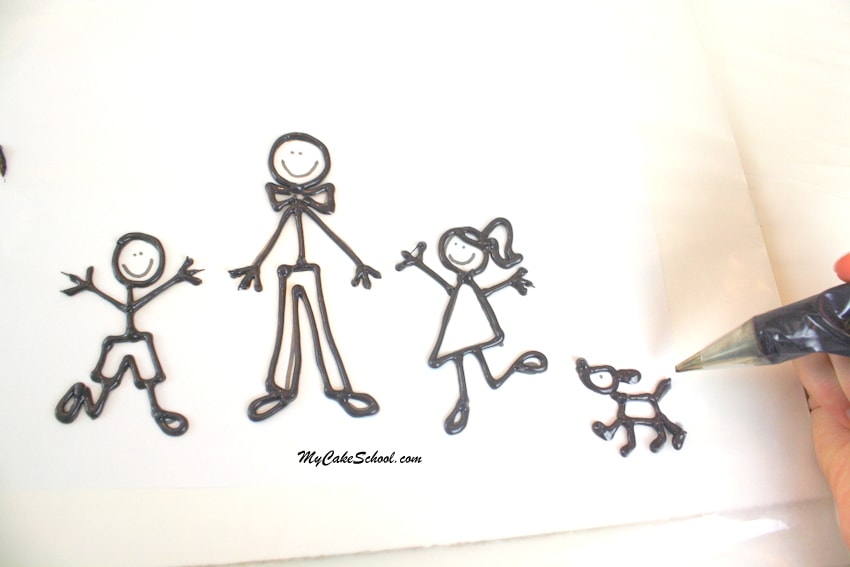
Tracing with Melted Candy Melts
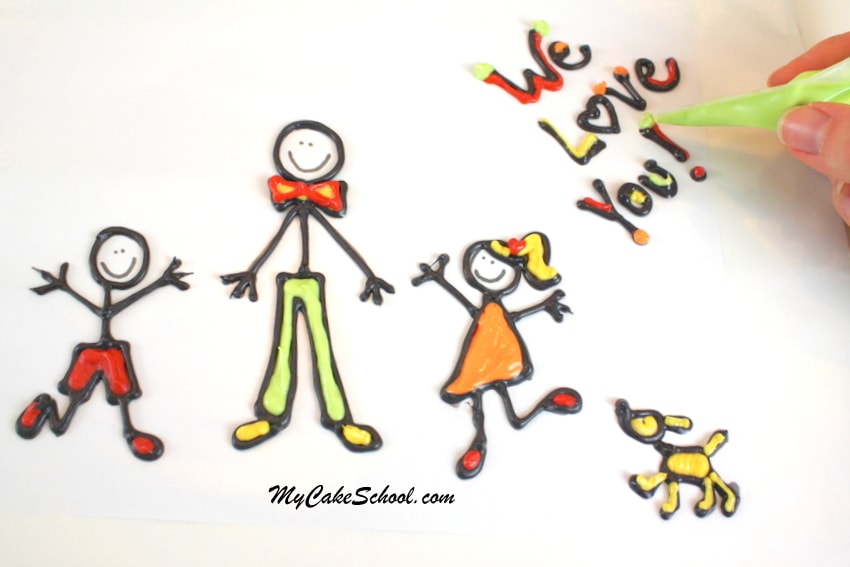
I melted some black Wilton Candy Melts, and piped over my template using a Wilton piping tip 2. (Some people prefer to skip the tip altogether and just snip the end off of their disposable piping bag.) The smiley faces are added later. No need to trace them now. ;0)
*It is always a good idea to make extras! You'll likely have some chocolate to spare so it's good to have the extra insurance of more piped pieces than you need.

Allow to Set
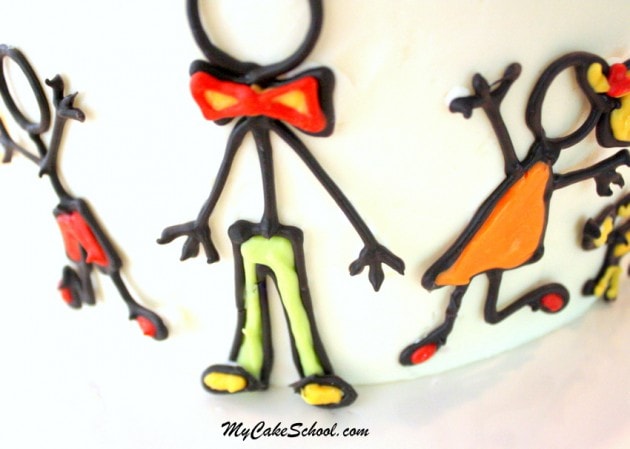
After allowing the black to set, (and you can chill everything to speed this along), I added color with more pre colored candy melts.
Chill to Firm
I added a chocolate "We Love You" too. Then, I chilled everything in the freezer for just a few minutes.
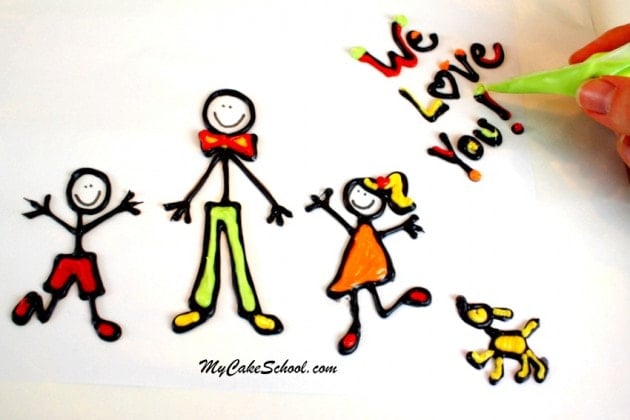
Once the chocolate pieces were firm, I ran my hand beneath the waxed paper to gently release them. It was really hot in the kitchen, so after releasing the pieces, I put the board back in the fridge and only pulled out the pieces as I needed them.

Apply to the Cake
One by one, I piped little dots of buttercream here and there on the back of the figures and applied them to the cake.
Here's the point where I realized the importance of measuring the height of the cake before making the template.
My "dad" was taller than the cake! This would have been fine if I had planned to leave their faces empty. However, I wanted to add smiley faces!
I carefully pulled the man stick figure off of the cake...chilled briefly so that I wouldn't break him, and then I snapped off a little bit of the length of his legs.
Then, I stuck those feet back on again. -- Still cute! This also goes to show that with chocolate pieces like this one, a break is often barely noticeable once the parts are glued back into place with a dot of buttercream ;0)
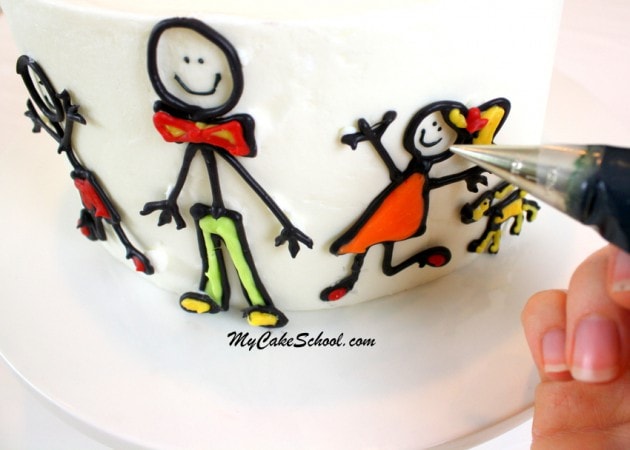
I piped on smiley faces with a little black buttercream, using a Wilton tip 1.
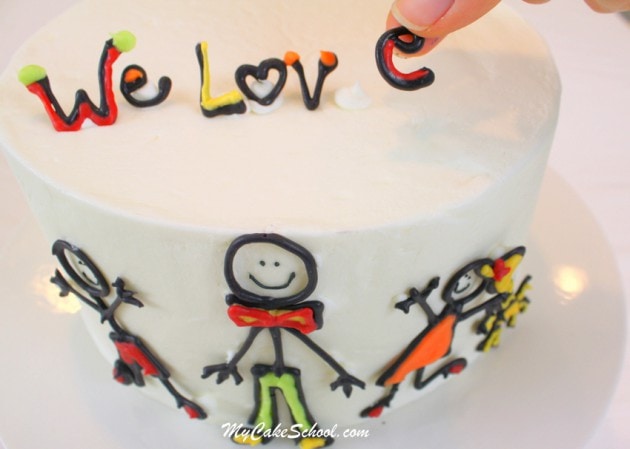
The final step~ adding our letters!
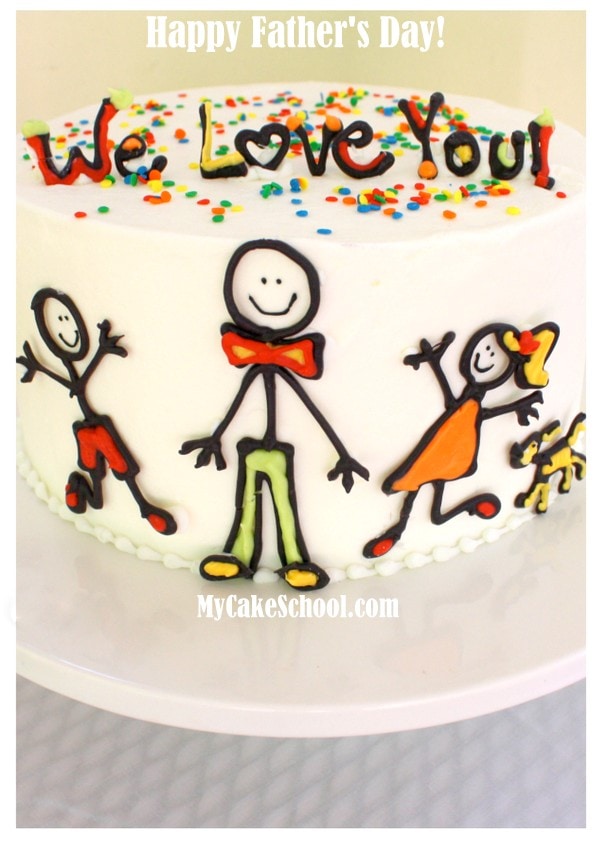
I piped dots of buttercream on top of the cake, and pressed the letters into them. I like the stand-up look, but you may prefer them flat. Either way works well!
From this angle, you can also see the dots of buttercream behind our people--a great way to add a little extra support.
..and here's our finished cake.
If you are comfortable with free handing, you could achieve a really similar look by piping your figures in buttercream...or if you are working with a fondant covered cake, you could draw the figures with food coloring pens
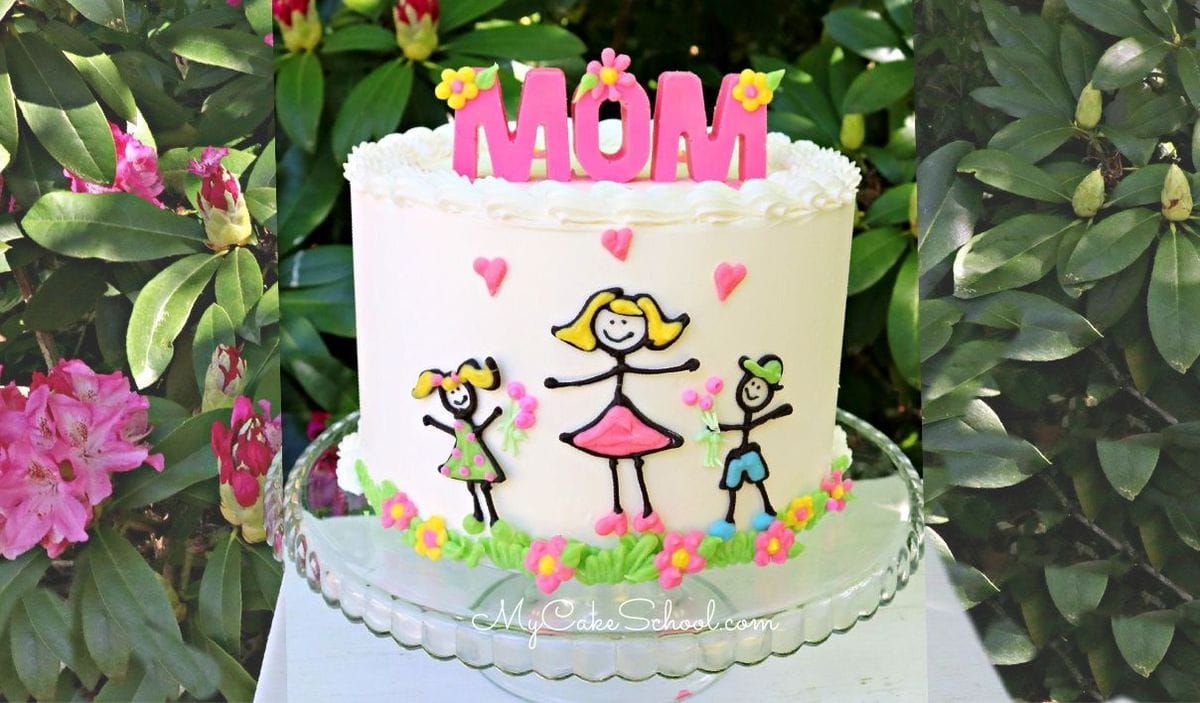
Mother's Day Version!
Update: We have a Mother's Day Stick Figure Cake now as well!
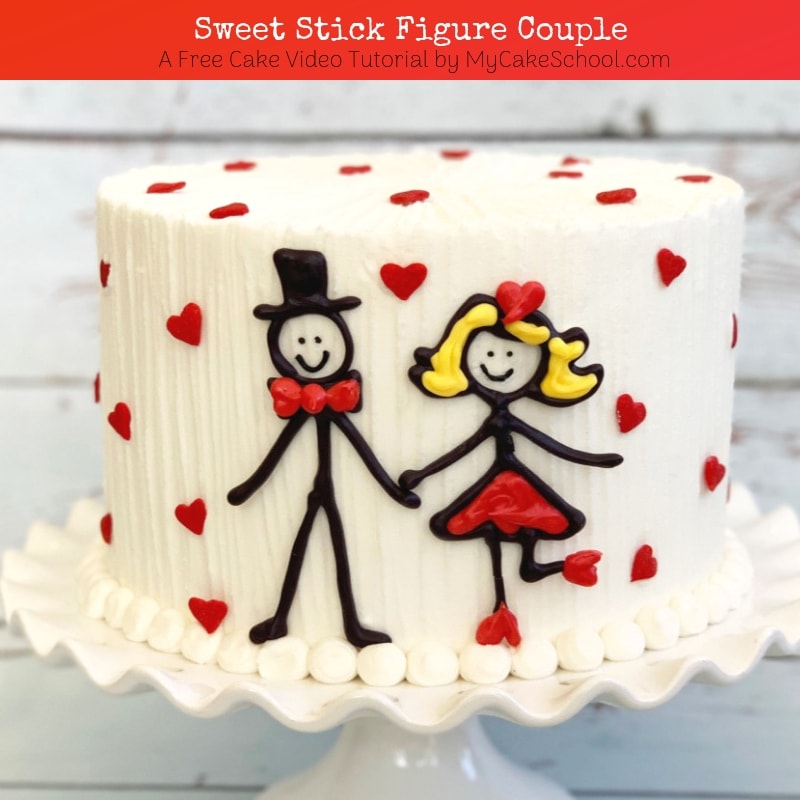
Valentine's Day Stick Figure Version
We also have Stick Figure Couple Cake for Valentine's Day or Anniversaries! ;0) Can you tell that we love stick figures themes? So cute!
You can use any of our cake recipes for this design, from vanilla buttermilk cake to lemon cake, and more.
Make sure to check out our roundup of favorite cake recipe ideas for Father's Day! Thanks so much for stopping by. If you give this cake a try, we would love for you to share a photo in the comments below.
Hi Melissa! I love your work! I saw all the recipes from your blog and I can't decide which is my favorite. You have a priceless talent!
CONGRATULATIONS!!!!
You make the cutest stick people ever! Love the colors :)
That is the cutest thing! Very cheerful! I am thinking of adapting the idea for a different theme - a graduation cake!
So good, so cute! Very lovely.
I. LOVE. THIS. CAKE!!!
Such a simple way to decorate a cake. What father wouldn't love this?
Hi Melissa, So I just tried this and couldn't control the melted chocolate coming out of my #2 tip. It ran out so fast. When I move down to a #1, it gets too squiggly and I can't get a good enough straight line. I tried several colors of candy melts and did try to let them firm up a bit to pipe again, of course, little clumps would give me piping issues. Any thoughts? I'm thinking they got too hot when melting, but I'm pretty careful about that. I have a client who loves this style and wants me to do it on her cake, with 18 names around the sides and and huge balloon bouquets on the top in the hands of the couple.
( sheet cake). Any suggestions? It just came out sloppy in practicing.
Adorable..i try it for sure
Thank you for sharing this! My husband thought it was a fun cake! My kids loved it too.
Thanks Tenielle, I'm so glad to hear it!!