Creepy Spider Cake-A Halloween Blog Tutorial!
Today, I'm going to show you how to make a Creepy Spider Cake!
As someone who hates spiders, I can hardly look at this cake, haha! But the design is SO simple and perfect for Halloween parties.
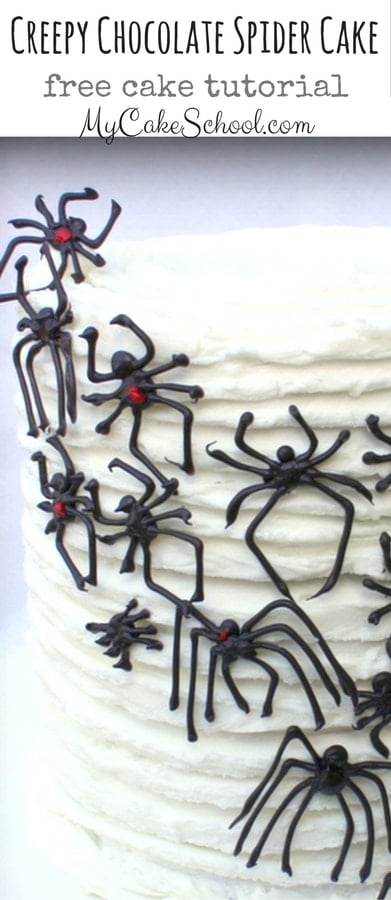
How to Make a Creepy Spider Cake
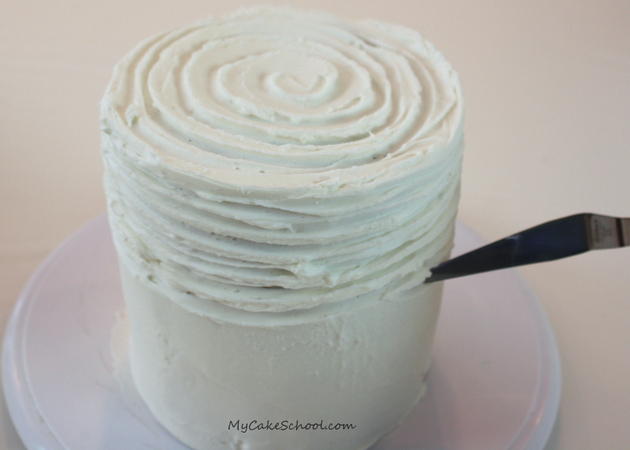
First you'll need to grab a cake and frost it. I frosted a six inch cake with vanilla buttercream frosting and went a bit rustic with the texturing. "Rustic" is code for I don't feel like smoothing the frosting today. ;0)
To do this, I just spun my cake on the turntable as I pressed my small tapered spatula to the surface of the icing. Takes about 1 minute. Easy peasy!
I used our Classic Vanilla Buttercream Frosting for this cake, but any frosting will work with this technique.
Next, I melted some black Wilton Candy Melts and spooned them into a piping bag fitted with a small round tip. (I used a Wilton tip 2).
I proceeded to pipe lots and lots of spiders onto a waxed paper lined cookie sheet.
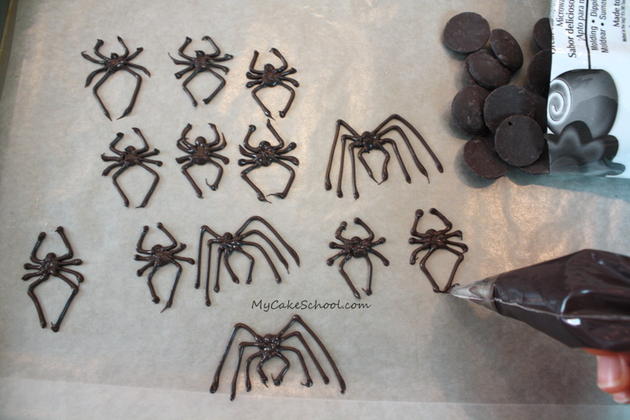
Spiders galore! Vary your sizes and styles for more fun...and make extra. With thin legs, there's always a chance of breakage.
Once the spiders are ready, pop them in the freezer or fridge. I chilled mine in the freezer for approximately 8-10 minutes. Chilly chocolate spiders are much stronger for placement than room temperature ones!
When the spiders are firm and your cake is ready to decorate, remove the tray from the freezer. Run your hand beneath the waxed paper to help release any stubborn spiders individually.
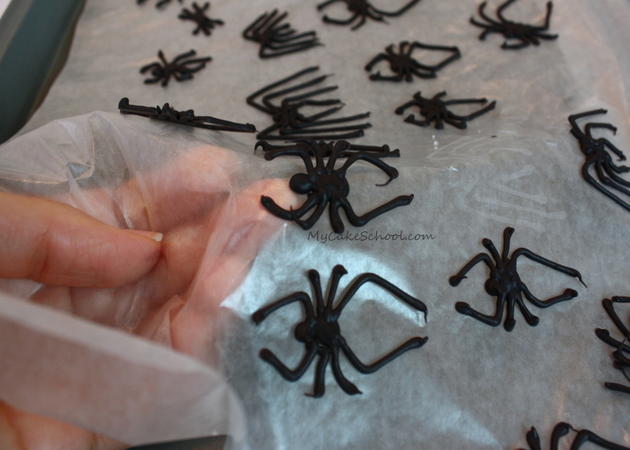
Pipe a small amount of buttercream on the backs of your spiders before "gluing" them to the cake.
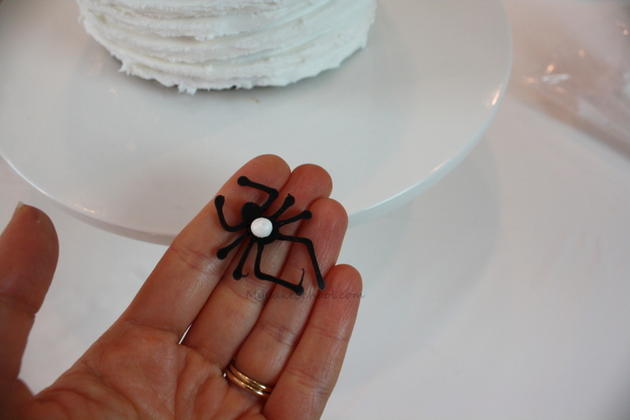
I loved this part! If your spiders begin to soften on the cookie sheet while you work, just refreeze for a few minutes. Maybe our kitchen counters were unusually warm from the lights, but I had to chill the tray a couple of times to keep the spiders nice and firm.
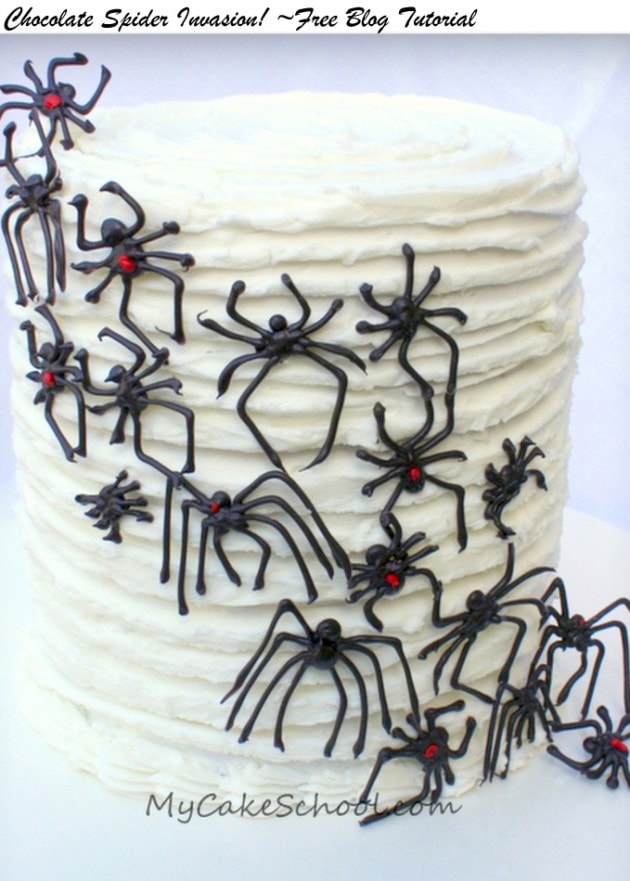
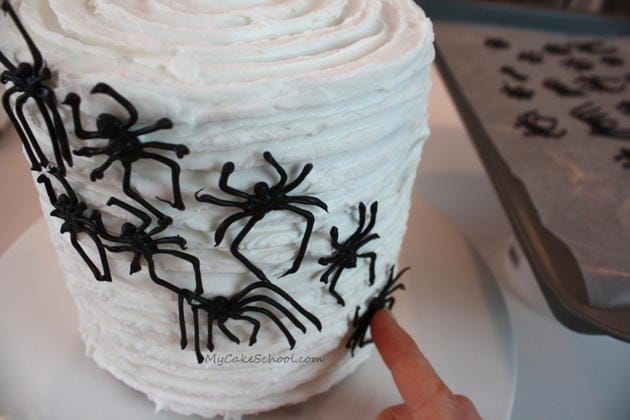 Some of my spiders became black widows with a little dot of red buttercream (tinted with Americolor Super Red & piped with a Wilton 2 tip.) -- I took some artistic license here... some of my spiders are of the very rare black widow daddy long legs variety ;0)
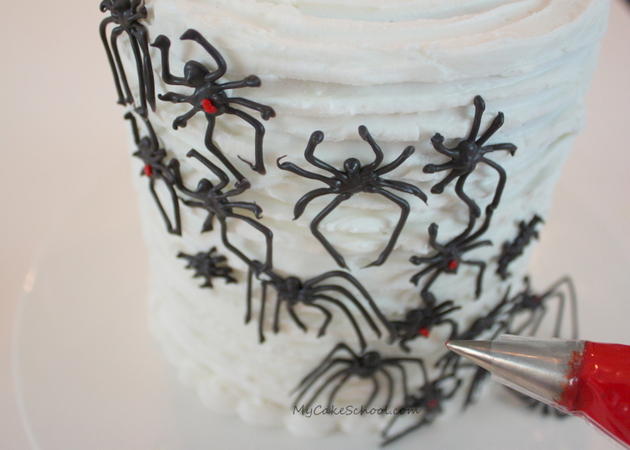
You can see that I added a little mound of buttercream on the top edge of my cake, so that I could press the top spider into it. It almost looks like he is floating ;0)
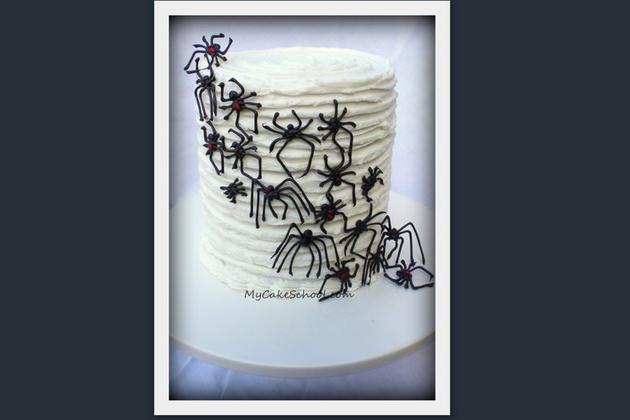
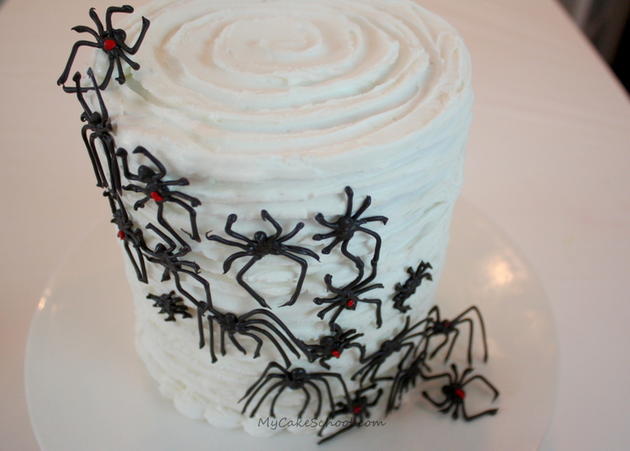 Ready for the creepy crawly grand reveal? .............
Thanks for stopping by the blog today! If you are looking for some great frosting and cake recipes, make sure to stop by our Recipes Section for our full collection!
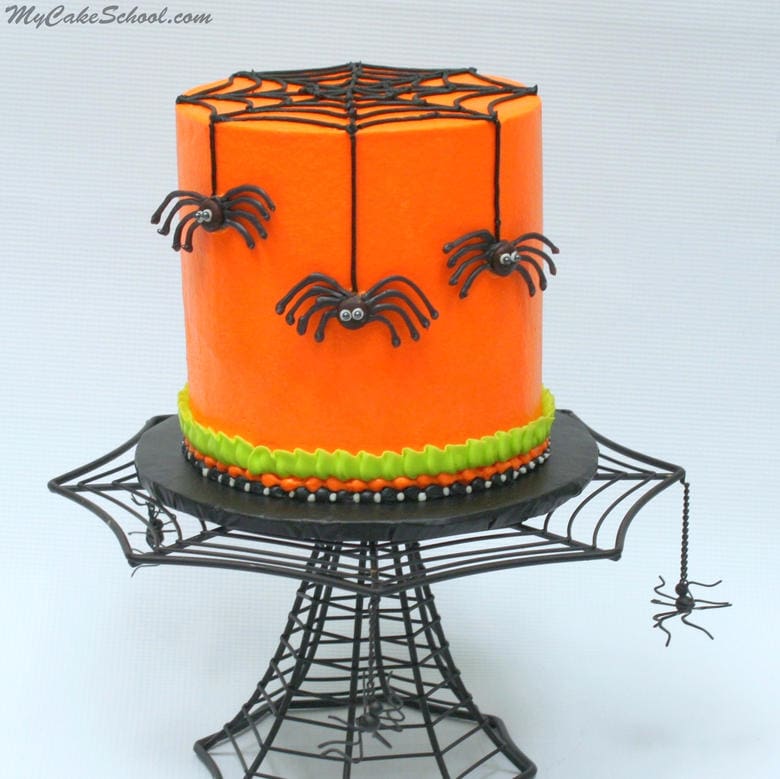
We also have another spider cake tutorial to share! Check out this free spider cake video tutorial for a cute spider cake design: Chocolate Spider Cake Video
Thanks for stopping by! For more Halloween Tutorial fun, check out the Fall Section of our Free Cake Tutorials Section!

Must make this for the upcoming holiday. You mentioned using a 6" cake......it looks sooo tall on the internet. How many layers was this cake? Can't wait to try.